Introduction
The Pixel 6 is a remarkable device that seamlessly integrates cutting-edge technology with sleek design. However, accidents happen, and a cracked or damaged screen can be a frustrating setback. Fortunately, replacing the screen on your Pixel 6 is a feasible task that can be accomplished with the right tools, a bit of patience, and attention to detail.
In this comprehensive guide, we will walk you through the process of replacing the screen on your Pixel 6. Whether you're a tech-savvy individual looking to take matters into your own hands or simply seeking to understand the process, this step-by-step tutorial will provide you with the knowledge and confidence to tackle the screen replacement with ease.
By following these instructions, you can save time and money by avoiding a trip to the repair shop and regain the pristine display quality of your Pixel 6. Additionally, engaging in a do-it-yourself (DIY) screen replacement can be a rewarding experience, offering a sense of accomplishment and a deeper understanding of your device's inner workings.
So, gather your tools, set aside some time, and let's embark on this journey to restore your Pixel 6 to its former glory. With careful attention to detail and a steady hand, you'll soon be enjoying a crystal-clear screen once again. Let's get started!
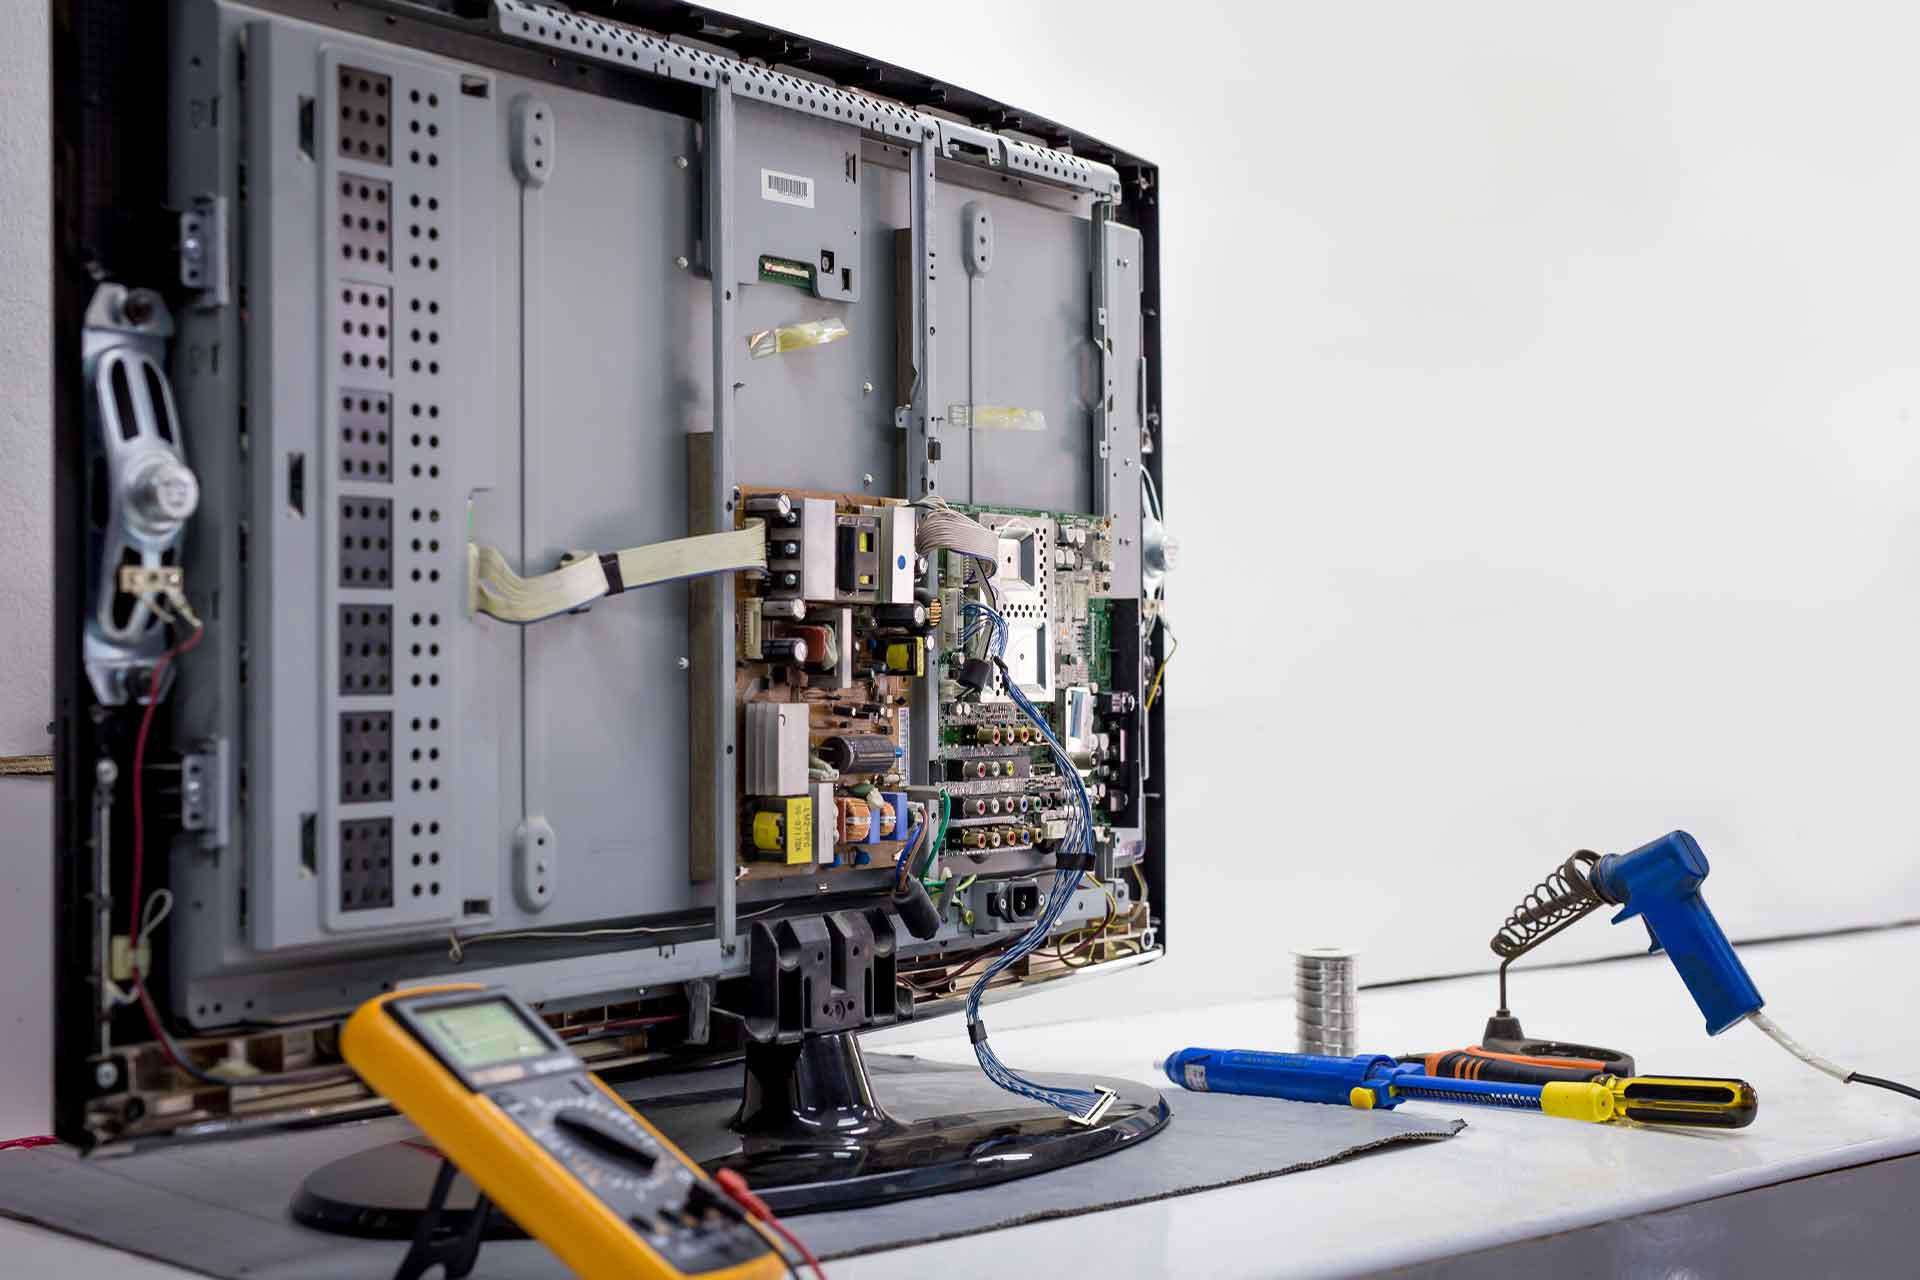
Tools and Materials Needed
Before embarking on the Pixel 6 screen replacement journey, it's essential to gather the necessary tools and materials to ensure a smooth and successful process. Here's a comprehensive list of what you'll need:
-
Replacement Screen: Acquire a high-quality replacement screen specifically designed for the Pixel 6. Ensure that it is compatible with your device model to guarantee a seamless fit and optimal functionality.
-
Precision Screwdriver Set: A precision screwdriver set with various interchangeable heads is indispensable for disassembling the Pixel 6 and accessing the internal components. Look for a set that includes Phillips, Torx, and flathead screwdriver heads to accommodate different screw types.
-
Opening Tools: Utilize plastic or nylon spudgers and pry tools to carefully separate the Pixel 6's housing and access the internal components without causing damage. These non-conductive tools are essential for safely navigating the device's intricate components.
-
Heat Gun or Hair Dryer: A heat gun or hair dryer can be used to gently warm the adhesive securing the old screen to the device, facilitating its removal. This step is crucial for minimizing the risk of damage to the Pixel 6 during the screen removal process.
-
Adhesive Strips or Liquid Adhesive: Depending on the replacement screen kit, you may require adhesive strips or liquid adhesive to securely affix the new screen to the Pixel 6. Adhering to the manufacturer's recommendations for the type and application of adhesive is vital for ensuring a secure and durable bond.
-
Tweezers: Precision tweezers are invaluable for handling small components and delicate connectors within the Pixel 6. Opt for fine-tipped tweezers to maneuver intricate parts with precision and care.
-
Microfiber Cloth: Keep a microfiber cloth on hand to wipe away dust, fingerprints, and smudges from the Pixel 6's screen and internal components. Maintaining a clean work environment is essential for preventing debris from compromising the device's functionality.
-
Work Surface: Prepare a clean and well-lit work surface with ample space to lay out the Pixel 6 and its components. A clutter-free environment will facilitate organization and minimize the risk of misplacing small parts during the screen replacement process.
By ensuring that you have all the necessary tools and materials at your disposal, you can approach the Pixel 6 screen replacement with confidence and precision. With these essentials in hand, you're ready to proceed to the next step and prepare the workspace for the screen replacement procedure.
Step 1: Prepare the Workspace
Creating an organized and conducive workspace is crucial for undertaking the Pixel 6 screen replacement with precision and care. By establishing an optimal environment, you can minimize distractions, ensure the safety of delicate components, and streamline the overall process. Here's a detailed guide on how to prepare your workspace for the screen replacement:
-
Clean and Well-Lit Area: Begin by selecting a clean and well-lit workspace that offers ample room to spread out the necessary tools and materials. A clutter-free environment will facilitate organization and prevent small components from getting misplaced during the screen replacement process. Additionally, adequate lighting is essential for clear visibility and accurate maneuvering of intricate parts.
-
Static-Free Surface: It's imperative to work on a static-free surface to prevent electrostatic discharge (ESD) from damaging the sensitive internal components of the Pixel 6. Consider using an ESD mat or working on a non-conductive surface to mitigate the risk of static electricity interfering with the device's functionality.
-
Organizational Setup: Lay out all the tools and materials in an organized manner, ensuring easy access to each item throughout the screen replacement procedure. Utilize small containers or trays to segregate screws and components, labeling them if necessary to avoid confusion during reassembly.
-
Personal Safety Measures: Prioritize personal safety by ensuring that the workspace is free from potential hazards and obstructions. Keep any liquids, food, or other distractions away from the work area to prevent accidental spills or damage to the Pixel 6 and its components.
-
Protective Gear: Consider wearing anti-static gloves to minimize the risk of transferring static electricity to the device. Additionally, using a pair of magnifying glasses or a well-lit magnifying lamp can enhance visibility and precision when handling intricate components during the screen replacement process.
By meticulously preparing the workspace in accordance with these guidelines, you can set the stage for a successful Pixel 6 screen replacement endeavor. A well-organized and optimized workspace will not only streamline the process but also contribute to the overall safety and efficacy of the screen replacement procedure. With the workspace meticulously arranged and ready for action, you're now poised to embark on the next step: removing the old screen from the Pixel 6.
Step 2: Remove the Old Screen
Removing the old screen from your Pixel 6 is a critical step that requires precision and patience. By following these detailed instructions, you can safely disassemble the device and access the old screen for replacement.
-
Power Off the Device: Begin by powering off your Pixel 6 to prevent any potential electrical hazards during the screen removal process. Ensure that the device is completely powered down before proceeding to the next steps.
-
Remove the SIM Card Tray: Use a SIM card eject tool or a paperclip to gently eject the SIM card tray from the side of the Pixel 6. Set the SIM card tray aside in a secure location to prevent misplacement.
-
Heat the Edges: Using a heat gun or a hair dryer set to a moderate temperature, carefully warm the edges of the Pixel 6 to soften the adhesive securing the old screen. Apply heat evenly around the perimeter of the device to facilitate the subsequent separation of the screen.
-
Separate the Screen: With the aid of plastic or nylon spudgers, carefully pry the old screen away from the Pixel 6's frame. Exercise caution and apply gentle pressure to gradually detach the screen without causing damage to the underlying components.
-
Disconnect the Cables: Once the old screen is partially separated, identify and disconnect the display cable and any other relevant cables or connectors attached to the screen. Use precision tweezers to delicately maneuver the connectors and ensure a secure disconnection.
-
Remove the Old Screen: With the cables detached, carefully lift the old screen away from the Pixel 6, taking care not to strain or damage the cables during the removal process. Set the old screen aside in a safe location, ensuring that it is placed on a soft and clean surface to prevent scratches or further damage.
By meticulously following these steps, you can effectively remove the old screen from your Pixel 6, paving the way for the subsequent installation of the new screen. Exercise patience and precision throughout this process to safeguard the internal components and prepare the device for the seamless integration of the replacement screen.
With the old screen successfully removed, you are now ready to proceed to the next step: installing the new screen onto your Pixel 6.
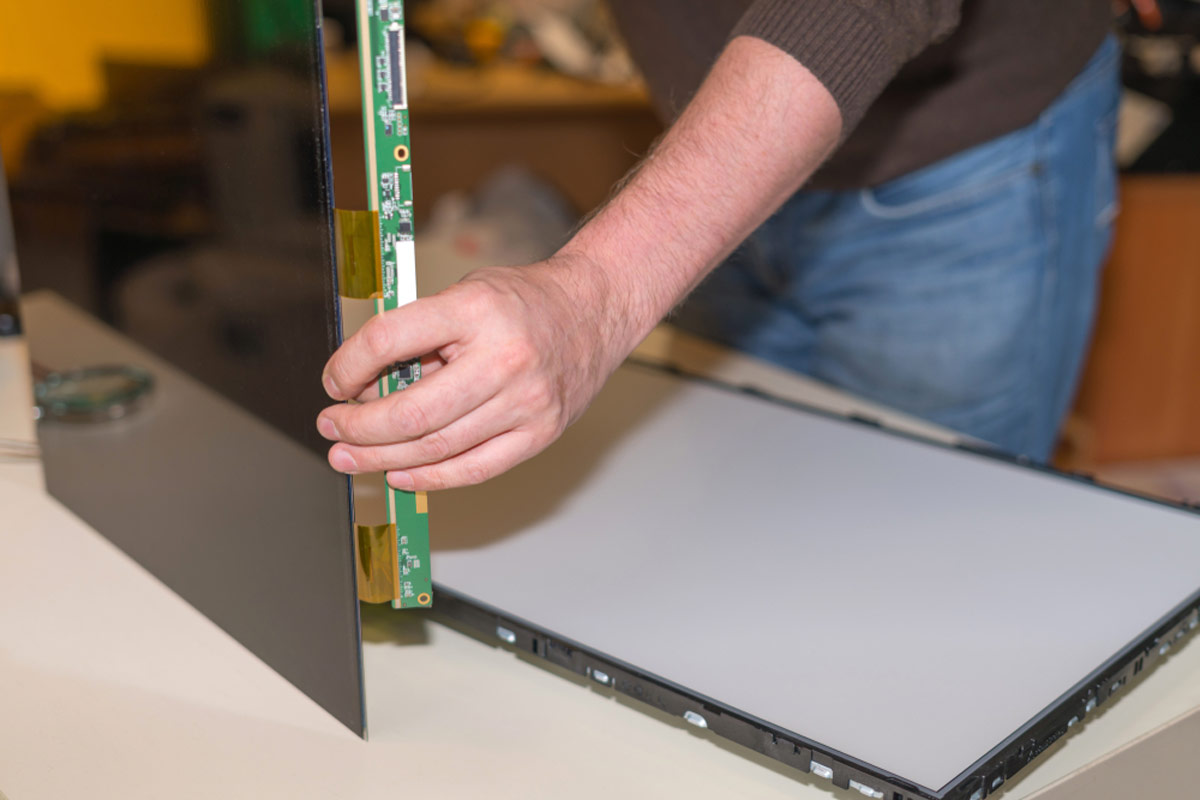
Step 3: Install the New Screen
With the old screen successfully removed, it's time to embark on the pivotal stage of installing the new screen onto your Pixel 6. This step demands meticulous attention to detail and a methodical approach to ensure the seamless integration of the replacement screen. Follow these comprehensive instructions to effectively install the new screen and restore your Pixel 6 to its pristine visual glory.
-
Inspect the Replacement Screen: Before proceeding with the installation, carefully inspect the replacement screen to verify its integrity and compatibility with your Pixel 6. Ensure that the screen is free from any defects or damage, and confirm that it aligns perfectly with the dimensions and specifications of your device.
-
Connect the Cables: Begin by reconnecting the display cable and any other relevant cables or connectors to the new screen. Exercise precision and caution when maneuvering the connectors, ensuring a secure and snug fit to guarantee optimal functionality.
-
Align and Affix the Screen: Position the new screen onto the Pixel 6's frame, aligning it meticulously to ensure a perfect fit. Once aligned, gently press the screen into place, applying even pressure to facilitate the adhesion process. Take care to avoid exerting excessive force that may damage the delicate components.
-
Secure the Adhesive: If the replacement screen kit includes adhesive strips or liquid adhesive, carefully follow the manufacturer's guidelines to affix the screen securely to the device. Adhere to the recommended application method and ensure that the adhesive forms a robust bond between the new screen and the Pixel 6's frame.
-
Reassemble the Device: With the new screen securely in place, proceed to reassemble the Pixel 6 by reversing the disassembly steps. Carefully insert the SIM card tray, ensuring that it sits flush with the device's frame. Then, power on the device to verify the functionality and visual integrity of the newly installed screen.
By meticulously following these steps, you can effectively install the new screen onto your Pixel 6, ushering in a revitalized visual experience and restoring the device to its optimal functionality. With the replacement screen seamlessly integrated, you are now poised to proceed to the final step: testing the replacement to ensure its flawless performance.
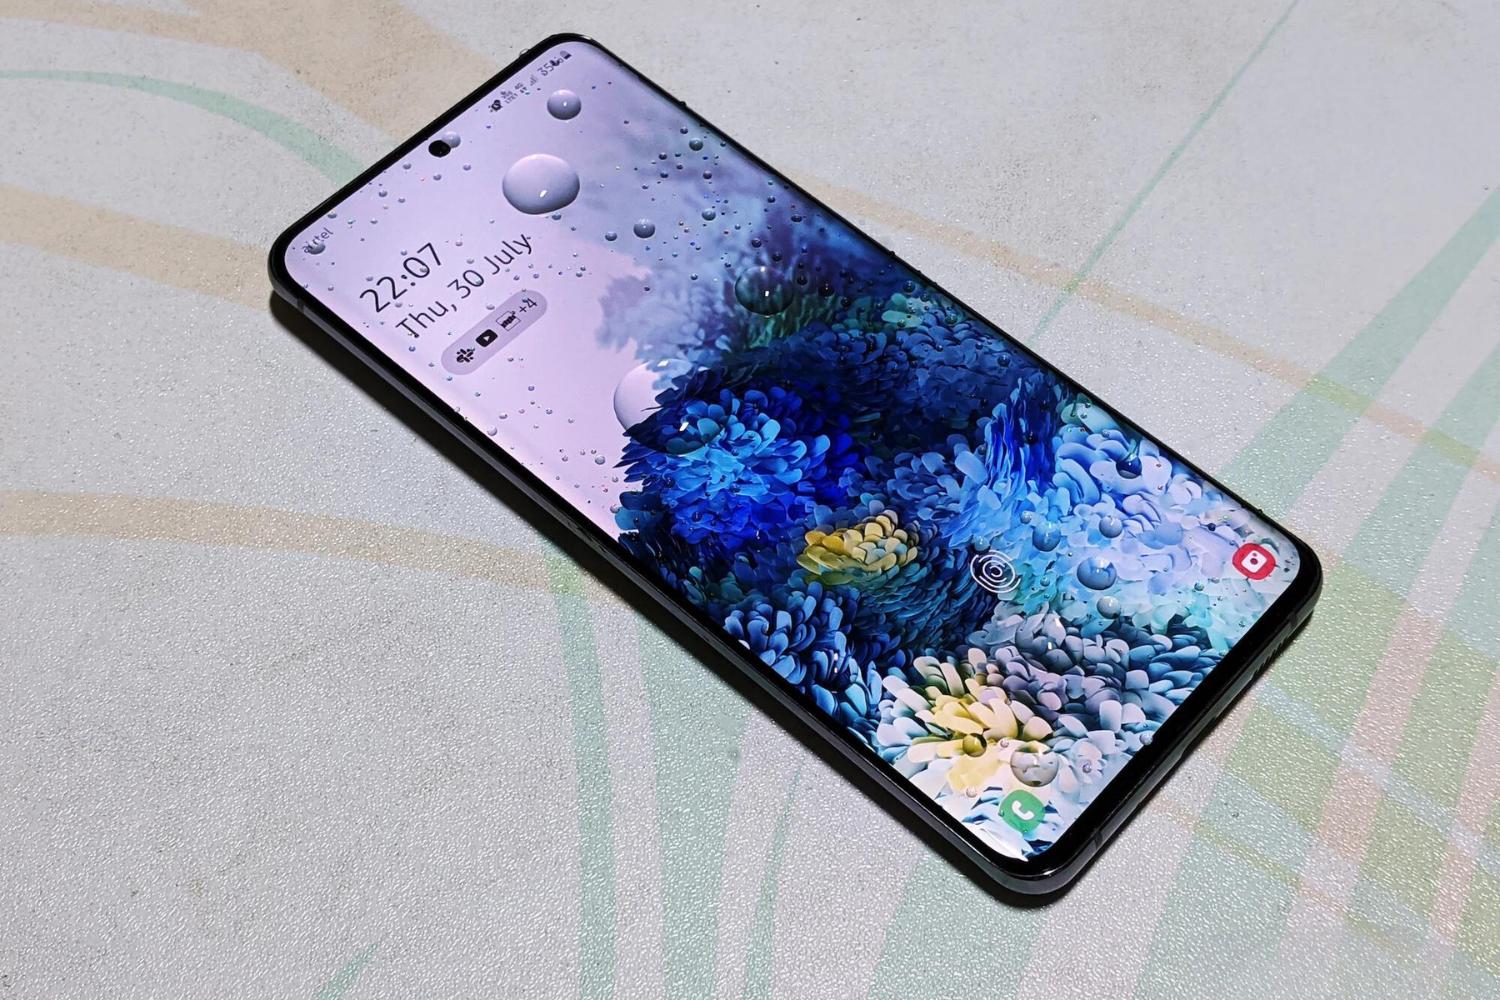
Step 4: Test the Replacement
After successfully installing the new screen on your Pixel 6, it is crucial to thoroughly test the replacement to ensure its flawless performance and visual integrity. This step serves as the final checkpoint in the screen replacement process, allowing you to verify the functionality of the new screen and address any potential issues before finalizing the reassembly of the device.
Power On and Visual Inspection
Begin by powering on your Pixel 6 and closely inspecting the newly installed screen for any abnormalities or irregularities. Check for uniform brightness, color accuracy, and the absence of dead pixels or display artifacts. Navigate through different applications and interfaces to assess the screen's responsiveness and visual clarity across various usage scenarios.
Touch Sensitivity and Calibration
Test the touch sensitivity of the replacement screen by interacting with the device's interface and applications. Ensure that touch inputs are accurately registered and responsive, without any instances of lag or unresponsiveness. Additionally, verify the calibration of the touch screen to guarantee precise and accurate input recognition.
Display Functionality
Assess the functionality of the display by viewing multimedia content, such as videos and images, to evaluate the screen's color reproduction, contrast, and overall visual performance. Verify that the display renders content accurately and consistently across different viewing angles, without any distortions or anomalies.
Functional Testing
Proceed to conduct functional tests by utilizing the Pixel 6's features and applications. Test the camera functionality to ensure that the screen accurately displays captured images and videos. Additionally, assess the performance of sensors, such as the ambient light sensor and proximity sensor, to confirm their seamless integration with the new screen.
Connectivity and Audio
Verify the connectivity features of the Pixel 6, including Wi-Fi, Bluetooth, and cellular network reception, to ensure that the replacement screen does not interfere with these essential functionalities. Additionally, test the audio output through the device's speakers and headphone jack to confirm that the screen replacement has not impacted the audio performance.
Final Inspection and Quality Assurance
Conduct a final visual inspection of the device to identify any potential issues or discrepancies related to the replacement screen. Pay close attention to the edges and corners of the screen to ensure that it is securely affixed and free from any lifting or misalignment. Address any anomalies or concerns promptly to guarantee the optimal performance of the new screen.
By meticulously testing the replacement screen through these comprehensive assessments, you can ascertain its flawless performance and visual integrity. This thorough evaluation ensures that the Pixel 6 is restored to its optimal functionality and visual excellence, providing you with the assurance of a successful screen replacement endeavor. With the replacement screen validated and confirmed to meet the highest standards, you can proceed with confidence, knowing that your Pixel 6 is equipped with a pristine and fully functional display.
Conclusion
Congratulations on successfully completing the intricate process of replacing the screen on your Pixel 6! By meticulously following the step-by-step instructions outlined in this comprehensive guide, you have not only revitalized the visual appeal of your device but also gained valuable insights into its internal components and assembly. The journey from preparing the workspace to meticulously testing the replacement screen has equipped you with a deeper understanding of your Pixel 6 and the confidence to undertake advanced DIY endeavors.
As you reflect on this rewarding experience, it's important to acknowledge the sense of accomplishment that accompanies the successful completion of a complex task such as a screen replacement. Your dedication to precision, attention to detail, and willingness to embrace the challenge have culminated in the restoration of your Pixel 6 to its former glory. This accomplishment serves as a testament to your resourcefulness and willingness to explore new horizons in the realm of device maintenance and customization.
Furthermore, engaging in a DIY screen replacement not only saves time and money but also fosters a deeper connection with your device. The hands-on approach to resolving a common issue such as a damaged screen instills a sense of ownership and empowerment, reaffirming your ability to overcome obstacles and restore functionality with your own hands. This experience underscores the value of self-reliance and the satisfaction derived from mastering technical tasks that were once perceived as daunting.
Beyond the tangible benefits of a pristine screen, the journey of replacing the screen on your Pixel 6 has provided you with a newfound appreciation for the intricacies of modern technology. Navigating the delicate components and intricacies of the device's assembly has offered a glimpse into the craftsmanship and engineering behind the Pixel 6, fostering a deeper connection with the device beyond its external facade.
As you admire the seamless integration of the replacement screen and revel in the rejuvenated visual experience of your Pixel 6, remember that your newfound expertise and confidence can extend to future endeavors. Whether it's exploring additional DIY repairs or delving into the customization of your device, the skills and knowledge acquired through this screen replacement journey serve as a solid foundation for future undertakings.
In conclusion, the successful replacement of the screen on your Pixel 6 signifies not only the restoration of a vital component but also the cultivation of valuable skills and a sense of empowerment. Embrace this achievement as a testament to your resourcefulness and willingness to venture into uncharted territories, knowing that your Pixel 6 now bears the mark of your dedication and expertise. As you continue to explore the possibilities within the realm of device maintenance and customization, may this experience serve as a catalyst for future endeavors and a source of inspiration for further technical mastery.