Introduction
Inserting a SIM card into your iPhone is a fundamental step in setting up your device for calls, texts, and data usage. Whether you're activating a new phone or switching to a different carrier, understanding how to properly insert a SIM card is essential for seamless connectivity. This guide will walk you through the step-by-step process, ensuring that you can easily and confidently complete this task.
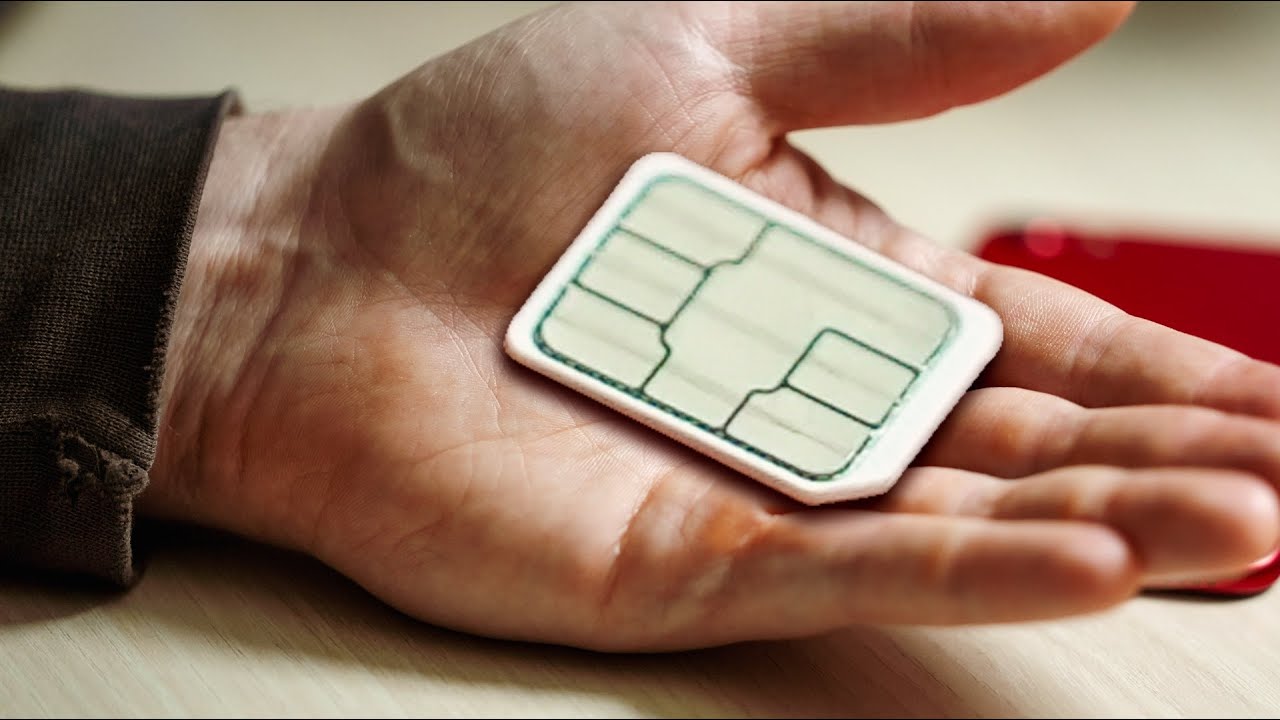
The Subscriber Identity Module (SIM) card serves as the key to unlocking your iPhone's cellular capabilities. It contains crucial information such as your phone number, carrier details, and personal data, enabling your device to connect to the mobile network. By following the instructions provided, you'll be able to effortlessly install or replace a SIM card, empowering your iPhone to function as intended.
Understanding the intricacies of inserting a SIM card can alleviate any uncertainties you may have about the process. Whether you're a new iPhone user or simply need a refresher, this guide aims to equip you with the knowledge and confidence to manage your device's SIM card with ease.
Now, let's delve into the specific steps involved in inserting a SIM card into your iPhone, ensuring that you can navigate this essential aspect of device setup with precision and efficiency.
Step 1: Locate the SIM Card Tray
Locating the SIM card tray is the first crucial step in the process of inserting a SIM card into your iPhone. The SIM card tray is a small, discreet component of your device, designed to securely house the SIM card. Depending on the iPhone model, the location of the SIM card tray may vary. However, the general approach to locating it remains consistent across different models.
To begin, you'll need to identify the specific iPhone model you are using. For most iPhone models, the SIM card tray is typically positioned on the right-hand side of the device. It is important to note that the iPhone 4 and 4s have the SIM card tray located at the top of the device. For newer models such as the iPhone X, XS, XR, 11, 12, and 13, the SIM card tray is usually situated on the right-hand side.
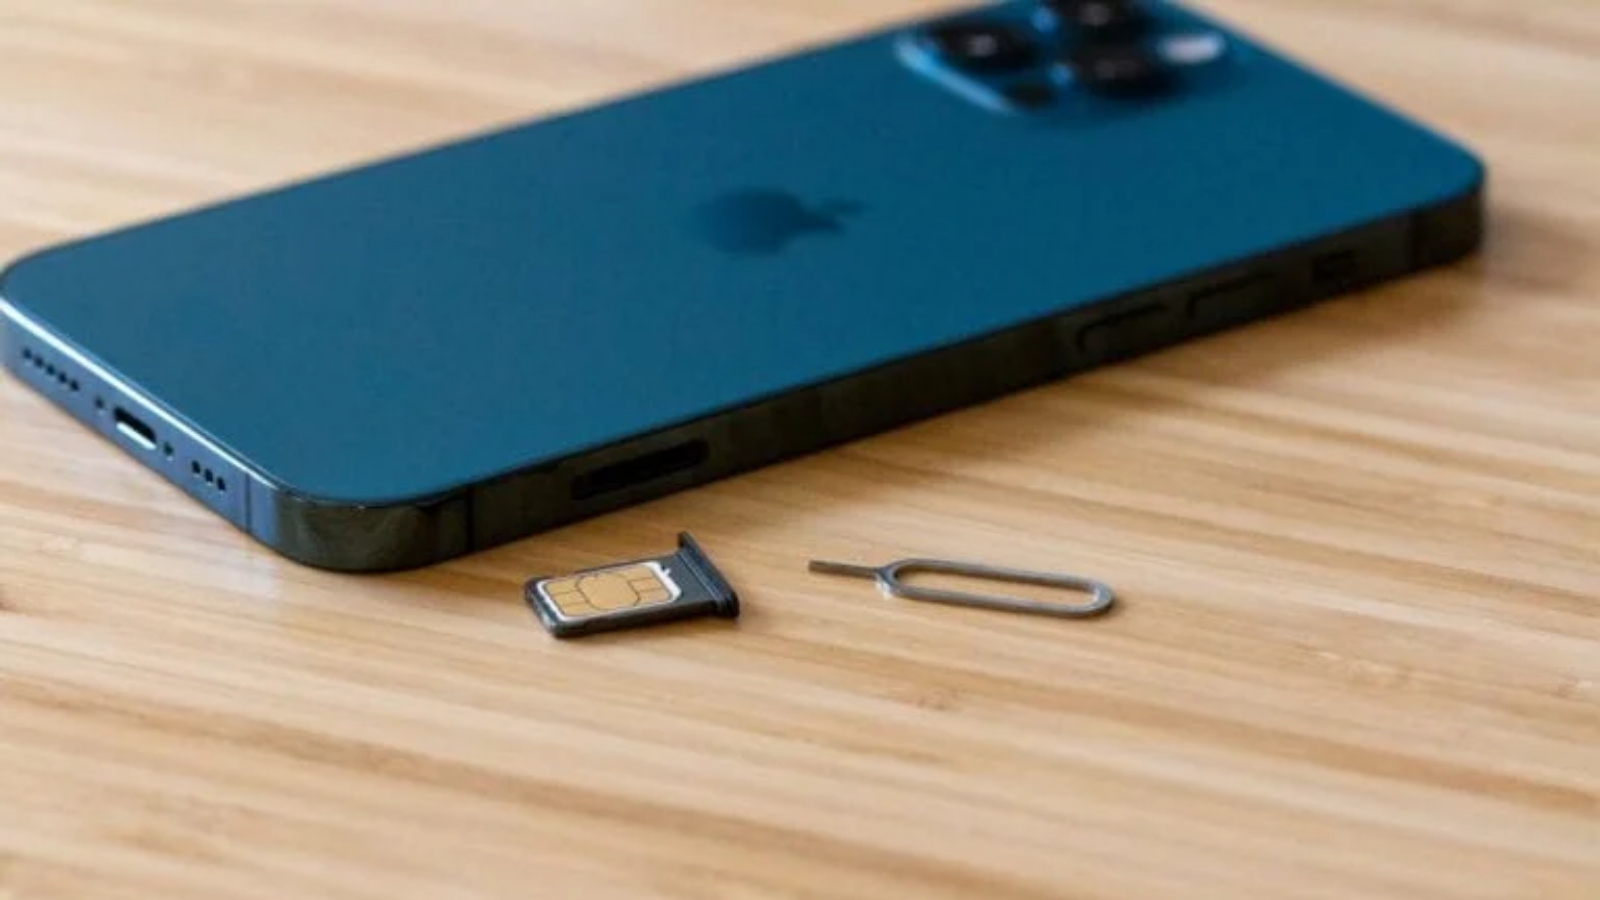
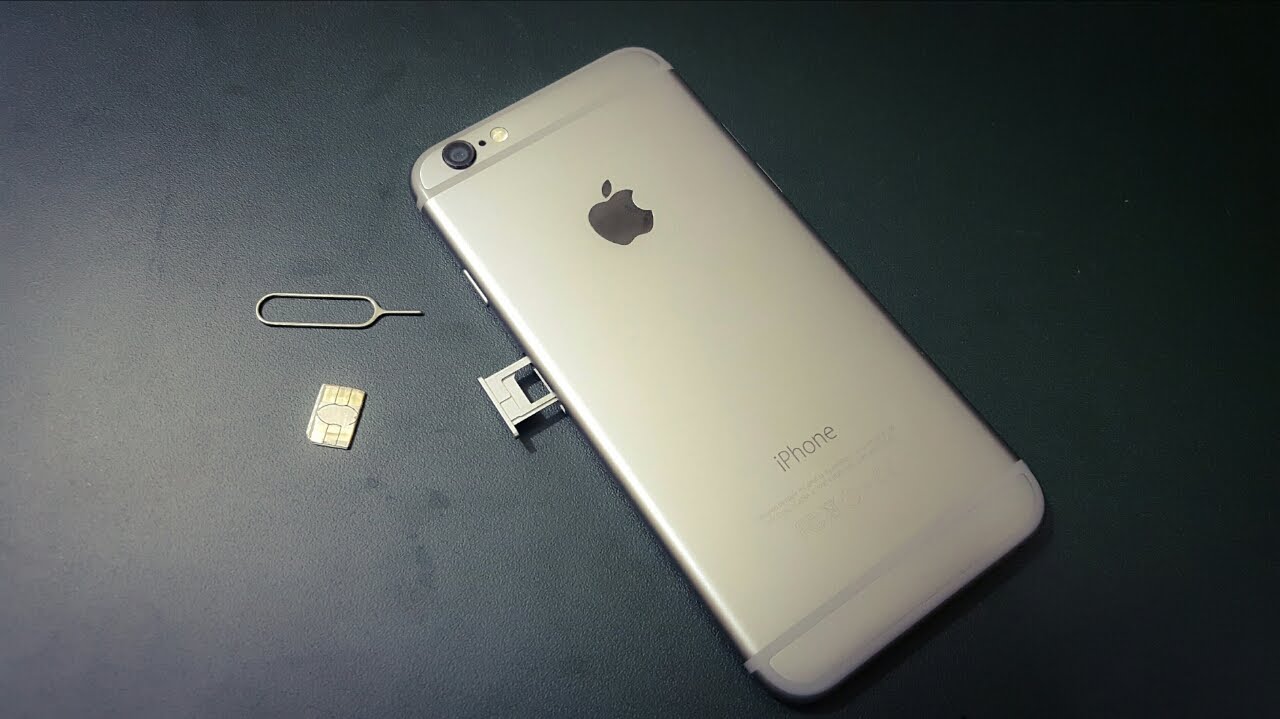
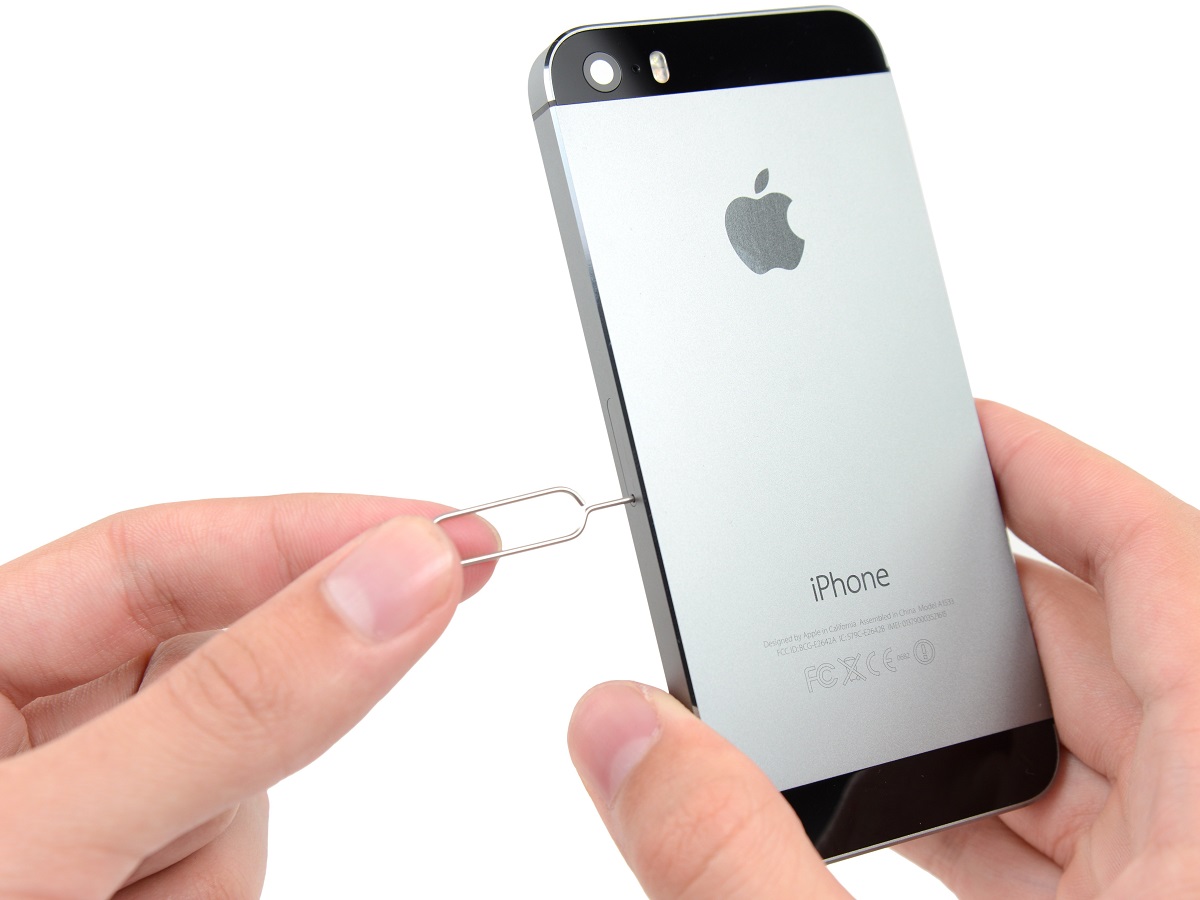
Once you have located the SIM card tray, you will notice a small pinhole adjacent to it. This pinhole is designed to accommodate the SIM card ejector tool, which is provided with your iPhone. The SIM card ejector tool is a small, metallic pin that facilitates the removal of the SIM card tray.
By familiarizing yourself with the physical appearance and positioning of the SIM card tray, you can confidently proceed to the next step of the process. This initial step sets the stage for a seamless and efficient insertion of the SIM card, ensuring that you are well-prepared to navigate the subsequent steps with ease.
Understanding the significance of locating the SIM card tray empowers you to approach the task with confidence and precision. By taking the time to identify and familiarize yourself with the SIM card tray's location, you are laying the groundwork for a successful SIM card insertion process, setting the stage for a smooth and hassle-free experience.
With the SIM card tray located, you are now ready to proceed to the next step, which involves ejecting the SIM card tray in preparation for the insertion of the SIM card.
This step is crucial in ensuring that you can effectively manage the SIM card insertion process, setting the stage for a seamless transition to the subsequent steps.
Step 2: Eject the SIM Card Tray
Ejecting the SIM card tray is a pivotal step in preparing your iPhone for the insertion of a new or replacement SIM card. This process involves using the SIM card ejector tool, a small, metallic pin provided with your iPhone, to safely remove the SIM card tray from the device.
To begin, locate the SIM card ejector tool that was included in the packaging of your iPhone. This tool is specifically designed for the purpose of ejecting the SIM card tray and is essential for ensuring a smooth and seamless transition during the SIM card insertion process.
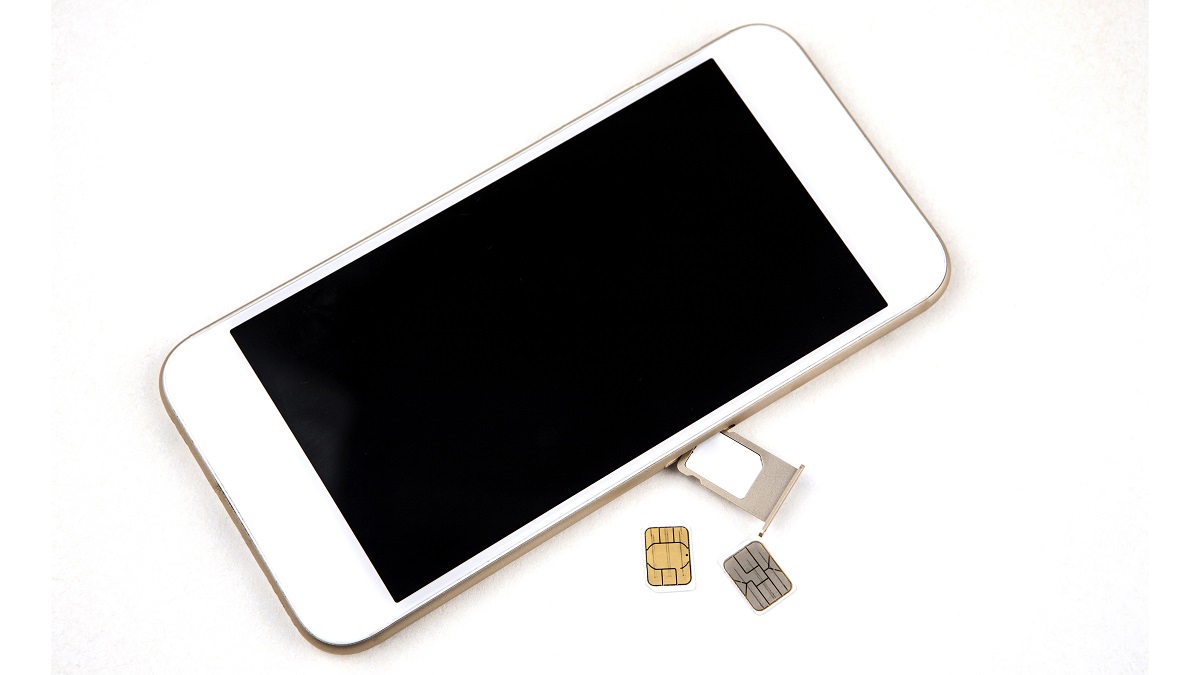
Once you have the SIM card ejector tool in hand, gently insert the pointed end of the tool into the small pinhole located adjacent to the SIM card tray. Apply a slight amount of pressure to engage the internal mechanism, which will cause the SIM card tray to protrude from the device.
Carefully pull the SIM card tray out of the iPhone, ensuring that you handle it with care to avoid any damage to the tray or the device itself. The SIM card tray will slide out smoothly, revealing the compartment where the SIM card will be placed.
By following this methodical approach to ejecting the SIM card tray, you can effectively prepare your iPhone for the next phase of the process. This step sets the stage for the seamless insertion of the SIM card, ensuring that you can proceed with confidence and precision.
Understanding the significance of properly ejecting the SIM card tray enables you to navigate this essential aspect of device maintenance with ease. By following these instructions, you can confidently prepare your iPhone for the insertion of a new SIM card or the replacement of an existing one, empowering you to manage your device's connectivity with efficiency and expertise.
With the SIM card tray successfully ejected, you are now ready to proceed to the subsequent step, which involves the actual insertion of the SIM card into the designated compartment within your iPhone.
Step 3: Insert the SIM Card
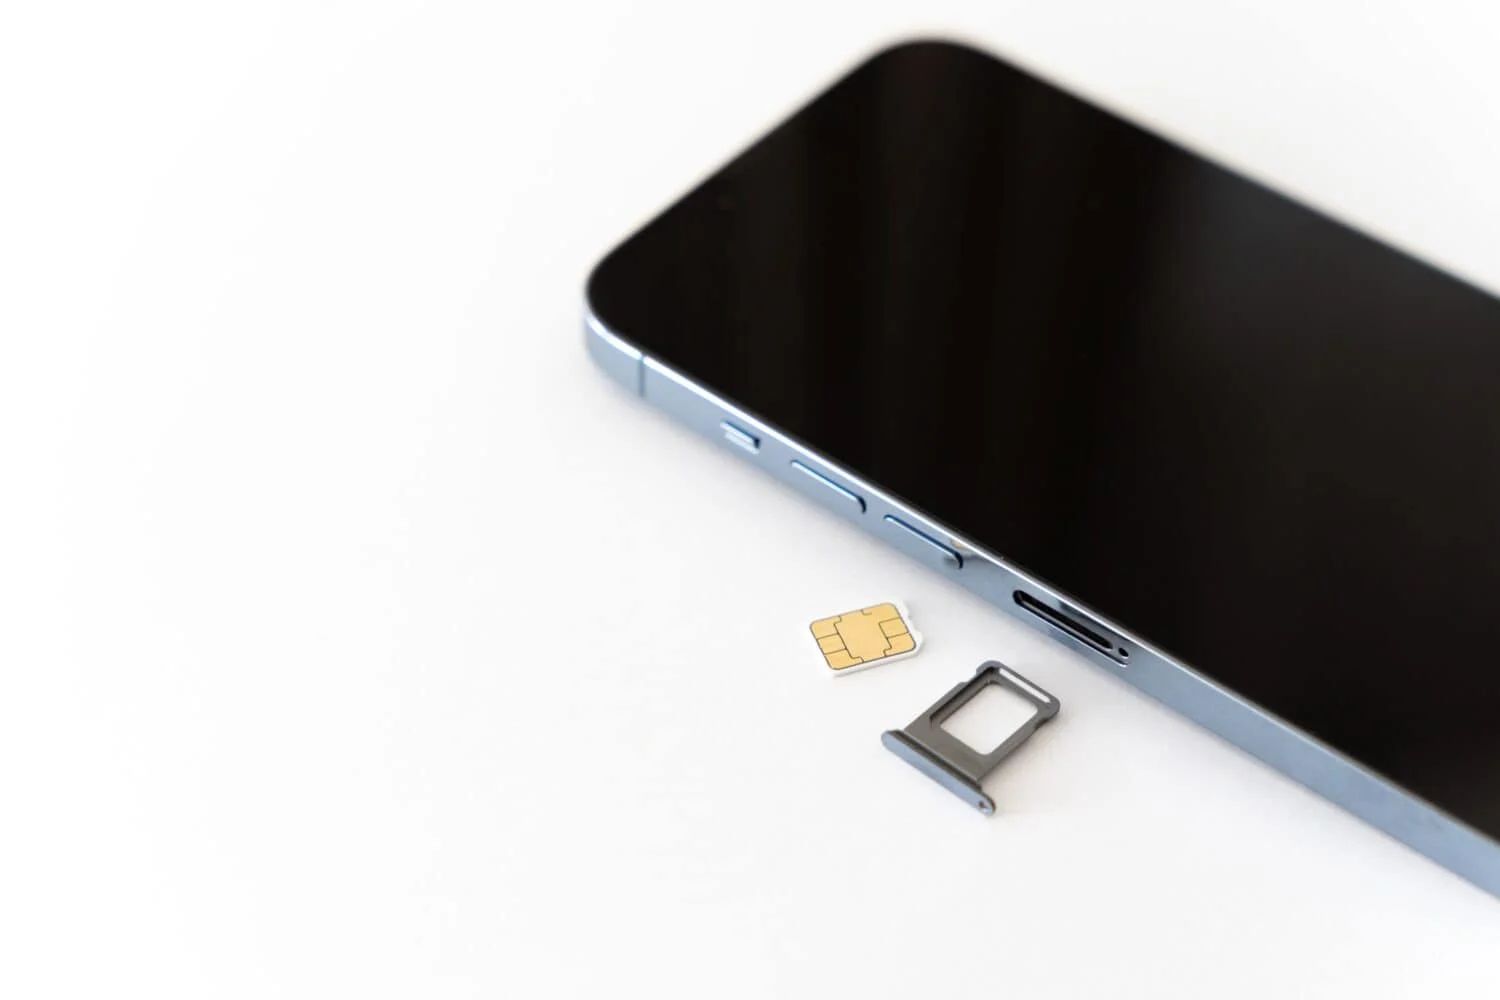
With the SIM card tray successfully ejected from your iPhone, you are now ready to proceed with the pivotal step of inserting the SIM card. This process entails carefully placing the SIM card into the designated compartment within the SIM card tray, ensuring that it is positioned correctly to facilitate seamless connectivity.
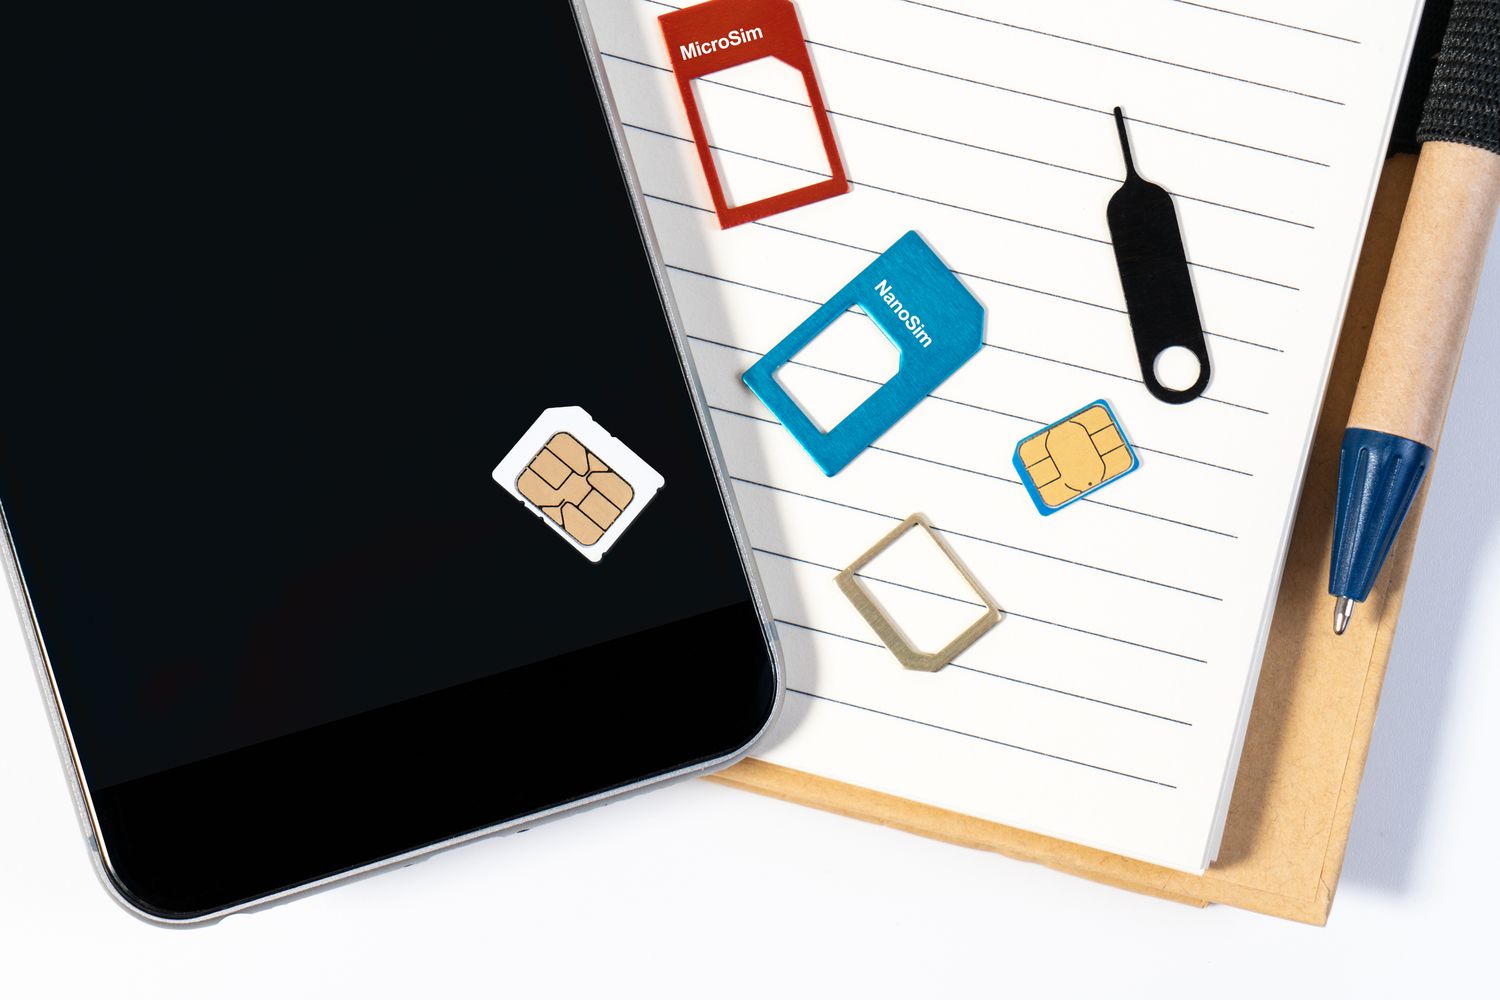
Begin by examining the SIM card tray and identifying the specific orientation required for the SIM card. Most SIM card trays feature a small, indented corner that aligns with a corresponding notch on the SIM card. This design ensures that the SIM card can only be inserted in the correct orientation, eliminating the possibility of improper placement.
Next, carefully remove the SIM card from its packaging or retrieve it from your existing SIM card, if you are replacing it. Take note of the orientation of the SIM card and ensure that it aligns with the designated layout within the SIM card tray.
With precision and care, gently place the SIM card into the designated compartment within the SIM card tray, ensuring that it fits snugly and aligns with the indented corner and notch. Avoid applying excessive force or bending the SIM card during this process to prevent any damage to the card or the tray.
Once the SIM card is securely positioned within the tray, carefully slide the SIM card tray back into the iPhone, ensuring that it slots into place smoothly and seamlessly. Take care to handle the device and the tray with delicacy to avoid any potential damage during this reinsertion process.
By following these meticulous steps to insert the SIM card into your iPhone, you are ensuring that your device is equipped to establish and maintain cellular connectivity with precision and reliability. This process sets the stage for seamless communication, enabling you to harness the full potential of your iPhone's capabilities.
With the SIM card securely inserted into the designated compartment within the SIM card tray, you have successfully completed this pivotal step, positioning your iPhone for optimal connectivity and functionality. This seamless insertion process empowers you to manage your device with confidence and expertise, ensuring that you can navigate the intricacies of SIM card management with ease and efficiency.
Step 4: Replace the SIM Card Tray
After successfully inserting the SIM card into your iPhone, the final step involves carefully replacing the SIM card tray to secure the SIM card within the device. This step is crucial in ensuring that the SIM card remains firmly in place, enabling your iPhone to establish and maintain seamless connectivity with your mobile network.
To begin, gently align the SIM card tray with the slot from which it was initially ejected. Take care to position the tray correctly, ensuring that it aligns with the designated slot on the side of your iPhone. The tray should slide back into place smoothly and seamlessly, without requiring excessive force or pressure.
Once the SIM card tray is aligned with the slot, carefully and steadily push it back into the device, ensuring that it slots into place securely. Take note of any resistance or misalignment, adjusting the tray as needed to facilitate a smooth reinsertion process. It is essential to handle the device with delicacy and precision during this step to avoid any potential damage to the SIM card tray or the device itself.
As the SIM card tray is smoothly reinserted into your iPhone, you can be confident that the SIM card is securely housed within the device, ready to facilitate your communication and connectivity needs. This final step completes the process of inserting a SIM card into your iPhone, ensuring that your device is fully equipped to harness the benefits of cellular connectivity.
By following these meticulous steps to replace the SIM card tray, you are affirming the successful insertion of the SIM card into your iPhone, setting the stage for seamless communication and data usage. This process empowers you to manage your device with confidence and expertise, ensuring that you can navigate the intricacies of SIM card management with ease and efficiency.
With the SIM card tray securely reinserted into your iPhone, you have effectively completed the process of inserting or replacing a SIM card, positioning your device for optimal functionality and connectivity. This seamless reinsertion process underscores your ability to manage your device with precision and expertise, ensuring that you can navigate essential tasks with confidence and proficiency.
Conclusion
In conclusion, the process of inserting a SIM card into your iPhone is a fundamental aspect of device setup and maintenance, essential for establishing seamless connectivity and harnessing the full potential of your device's cellular capabilities. By following the step-by-step guide outlined in this article, you have gained valuable insights into the meticulous process of managing your iPhone's SIM card with precision and expertise.
Understanding the significance of locating the SIM card tray, ejecting the tray, inserting the SIM card, and replacing the tray empowers you to navigate this essential aspect of device maintenance with confidence. By familiarizing yourself with the intricacies of this process, you are well-equipped to manage your device's connectivity needs with ease and efficiency.
The careful alignment and insertion of the SIM card into the designated compartment within the SIM card tray underscore your commitment to ensuring optimal functionality and connectivity for your iPhone. By approaching this task with delicacy and precision, you have demonstrated your ability to manage your device with expertise and proficiency.
As you conclude the SIM card insertion process, take a moment to appreciate the meticulous attention to detail and precision that this task demands. Your commitment to managing your iPhone's SIM card with care and expertise reflects your dedication to optimizing your device's functionality and connectivity.
With the SIM card securely inserted and the tray seamlessly replaced, your iPhone is now fully equipped to establish and maintain seamless communication, enabling you to make calls, send texts, and access mobile data with ease. This seamless process positions your device for optimal performance, empowering you to navigate the intricacies of SIM card management with confidence and proficiency.
By mastering the art of inserting a SIM card into your iPhone, you have taken a significant step toward unlocking the full potential of your device, ensuring that it remains a reliable and indispensable tool for communication and connectivity. Your commitment to mastering this essential aspect of device management reflects your dedication to maximizing the utility and functionality of your iPhone.
In conclusion, the process of inserting a SIM card into your iPhone is a testament to your ability to manage your device with precision and expertise, ensuring that it remains a reliable and indispensable tool for seamless communication and connectivity.


