Introduction
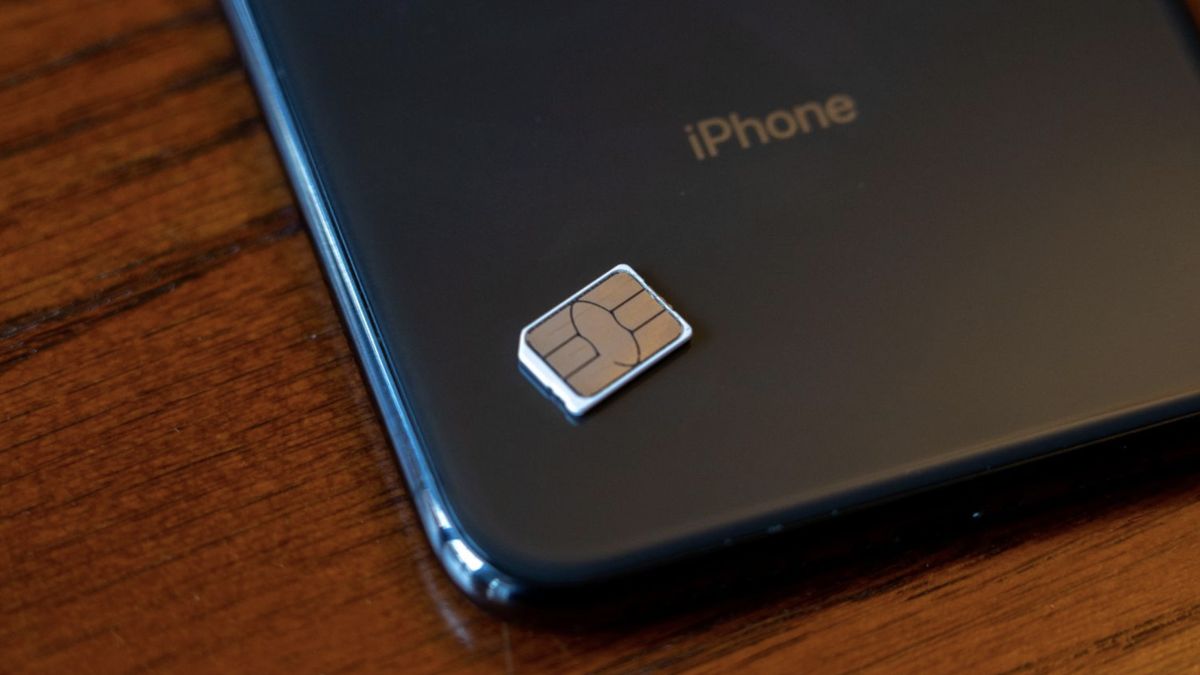
The iPhone 12 is a remarkable piece of technology, offering a seamless blend of cutting-edge features and sleek design. One of the essential tasks when setting up your new iPhone 12 is inserting the SIM card. The SIM card is a small, removable card that stores your mobile account information and allows you to connect to your cellular network. Without it, your iPhone 12 will not be able to make calls, send texts, or access mobile data.
In this guide, we'll walk you through the process of inserting a SIM card into your iPhone 12, ensuring that you can seamlessly activate your device and enjoy all its features. Whether you're setting up a new iPhone 12 or switching to a new SIM card, this step-by-step guide will provide you with the knowledge and confidence to complete the task effortlessly.
The process of inserting a SIM card into your iPhone 12 is relatively straightforward, but it's essential to follow the correct steps to avoid any potential issues. By the end of this guide, you'll have a clear understanding of how to locate the SIM card tray, eject it, insert the SIM card, and reinsert the tray, allowing you to activate your iPhone 12 and stay connected wherever you go.
Now, let's dive into the step-by-step process of inserting a SIM card into your iPhone 12, ensuring that you can seamlessly activate your device and enjoy all its features.
Step 1: Locate the SIM Card Tray
The first step in the process of inserting a SIM card into your iPhone 12 is to locate the SIM card tray. The SIM card tray is a small, rectangular slot typically found on the right-hand side of the device. It is important to note that the exact location of the SIM card tray may vary slightly depending on the specific model of the iPhone 12, but it is generally located along the right edge of the device.
To locate the SIM card tray, gently examine the right-hand side of your iPhone 12, feeling for a small indentation or slot. Once you have located the SIM card tray, you will notice a small pinhole adjacent to it. This pinhole is used to eject the SIM card tray and access the SIM card slot.
It's important to handle your iPhone 12 with care during this process, ensuring that you are gentle and deliberate in your actions. Taking a moment to familiarize yourself with the location of the SIM card tray will make the subsequent steps of the process much smoother and more efficient.
By locating the SIM card tray, you have completed the first crucial step in the process of inserting a SIM card into your iPhone 12. This initial step sets the stage for the subsequent actions of ejecting the SIM card tray, inserting the SIM card, and reinserting the tray. With the SIM card tray now identified, you are ready to proceed to the next step with confidence and precision.
Step 2: Eject the SIM Card Tray
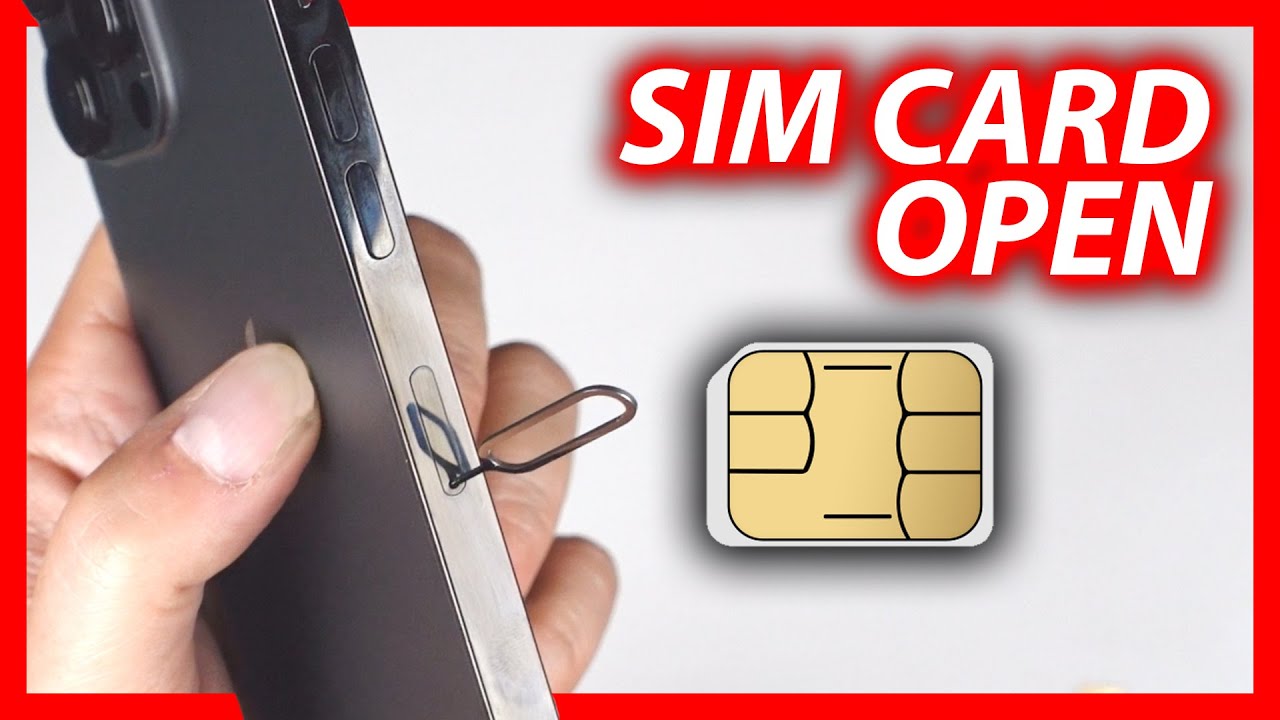
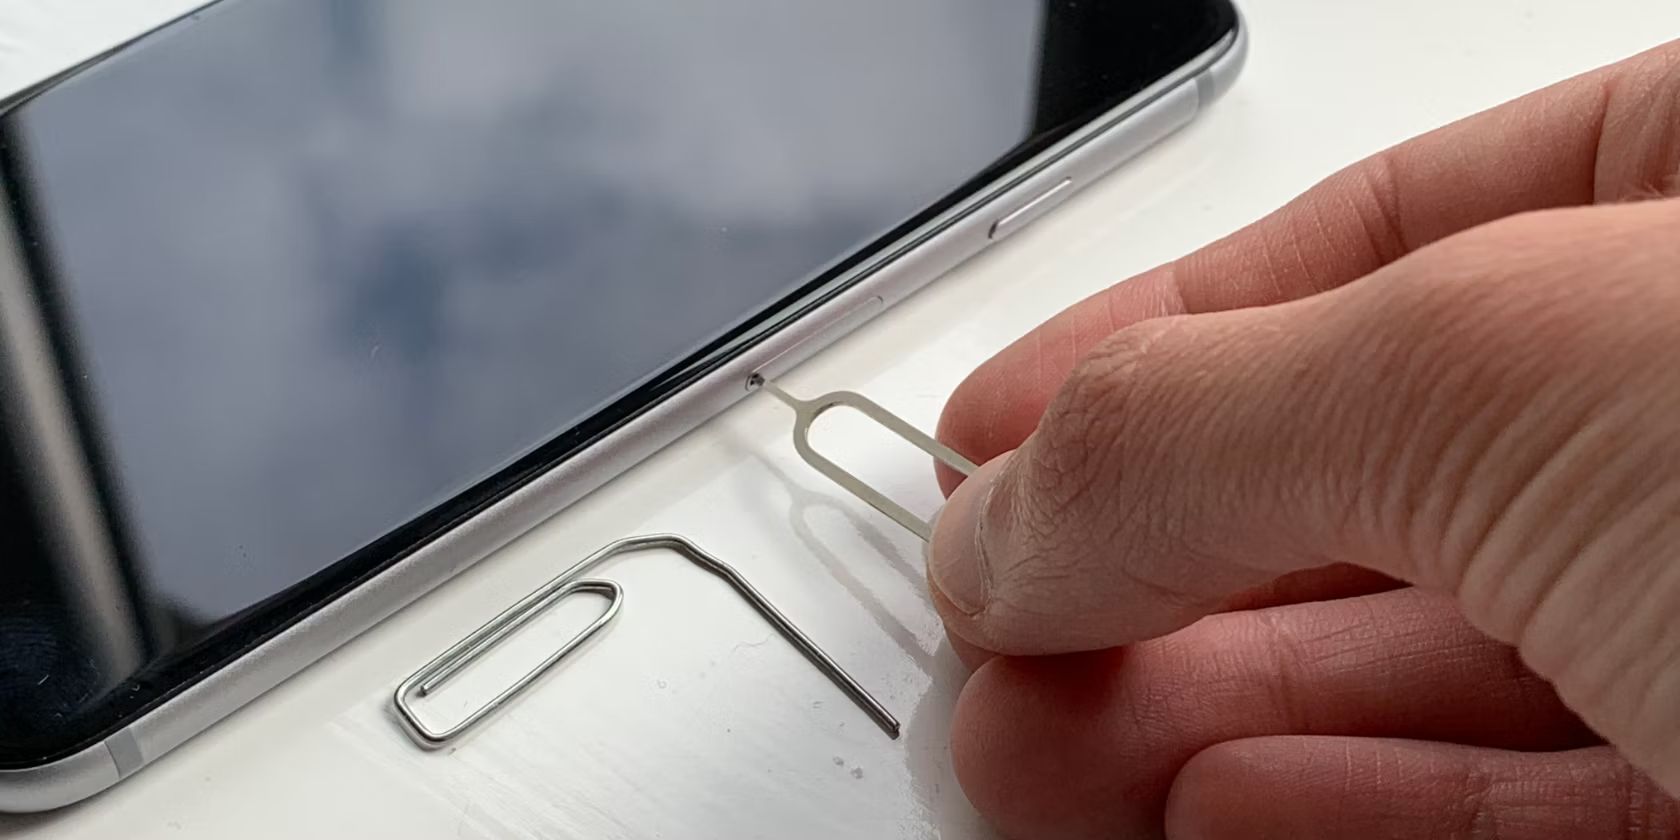
Ejecting the SIM card tray is a crucial step in the process of setting up your iPhone 12. This action allows you to access the SIM card slot and prepare it for the insertion of your SIM card. To eject the SIM card tray, you will need to use the SIM eject tool that comes with your iPhone 12 or a suitable alternative, such as a small paperclip.
Start by locating the small pinhole adjacent to the SIM card tray on the right-hand side of your iPhone 12. This pinhole is designed to accommodate the SIM eject tool and facilitate the ejection of the tray. Gently insert the SIM eject tool or unfolded paperclip into the pinhole, applying light pressure to engage the internal mechanism.
As you apply pressure to the pinhole, you will feel a slight resistance, indicating that the internal mechanism has been activated. Continue to exert gentle pressure until the SIM card tray begins to protrude from the device. Once the tray is partially ejected, carefully grasp it and slide it out of the iPhone 12, taking care to avoid applying excessive force or causing any damage to the tray or the device.
It's important to handle the SIM card tray with care, as it is a delicate component of your iPhone 12. Avoid bending or twisting the tray, and be mindful of the orientation in which it is removed from the device. By ejecting the SIM card tray in a controlled and deliberate manner, you can ensure that it remains in optimal condition and ready for the next step of the process.
With the SIM card tray successfully ejected, you have completed an essential stage in the process of inserting a SIM card into your iPhone 12. This action sets the stage for the subsequent step of inserting the SIM card into the tray, allowing you to seamlessly activate your device and enjoy the full range of its capabilities.
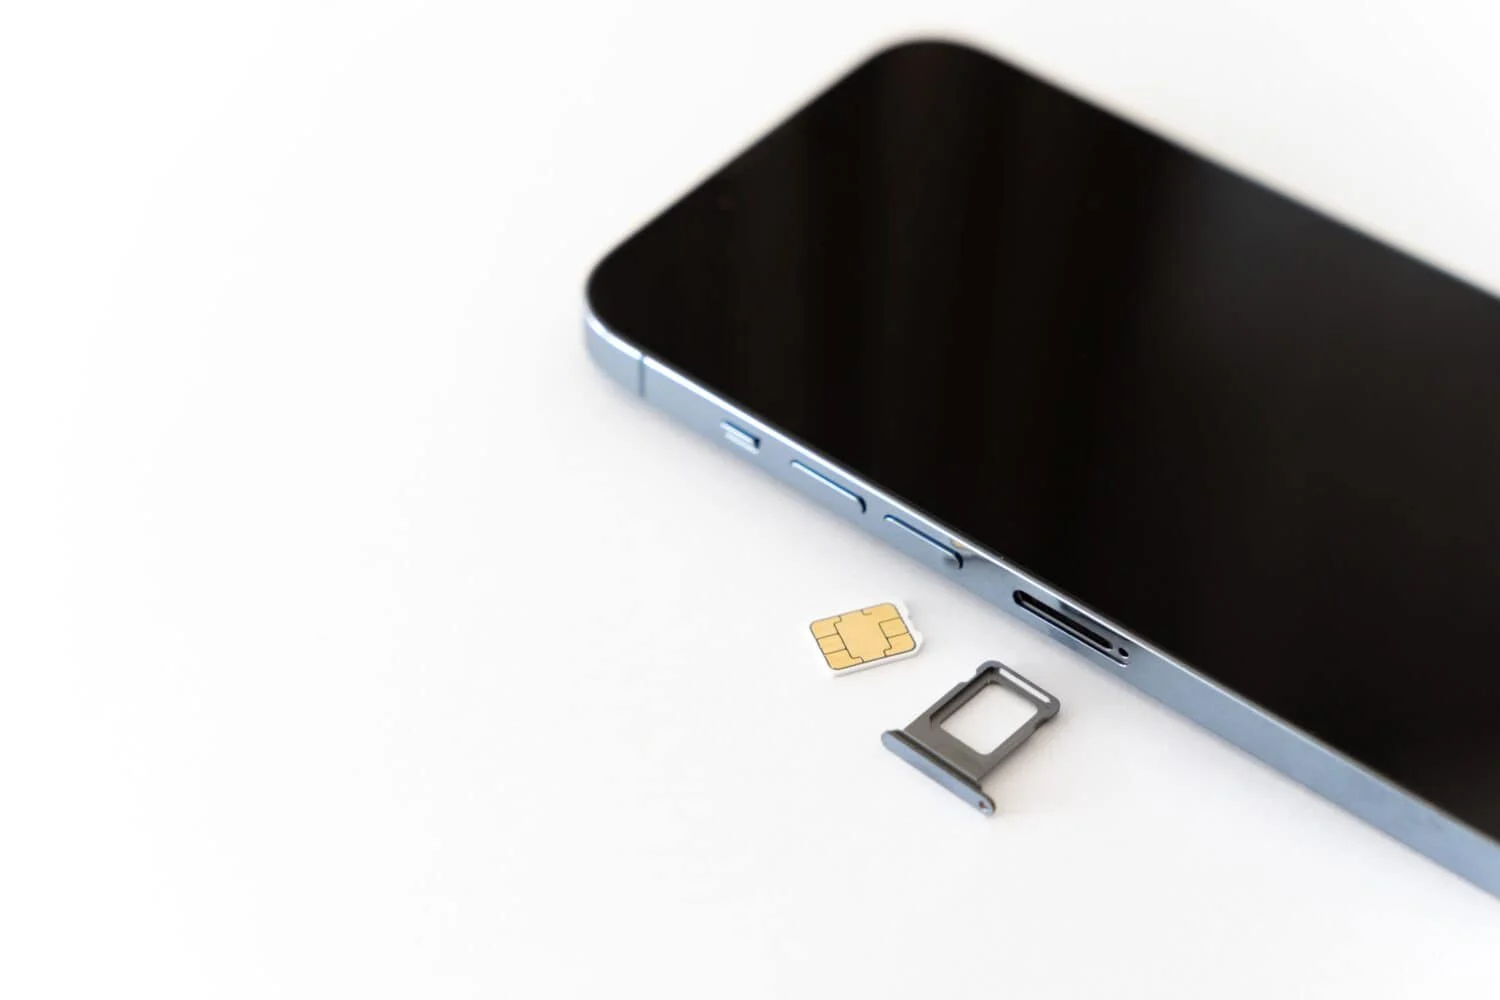
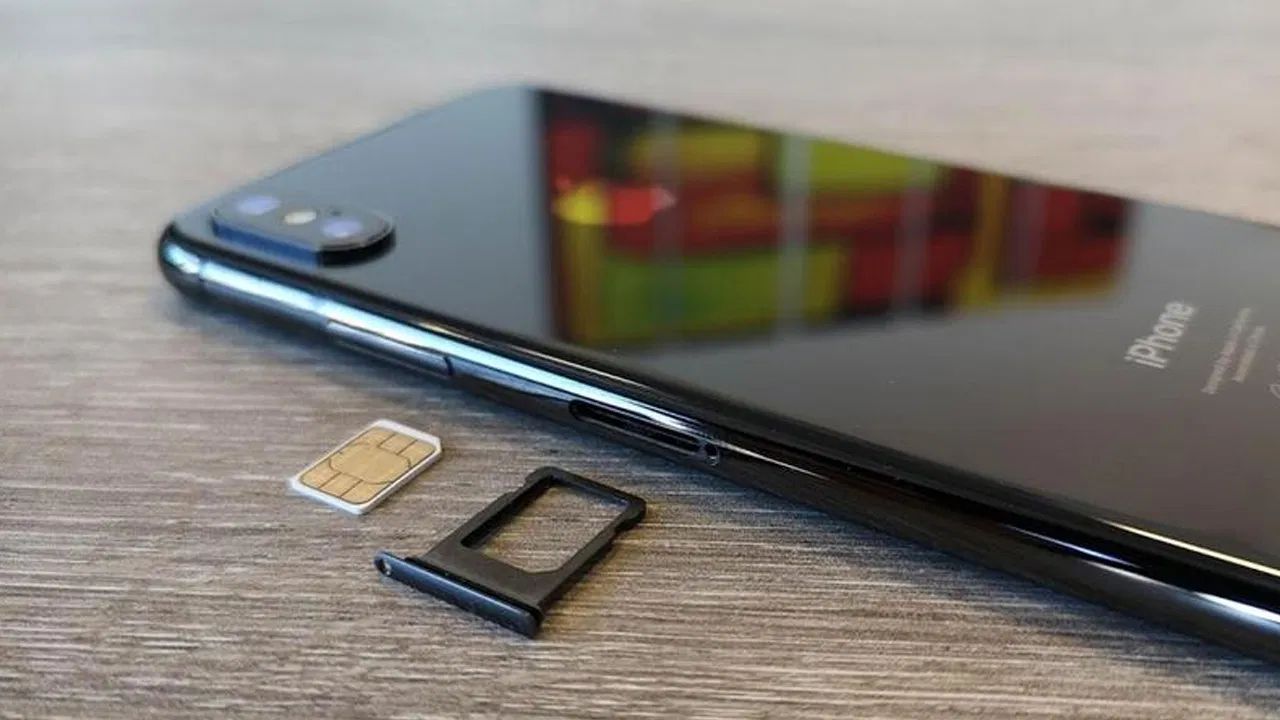
Step 3: Insert the SIM Card
With the SIM card tray ejected from your iPhone 12, you are now ready to proceed with the next crucial step: inserting the SIM card. Before you begin, take a moment to inspect the SIM card tray and the SIM card itself. The SIM card tray will have a designated area where the SIM card should be placed, typically with a small diagram indicating the correct orientation. Additionally, the SIM card will have a notched corner, ensuring that it can only be inserted in one direction.
Carefully remove the SIM card from its packaging, handling it by the edges to avoid any contact with the metal contacts or delicate circuitry. Take note of the notched corner on the SIM card, as this will align with the corresponding notch in the SIM card tray. Position the SIM card in the designated area of the tray, ensuring that it fits snugly and aligns with the outlined diagram.
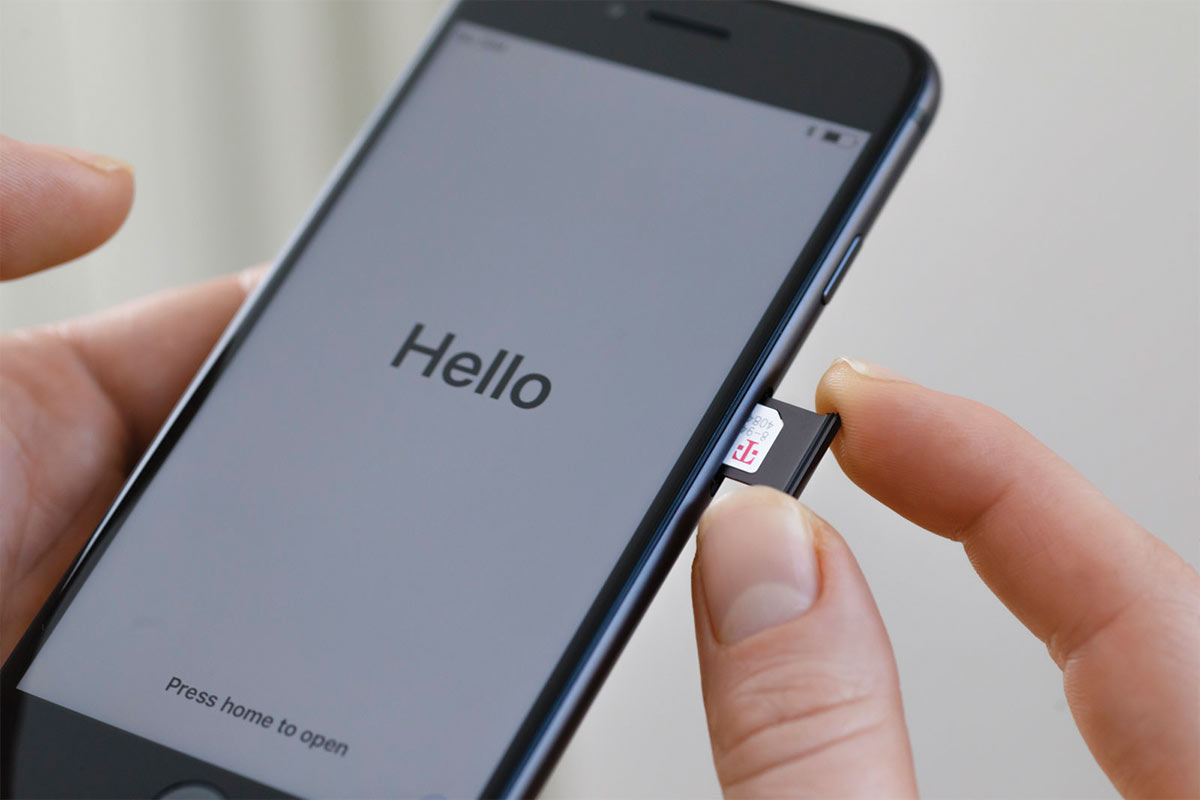
Once the SIM card is correctly positioned in the tray, gently lower it back into the SIM card slot on your iPhone 12. Ensure that the tray slides smoothly into place, without any resistance or obstruction. It's important to handle the tray and SIM card with care during this process, avoiding any sudden movements or jolts that could dislodge the SIM card from its designated position.
As the SIM card tray is reinserted into your iPhone 12, you may feel a subtle click, indicating that it has securely returned to its original position. This confirms that the SIM card is now in place and ready to be activated. With the SIM card successfully inserted into your iPhone 12, you have completed a critical step in the setup process, bringing you one step closer to enjoying the full functionality of your device.
By following these steps with precision and attention to detail, you can ensure that the SIM card is securely and correctly inserted, allowing you to activate your iPhone 12 and stay connected to your mobile network. With the SIM card in place, your iPhone 12 is ready to be powered on and configured, marking a significant milestone in your journey to unlock the full potential of this remarkable device.
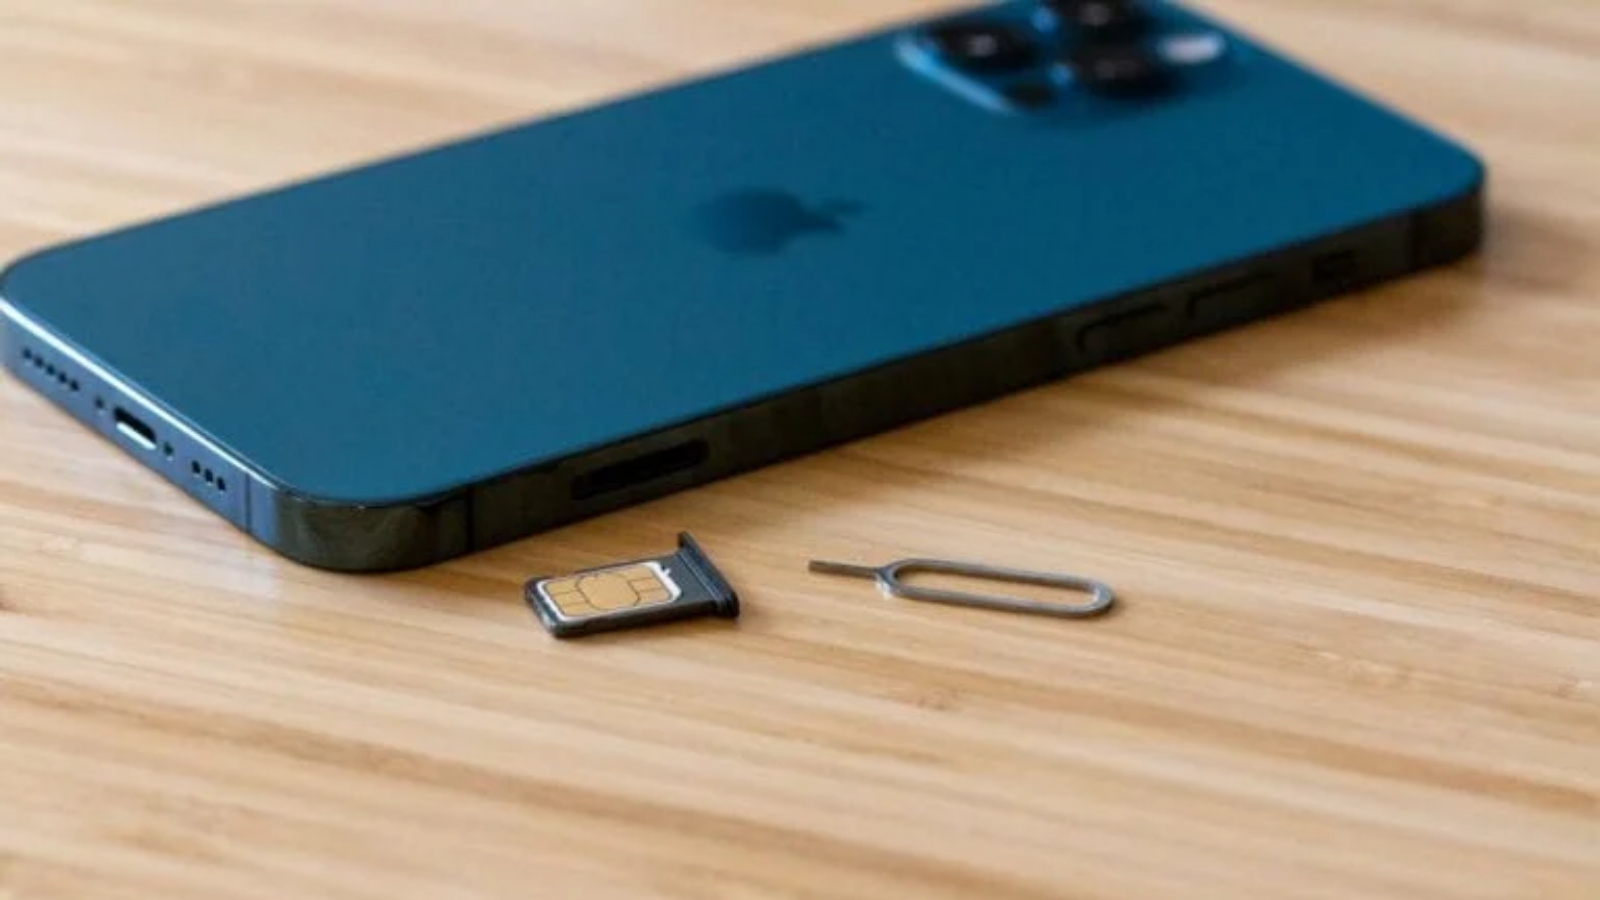
Step 4: Reinsert the SIM Card Tray
Now that the SIM card is securely inserted into your iPhone 12, the final step is to reinsert the SIM card tray. This step is crucial to ensure that the SIM card remains in its designated position and that the tray is securely placed within the device.
Begin by carefully aligning the SIM card tray with the SIM card slot on the right-hand side of your iPhone 12. Take note of the orientation of the tray, ensuring that it is positioned correctly to slide back into place without any resistance. It's essential to approach this step with precision, as any misalignment or forceful insertion could potentially damage the tray or the device.
Once the SIM card tray is correctly aligned with the slot, gently slide it back into the iPhone 12, applying even pressure to ensure a smooth and secure insertion. As the tray reenters the device, you may feel a subtle resistance before it seamlessly slots into place. It's important to proceed with caution, avoiding any sudden or forceful movements that could disrupt the positioning of the tray.
Upon successful reinsertion, the SIM card tray should sit flush with the edge of your iPhone 12, blending seamlessly with the device's sleek design. Take a moment to inspect the tray, ensuring that it is fully and securely inserted, with no protrusions or misalignments. This visual confirmation provides assurance that the SIM card is protected and that the device is ready for activation.
With the SIM card tray securely reinserted into your iPhone 12, you have completed the final step in the process of inserting a SIM card, bringing you closer to activating and utilizing your device to its full potential. This step marks the culmination of a meticulous and precise process, ensuring that your SIM card is securely in place and ready to connect you to your mobile network.
By following these steps with care and attention to detail, you have successfully completed the process of inserting a SIM card into your iPhone 12. With the SIM card securely in place and the tray reinserted, you are now ready to power on your device, activate your mobile account, and embark on an exciting journey with your iPhone 12.
Conclusion
Congratulations! You have successfully completed the process of inserting a SIM card into your iPhone 12. By following the step-by-step guide provided in this article, you have gained the knowledge and confidence to navigate this essential aspect of setting up your device.
The seamless integration of the SIM card into your iPhone 12 paves the way for you to activate your device, connect to your mobile network, and unlock its full range of capabilities. Whether you are setting up a new iPhone 12 or transitioning to a new SIM card, this process is a fundamental step in ensuring that your device is ready to keep you connected and empowered in the digital world.
As you power on your iPhone 12, you can look forward to experiencing its advanced features, seamless connectivity, and exceptional performance. From making calls and sending texts to accessing mobile data and utilizing a wide range of apps, your iPhone 12 is poised to become an indispensable companion in your daily life.
The successful insertion of the SIM card not only enables the functionality of your device but also symbolizes the beginning of a new chapter with your iPhone 12. As you embark on this journey, you can take pride in your ability to navigate the setup process with precision and confidence, setting the stage for a seamless and rewarding user experience.
With the SIM card securely in place and the tray reinserted, your iPhone 12 is now ready to accompany you on your daily adventures, keeping you connected, informed, and entertained. Whether you're communicating with loved ones, staying productive on the go, or capturing memorable moments with the device's impressive camera capabilities, your iPhone 12 is poised to elevate your digital lifestyle.
As you immerse yourself in the world of possibilities that your iPhone 12 offers, remember the foundational step of inserting the SIM card—a task that you have completed with finesse and proficiency. This accomplishment reflects your ability to embrace new technology and seamlessly integrate it into your life, setting the stage for a seamless and enriching experience with your iPhone 12.
Now, with your iPhone 12 activated and ready to go, it's time to explore all the incredible features and functionalities that this exceptional device has to offer. Whether you're a seasoned iPhone user or embarking on this journey for the first time, the successful insertion of the SIM card marks the beginning of an exciting and fulfilling relationship with your iPhone 12.
Welcome to the world of possibilities with your iPhone 12, where seamless connectivity, innovative features, and unparalleled performance await you. Enjoy your journey with this remarkable device, knowing that you have mastered the essential task of inserting a SIM card, setting the stage for a seamless and rewarding experience.