Introduction
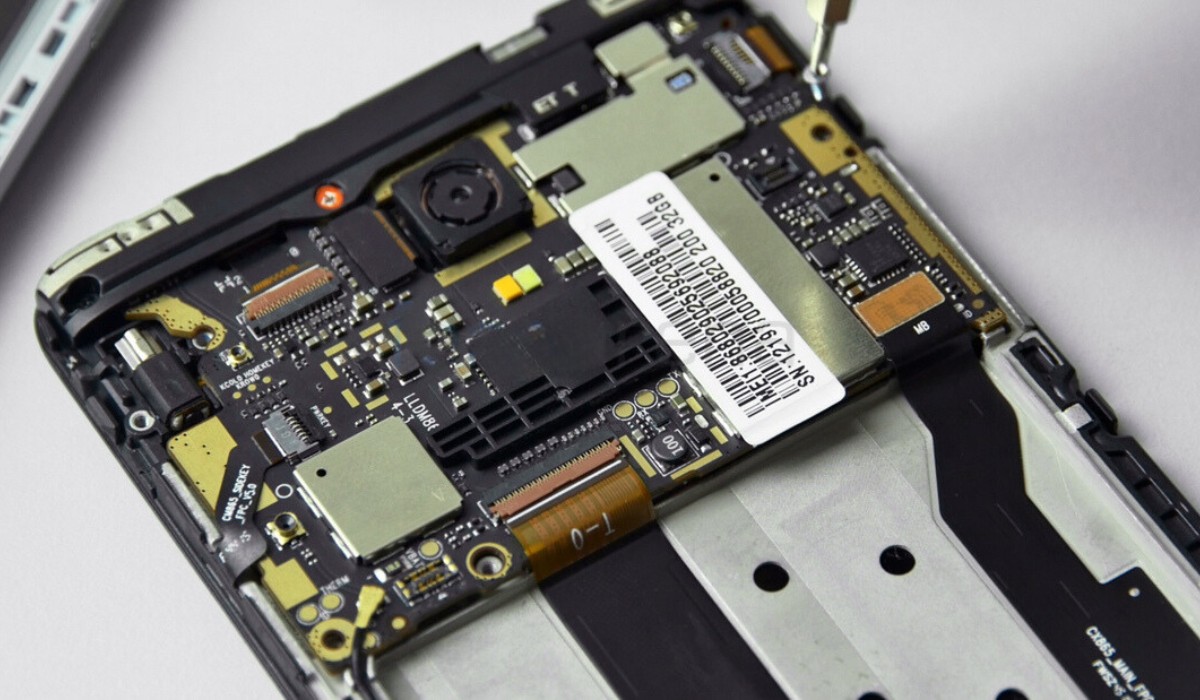
Rooting your Redmi Note 5 can unlock a world of possibilities, allowing you to customize your device, access advanced features, and optimize its performance. By gaining root access, you can take full control of your device, installing custom ROMs, removing bloatware, and enhancing its overall functionality. However, it's crucial to approach this process with caution and follow the necessary steps to ensure a smooth and successful rooting experience.
In this comprehensive guide, we will walk you through the essential steps to root your Redmi Note 5 safely and effectively. From enabling Developer Options to installing TWRP recovery and finally rooting your device, each step is carefully outlined to provide you with a clear and straightforward path to achieving root access. Whether you're a seasoned tech enthusiast or a novice looking to explore the world of Android customization, this guide is designed to equip you with the knowledge and confidence to embark on this exciting journey.
With a focus on simplicity and clarity, this guide aims to demystify the rooting process, empowering you to make informed decisions and take control of your device's capabilities. By following these easy steps, you can unleash the full potential of your Redmi Note 5, opening up a realm of customization options and performance enhancements. So, without further ado, let's dive into the first step: enabling Developer Options.
Step 1: Enable Developer Options
Enabling Developer Options is the initial step towards unlocking the full potential of your Redmi Note 5. This feature grants you access to advanced settings and debugging tools, essential for various customization and optimization tasks. Here's how you can enable Developer Options on your device:
-
Access Settings: Begin by navigating to the "Settings" app on your Redmi Note 5. This can typically be found in the app drawer or by swiping down from the top of the screen and tapping the gear icon.
-
About Phone: Scroll down within the "Settings" menu and locate the "About phone" option. Tap on it to proceed to the next step.
-
Build Number: Within the "About phone" section, find the "Build number" entry. You will need to tap on this specific entry multiple times. As you do so, you will notice a message indicating your progress towards enabling Developer Options.
-
Enter PIN/Password: Depending on your device's security settings, you may be prompted to enter your PIN, password, or pattern to confirm your action. This is a security measure to prevent unauthorized access to sensitive developer settings.
-
Developer Options Enabled: After tapping the "Build number" several times and authenticating your action, you will receive a message confirming that Developer Options have been enabled on your Redmi Note 5.
Enabling Developer Options grants you access to a plethora of advanced settings, including USB debugging, OEM unlocking, and various debugging tools that are instrumental in the rooting process. By following these simple steps, you have successfully unlocked the gateway to a realm of advanced customization and optimization features for your Redmi Note 5.
With Developer Options now accessible, you are ready to proceed to the next step in the rooting process: unlocking the bootloader. This pivotal step will pave the way for installing custom recovery and ultimately gaining root access to your device. Let's move on to Step 2 and delve into the process of unlocking the bootloader, a crucial prerequisite for further customization and enhancement of your Redmi Note 5.
Step 2: Unlock Bootloader
Unlocking the bootloader is a pivotal step in the process of rooting your Redmi Note 5. The bootloader acts as a security feature that prevents unauthorized system modifications, and unlocking it grants you the freedom to install custom recovery and gain root access. However, it's important to note that unlocking the bootloader will erase all data on your device, so it's crucial to back up any important files before proceeding.
Here's a detailed guide on how to unlock the bootloader of your Redmi Note 5:
-
Backup Your Data: Before initiating the bootloader unlocking process, ensure that all your important data, including photos, videos, documents, and app data, is securely backed up. This can be done by transferring files to an external storage device or utilizing cloud-based backup services.
-
Enable Developer Options: As outlined in the previous step, ensure that Developer Options are enabled on your device. This is a prerequisite for unlocking the bootloader and accessing advanced developer settings.
-
Access Developer Options: Once Developer Options are enabled, navigate to the "Settings" app on your Redmi Note 5. Scroll down and select "Developer Options" to proceed.
-
Enable OEM Unlocking: Within the Developer Options menu, locate the "OEM unlocking" option and toggle it to enable this feature. This step is essential for granting permission to unlock the bootloader.
-
Enable USB Debugging: While still in the Developer Options menu, find the "USB debugging" option and enable it. This setting allows your device to communicate with your computer when performing advanced operations.
-
Power Off Your Device: Turn off your Redmi Note 5 completely. Once powered off, you will need to boot into Fastboot mode, also known as bootloader mode.
-
Boot into Fastboot Mode: Press and hold the Volume Down and Power buttons simultaneously until the Fastboot logo appears on the screen. This signifies that your device has successfully entered Fastboot mode.
-
Connect Your Device to Your Computer: Use a USB cable to connect your Redmi Note 5 to your computer. Ensure that the necessary USB drivers are installed on your computer to facilitate the connection.
-
Open Command Prompt or Terminal: On your computer, open Command Prompt (Windows) or Terminal (macOS/Linux) and navigate to the directory where the ADB and Fastboot tools are located.
-
Unlock the Bootloader: In the Command Prompt or Terminal, enter the following command to initiate the bootloader unlocking process:
fastboot oem unlock
-
Confirm Unlocking: A confirmation prompt will appear on your device's screen. Use the volume keys to navigate and the power button to confirm the bootloader unlocking process. This action will erase all data on your device and unlock the bootloader.
-
Reboot Your Device: Once the bootloader unlocking process is complete, reboot your Redmi Note 5 by entering the following command in the Command Prompt or Terminal:
fastboot reboot
By following these detailed steps, you have successfully unlocked the bootloader of your Redmi Note 5, laying the groundwork for the next phase of the rooting process. With the bootloader now unlocked, you are ready to proceed to Step 3 and install TWRP recovery, a crucial component that will enable you to root your device and explore a wide range of customization options. Let's move forward with confidence and continue our journey towards unlocking the full potential of your Redmi Note 5.
Step 3: Install TWRP Recovery
Installing TWRP (Team Win Recovery Project) recovery is a critical step in the process of rooting your Redmi Note 5. TWRP is a custom recovery that offers a range of advanced features, including the ability to flash custom ROMs, create and restore backups, and perform system-level modifications. By installing TWRP recovery on your device, you gain a powerful tool that facilitates the rooting process and opens up a world of customization options.
Here's a comprehensive guide on how to install TWRP recovery on your Redmi Note 5:
-
Download TWRP Image: Begin by downloading the TWRP recovery image specifically designed for the Redmi Note 5. Ensure that you download the correct version to avoid compatibility issues.
-
Enable USB Debugging: As outlined in the previous steps, ensure that USB debugging is enabled in the Developer Options menu on your device. This setting allows your device to communicate with your computer during the installation process.
-
Connect Your Device to Your Computer: Use a USB cable to connect your Redmi Note 5 to your computer. Ensure that the necessary USB drivers are installed to establish a stable connection.
-
Open Command Prompt or Terminal: On your computer, open Command Prompt (Windows) or Terminal (macOS/Linux) and navigate to the directory where the ADB and Fastboot tools are located.
-
Boot into Fastboot Mode: Power off your device and boot into Fastboot mode by pressing and holding the Volume Down and Power buttons simultaneously.
-
Flash TWRP Recovery: In the Command Prompt or Terminal, enter the following command to flash the TWRP recovery image to your device:
fastboot flash recovery <twrp_filename.img>
Replace
<twrp_filename.img>with the actual filename of the TWRP recovery image you downloaded. -
Reboot into Recovery: Once the TWRP recovery image is successfully flashed, reboot your device into recovery mode by entering the following command in the Command Prompt or Terminal:
fastboot boot <twrp_filename.img>
Again, replace
<twrp_filename.img>with the actual filename of the TWRP recovery image.
By following these detailed steps, you have successfully installed TWRP recovery on your Redmi Note 5, setting the stage for the final step in the rooting process: gaining root access. With TWRP recovery now in place, you are well-equipped to explore the full potential of your device and embark on a journey of customization and optimization. Let's proceed to the next step and root your Redmi Note 5, unlocking a realm of possibilities for enhancing your Android experience.
Step 4: Root Redmi Note 5
Rooting your Redmi Note 5 is the final step in unlocking the full potential of your device, granting you elevated privileges and control over its operating system. By gaining root access, you can delve into advanced customization, optimize performance, and explore a myriad of powerful apps and features that are otherwise inaccessible. However, it's important to approach the rooting process with caution and follow the necessary steps to ensure a smooth and successful experience.
Here's a detailed guide on how to root your Redmi Note 5 using the TWRP recovery:
-
Download the Root Package: Begin by downloading the appropriate root package for your Redmi Note 5. Ensure that you select a trusted source to obtain the root package, as using an incorrect or unreliable file can lead to potential issues with your device.
-
Transfer the Root Package: Once the root package is downloaded, transfer it to the internal storage of your Redmi Note 5. This can be done by connecting your device to your computer via USB and copying the root package to a location easily accessible from the TWRP recovery.
-
Boot into TWRP Recovery: Power off your device and boot into TWRP recovery mode by pressing and holding the Volume Up and Power buttons simultaneously. This will launch the TWRP recovery interface, providing you with advanced options for system modifications.
-
Flash the Root Package: Within the TWRP recovery interface, navigate to the location where you transferred the root package. Select the root package file and swipe to confirm the flash. This will initiate the rooting process, granting you root access to your Redmi Note 5.
-
Reboot Your Device: Once the root package is successfully flashed, reboot your Redmi Note 5 by selecting the "Reboot" option within the TWRP recovery menu. Your device will now reboot with root privileges enabled.
By following these steps, you have successfully rooted your Redmi Note 5, unlocking a realm of possibilities for customization and optimization. With root access, you can now explore advanced customization options, install powerful root-specific apps, and optimize your device's performance to suit your preferences. It's important to exercise caution when making system-level modifications and to always research and understand the implications of root access on your device. With root access now achieved, you are empowered to personalize and enhance your Redmi Note 5 according to your unique preferences and requirements.
Conclusion
Congratulations! By following the easy steps outlined in this comprehensive guide, you have successfully rooted your Redmi Note 5, unlocking a world of possibilities and customization options. Rooting your device grants you elevated privileges and control over its operating system, allowing you to optimize performance, install custom ROMs, and explore a myriad of powerful apps and features that are otherwise inaccessible.
It's important to recognize that with great power comes great responsibility. Root access provides you with the freedom to make deep-level modifications to your device, but it also carries inherent risks. It's crucial to exercise caution and thoroughly research any modifications or apps you intend to install, as improper use of root access can potentially compromise the stability and security of your device.
As you embark on your journey with a rooted Redmi Note 5, consider exploring the diverse range of root-specific apps and customization options available. From advanced system tweaking tools to powerful backup and restore utilities, the root community offers a wealth of resources to enhance your Android experience.
Furthermore, staying informed about the latest developments in the Android rooting scene can provide valuable insights into new customization options, security considerations, and best practices for managing root access. Engaging with the vibrant community of Android enthusiasts and developers can also offer valuable support and guidance as you navigate the realm of rooted devices.
Remember, rooting your device is just the beginning of a dynamic and personalized Android experience. Embrace the freedom to tailor your device to your unique preferences, and enjoy the journey of discovering new ways to optimize and customize your Redmi Note 5.
With root access, you have the power to transform your device into a personalized powerhouse, tailored to suit your individual needs and preferences. As you explore the myriad of possibilities that root access unlocks, always approach system modifications with a mindful and informed mindset, ensuring that your device remains secure and stable throughout your customization endeavors.
Rooting your Redmi Note 5 opens the door to a world of customization, optimization, and innovation. Embrace this newfound freedom responsibly, and enjoy the boundless potential that comes with having full control over your Android device.