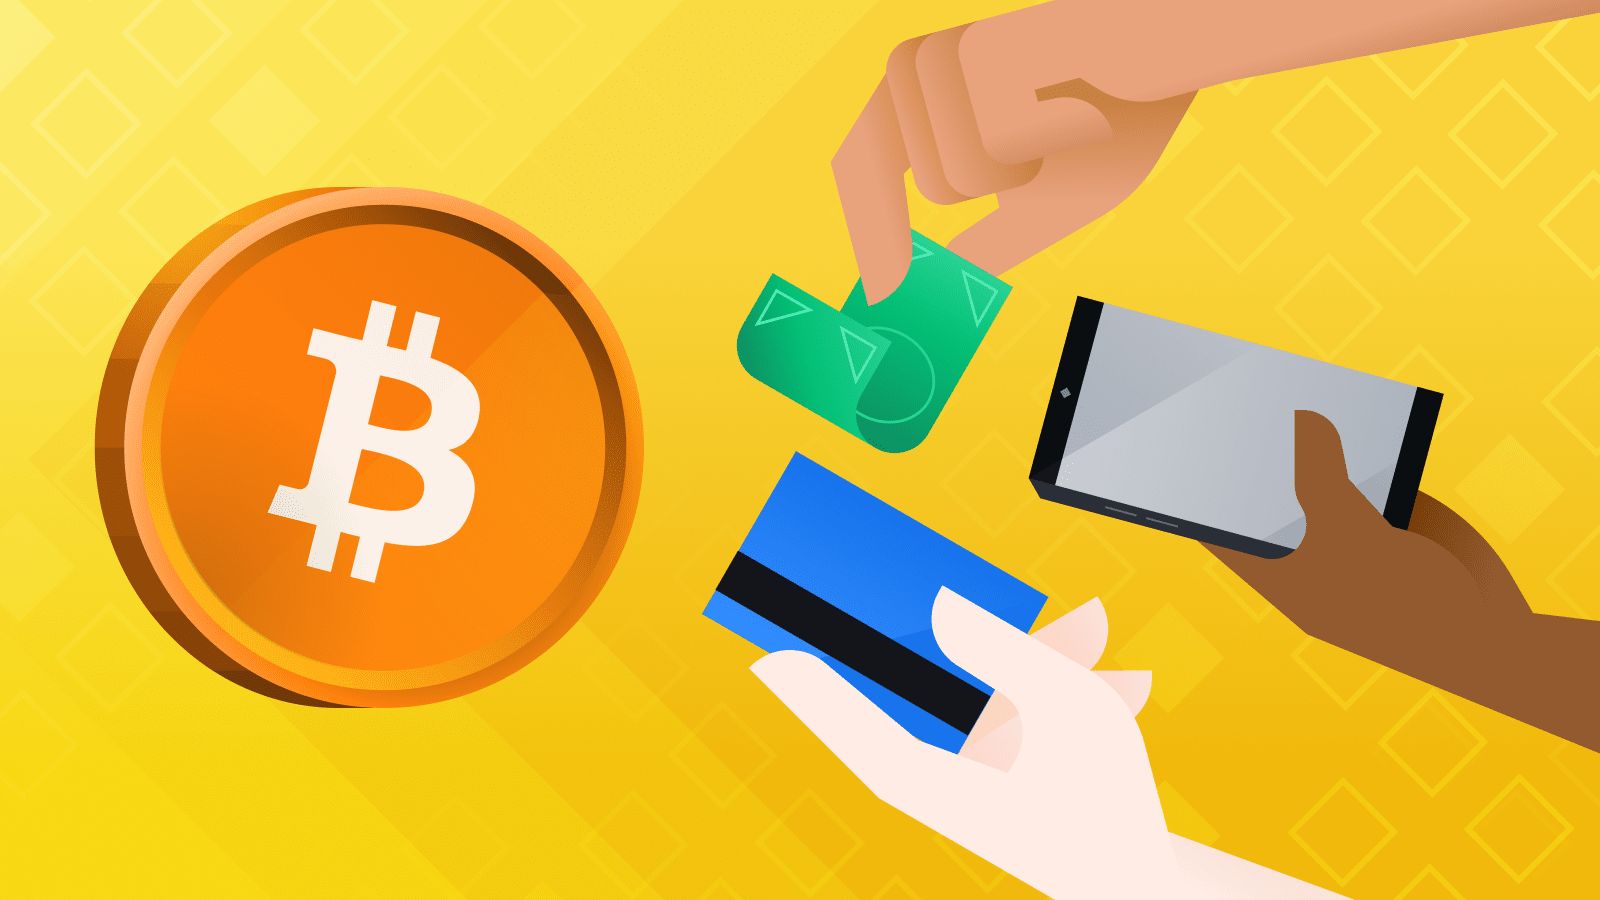
Introduction
Welcome to the world of cryptocurrencies, where transactions happen digitally and securely. In this article, we will guide you through the process of sending Bitcoin on the Blockchain platform, one of the most popular and trusted cryptocurrency networks. Whether you are a beginner or an experienced user, this step-by-step guide will help you navigate through the process smoothly.
Blockchain technology revolutionized the financial industry by introducing decentralized and transparent systems. Bitcoin, the pioneering cryptocurrency, relies on blockchain technology to enable peer-to-peer transactions without the need for intermediaries. By understanding how to send Bitcoin on the Blockchain platform, you can take full advantage of the benefits that cryptocurrencies offer.
Before we dive into the details, it’s important to note that you will need a Blockchain wallet to send Bitcoin. This wallet serves as your digital vault where you can store, manage, and send your cryptocurrency. If you don’t have a wallet yet, don’t worry; we will cover the process of creating one in the next section.
Additionally, it’s crucial to have a basic understanding of the recipient’s Bitcoin address. Similar to an email address, a Bitcoin address is a unique identifier that allows you to send Bitcoin to the intended recipient securely. Make sure you have the correct address before initiating a transaction to avoid any mistakes.
Now that you have a general overview of what to expect, let’s move on to the requirements you need to fulfill before sending Bitcoin on the Blockchain platform. Once you have everything in place, we will walk you through the step-by-step process to ensure a successful transaction. Let’s get started!
Requirements
Before you can send Bitcoin on the Blockchain platform, there are a few prerequisites you need to fulfill. Here are the essential requirements:
- Internet Connection: Ensure that you have a stable internet connection to access the Blockchain platform and complete the transaction.
- Blockchain Wallet: To send Bitcoin, you will need a Blockchain wallet. If you don’t have one, you can create a free account on the Blockchain website or download the Blockchain mobile app.
- Sufficient Bitcoin Balance: Make sure you have enough Bitcoin in your wallet to cover the amount you want to send, including any transaction fees.
- Recipient’s Bitcoin Address: Obtain the accurate and valid Bitcoin address of the intended recipient. Double-check the address to prevent any errors or potential loss of funds.
- Knowledge of Transaction Fees: Familiarize yourself with the transaction fees associated with sending Bitcoin. These fees are necessary to incentivize miners on the network and ensure timely confirmation of your transaction.
- Security Measures: Ensure that you have taken appropriate security measures to safeguard your Blockchain wallet and protect it from unauthorized access. This may include using a strong password, enabling two-factor authentication, and properly securing your private keys.
By fulfilling these requirements, you will have the necessary foundation for sending Bitcoin securely on the Blockchain platform. Now that you have everything ready, let’s proceed to the step-by-step process of sending Bitcoin on Blockchain. Keep in mind that the process may vary slightly depending on whether you’re using the web-based platform or the mobile app, but the general steps remain the same.
Step 1: Creating a Blockchain Wallet
To send Bitcoin on the Blockchain platform, you will need a wallet to store and manage your digital assets. Creating a Blockchain wallet is simple and straightforward. Follow these steps:
- Visit the Blockchain Website or Download the App: Go to the official Blockchain website (www.blockchain.com) or download the Blockchain mobile app from your device’s app store.
- Create a New Wallet: On the website, click on the “Get Started” button or select the option to “Create a New Wallet” on the app. Fill in the required information, including your email address and a secure password. Make sure to choose a strong password that is unique and not easily guessable.
- Verify Your Email: After completing the registration, check your email for a verification link sent by Blockchain. Click on the link to verify your email address and activate your wallet.
- Secure Your Wallet: Set up additional security measures to protect your wallet. It is highly recommended to enable two-factor authentication (2FA) for an extra layer of security. This may involve linking your mobile phone or a 2FA app to your wallet.
- Backup Your Wallet: Create a backup of your wallet’s recovery phrase or seed phrase. This recovery phrase consists of a series of words that you can use to restore your wallet in case of loss or device failure. Write it down and store it in a safe and secure place.
By following these steps, you will have successfully created a Blockchain wallet. This wallet will serve as your digital hub for managing your Bitcoin and other cryptocurrencies. Now that your wallet is set up, it’s time to fund it with Bitcoin.
Step 2: Funding Your Wallet
Before you can send Bitcoin on the Blockchain platform, you need to ensure that your wallet has enough funds. Follow these steps to fund your wallet:
- Access Your Blockchain Wallet: Sign in to your Blockchain wallet using your registered email address and password. If you are using the mobile app, open the app on your device.
- Locate the Receive Option: In the dashboard or main menu of your wallet, look for the option to receive Bitcoin. On the web-based platform, it is usually labeled as “Receive” or represented by a QR code icon. On the mobile app, you may find it in the navigation menu or on the homepage.
- Generate a Receiving Address: Click on the “Receive” option to generate a Bitcoin receiving address. This address is a unique identifier that you can share with others to receive funds. You can also use the QR code provided to share the address.
- Share the Receiving Address: Share the generated Bitcoin receiving address with the individual or exchange from which you want to receive Bitcoin. Make sure to provide the correct address to prevent any loss of funds. It is recommended to double-check the address before sharing it.
- Receive Bitcoin in Your Wallet: Once someone sends Bitcoin to the provided receiving address, it will be credited to your wallet. Transactions on the Bitcoin network require confirmations, which may take a few minutes to an hour depending on network congestion. You can see the incoming transaction in your wallet’s transaction history.
By following these steps, you will successfully fund your Blockchain wallet with Bitcoin. Now that your wallet has sufficient funds, you can proceed to the next step of sending Bitcoin on the Blockchain platform.
Step 3: Navigating to the Send Bitcoin Page
Once your Blockchain wallet is funded and ready, you can navigate to the “Send Bitcoin” page to initiate a transaction. Follow these steps to access the “Send Bitcoin” page:
- Access Your Blockchain Wallet: Sign in to your Blockchain wallet using your registered email address and password. If you are using the mobile app, open the app on your device.
- Locate the Send Option: In the dashboard or main menu of your wallet, look for the option to send Bitcoin. On the web-based platform, it is usually labeled as “Send” or represented by a paper airplane icon. On the mobile app, you may find it in the navigation menu or on the homepage.
- Click on the Send Option: Once you locate the “Send” option, click on it to proceed to the “Send Bitcoin” page. This is where you will enter the recipient’s address and the amount you wish to send.
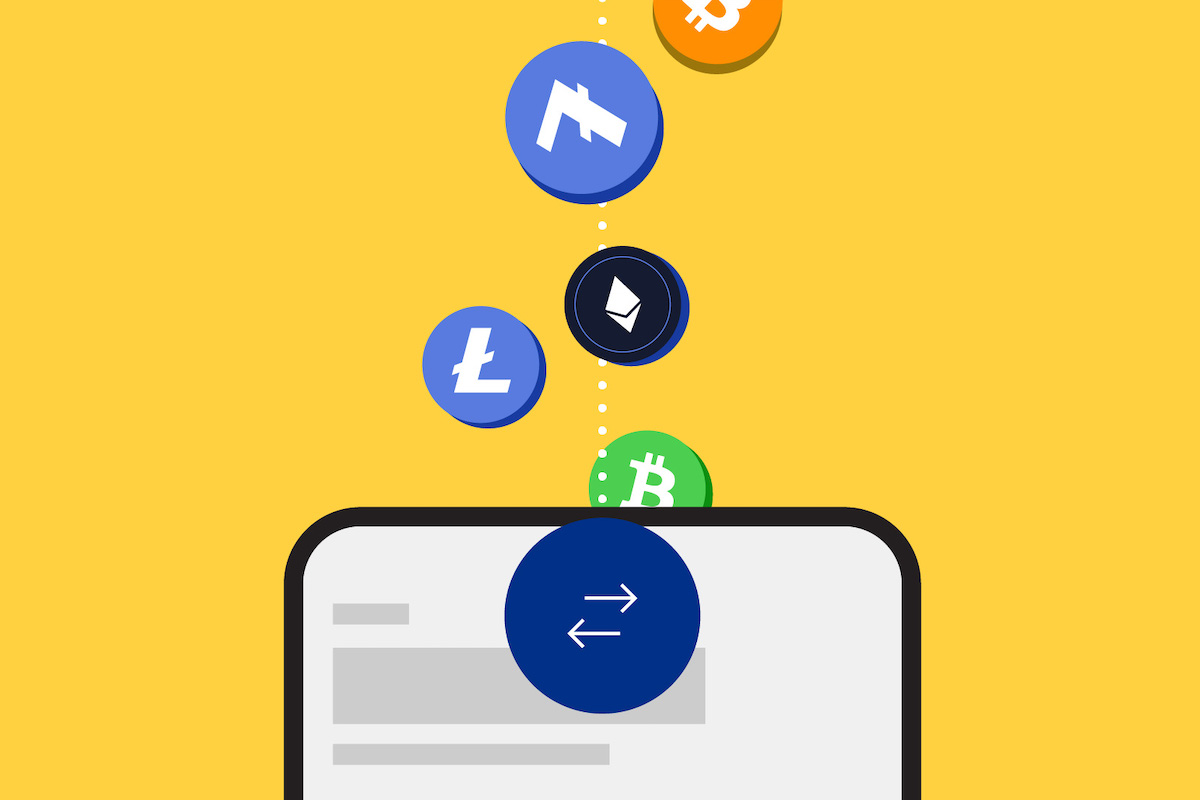
- Choose the Correct Cryptocurrency: In case your wallet supports multiple cryptocurrencies, ensure that you have selected Bitcoin as the cryptocurrency you want to send. Double-check to avoid accidentally sending a different cryptocurrency.
By following these steps, you will successfully navigate to the “Send Bitcoin” page in your Blockchain wallet. Once you are on this page, you can start entering the necessary details to proceed with the transaction. In the next step, we will cover how to enter the recipient’s address accurately.
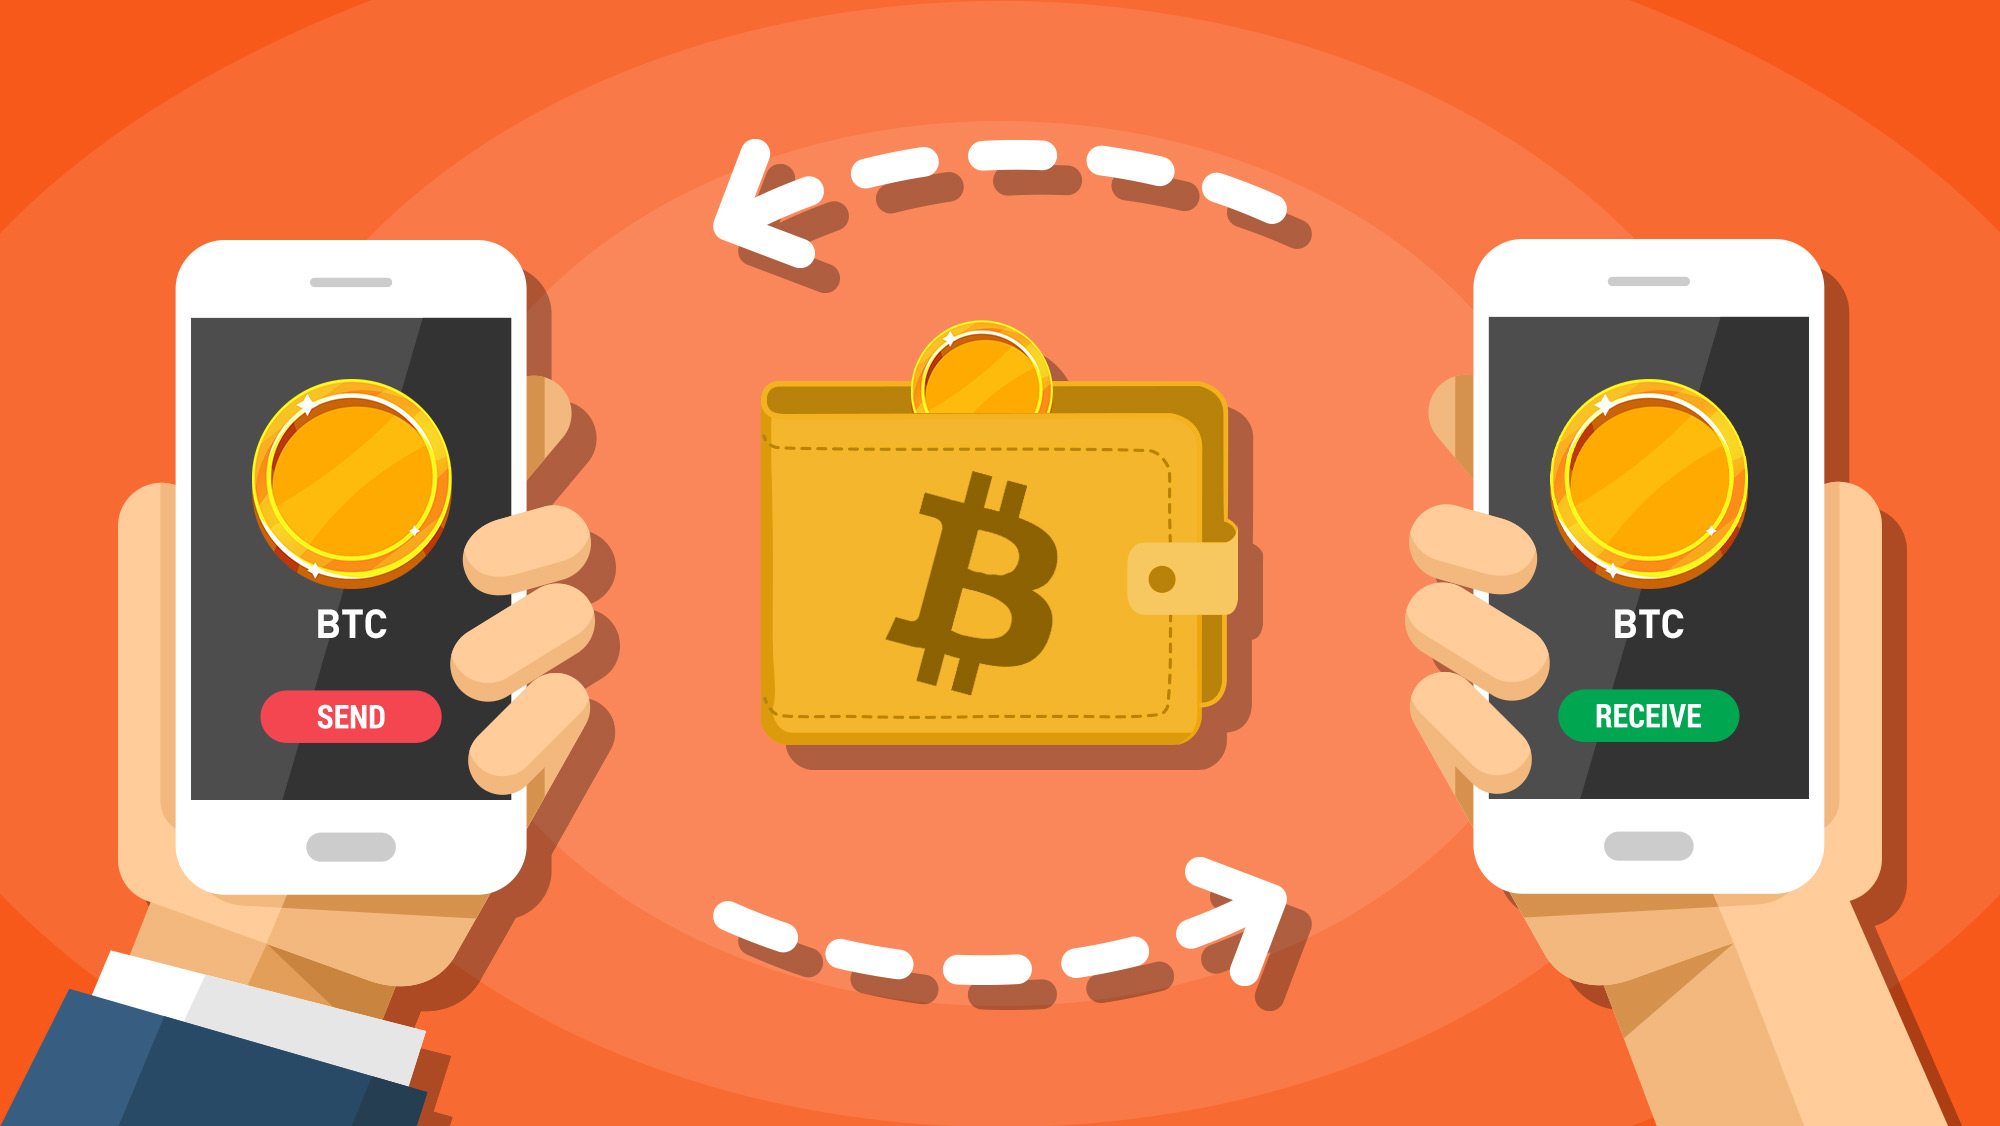
Step 4: Entering the Recipient’s Address
Entering the recipient’s address accurately is crucial to ensure that the Bitcoin you send reaches the intended recipient. Follow these steps to enter the recipient’s address correctly:
- Obtain the Recipient’s Bitcoin Address: Contact the person or entity you want to send Bitcoin to and request their Bitcoin address. The Bitcoin address is a unique alphanumeric string that serves as the destination for your transaction. Double-check the address to prevent any errors.
- Return to the “Send Bitcoin” Page: If you are not already on the “Send Bitcoin” page, navigate back to it following the steps mentioned in the previous section.
- Enter the Recipient’s Bitcoin Address: On the “Send Bitcoin” page, you will find a field where you can enter the recipient’s Bitcoin address. Carefully input the address provided to you, ensuring there are no typos or errors.
- Verify the Recipient’s Address: After entering the recipient’s address, take a moment to double-check it for accuracy. Bitcoin transactions are irreversible, so sending funds to the wrong address can result in permanent loss of funds. Ensure that the address matches the one provided by the recipient.
By following these steps, you will accurately enter the recipient’s Bitcoin address. The next step will cover how to enter the amount of Bitcoin you wish to send from your wallet.
Step 5: Entering the Amount to Send
After entering the recipient’s address, you need to specify the amount of Bitcoin you want to send. Follow these steps to enter the amount accurately:
- Return to the “Send Bitcoin” Page: If you are not already on the “Send Bitcoin” page, navigate back to it following the steps mentioned in the earlier section.
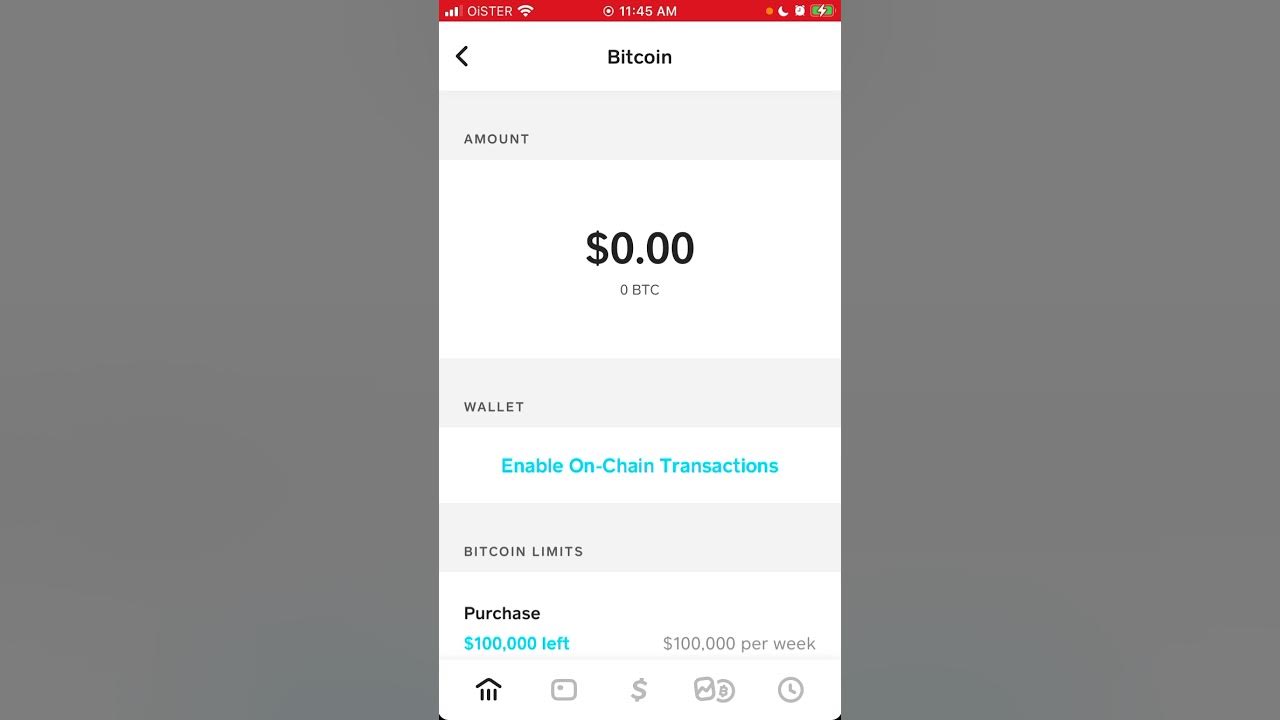
- Locate the Amount Field: On the “Send Bitcoin” page, you will find a field where you can enter the amount of Bitcoin to send. This field may be labeled as “Amount” or “BTC Amount”.
- Enter the Amount to Send: Carefully input the desired amount of Bitcoin that you want to send to the recipient. Ensure that you enter the correct amount and that it does not exceed the available balance in your wallet.
- Verify the Amount: After entering the amount, double-check it to ensure accuracy. Make sure it aligns with your intention and that you have included any applicable transaction fees.
It’s essential to be precise when entering the amount of Bitcoin to send. Bitcoin transactions are irreversible, and sending the wrong amount can result in loss of funds. Take your time and ensure that the specified amount is correct before proceeding.
Once you have entered the amount, you are ready to proceed to the next step, which involves selecting the appropriate transaction fee for your Bitcoin transaction.
Step 6: Choosing the Transaction Fee
When sending Bitcoin on the Blockchain platform, you have the option to choose the transaction fee. This fee determines the priority of your transaction and influences the speed at which it is confirmed on the blockchain. Follow these steps to choose the transaction fee:
- Return to the “Send Bitcoin” Page: If you are not already on the “Send Bitcoin” page, navigate back to it using the steps mentioned earlier.
- Locate the Transaction Fee Options: On the “Send Bitcoin” page, you will find options to select the transaction fee. The fee options may be presented as different levels like “High,” “Medium,” or “Low,” or they may be listed as specific values in satoshis per byte (sat/b).
- Consider the Transaction Speed: Evaluate your needs and priorities regarding the speed of the transaction. If you want the transaction to be confirmed quickly, you may opt for a higher fee. However, if time is not a critical factor, you can choose a lower fee to save on transaction costs.
- Review the Confirmation Time Estimation: Pay attention to the estimated confirmation time provided for each fee level. This estimation indicates approximately how long it will take for your transaction to be confirmed based on the selected fee.
- Select the Preferred Transaction Fee: Based on your evaluation of transaction speed and cost, select the transaction fee level or specific value that aligns with your requirements. Click or tap on the corresponding option to choose the fee.
By following these steps, you can choose the transaction fee that best suits your needs. Keep in mind that selecting a higher fee generally results in faster confirmation, while a lower fee may lead to a longer wait time. Once you have chosen the transaction fee, you are ready to move on to the next step of reviewing and confirming the transaction details.
Step 7: Reviewing and Confirming the Transaction
Before finalizing the transaction, it’s crucial to review and confirm all the details to ensure accuracy. Follow these steps to review and confirm the transaction:
- Review the Transaction Details: Take a moment to review the transaction details displayed on the “Send Bitcoin” page. Verify that the recipient’s address, the amount you want to send, and the chosen transaction fee are all correct.
- Double-Check the Addresses: Pay close attention to the recipient’s Bitcoin address and your own wallet address to avoid any mistakes. Ensure that the addresses match the intended recipient and sender.
- Confirm the Transaction: Once you have carefully reviewed the details and confirmed their accuracy, click or tap on the “Send” or “Confirm” button to initiate the transaction. Some wallets may require you to enter any necessary authentication, such as a password or 2FA code, to verify the transaction.
- Wait for Confirmation: After confirming the transaction, the Blockchain network will process it. The time taken for confirmation can vary depending on the network congestion and the transaction fee level selected. You can monitor the progress of your transaction on the Blockchain network.
By following these steps, you will have reviewed and confirmed the transaction details. It’s essential to be careful during this stage to avoid any errors or sending funds to the wrong address. Once the transaction is confirmed on the Blockchain network, the recipient will receive the Bitcoin you sent.
Now that you have initiated the transaction, the final step involves verifying the transaction on the Blockchain network.
Step 8: Verifying the Transaction on the Blockchain Network
Verifying the transaction on the blockchain network allows you to track its progress and confirm its completion. Follow these steps to verify the transaction:
- Access the Blockchain Explorer: Open a web browser and search for a blockchain explorer, such as blockchain.com/explorer. This tool enables you to explore and track transactions on the blockchain.
- Enter Your Transaction ID: Locate the transaction ID (TxID) for the transaction you initiated. You can usually find this on your wallet’s transaction history or confirmation page. Copy the TxID.
- Search for the Transaction: On the blockchain explorer, find the search or transaction lookup field. Paste the copied TxID into the search field and initiate the search.
- Review the Transaction Details: The blockchain explorer will display the details of your transaction, including the sender’s address, recipient’s address, transaction amount, and confirmation status.
- Check Confirmation Status: Look for the confirmation status of the transaction. It will indicate the number of confirmations received by the transaction on the blockchain network. Confirmations provide assurance that the transaction is valid and irreversible.
- Monitor Confirmations: Keep an eye on the confirmations over time. The number of confirmations affects the finality and security of the transaction. As the number of confirmations increases, the transaction becomes more secure.
By following these steps, you can verify the progress and confirmation of your transaction on the blockchain network. It’s important to note that the confirmation process may take time, especially during periods of high network activity. In general, the more confirmations a transaction receives, the less likely it is to be reversed or invalidated.
Once you have confirmed the completion of the transaction and have seen the necessary confirmations, you can rest assured that your Bitcoin has been successfully sent on the blockchain network.
Conclusion
Congratulations! You have successfully learned how to send Bitcoin on the Blockchain platform. By following the step-by-step guide outlined in this article, you can confidently navigate through the process and ensure secure and accurate transactions.
From creating a Blockchain wallet and funding it with Bitcoin to entering the recipient’s address, specifying the amount to send, and choosing the transaction fee, you now possess the knowledge to initiate transactions with ease.
Remember, it is crucial to double-check all the transaction details before confirming to avoid any mistakes or losses. Take appropriate security measures to safeguard your wallet and always use trusted sources for recipient addresses.
Additionally, monitoring and verifying the progress of your transaction on the blockchain network provides assurance and peace of mind. By using a blockchain explorer, you can track the confirmations and ensure the completion of your transaction.
Now that you are familiar with the process of sending Bitcoin on the Blockchain platform, you can confidently engage in cryptocurrency transactions and explore the fascinating world of digital assets.
Continue to stay updated on the latest developments in blockchain technology and cryptocurrency security to protect your assets and make the most out of this exciting digital landscape.