Introduction
Welcome to the world of personalization with Chime! If you’re tired of generic bank cards that lack personality, then you’re in the right place. Chime allows you to add a personalized touch to your Chime card, making it a unique reflection of your style and personality. In this article, we will guide you through the process of personalizing your Chime card and show you how to make it truly yours.
Gone are the days of plain and boring bank cards. Chime empowers you to customize your card with various features, including uploading a photo, adding your signature, choosing a card color, personalizing the card background, and even including a personal message. With Chime, your card can be as individual as you are.
Personalizing your Chime card is not only a fun and creative way to express yourself, but it also adds an extra layer of security. By having a customized card, it becomes instantly recognizable, making it easier to spot if it gets lost or misplaced. It also adds a personal touch that can bring a smile to your face every time you use it.
In this article, we will take you through the step-by-step process of personalizing your Chime card, from registering your card to ordering the final product. So, let’s dive in and discover how to make your Chime card truly yours!
Registering Your Chime Card
Before you can start personalizing your Chime card, you will need to register it. Registration is a quick and simple process that can be done through the Chime mobile app or website. Here’s how to do it:
- Download the Chime mobile app from the App Store or Google Play Store, or visit the Chime website (www.chime.com) on your computer.
- If you already have a Chime account, log in using your username and password. If you’re new to Chime, click on the “Get Started” or “Sign Up” button to create an account.
- Once you’re logged in or signed up, navigate to the “Cards” or “Account Settings” section within the app or website.
- Choose the option to register a new card. You will need to enter the card details, including the 16-digit card number, expiration date, and CVV code.
- Follow the prompts to verify your card. This may involve providing additional information, such as your personal identification details or a one-time verification code sent to your registered phone number or email.
- Once your card is registered, it will be linked to your Chime account, and you can proceed with personalizing it.
Note: Make sure to use a Chime-supported card for registration. Chime accepts major debit cards, but not all prepaid cards or credit cards can be registered.
Once your Chime card is registered, you have the freedom to personalize it according to your preferences. Let’s move on to the next section to explore the exciting customization options available.
Accessing Your Account
Now that your Chime card is registered, it’s time to access your account and start customizing your card. Here’s how to access your Chime account:
- Open the Chime mobile app on your smartphone or visit the Chime website on your computer.
- Enter your username and password to log in to your Chime account. If you’re logging in on a new device, Chime may require additional security measures, such as verifying your identity through a one-time verification code sent to your registered phone number or email.
- Once logged in, navigate to the “Cards” or “Account Settings” section within the app or website. Here, you will find options related to personalizing your Chime card.
- Click or tap on the relevant customization option to begin personalizing your card.
It’s worth mentioning that Chime’s user-friendly interface makes it easy to navigate through your account and access the customization features. Whether you’re using the app or website, you’ll find clear instructions and intuitive design elements that guide you through the process.
Keep in mind that you need to have an active Chime card linked to your account to access the customization options. If you haven’t registered your Chime card yet, refer to the previous section on how to do so.
Now that you know how to access your Chime account, let’s explore the exciting customization options available for your Chime card in the next section.
Customizing Your Chime Card
With Chime, you have the freedom to customize your card and make it a true reflection of your personality. Here are the various customization options available:
- Uploading a Photo: One of the most popular customization options is uploading a photo to be displayed on your Chime card. This could be a picture of yourself, a loved one, or even a favorite pet. Simply follow the prompts to upload a photo from your device, and Chime will help you adjust and crop it to fit the card.
- Adding Your Signature: Another way to personalize your Chime card is by adding your signature. This can be done digitally by using your device’s touch screen or by uploading an image of your handwritten signature. Having your signature on your card adds a personal touch and makes it uniquely yours.
- Choosing a Card Color: Chime offers a range of card colors to choose from. Whether you prefer vibrant and bold hues or subtle and elegant shades, there’s a color option to suit your style. Simply select the color that speaks to you and adds that extra pop to your Chime card.
- Personalizing Your Card Background: Take customization a step further by selecting a card background that matches your interests or style. Chime provides a variety of pre-designed backgrounds to choose from, featuring designs such as nature, art, patterns, and more. Find the perfect background that resonates with you and brings your card to life.
- Adding a Personal Message: To make your Chime card even more unique, consider adding a personal message. This could be your favorite quote, a meaningful phrase, or a special dedication. The personal message will be printed on your card, reminding you of what matters most every time you use it.
As you customize your Chime card, remember to preview your changes before finalizing them. This allows you to ensure that you’re satisfied with the design and that it accurately represents your desired personalization.
Now that you have an overview of the customization options available, let’s move on to the next section to learn how to review and confirm your personalized Chime card.
Uploading a Photo
One of the most exciting ways to personalize your Chime card is by uploading a photo of your choice. This allows you to showcase your favorite memories, your loved ones, or anything that holds special meaning to you. Here’s how you can upload a photo to your Chime card:
- Access your Chime account through the Chime mobile app or website. Make sure you’re logged in.
- Navigate to the customization options for your card, typically found in the “Cards” or “Account Settings” section.
- Choose the option to upload a photo. You may be prompted to either take a photo using your device’s camera or select an existing photo from your device’s gallery.
- If taking a photo, position your card on a flat surface and follow the on-screen prompts to capture an image of your card. Make sure the photo is clear and the card details are visible.
- If selecting an existing photo, browse through your device’s gallery and choose the photo you want to upload. Ensure the photo is of good quality and meets any specified size or resolution requirements.
- After choosing or capturing the photo, you may have the option to adjust and crop it to fit the dimensions of the Chime card.
- Preview the photo on the card to ensure it looks the way you want it to.
- Once you’re satisfied, proceed to confirm and save the changes. Your personalized Chime card with the uploaded photo will be processed and sent to you.
It’s important to keep in mind that Chime has certain guidelines regarding the types of photos you can upload. The photo should be appropriate, non-offensive, and not infringe on any copyright or trademark rights. Make sure to familiarize yourself with these guidelines before uploading a photo to avoid any issues.
Now that you know how to upload a photo to your Chime card, you can add that personal touch and carry your cherished memories with you wherever you go.
Adding Your Signature
Another way to add a personal touch to your Chime card is by including your signature. Adding your signature not only makes your card unique, but it also adds an extra level of authenticity and ownership. Here’s how you can add your signature to your Chime card:
- Access your Chime account through the Chime mobile app or website. Ensure that you’re logged in.
- Navigate to the customization options for your card, typically found in the “Cards” or “Account Settings” section.
- Select the option to add your signature. You may have the choice to either digitally create your signature using your device’s touch screen or upload an image of your handwritten signature.
- If you’re creating a digital signature, use your finger or stylus to write your signature on the touchscreen. The app or website may provide tools to help you adjust the size, thickness, and style of your signature.
- If you prefer to use your handwritten signature, sign a piece of paper using a dark pen, then scan or take a clear photo of your signature.
- Upload the digital version or image of your signature to the Chime app or website.
- Preview your Chime card with the added signature to ensure it appears as intended.
- Once you’re satisfied, confirm and save the changes. Your personalized Chime card, now featuring your signature, will be processed and mailed to you.
By adding your signature to your Chime card, you’re adding a personal and unique touch that distinguishes your card from others. It’s recommended to choose a clear and well-defined signature to ensure legibility on the card. Take your time to practice your signature or find a digital signature style that represents you accurately.
Now that you know how to add your signature to your Chime card, you can create a personalized card that truly reflects your identity.
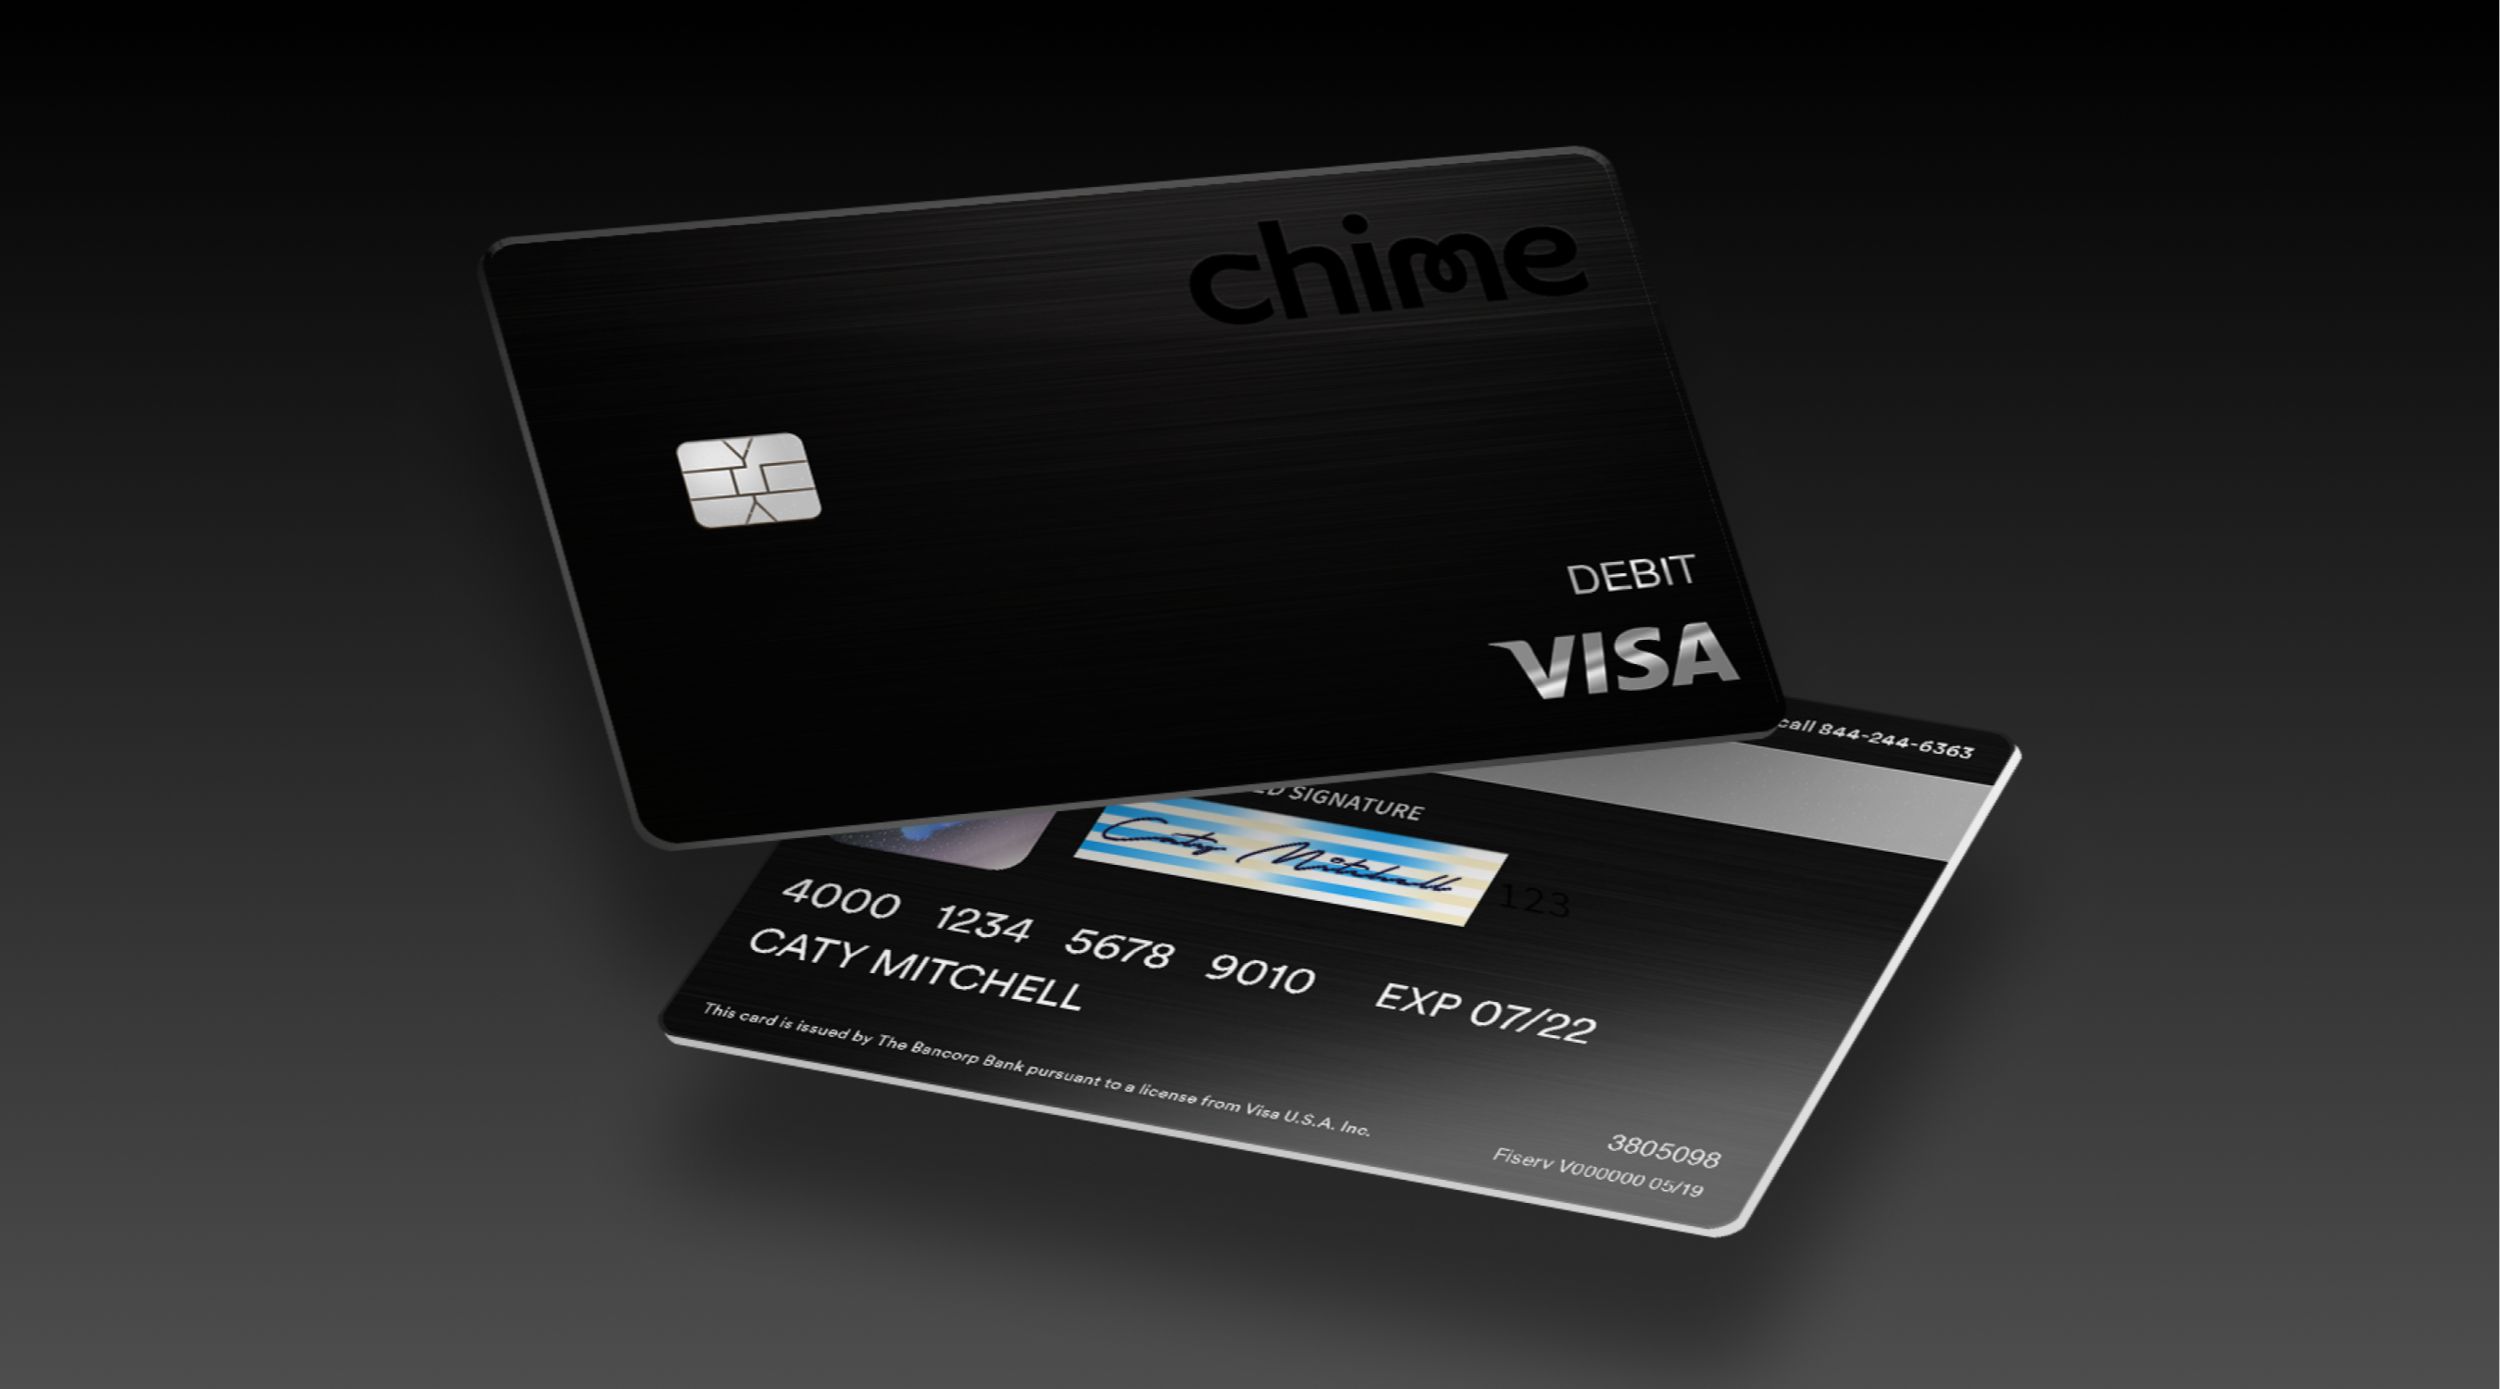
Choosing a Card Color
When it comes to personalizing your Chime card, choosing a card color is a fantastic way to make it stand out and reflect your personal style. Chime offers a range of vibrant and eye-catching color options to suit every taste. Here’s how you can choose a card color for your Chime card:
- Log in to your Chime account through the Chime mobile app or website.
- Locate the customization options for your card, typically found in the “Cards” or “Account Settings” section.
- Select the option to choose a card color. You may be presented with a palette of colors to choose from.
- Browse through the available color options to find the one that resonates with your personality and preference.
- Click or tap on the desired color to preview it on the Chime card. Take note of how the color complements your chosen design elements.
- Once you’re satisfied with your selection, confirm your choice and save the changes.
Choosing a card color allows you to infuse your Chime card with a burst of color and make it uniquely yours. Whether you prefer bold and vibrant hues like fiery red or electric blue, or more subtle and elegant shades like navy or graphite, there’s a color option to match your style and personality.
Keep in mind that the color you choose for your Chime card can also have practical benefits. For instance, a bright color can make it easier to locate your card in your wallet or purse, while a darker color might exude a more sophisticated and professional look.
Now that you know how to choose a card color for your Chime card, you can add a personal touch that reflects your style and sets your card apart from the rest.
Personalizing Your Card Background
When customizing your Chime card, personalizing the card background allows you to add a unique and visually captivating element. Chime offers a variety of pre-designed backgrounds that cater to different interests and aesthetics. Here’s how you can personalize the background of your Chime card:
- Login to your Chime account using the Chime mobile app or website.
- Find the customization options for your card, usually located in the “Cards” or “Account Settings” section.
- Select the option to personalize the card background.
- Browse through the available background designs and choose the one that resonates with your preferences and style. Options might include nature-inspired scenes, abstract patterns, artistic illustrations, or a wide range of other visually stunning choices.
- Click or tap on the preferred background to see it previewed on your Chime card. Take note of how it complements other design elements such as your uploaded photo or signature.
- If desired, you may have the option to adjust the positioning or scale of the background to ensure it appears as intended.
- Once you’re satisfied with the background selection, confirm your choice and save the changes.
Personalizing your card background adds an extra layer of creativity and uniqueness to your Chime card. It allows you to showcase your individual taste and interests while making a statement every time you use your card.
Consider selecting a background that aligns with your personality, hobbies, or aspirations. Whether you appreciate the beauty of nature, love abstract art, or have a specific theme in mind, Chime offers a diverse selection to cater to your preferences.
Now that you know how to personalize the background of your Chime card, you have the opportunity to make your card truly one-of-a-kind and visually striking.
Adding a Personal Message
Adding a personal message to your Chime card is an excellent way to make it even more meaningful and unique. It allows you to include a special dedication, a favorite quote, or a message that holds sentimental value. Here’s how you can add a personal message to your Chime card:
- Access your Chime account through the Chime mobile app or website.
- Navigate to the customization options for your card, typically located in the “Cards” or “Account Settings” section.
- Select the option to add a personal message to your card.
- Type in your desired message in the provided text box. You may have a character limit, so make sure your message fits within the specified constraints.
- Choose a font style and size for your personal message that complements the overall design of your Chime card.
- Preview your card with the added personal message to see how it appears in the final design.
- Once you’re satisfied with your personalized message, confirm and save the changes.
Adding a personal message to your Chime card allows you to infuse it with your own sentiments and expressions. It can serve as a reminder of a loved one, a source of inspiration, or simply a reflection of your personality.
When choosing your personal message, consider what brings you joy, motivates you, or holds deep meaning in your life. It can be a short phrase, a memorable quote, or a dedication to someone special. The choice is yours!
Now that you know how to add a personal message to your Chime card, you can make it even more heartfelt and personal, turning it into a cherished possession.
Reviewing and Confirming Your Personalized Chime Card
Once you’ve customized your Chime card with all the desired personalization options, it’s crucial to take a moment to review and confirm the final design. This step ensures that your personalized Chime card is exactly as you envisioned it. Follow these steps to review and confirm your order:
- Log in to your Chime account via the Chime mobile app or website.
- Navigate to the customization options for your card, typically in the “Cards” or “Account Settings” section.
- Verify that each customization feature, such as the uploaded photo, added signature, chosen card color, personalized background, and included personal message, appears correctly and aligns with your preferences.
- Take a moment to carefully review the overall design and make sure all elements blend harmoniously.
- If you notice any discrepancies or desire any changes, go back to the relevant customization options and make adjustments accordingly.
- Once you’re satisfied with the final design, confirm and save the changes.
Reviewing and confirming your personalized Chime card allows you to ensure that every aspect reflects your personal style and preferences. It gives you the opportunity to perfect the design and guarantee your satisfaction before proceeding to order the card.
Always double-check for accuracy, including spellings, alignment, and positioning of the personalized elements. This attention to detail ensures that your card will be exactly as intended when it arrives.
Remember, once you confirm and submit your order, it might not be possible to make changes or modifications. Taking the time to review and confirm prevents any disappointment or inconvenience later on.
Now that you’ve reviewed and confirmed your personalized Chime card, you’re ready to proceed to the next exciting step: ordering your customized card for delivery!
Ordering Your Personalized Chime Card
After reviewing and confirming your personalized Chime card design, it’s time to place your order and have it delivered to your doorstep. Follow these simple steps to order your custom Chime card:
- Ensure you are logged in to your Chime account through the Chime mobile app or website.
- Navigate to the customization options for your card, typically located in the “Cards” or “Account Settings” section.
- Double-check that all the personalized elements, such as the uploaded photo, added signature, chosen card color, personalized background, and included personal message, are accurate and to your liking.
- Verify that you have reviewed and confirmed the final design.
- Click or tap on the “Order” or “Submit” button to proceed with your personalized Chime card order.
- Review the order summary, which often includes details such as the total cost, estimated delivery time, and any associated fees.
- Provide the necessary shipping information, such as your address and contact details, so that your card can be delivered securely to you.
- Complete the payment process, if applicable, and submit your order.
Once your order is submitted, Chime will begin processing your personalized card. The exact processing time and delivery schedule can vary, so be sure to review the estimated delivery time provided during the order process. You can track the status of your order through your Chime account or by reaching out to Chime’s customer support if needed.
It’s exciting to know that in a short while, you’ll have a uniquely designed Chime card in your hands, perfectly tailored to your preferences and style.
Now that you’ve successfully placed your order, all that’s left to do is patiently wait for your personalized Chime card to arrive. Get ready to showcase your individuality and enjoy the benefits of having a card that truly reflects who you are.
Conclusion
Personalizing your Chime card allows you to add a touch of individuality and make a statement every time you use it. Whether it’s uploading a photo, adding your signature, choosing a card color, personalizing the card background, or including a personal message, Chime offers a range of creative options to make your card truly unique.
By registering your Chime card and accessing your account, you unlock the door to customization possibilities. Taking advantage of these features allows you to create a card that reflects your personality, interests, and style. Adding your personal touch not only enhances the visual appeal of your card but also adds an extra layer of security and ownership.
Before finalizing your personalized design, it’s important to review and confirm all the elements, ensuring they align with your preferences. This step ensures that your card will be exactly as you envisioned it.
Once you’re satisfied with the design, ordering your personalized Chime card is a straightforward process. Simply follow the prompts to place your order, provide shipping information, and complete the payment, if applicable. Soon, you’ll have a one-of-a-kind Chime card delivered right to your doorstep.
Personalizing your Chime card not only adds a personal touch to your everyday banking experience but also enables you to showcase your style and individuality wherever you go. Whether you’re capturing treasured memories with a photo, displaying your signature, or adding a personal message, your Chime card becomes a unique representation of who you are.
So, what are you waiting for? Dive into the world of personalization with Chime and make your card truly yours!