Introduction
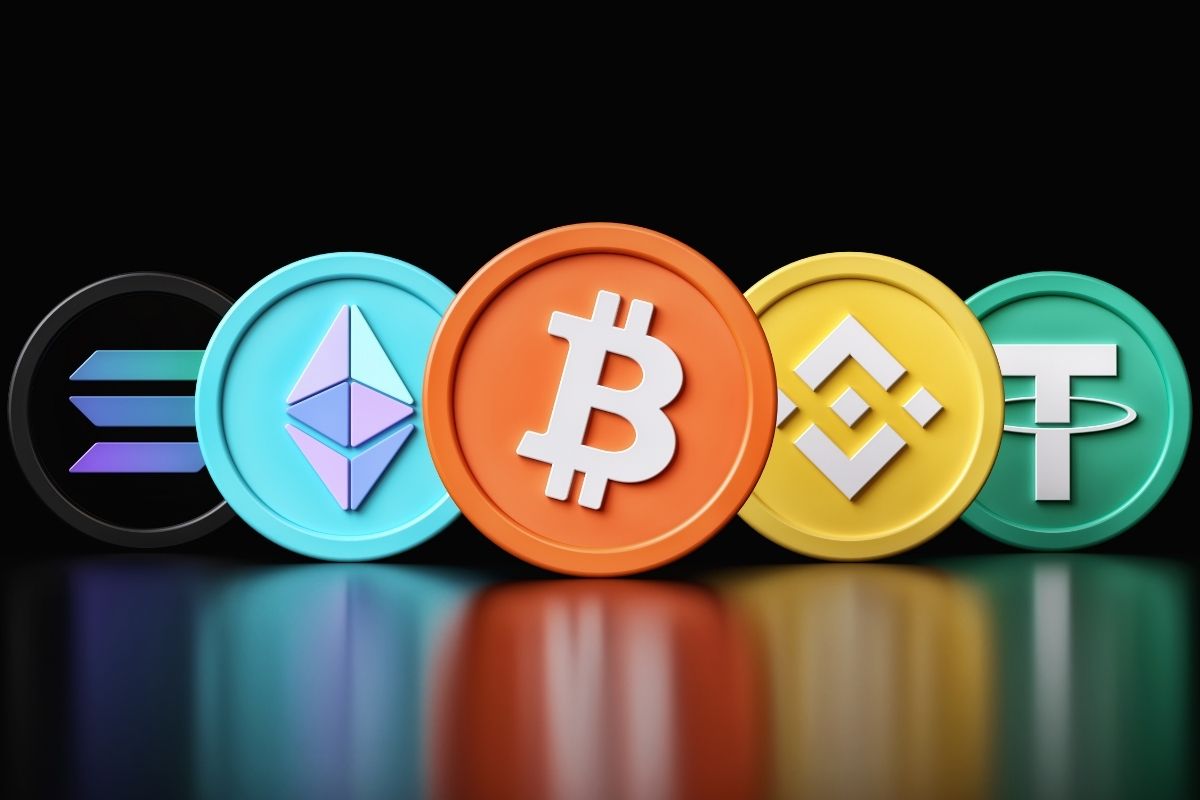
Welcome to this guide on how to change Ethereum to BNB (Binance Coin). Cryptocurrencies have become a popular investment option in recent years, and Ethereum and Binance Coin are among the most widely traded cryptocurrencies in the market. Ethereum, often referred to as ETH, is a decentralized blockchain platform that enables developers to build and deploy smart contracts and decentralized applications (DApps). On the other hand, BNB is the native token of the Binance cryptocurrency exchange, which is widely used for trading, fee payment, and participation in token sales.
If you are considering changing Ethereum to BNB, you may have various reasons for doing so. Perhaps you are looking to diversify your cryptocurrency portfolio, take advantage of trading opportunities, or participate in projects that require the use of BNB. Regardless of the reason, this guide will provide you with step-by-step instructions on how to convert your Ethereum holdings into BNB.
Before we dive into the process, it’s important to note that changing Ethereum to BNB involves using a cryptocurrency exchange. There are numerous platforms available, each with its own features and user interface. In this guide, we will provide general instructions that can be applied to most exchanges, but it’s always a good idea to familiarize yourself with the specific platform you choose to use.
Now, let’s get started and learn how to change Ethereum to BNB!
What is Ethereum?
Ethereum is a decentralized blockchain platform that was launched in 2015 by Vitalik Buterin. It is often referred to as the second-largest cryptocurrency by market capitalization, after Bitcoin. At its core, Ethereum is not just a digital currency but a blockchain-based platform that enables the creation and execution of smart contracts.
Smart contracts are self-executing contracts with predefined rules and conditions. They automatically trigger actions when the specified conditions are met, without the need for intermediaries. These contracts are stored on the Ethereum blockchain, making them immutable and transparent.
One of the key differences between Ethereum and Bitcoin is their purpose. While Bitcoin primarily serves as a digital currency, Ethereum aims to facilitate the development of decentralized applications (DApps) and smart contracts. It provides developers with a robust and flexible framework to build their applications without the need to create their own blockchain from scratch.
Ethereum also introduced its own cryptocurrency called Ether (ETH). Ether acts as the fuel that powers the Ethereum network. It is used to pay for computational services, transaction fees, and participate in initial coin offerings (ICOs) or token sales.
ETH has gained significant popularity and is widely traded on various cryptocurrency exchanges. Its value has experienced significant fluctuations over the years, attracting both investors and speculators.
Ethereum’s impact extends beyond just financial applications. Its underlying technology has the potential to disrupt various industries, including finance, supply chain management, gaming, and more. The Ethereum platform has also paved the way for the development of other blockchain projects and foundational technologies such as decentralized finance (DeFi), non-fungible tokens (NFTs), and decentralized exchanges (DEXs).
Overall, Ethereum is a groundbreaking blockchain platform that enables the creation of decentralized applications and smart contracts. Its open-source nature and vast developer community contribute to its continuous growth, making it an essential player in the cryptocurrency and blockchain space.
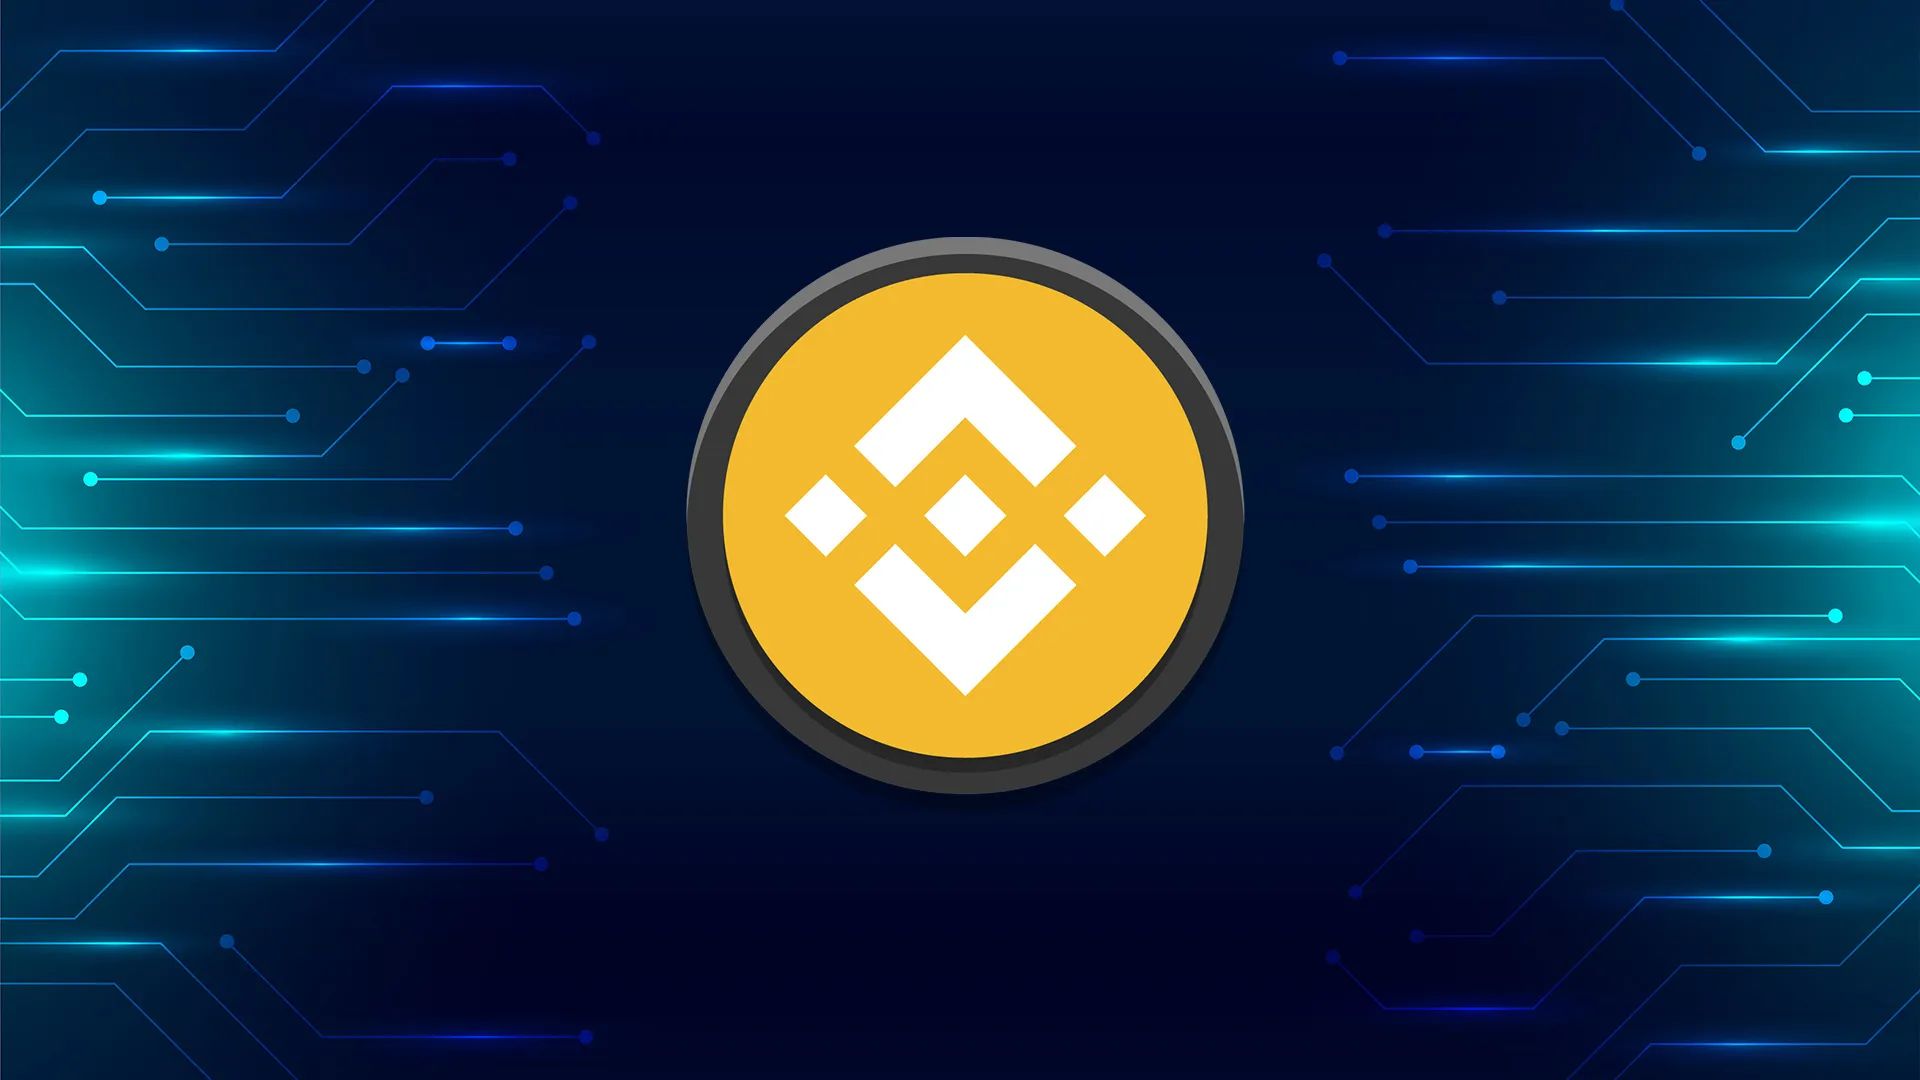
What is BNB?
BNB, also known as Binance Coin, is the native cryptocurrency of the Binance cryptocurrency exchange. BNB was created by Binance in 2017 as an integral part of its ecosystem. Over the years, it has gained significant popularity and has become one of the top cryptocurrencies by market capitalization.
BNB serves multiple purposes within the Binance ecosystem. Firstly, it is used as a utility token for paying transaction fees on the Binance exchange. By using BNB to pay for fees, users can enjoy discounted rates, making it an attractive option for frequent traders or those looking to reduce their trading expenses.
Another use case for BNB is participation in token sales on the Binance Launchpad. Binance Launchpad is a platform that allows cryptocurrency projects to raise funds by offering their tokens directly to the community. To participate in token sales conducted on the Launchpad, users are typically required to hold a certain amount of BNB in their Binance account.
Furthermore, BNB has expanded beyond the Binance platform. It has become widely accepted by various merchants and service providers, allowing users to use BNB as a form of payment for goods and services. Additionally, BNB can be stored in wallets that support the Binance Chain ecosystem, providing users with more control over their funds.
What sets BNB apart from other cryptocurrencies is its ongoing development and innovation. In mid-2021, Binance launched the Binance Smart Chain (BSC), a parallel blockchain to the Binance Chain. BSC aims to provide compatibility with the Ethereum Virtual Machine (EVM), allowing developers to deploy Ethereum-compatible decentralized applications on the Binance ecosystem with lower transaction fees.
BNB has also been at the forefront of the growing trend in decentralized finance (DeFi). Various DeFi projects have emerged on the BSC, offering users access to yield farming, lending, decentralized exchanges, and more. This expansion of BNB’s utility has contributed to its increasing demand and overall market value.
Overall, BNB plays a crucial role within the Binance platform and has extended its utility beyond the exchange itself. Its various use cases, including fee payment, participation in token sales, and integration with the Binance Smart Chain, have solidified BNB’s position in the cryptocurrency market.
Why would you want to change Ethereum to BNB?
There are several reasons why you might consider changing your Ethereum to BNB. Let’s explore some of the potential motivations behind this decision:
1. Diversification: Changing Ethereum to BNB allows you to diversify your cryptocurrency portfolio. By holding different cryptocurrencies, you can spread your risk and potentially benefit from various market trends. BNB offers a different set of opportunities and applications compared to Ethereum, which can be appealing for those looking for more diverse investment options.
2. Trading opportunities: BNB has shown significant price appreciation over the years, making it an attractive option for traders. If you believe that BNB’s value may increase in the future, changing Ethereum to BNB can provide you with the opportunity to participate in potential price gains and take advantage of trading opportunities on the Binance platform.
3. Participating in BNB-based projects: Many projects in the cryptocurrency space require the use of BNB. If you are interested in participating in BNB-based token sales or decentralized finance (DeFi) projects on the Binance Smart Chain, changing your Ethereum to BNB will enable you to engage with these projects and potentially earn rewards or participate in governance.
4. Lower transaction fees: One significant advantage of holding BNB on the Binance platform is the option to use it for paying transaction fees. Binance offers a fee discount when using BNB to pay for trading fees, which can result in significant savings, especially for frequent traders. By changing Ethereum to BNB, you can take advantage of these discounted fees and optimize your trading costs.
5. BNB ecosystem benefits: As the native cryptocurrency of the Binance ecosystem, BNB offers additional benefits within the platform. These include opportunities to participate in exclusive events, airdrops, and early access to new features. By converting your Ethereum to BNB, you can unlock these ecosystem benefits that are not available to Ethereum holders.
These are just a few of the reasons why you might consider changing your Ethereum to BNB. It’s important to evaluate your own investment goals, risk tolerance, and familiarity with the Binance platform before making any decisions. Taking the time to research and understand the potential benefits and risks associated with BNB can help you make an informed choice.
How to Change Ethereum to BNB
If you have decided to convert your Ethereum to BNB, here is a step-by-step guide to help you through the process:
Step 1: Create an account on a cryptocurrency exchange: To change Ethereum to BNB, you’ll need to register an account on a cryptocurrency exchange that supports both cryptocurrencies. Binance, for example, is a popular exchange that offers a wide range of trading pairs, including ETH/BNB.
Step 2: Complete the verification process: Depending on the exchange, you may need to complete a verification process to comply with Know Your Customer (KYC) regulations. This often involves providing identification documents and personal information. Follow the instructions provided by the exchange to complete the verification.
Step 3: Deposit Ethereum into your account: Once your account is set up and verified, you’ll need to deposit your Ethereum into your exchange wallet. Locate the deposit section on the exchange platform and generate a unique Ethereum deposit address. Use this address to send your Ethereum from your personal wallet or another exchange.
Step 4: Exchange Ethereum for BNB: After your Ethereum deposit has been confirmed and credited to your account, navigate to the trading section of the exchange. Find the ETH/BNB trading pair and input the desired amount of Ethereum you wish to convert to BNB. Review the order details and confirm the transaction. The exchange will match your order with a buyer, and the conversion will be executed.
Step 5: Withdraw BNB to your wallet: Once the conversion is complete, you’ll have BNB in your exchange wallet. If you prefer to have more control over your funds, it’s recommended to withdraw your BNB to a personal wallet that supports Binance Chain. Locate the withdrawal option on the exchange platform, enter your Binance Chain wallet address, and specify the amount of BNB to withdraw. Confirm the transaction and wait for the withdrawal to be processed.
It’s important to note that the specific steps may vary slightly depending on the cryptocurrency exchange you choose. The process described above provides a general guideline that can be applied to most exchanges.
Always exercise caution when dealing with cryptocurrencies and ensure that you double-check all addresses to avoid any errors or losses. Additionally, keep in mind that exchanges may have fees associated with deposits, withdrawals, and transactions, so be sure to familiarize yourself with the fee structure of the exchange you are using.
By following these steps, you should be able to successfully change your Ethereum to BNB and participate in the Binance ecosystem.
Step 1: Create an Account on a Cryptocurrency Exchange
The first step in changing Ethereum to BNB is to create an account on a cryptocurrency exchange that supports both Ethereum (ETH) and Binance Coin (BNB). There are numerous exchanges available, but for the purpose of this guide, we will use Binance as an example.
1. Visit the exchange website: Go to the official website of the cryptocurrency exchange where you want to create an account. In this case, go to the Binance website (www.binance.com).
2. Sign up: Look for the “Sign Up” or “Register” button on the homepage and click on it. You will be directed to the registration page.
3. Provide your information: Fill in the required information to create your account. This typically includes your email address, a strong password, and sometimes a referral ID if you have one.
4. Read and accept the terms and conditions: Take the time to read through the terms and conditions of the exchange. It’s essential to understand the rules and policies that govern your use of the platform. If you agree to them, check the box indicating your acceptance.
5. Complete the security verification: To enhance the security of your account, you will likely need to complete a verification process. This may involve solving a captcha, completing a puzzle, or passing a simple security check.
6. Set up two-factor authentication (2FA): Two-factor authentication adds an extra layer of security to your account. It typically requires you to install an authenticator app on your mobile device and link it to your exchange account. Follow the instructions provided by the exchange to set up 2FA.
7. Verify your email: Check your email inbox for a verification email sent by the exchange. Click on the verification link provided to confirm your email address.
8. Login to your account: Return to the exchange website and log in using your registered email address and password. Enter the authentication code generated by the authenticator app if you have enabled 2FA.
9. Secure your account: Upon logging in, it’s crucial to take additional measures to secure your account. These may include setting a withdrawal whitelist, enabling anti-phishing codes, and adjusting other security settings available on the exchange platform.
10. Familiarize yourself with the platform: Take some time to explore the exchange platform and familiarize yourself with its features, user interface, and trading options. Understanding how the exchange works will help you navigate the subsequent steps more confidently.
By following these steps, you will have successfully created an account on a cryptocurrency exchange, setting the foundation for changing Ethereum to BNB.
It’s worth noting that each cryptocurrency exchange may have its own registration process and requirements. Make sure to read and follow the specific instructions provided by the exchange you choose. Additionally, remember to keep your login credentials and authentication codes secure to protect your account from unauthorized access.
Step 2: Complete the Verification Process
Once you have created an account on a cryptocurrency exchange, the next step in changing Ethereum to BNB is to complete the verification process. Verification is an essential requirement imposed by most exchanges to comply with regulatory guidelines and ensure the security of user accounts. The verification process typically involves providing personal information and submitting identity documents for verification purposes.
1. Navigate to the verification section: Log in to your cryptocurrency exchange account and locate the verification or account settings section. Depending on the exchange, this section may be labeled as “KYC Verification” or “Account Verification”.
2. Understand the verification levels: Exchanges often have different verification levels, each with varying requirements and limitations. These levels are typically associated with the amount of trading activity or withdrawal limits. Familiarize yourself with the verification levels offered by the exchange and determine the level you wish to achieve.
3. Provide personal information: You will need to provide certain personal information, such as your full name, date of birth, address, and sometimes your occupation. This information is necessary for identity verification purposes and to ensure compliance with anti-money laundering (AML) and know your customer (KYC) regulations.
4. Submit identification documents: As part of the verification process, you will be required to submit identification documents. This typically includes providing scanned or photographed copies of a valid government-issued identification document, such as a passport or driver’s license. Some exchanges may also ask for additional proof of address, such as a utility bill or bank statement.
5. Wait for verification: After submitting your personal information and identification documents, the exchange will review and verify the information provided. The verification process can take varying amounts of time, depending on the exchange’s workload and processes. Be patient and regularly check the status of your verification.
6. Follow up if necessary: In some cases, the exchange may require additional information or clarification to complete the verification process. If you receive any requests for further documentation or have any questions, promptly respond and provide the requested information to expedite the verification process.
7. Verification successful: Once your verification is successfully completed, the exchange will notify you via email or within your account dashboard. You will typically be notified of the verification level you have achieved and any corresponding benefits or limitations.
It’s important to note that the verification process and requirements may vary between exchanges. Some exchanges may offer multiple levels of verification, while others may have a straightforward process. It is advisable to carefully read and follow the specific instructions provided by the exchange you are using.
Completing the verification process is a crucial step in ensuring the security and legitimacy of your account on the cryptocurrency exchange. It allows you to access additional features, higher trading volumes, and increased withdrawal limits. Once you have successfully completed the verification process, you can proceed to the next steps of changing Ethereum to BNB.
Step 3: Deposit Ethereum into your Account
Once you have created an account on a cryptocurrency exchange and completed the verification process, the next step in changing Ethereum to BNB is to deposit your Ethereum into your exchange account. This will allow you to have Ethereum available for trading or exchanging into BNB.
1. Log in to your exchange account: Visit the cryptocurrency exchange website and log in using your registered email address and password. Enter the authentication code generated by the authenticator app if you have enabled two-factor authentication (2FA).
2. Navigate to the deposit section: Find the “Deposit” or “Funds” section on the exchange platform. The specific location may vary depending on the exchange’s user interface. Look for the option to deposit Ethereum (ETH) into your account.
3. Generate a deposit address: In the deposit section, the exchange will provide you with a unique Ethereum deposit address. This address is specific to your exchange account and will allow you to deposit Ethereum into your account. Copy the provided Ethereum deposit address to your clipboard or note it down for reference.
4. Transfer Ethereum from your personal wallet: Open your personal Ethereum wallet or the wallet where you currently hold your Ethereum. Initiate a transfer or withdrawal process from your wallet and input the Ethereum deposit address provided by the exchange. Double-check the address to ensure its accuracy, as any incorrect address may result in a loss of funds.
5. Confirm the transaction: Follow the instructions provided by your personal wallet to confirm and initiate the Ethereum transfer. Depending on the wallet, you may need to specify the amount of Ethereum you wish to transfer and verify the transaction with a password or through other security measures.
6. Wait for confirmation: After initiating the transfer, you will need to wait for the Ethereum blockchain network to confirm the transaction. This confirmation process may take some time as it depends on network congestion and the number of network confirmations required by the exchange.
7. Check the account balance: Once the transaction is confirmed, navigate back to the exchange platform and check your account balance. The Ethereum you deposited should now be reflected in your account balance. Keep in mind that some exchanges may require a certain number of confirmations before the deposited Ethereum is fully credited to your account.
Remember to keep your Ethereum deposit address private and only use it for depositing Ethereum into your exchange account. It is also important to note that cryptocurrency transactions are irreversible, so always exercise caution and double-check all transaction details before proceeding with a transfer.
With your Ethereum successfully deposited into your exchange account, you are now ready to proceed with exchanging your Ethereum for BNB. This will be covered in the next step of the process.
Step 4: Exchange Ethereum for BNB
With your Ethereum successfully deposited into your exchange account, the next step in changing Ethereum to BNB is to exchange your Ethereum for BNB. This process will allow you to convert your Ethereum holdings into BNB, enabling you to participate in the Binance ecosystem.
1. Navigate to the trading section: Log in to your exchange account and find the “Trade” or “Markets” section on the platform. Look for the trading pairs that include Ethereum (ETH) and Binance Coin (BNB). Common trading pairs are ETH/BNB or ETH/BUSD (BUSD is a stablecoin pegged to the US Dollar).
2. Choose the desired trading pair: Select the trading pair that represents the exchange from Ethereum to BNB. For example, if you want to exchange Ethereum for Binance Coin, choose the ETH/BNB trading pair.
3. Input the desired amount: On the trading interface, you will usually find a form to input the amount of Ethereum you want to exchange for BNB. Enter the desired amount of Ethereum you wish to convert. The interface will typically display the equivalent amount of BNB you will receive based on the current exchange rate.
4. Review the order details: Before confirming the transaction, carefully review the order details displayed on the trading interface. Ensure that the amount of Ethereum, the equivalent amount of BNB, and any applicable fees are correct. Take note of the transaction fees as different exchanges may have varying fee structures.
5. Place the trade: Once you have verified the order details, proceed to place the trade. Depending on the exchange, you may need to click on a “Buy” or “Trade” button to execute the exchange. Some platforms may require you to confirm the trade with your account password or through other security measures.
6. Monitor the trade: After placing the trade, keep an eye on your account balance and the status of the exchange. Typically, the exchange will process the order and complete the conversion from Ethereum to BNB within a short period of time. The new BNB holdings will then be reflected in your account balance.
7. Check your BNB balance: Once the exchange is complete, navigate to your account balance or wallet section to confirm that your BNB holdings are now available in your exchange account. Take note that exchanges may have a slight delay in updating the balance, so refresh the page or check back later if needed.
It’s important to note that the specific steps and interface may differ slightly between cryptocurrency exchanges. Always refer to the instructions provided by the exchange you are using to ensure a smooth exchange process.
Once the exchange is complete and you have obtained BNB in your exchange account, you can proceed to the next step of the process: withdrawing your BNB to a personal wallet or using it within the Binance ecosystem.
Step 5: Withdraw BNB to your Wallet
After successfully exchanging your Ethereum for BNB, the next step in the process of changing Ethereum to BNB is to withdraw your BNB from the exchange and transfer it to your personal wallet. This step allows you to have full control and ownership of your BNB holdings.
1. Log in to your exchange account: Visit the cryptocurrency exchange website and sign in to your account using your registered email address and password. Enter the authentication code generated by the authenticator app if you have enabled two-factor authentication (2FA).
2. Locate the withdrawal section: Once logged in, navigate to the withdrawal or funds section of the exchange platform. Look for the option to withdraw BNB (Binance Coin) from your account.
3. Provide your wallet address: In the withdrawal section, you will need to input the address of your personal wallet where you want to receive the BNB. Make sure to double-check the provided address to ensure its accuracy. Copy and paste the address or use the provided QR code if available.
4. Specify the withdrawal amount: Enter the amount of BNB you wish to withdraw from your exchange account to your personal wallet. Take into account any applicable network fees that the exchange may charge for the withdrawal. Ensure that the amount you enter does not exceed your available balance.
5. Confirm the withdrawal: Review the withdrawal details, including the BNB withdrawal address and the amount to be withdrawn. Ensure that all the information is correct before proceeding. Some exchanges may require additional steps, such as confirming the withdrawal via email or 2FA.
6. Wait for the withdrawal process: After confirming the withdrawal, you will need to wait for the exchange to process and execute the transaction. The time required for the withdrawal to complete may vary depending on network congestion and the withdrawal processing time of the exchange.
7. Check your personal wallet: Once the withdrawal is successfully processed, navigate to your personal wallet and check to see if the BNB has been successfully transferred. Verify that the correct amount of BNB is reflected in your wallet’s balance, and check the transaction history for confirmation.
It’s important to note that network fees may apply during the BNB withdrawal process. These fees are typically deducted from the withdrawn amount, so ensure that you are comfortable with any associated charges before initiating the withdrawal.
By completing this step, you have successfully withdrawn your BNB from the exchange and transferred it to your personal wallet. Your BNB is now under your control, allowing you to hold it securely or use it as needed within the Binance ecosystem or other platforms that accept BNB.
Remember to keep your personal wallet secure and make regular backups of your wallet’s private keys or seed phrases to ensure the safety of your BNB holdings.
Conclusion
Congratulations! You have successfully gone through the process of changing Ethereum to BNB. By following the steps outlined in this guide, you have acquired Binance Coin (BNB) and expanded your cryptocurrency portfolio. Let’s recap the key points:
First, you learned about Ethereum and its role as a decentralized blockchain platform for smart contracts and decentralized applications. Ethereum has gained significant popularity and has become a cornerstone of the cryptocurrency and blockchain space.
Next, we explored what BNB is and its significance within the Binance ecosystem. BNB serves various purposes, including fee payment, participation in token sales, and utility within the Binance Smart Chain. Understanding BNB’s advantages and applications can help you make informed decisions about diversifying your cryptocurrency holdings.
We then walked you through the step-by-step process of changing Ethereum to BNB. This involved creating an account on a cryptocurrency exchange, completing the verification process, depositing Ethereum into your account, exchanging Ethereum for BNB, and finally, withdrawing BNB to your personal wallet.
It’s essential to choose a reputable cryptocurrency exchange that supports both Ethereum and BNB and offers robust security measures to safeguard your digital assets. Remember to exercise caution and verify all transaction details to prevent any errors or potential loss of funds.
By converting Ethereum to BNB, you have gained exposure to the Binance ecosystem, opening up possibilities for participating in token sales, accessing discounted trading fees, exploring decentralized finance projects on the Binance Smart Chain, and more.
As with any investment or financial decision, it’s important to conduct thorough research, assess your risk tolerance, and make decisions based on your individual circumstances and investment goals.
Keep in mind that the cryptocurrency market is highly volatile, and prices can fluctuate rapidly. Stay informed about market trends, news, and developments within the Ethereum and Binance ecosystems to make well-informed investment decisions.
We hope this guide has provided you with valuable insights and guidance on changing Ethereum to BNB. By understanding the processes involved and taking the necessary steps, you are well on your way to navigating the world of digital assets and expanding your cryptocurrency portfolio.