Overview
Welcome to the world of Venmo, the popular mobile payment app that makes sending and receiving money a breeze. Whether you need to split a dinner bill with friends, pay your share of rent, or even repay someone for a favor, Venmo has you covered. With its user-friendly interface and convenient features, getting a Venmo account is quick and easy.
In this step-by-step guide, we will walk you through the process of setting up your very own Venmo account. From downloading the app to customizing your privacy settings, we’ll cover everything you need to know to get started.
Having a Venmo account opens up a world of possibilities. You can connect with friends, share payment references through emoji-filled descriptions, and even engage in social interactions by liking and commenting on transactions. Plus, you can link a funding source of your choice, be it a bank account or a credit card, to seamlessly transfer money to and from your Venmo account.
So, if you’re ready to join the millions of users who enjoy the convenience of Venmo, let’s get started with the account creation process. Follow these simple steps, and you’ll be sending and receiving payments in no time.
Step 1: Download the Venmo App
The first step to getting a Venmo account is to download the Venmo app on your mobile device. Venmo is available for both iOS and Android devices, making it accessible to a wide range of users.
To download the app, simply open the App Store (for iOS users) or the Google Play Store (for Android users) on your device. Then, search for “Venmo” using the search bar at the top of the screen. Once you find the Venmo app, tap on it to open the app’s page.
On the app’s page, you will see the “Install” or “Get” button. Tap on it to start the download process. The app will automatically start downloading and installing on your device. The time it takes to complete the installation will depend on your internet connection speed.
Once the app is successfully installed, you will find the Venmo app icon on your device’s home screen or in the app drawer. Tap on the icon to open the app and proceed to the next step.
It’s important to note that while the app is free to download, certain fees may apply when sending or receiving money using Venmo. Make sure to review the fee structure and terms of service to understand any associated costs.
Now that you have downloaded the Venmo app, you’re one step closer to creating your Venmo account. The next step will guide you through the account creation process.
Step 2: Create a Venmo Account
Now that you have the Venmo app downloaded, it’s time to create your Venmo account. Follow these simple steps to get started:
- Open the Venmo app on your device.
- Tap on the “Sign up with email or phone number” button.
- Enter your email address or phone number in the provided field, and then tap “Next”.
- Create a secure password, and then tap “Next”.
- Enter your first and last name in the corresponding fields.
- Choose your preferred username. This will be the unique identifier for your Venmo account, so choose a username that reflects your personality or is easy to remember.
- Review the terms of service and privacy policy, and then tap “Agree & Join” to proceed.
Once you have completed these steps, your Venmo account will be created, and you will be taken to the app’s home screen. From here, you can start exploring the app and its features.
It’s important to note that Venmo requires users to be at least 18 years old to create an account. Additionally, make sure to provide accurate and up-to-date information during the account creation process to ensure a smooth experience.
If you encounter any issues or have any questions during the account creation process, you can visit the Venmo Help Center or reach out to Venmo’s customer support for assistance.
Congratulations! You have successfully created your Venmo account. The next step will guide you through the process of verifying your phone number.
Step 3: Verify Your Phone Number
After creating your Venmo account, the next step is to verify your phone number. Verifying your phone number adds an extra layer of security to your Venmo account and helps ensure that you have access to the contact information associated with your account.
Here’s how you can verify your phone number on Venmo:
- Open the Venmo app on your device.
- On the app’s home screen, tap on the “☰” icon in the top-left corner to open the menu.
- Select “Settings” from the menu options.
- In the Settings menu, tap on “Phone” to access the Phone settings.
- Tap on “Verify Your Phone” to start the verification process.
- On the verification screen, enter your phone number in the provided field.
- Once you’ve entered your phone number, tap on “Send Code” to receive a verification code via SMS.
- Check your phone’s messages to find the verification code.
- Enter the verification code into the Venmo app to complete the verification process.
Once you’ve successfully verified your phone number, the Venmo app will confirm the verification and update your account settings accordingly. You’ll now have the added security and convenience of a verified phone number associated with your Venmo account.
Keep in mind that if you ever need to update or change your phone number in the future, you can do so by following the same steps in the Phone settings.
Now that your phone number is verified, you’re one step closer to fully utilizing all the features and functionalities that Venmo has to offer. The next step will guide you through adding a funding source to your Venmo account.
Step 4: Add a Funding Source
Now that you have a verified Venmo account, it’s time to link a funding source to your account. A funding source is the method you use to add money to your Venmo account or withdraw funds from it. Venmo offers two main options for adding a funding source:
- Bank Account: You can link your bank account to easily transfer funds between your bank and your Venmo account. This allows you to seamlessly add money to your Venmo balance or withdraw funds from it.
- Credit or Debit Card: You can also link a credit or debit card to your Venmo account. This allows you to make payments using your card directly through the Venmo app.
Here’s how you can add a funding source to your Venmo account:
- Open the Venmo app on your device and log in to your account.
- On the app’s home screen, tap on the “☰” icon in the top-left corner to open the menu.
- Select “Settings” from the menu options.
- In the Settings menu, tap on “Payment Methods” to access the Payment settings.
- Tap on either “Add Bank Account” or “Add Debit or Credit Card” to select your preferred funding source.
- Follow the on-screen instructions to enter the necessary information for your chosen funding source.
- Once you’ve entered the required details, tap on “Save” to link the funding source to your Venmo account.
After successfully adding a funding source, you’ll have the flexibility to seamlessly transfer funds to and from your Venmo account. This makes it easier to send and receive payments, split expenses, and even withdraw funds when needed.
Remember, while adding a funding source is essential for full functionality, it’s important to keep your financial information secure. Ensure that you’re using a trusted and secure connection when adding your bank account or card details, and regularly monitor your Venmo account for any unauthorized transactions.
With a funding source linked to your Venmo account, you’re now ready to start making and receiving payments. The next step will guide you through setting up your Venmo profile to personalize your account.
Step 5: Set Up Your Venmo Profile
Now that you have a verified Venmo account and a funding source linked, it’s time to personalize your Venmo profile. Your Venmo profile allows you to showcase a bit of your personality and make it easier for friends and contacts to find and connect with you on the app. Here’s how you can set up your Venmo profile:
- Open the Venmo app on your device and log in to your account.
- On the app’s home screen, tap on the “☰” icon in the top-left corner to open the menu.
- Select “Settings” from the menu options.
- In the Settings menu, tap on “Edit Profile” to access your profile settings.
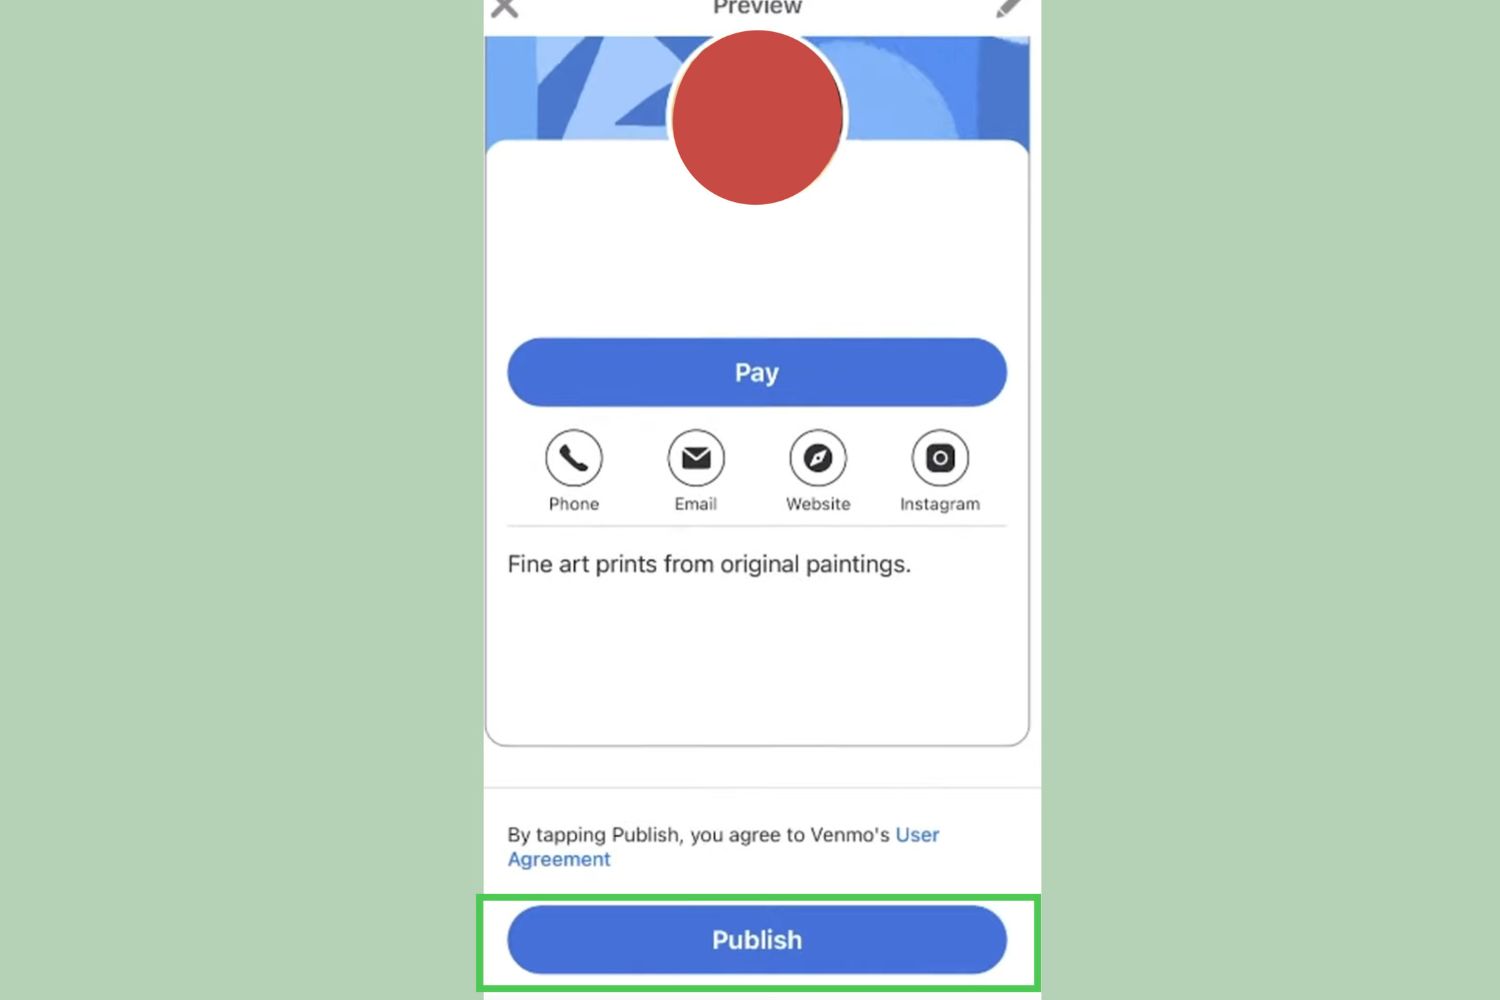
- On the profile settings page, you can edit your profile picture, display name, username, and even add a personal note or bio to share more about yourself.
- To upload a profile picture, tap on the profile picture icon and select either “Take Photo” or “Choose from Library” to upload an existing photo from your device.
- Enter or edit your display name and username in the provided fields. Your username will be visible to others when they search for and interact with you on Venmo.
- You can also add a personal note or bio to give others a glimpse into your interests or any additional information you’d like to share.
- Once you’re satisfied with your profile settings, tap on “Save” to update your profile.
Setting up your Venmo profile not only adds a personal touch to your account but also helps others recognize and connect with you on the platform. It’s a great way to establish your identity and make your Venmo experience more engaging and interactive.
Remember, while it’s fun to personalize your profile, be mindful of the information you share. Always prioritize your privacy and consider keeping sensitive details off your public profile.
With your Venmo profile set up, you’re now ready to start making connections and engaging with others on the app. The next step will guide you through customizing your privacy settings for added control over your Venmo transactions.
Step 6: Customize Your Privacy Settings
Customizing your privacy settings on Venmo allows you to have more control over the visibility of your transactions and personal information. By adjusting these settings, you can ensure that your Venmo activity is shared only with the desired audience. Here’s how you can customize your privacy settings:
- Open the Venmo app on your device and log in to your account.
- On the app’s home screen, tap on the “☰” icon in the top-left corner to open the menu.
- Select “Settings” from the menu options.
- In the Settings menu, tap on “Privacy” to access the different privacy settings.
- Review the available privacy settings and make changes based on your preferences.
- Adjust the visibility of your transactions by choosing between “Public”, “Friends”, or “Private”.
- Consider enabling or disabling the “Default Audience” setting, which determines the visibility of your transactions by default.
- You can also adjust the visibility of your friend list and control who can see your Venmo profile.
By customizing your privacy settings, you can ensure that your financial transactions and personal information are shared only with the audience you’re comfortable with. Whether you prefer to keep your transactions private or share them with a select group of friends, Venmo’s privacy settings allow you to maintain the level of privacy that suits your needs.
Remember, it’s always a good practice to regularly review and update your privacy settings to stay in control of your Venmo experience. Additionally, be cautious when approving friend requests or sharing transaction details to avoid unintended visibility or potential privacy risks.
With your privacy settings customized, you can enjoy the benefits of Venmo’s social features while maintaining the level of privacy you desire. The next step will guide you through the exciting part of using Venmo – sending and receiving payments.
Step 7: Start Sending and Receiving Payments
Now that your Venmo account is set up and your privacy settings are customized, it’s time to start using the app to send and receive payments. Venmo makes it easy and convenient to pay back friends, split expenses, and even make purchases at select merchants. Here’s how you can get started:
- Open the Venmo app on your device and log in to your account.
- On the app’s home screen, tap on the “☰” icon in the top-left corner to open the menu.
- Select “Pay or Request” from the menu options.
- Enter the username, email, phone number, or Venmo handle of the person you’d like to send money to in the “To” field.
- Specify the payment amount and add a brief description to let the recipient know the purpose of the payment.
- You can also choose whether the payment is for “Payment” or “Request”.
- Review the payment details, and once you’re ready, tap on the “Pay” or “Request” button to complete the transaction.
- To receive a payment, someone will need to send money to your Venmo account using your Venmo handle or the email/phone number associated with your account.
Once a payment is sent or received, you and the other party will receive notifications indicating the transaction. The money will be instantly transferred to your Venmo account balance, and you can choose to leave it there for future payments or transfer it to your linked bank account.
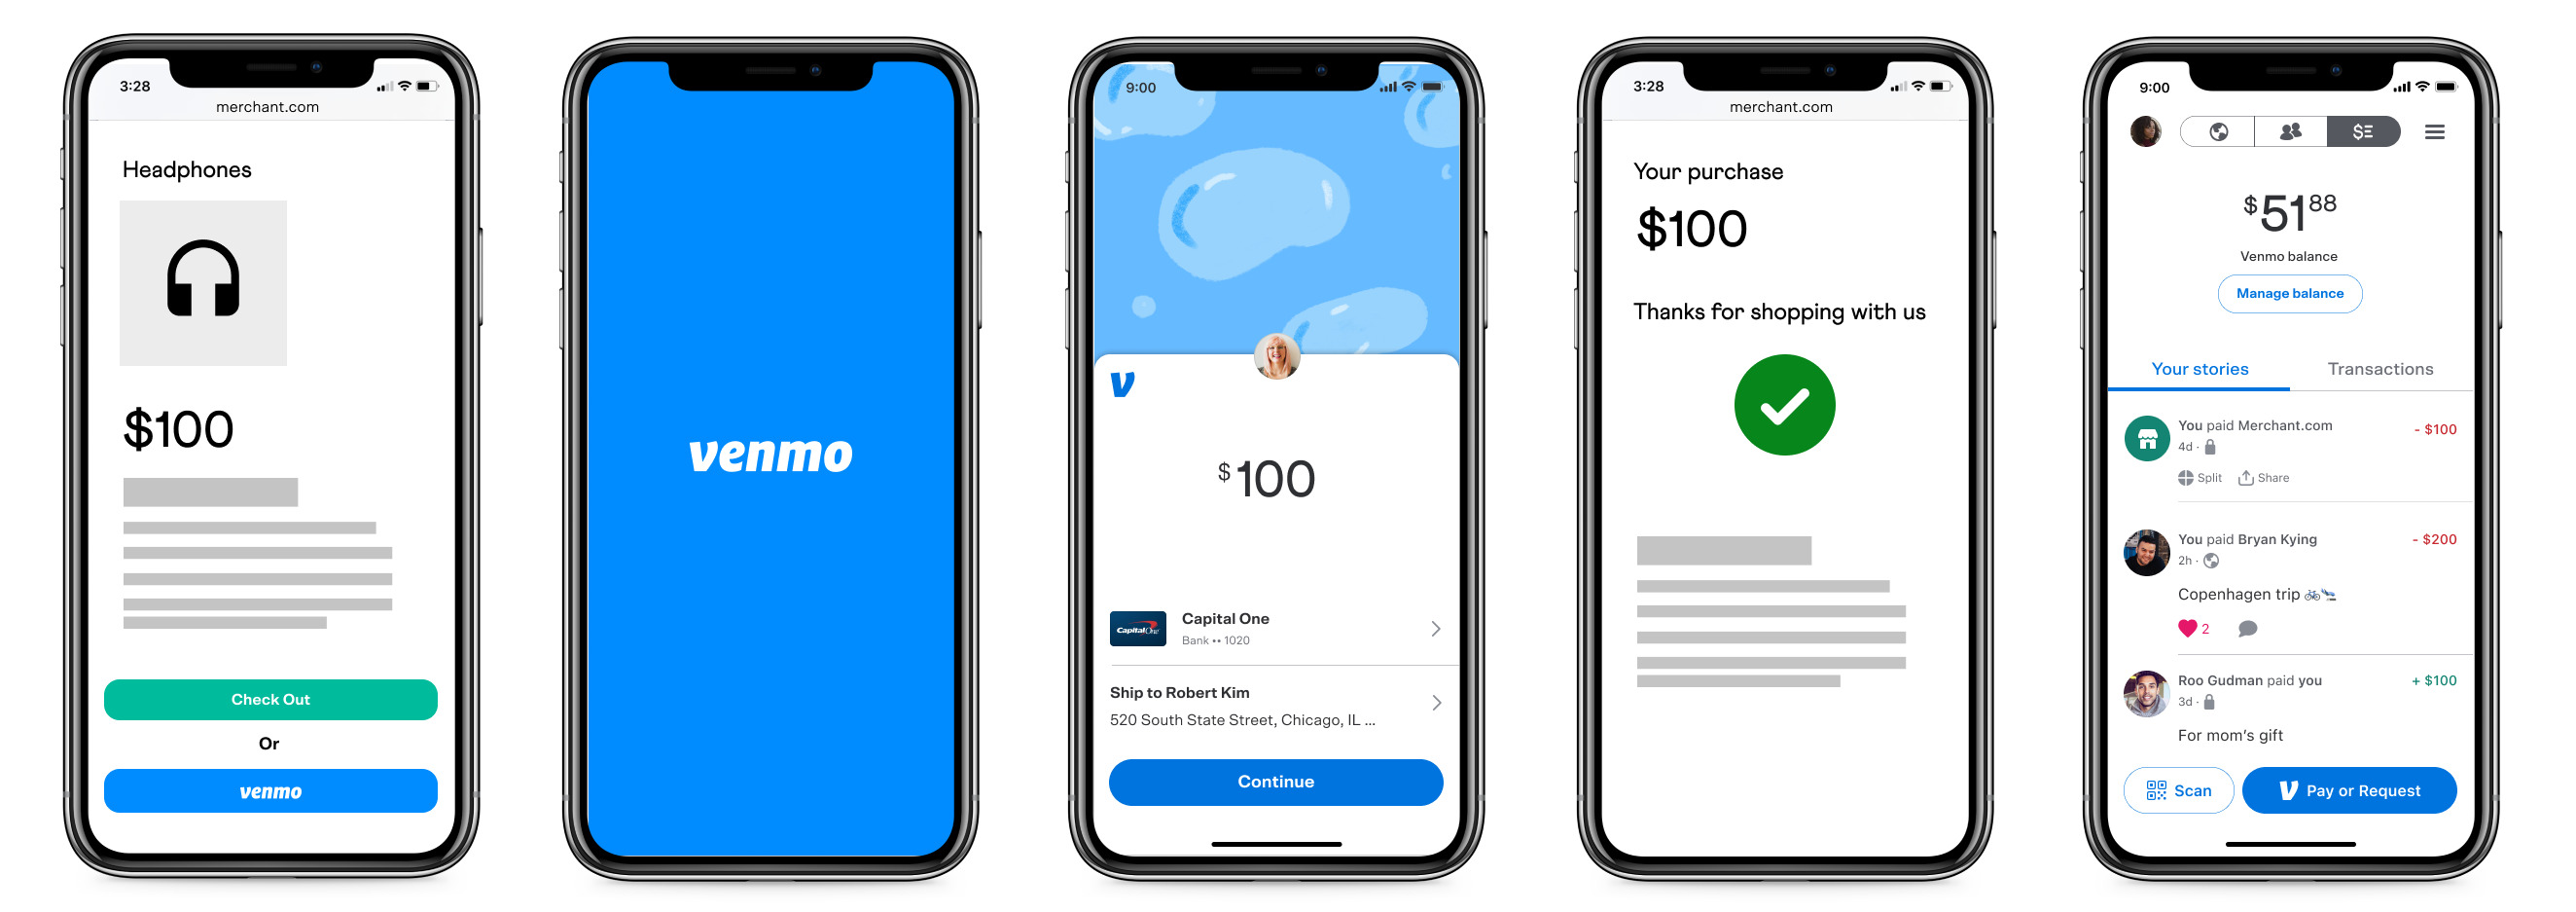
In addition to person-to-person transactions, Venmo also offers the option to make payments at select merchants. Look for the option to pay with Venmo when checking out at participating online or in-app retailers.
It’s important to note that while Venmo is a convenient and widely used payment app, it’s essential to use it responsibly and only transact with trusted individuals or businesses. Be vigilant about confirming the recipient’s information and double-checking payment details before completing a transaction.
Now that you’re familiar with sending and receiving payments on Venmo, you can start enjoying the convenience and ease of transferring funds. The next step will introduce you to some additional features and functionalities that you can enable to enhance your Venmo experience.
Step 8: Enable Additional Features
While Venmo’s core functionality revolves around sending and receiving payments, the app offers additional features and functionalities that can enhance your overall experience. These features allow you to further customize your account, enable convenient payment options, and even contribute to social causes. Here are some additional features you can enable on Venmo:
- Venmo Card: If you want to take your Venmo account offline and use it for in-person purchases, you can apply for a Venmo Card. The Venmo Card is a debit card linked directly to your Venmo account, allowing you to make purchases and withdraw funds from your balance at eligible ATMs.
- Instant Transfers: By enabling Instant Transfers, you can transfer funds from your Venmo account to your linked bank account instantly. This feature eliminates the typical 1-3 business day waiting period for standard transfers, providing quicker access to your money.
- Social Feed: The Venmo social feed allows you to see and engage with your friends’ transactions. You can like and comment on their payments, adding a social aspect to your financial interactions. You have the option to enable or disable the social feed visibility in your settings.
- Donations: Venmo also provides users with the option to make charitable contributions through the app. You can choose from a list of verified organizations and easily donate directly from your Venmo account.
- Splitting Bills: When dining out or splitting expenses with friends, you can use the Splitting Bills feature on Venmo. This allows you to divide a payment evenly among multiple people or specify individual shares, simplifying the process of splitting expenses.
To enable these features, follow these steps:
- Open the Venmo app on your device and log in to your account.
- On the app’s home screen, tap on the “☰” icon in the top-left corner to open the menu.
- Select “Settings” from the menu options.
- Explore the various settings and features available.
- Toggle the switches or follow the prompts to enable the features you’re interested in.
- Review any additional information or prompts associated with enabling the feature.
- Save your settings and enjoy the enhanced functionality and convenience these features provide.
By enabling additional features on Venmo, you can tailor your account to better suit your needs, lifestyle, and preferences. Whether it’s using the Venmo Card for everyday purchases, making instant transfers, or contributing to charitable causes, these features offer added convenience and opportunities for personalization.
Now that you have a comprehensive understanding of the additional features Venmo offers, you can take full advantage of the app’s capabilities. With your personalized account, you’re ready to enjoy a seamless and convenient payment experience.
Conclusion
Congratulations! You have successfully gone through the step-by-step process of setting up and personalizing your Venmo account. By following these instructions, you now have access to a convenient and user-friendly platform that allows you to send and receive money with ease.
With your Venmo account, you can split bills, pay back friends, make purchases, and contribute to charitable causes. The app’s additional features, such as the Venmo Card, Instant Transfers, and social feed, offer added convenience and customization options.
Remember to prioritize privacy and security when using Venmo. Customize your privacy settings to ensure your transactions are visible only to the audience you choose. Also, be cautious when sharing personal information and double-check payment details before completing a transaction.
If you ever need assistance or have questions about using Venmo, refer to the Venmo Help Center or reach out to Venmo’s customer support for guidance.
Now that you’re equipped with the knowledge and tools to make the most of your Venmo account, start exploring the app, connect with friends, and make secure and hassle-free payments. Enjoy the convenience and simplicity that Venmo brings to your financial transactions!