Introduction
When it comes to connecting to the internet, there are various methods available, including Wi-Fi and Ethernet. While both options serve the same purpose of providing internet access, they function in different ways and can be affected by different issues. It can be frustrating when your Wi-Fi connection is working perfectly fine, but your Ethernet connection is not.
In this article, we will explore the reasons why your Wi-Fi might be working but your Ethernet connection is experiencing issues. We will delve into possible causes such as faulty cables, network adapter problems, incorrect network configurations, or even driver issues. By understanding these potential factors, you will be equipped with troubleshooting tips to address and fix the Ethernet connectivity issues.
Whether you rely on Ethernet for a more stable and faster connection or simply want to troubleshoot connectivity problems, this article will help you understand the possible explanations and provide you with solutions to get your Ethernet connection up and running again.
Understanding the difference between Wi-Fi and Ethernet
Before delving into the reasons behind Wi-Fi working while Ethernet is not, it is essential to comprehend the fundamental differences between these two methods of internet connectivity.
Wi-Fi, also known as wireless local area network (WLAN), uses radio waves to transmit data between devices and a wireless router. It eliminates the need for physical cables, allowing devices to connect to the internet wirelessly as long as they are within the range of the router’s signal. Wi-Fi connections are convenient and widely used, especially in homes, offices, and public spaces.
On the other hand, Ethernet utilizes physical cables to establish a connection between devices and a wired router or modem. These cables, typically Ethernet cables (such as Cat5e or Cat6), transfer data through twisted pairs of copper wires, providing a more stable and reliable connection compared to Wi-Fi. Ethernet connections are commonly utilized in situations where a fast and consistent internet connection is required, such as gaming consoles, desktop computers, or streaming devices.
While Wi-Fi offers flexibility in terms of mobility and connectivity from a distance, Ethernet connections tend to provide lower latency and higher speeds due to the direct, wired connection. Understanding this difference will help us troubleshoot and identify potential issues specific to Ethernet connectivity.
Reasons why Wi-Fi may be working but Ethernet is not
It can be perplexing when your Wi-Fi connection is working perfectly fine, but your Ethernet connection is not functioning as expected. There can be several reasons for this disparity in connectivity. Let’s explore some possible explanations:
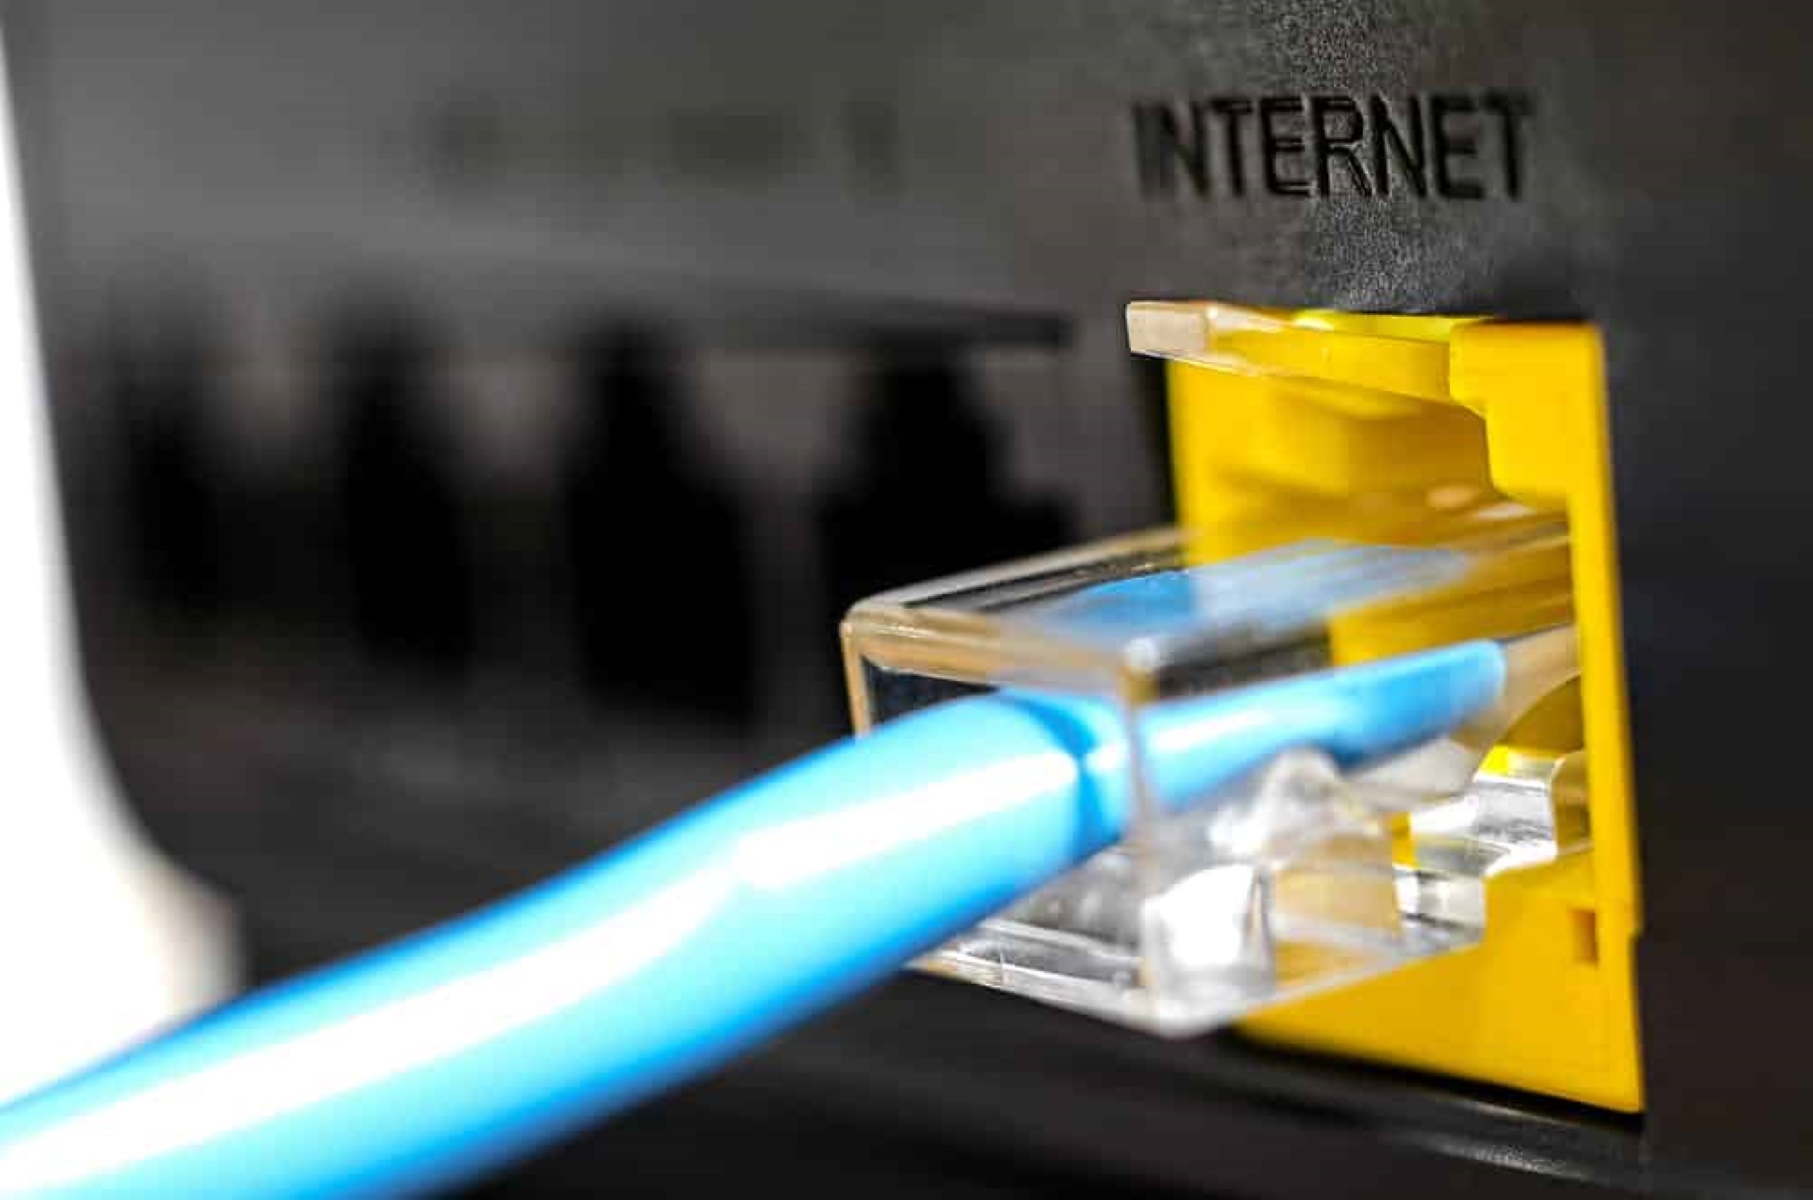
1. Loose or faulty Ethernet cable connection: One common reason for Ethernet not working is a loose or faulty cable connection. Check that the Ethernet cable is securely plugged into both the device’s Ethernet port and the router or modem. If possible, try using a different Ethernet cable to eliminate any possibility of a damaged cable causing the issue.
2. Issues with the network adapter: The network adapter, also known as the Ethernet adapter, is responsible for establishing and managing the Ethernet connection. A problem with the adapter could result in a non-functional Ethernet connection. Ensure that the network adapter drivers are up to date and functioning correctly. You can do this by going to the Device Manager on your computer and checking for any yellow exclamation marks or error messages related to the network adapter.
3. Problems with the Ethernet port on the device: Sometimes, the issue lies with the Ethernet port itself. It could be damaged, dirty, or not functioning correctly. Try connecting the Ethernet cable to a different port on the device or try using a different device altogether to see if the problem persists.
4. Incorrect network configurations: Misconfigured network settings can lead to an Ethernet connection problem. Ensure that the IP settings, subnet mask, gateway, and DNS configurations are correct. You can check these settings in the network adapter properties or consult your internet service provider for the correct configuration details.
5. Network driver issues: Outdated or faulty network drivers can cause issues with the Ethernet connection. If you recently updated your operating system or installed new software, it’s possible that the network drivers were affected. Try updating the network drivers from the manufacturer’s website or reinstalling them to resolve any potential driver-related issues.
Identifying the specific reason behind the Ethernet connectivity problem can help you address and resolve the issue effectively. In the following section, we will provide troubleshooting tips to help you fix your Ethernet connection when it’s not working as expected.
Loose or faulty Ethernet cable connection
A loose or faulty Ethernet cable connection is one of the most common reasons why Ethernet might not be working despite Wi-Fi functioning properly. It’s essential to ensure that all the cable connections are secure and properly plugged in. Here are some steps to troubleshoot this issue:
1. Check the physical connection: Start by inspecting both ends of the Ethernet cable. Ensure that the cable is securely plugged into the Ethernet port on your device (computer, gaming console, etc.) and the Ethernet port on your router or modem. Sometimes, the cable can become loose due to accidental tugging or movement.
2. Try a different Ethernet cable: If you suspect that the cable might be faulty, try using a different Ethernet cable to see if the issue is resolved. Swap out the existing cable with a known working cable to rule out any cable-related problems.
3. Test the Ethernet cable: If you have access to a cable tester, you can use it to check the continuity and integrity of the Ethernet cable. This can help determine if there are any wiring issues or breaks in the cable that could be causing the problem.
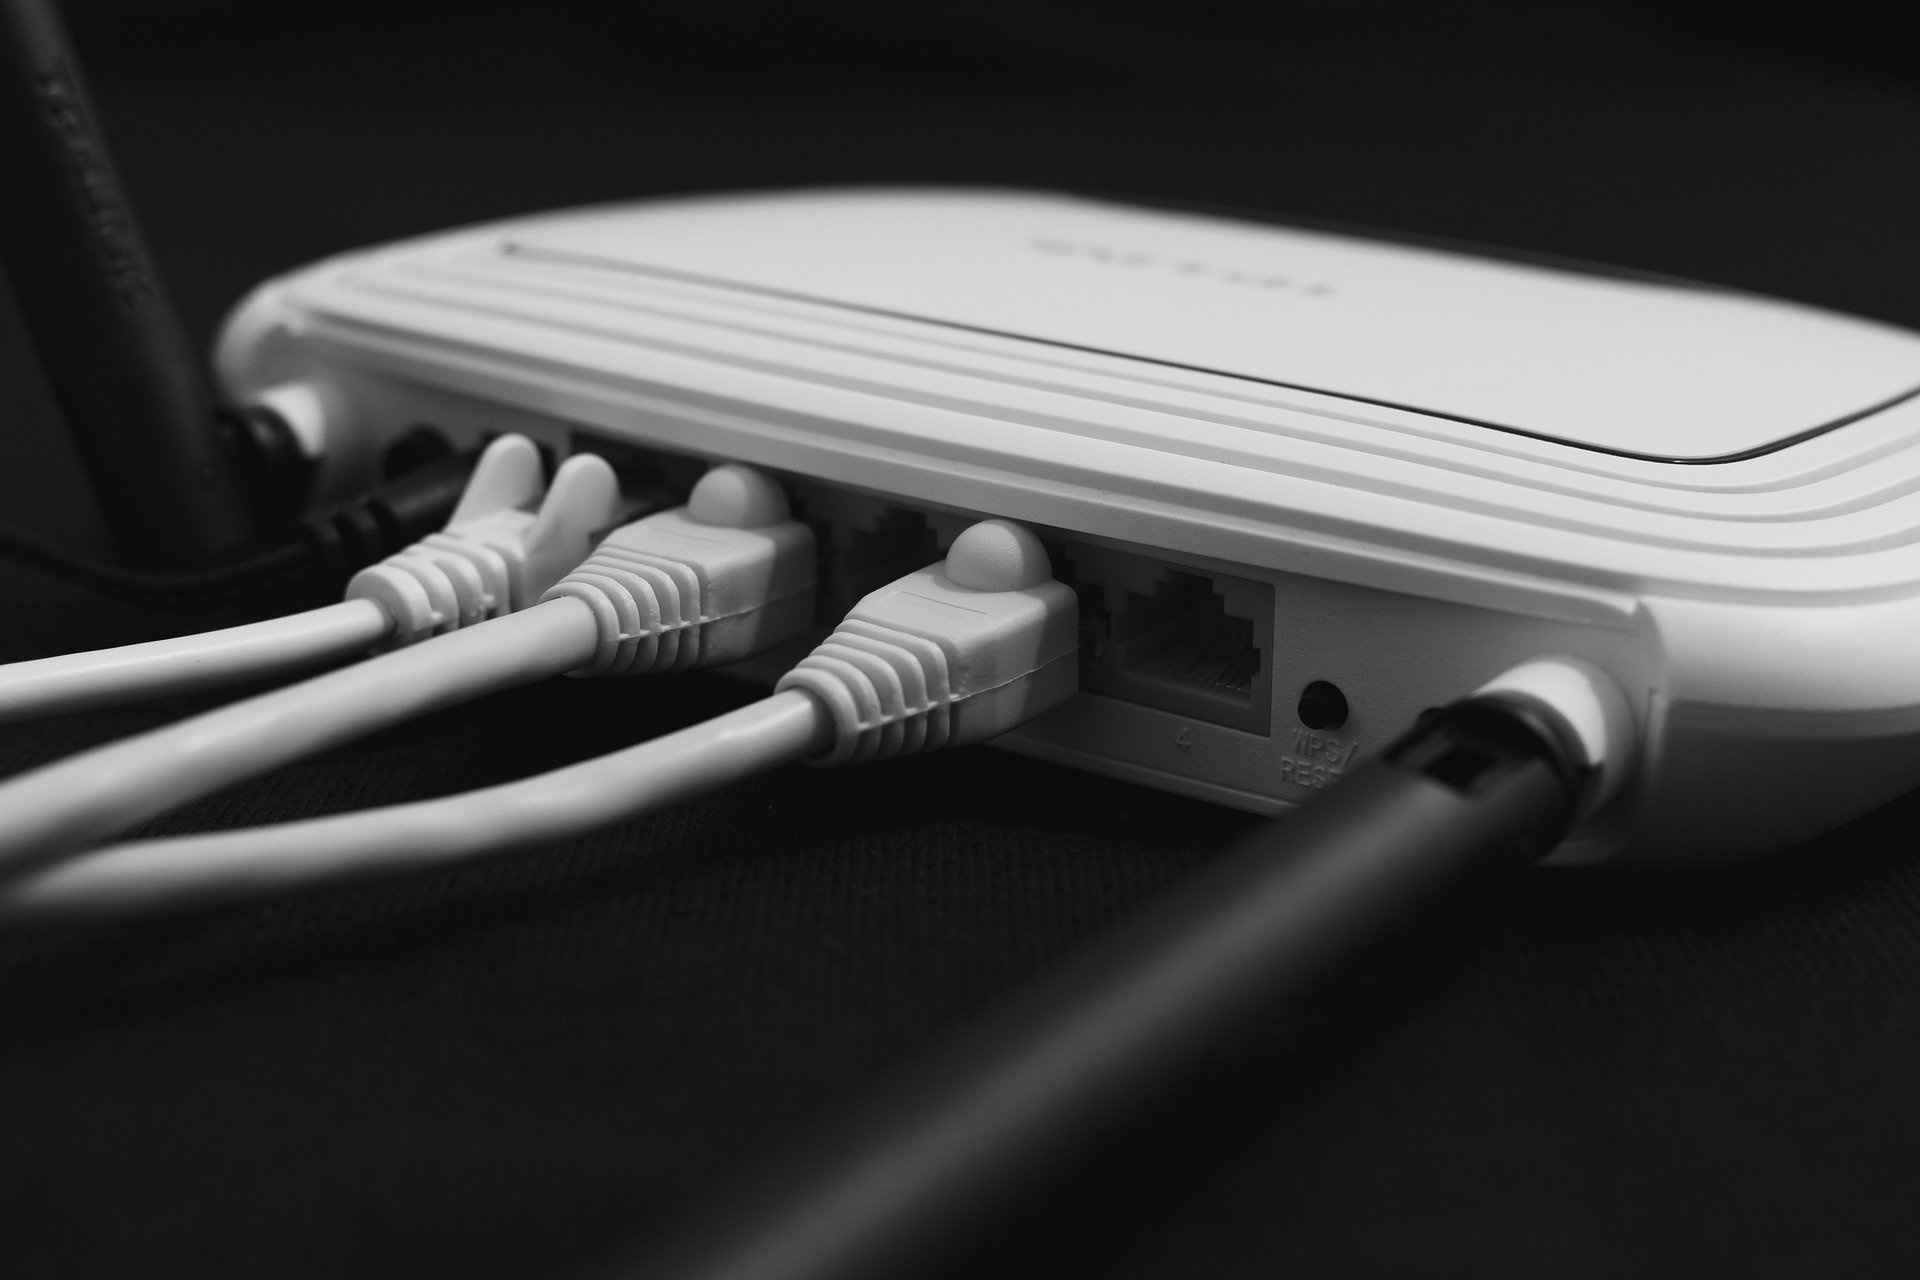
4. Inspect the Ethernet ports: Check the Ethernet ports on both your device and the router or modem for any physical damage or debris. Sometimes, dust, dirt, or other debris can accumulate inside the ports, hindering a proper connection. Use compressed air or a small brush to clean out any debris carefully.
5. Try a different port: If you have multiple Ethernet ports available on your router or modem, try connecting the Ethernet cable to a different port. The port you are currently using might be faulty, and switching to a different port can resolve the issue.
By following these steps, you can address any loose or faulty Ethernet cable connection issues. If the problem persists even after ensuring a secure connection with a working cable, there might be other underlying causes, such as network adapter problems or incorrect network configurations. In the next sections, we will explore possible solutions for those issues to further troubleshoot and fix the Ethernet connectivity problem.
Issues with the network adapter
The network adapter, also known as the Ethernet adapter, plays a crucial role in establishing and managing the Ethernet connection on your device. If there are any problems with the network adapter, it can prevent the Ethernet connection from functioning properly. Here are some steps to address and resolve network adapter-related issues:
1. Check device manager for errors: Open the Device Manager on your computer by right-clicking on the Start menu and selecting “Device Manager.” Look for any yellow exclamation marks or error symbols next to the network adapter category. This indicates a problem with the network adapter driver or device itself.
2. Update network adapter driver: An outdated or incompatible network adapter driver can lead to connectivity issues. Right-click on the network adapter listed in the Device Manager and select “Update driver.” Choose the option to search automatically for updated driver software. If updates are found, follow the on-screen instructions to install them.
3. Reinstall network adapter driver: If updating the driver didn’t resolve the issue, try reinstalling it. Right-click on the network adapter and select “Uninstall device.” After uninstalling, restart your computer, and Windows will automatically reinstall the network adapter driver.
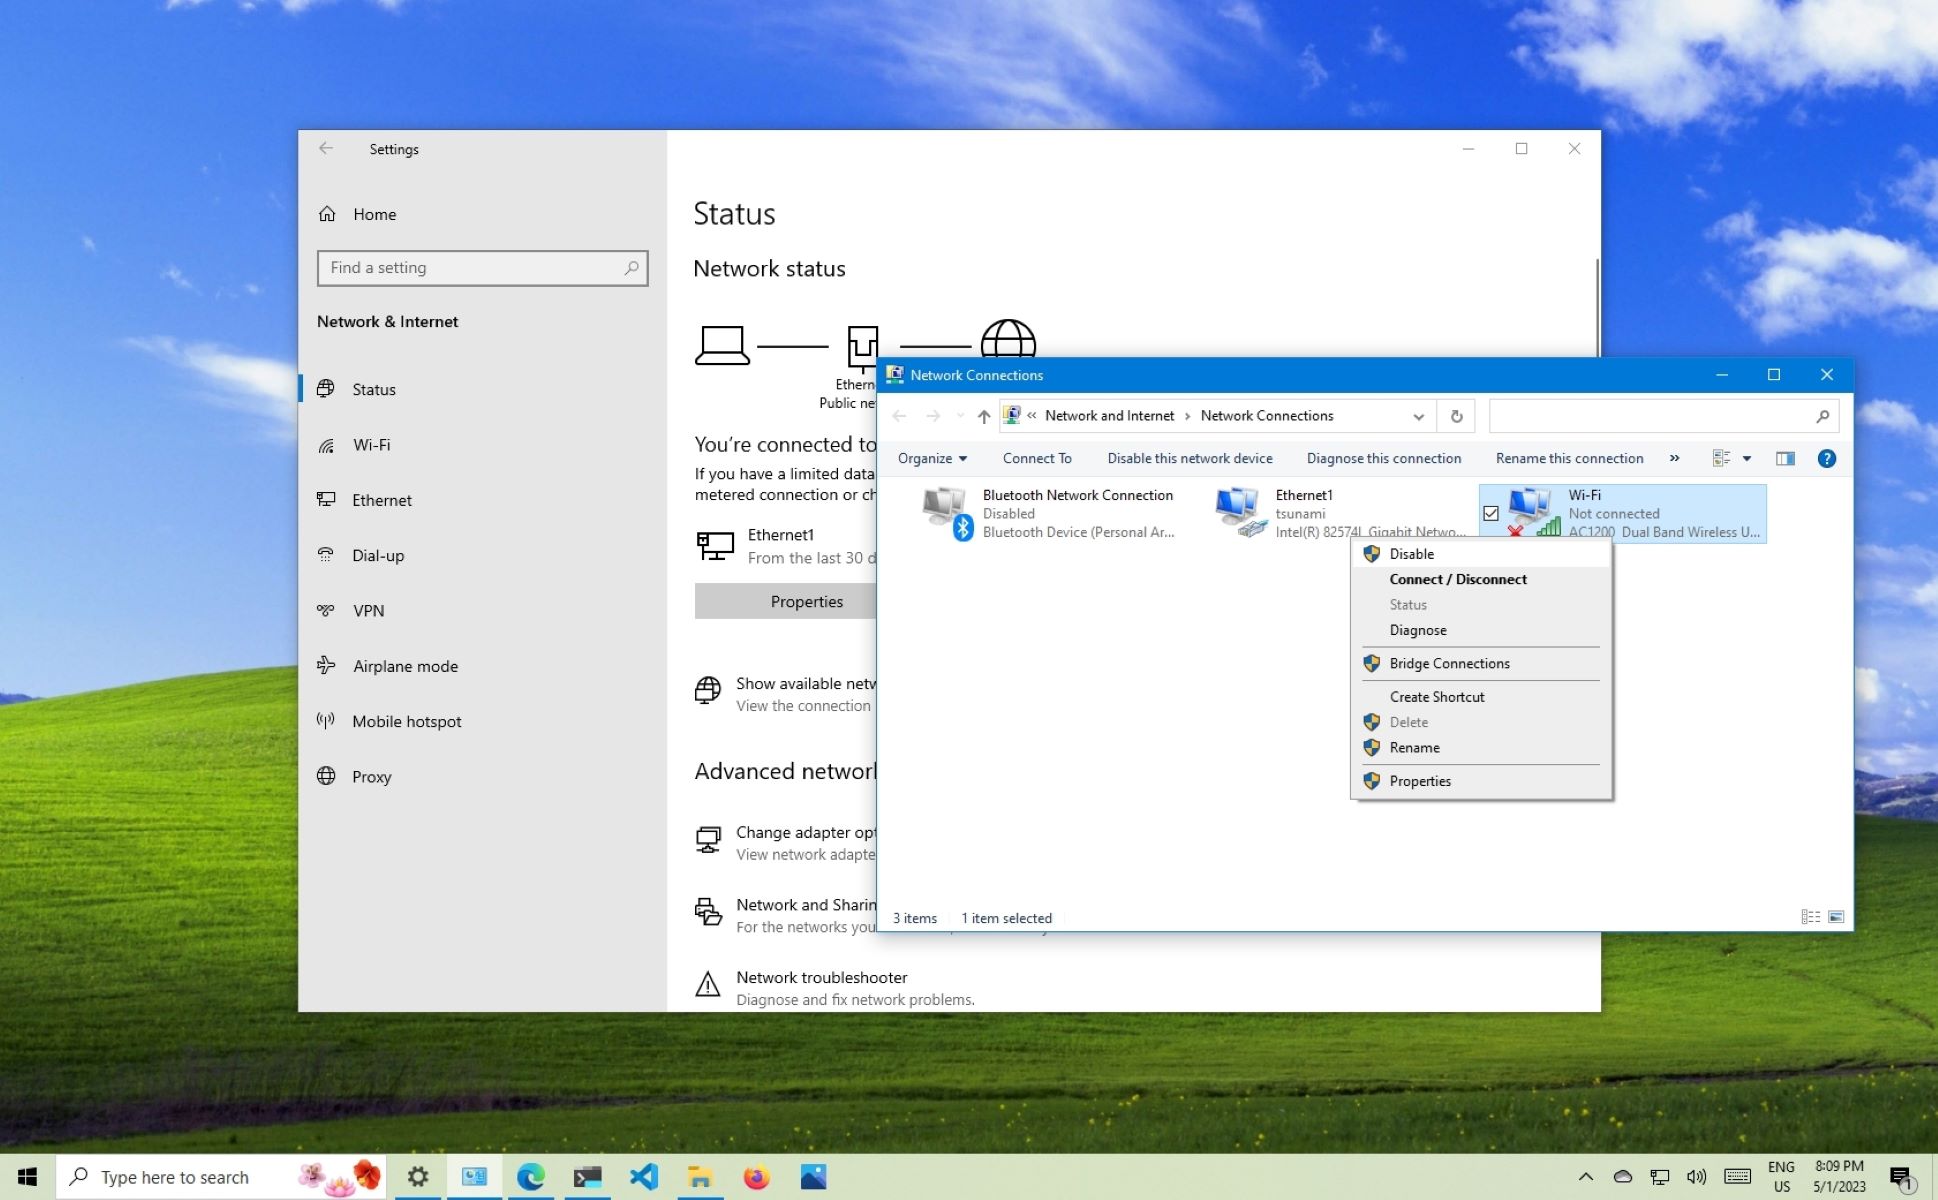
4. Disable and enable the network adapter: Sometimes, disabling and re-enabling the network adapter can help refresh its settings and resolve minor issues. Right-click on the network adapter in Device Manager and choose the “Disable” option. Wait for a moment, then right-click on it again and select “Enable.”
5. Reset TCP/IP settings: Resetting the TCP/IP settings can also help fix network adapter problems. Open the Command Prompt as an administrator and run the following commands one by one:
bash
netsh winsock reset
netsh int ip reset
ipconfig /release
ipconfig /renew
After running these commands, restart your computer and check if the Ethernet connectivity is restored.
By following these troubleshooting steps, you can address and resolve network adapter issues that may be causing the Ethernet connection problem. If the problem persists, there may be other underlying causes, such as problems with the Ethernet port or incorrect network configurations. In the next sections, we will explore possible solutions for these issues to further troubleshoot and fix the Ethernet connectivity problem.
Problems with the Ethernet port on the device
The Ethernet port on your device plays a crucial role in establishing a physical connection between your device and the router or modem. If there are any issues with the Ethernet port, it can cause disruptions to the Ethernet connection. Here are some steps to address and resolve problems related to the Ethernet port:
1. Inspect the Ethernet port: Carefully examine the Ethernet port on your device for any visible physical damage, such as bent pins or loose connections. If you notice any issues, it may indicate a problem with the port itself. In such cases, it’s recommended to seek professional help to repair or replace the Ethernet port.
2. Try a different Ethernet port: If your device has multiple Ethernet ports, try connecting the Ethernet cable to a different port. Sometimes, a particular port may be faulty while others are functioning correctly. By switching to another port, you can determine if the issue is specific to a particular Ethernet port.
3. Reset the Ethernet port: Resetting the Ethernet port can help resolve certain issues. Power down your device, unplug the power cable, and disconnect the Ethernet cable from the port. Leave it unplugged for a few minutes to allow any residual power to dissipate. Then, reconnect the Ethernet cable, plug in the power cable, and power on your device.
4. Update firmware: Check if there are any firmware updates available for your device’s network interface card (NIC). Visit the manufacturer’s website and download the latest firmware for your specific device. Follow the instructions provided by the manufacturer to update the firmware. Firmware updates can sometimes resolve bugs or compatibility issues that could affect the functioning of the Ethernet port.
5. Seek professional assistance: If you’ve tried troubleshooting steps without success and suspect that the Ethernet port itself is faulty, it may be best to contact a professional technician. They will have the expertise and tools to diagnose and repair any hardware-related issues with the Ethernet port.
Addressing problems with the Ethernet port can sometimes be more complex, as it involves the physical hardware of your device. If the above steps did not resolve the issue, it is recommended to seek professional assistance or contact the manufacturer for further guidance. In the next sections, we will explore other potential causes and troubleshooting tips to help you fix Ethernet connectivity issues.
Incorrect network configurations
Incorrect network configurations can cause issues with the Ethernet connection. It’s important to ensure that the network settings on your device are correctly configured to establish a proper connection. Here are some steps to address and resolve problems related to incorrect network configurations:
1. Check IP settings: Ensure that the IP settings on your device are correctly set. Open the Command Prompt and type in “ipconfig” to view the IP address, subnet mask, and default gateway. Compare these settings with the ones provided by your internet service provider (ISP) or network administrator. If they don’t match, you may need to manually configure the correct IP settings.
2. Configure DNS settings: DNS (Domain Name System) translates domain names into IP addresses and plays a vital role in internet connectivity. Incorrect DNS settings can result in connection issues. Verify that your device is using the correct DNS server addresses. You can either set it to obtain DNS server addresses automatically or enter the preferred and alternate DNS server addresses provided by your ISP.
3. Disable proxy settings: If you have proxy settings enabled on your device, it may interfere with the Ethernet connection. Open the network settings on your device and disable any proxy configurations. Set it to “Automatically detect settings” or “No proxy” depending on your operating system.
4. Reset network configurations: Resetting the network configurations on your device can help resolve issues caused by incorrect settings. Open the Command Prompt as an administrator and run the following command: “netsh int ip reset”. This will reset the TCP/IP stack back to default settings.
5. Consult your ISP or network administrator: If you have tried the above steps and continue to experience issues with network configurations, it may be necessary to contact your ISP or network administrator for assistance. They can provide you with the correct configuration settings specific to your network setup.
Ensuring correct network configurations on your device is essential for establishing a proper Ethernet connection. By following these troubleshooting steps, you can identify and resolve any configuration-related issues. In the next sections, we will explore additional troubleshooting tips to help you fix Ethernet connectivity problems.
Network driver issues
Network drivers, also known as Ethernet drivers, are software components that facilitate communication between your device’s network adapter and the operating system. Outdated or faulty network drivers can cause connectivity issues with the Ethernet connection. Here are some steps to address and resolve network driver-related issues:
1. Update network drivers: Outdated or incompatible network drivers can be a common cause of network connectivity problems. Visit the website of your device’s manufacturer or the manufacturer of the network adapter to download the latest drivers. Make sure to download the drivers specific to your device model and operating system. Install the updated drivers and restart your device.
2. Automatic driver update: Some operating systems offer automatic driver update features. Check if such a feature is available on your device. Enable the automatic driver update option if available to ensure that you have the latest compatible network drivers installed.
3. Rollback drivers: If you recently updated the network drivers and started experiencing Ethernet connectivity issues, it’s possible that the new drivers are causing the problem. Rollback the drivers to the previous version by going to the Device Manager, locating the network adapter, right-clicking on it, and selecting “Properties.” In the Properties menu, go to the “Driver” tab and choose the “Roll Back Driver” option.
4. Uninstall and reinstall drivers: If updating or rolling back the drivers did not resolve the issue, try uninstalling the network drivers and reinstalling them. Open the Device Manager, locate the network adapter, right-click on it, and select “Uninstall device.” After uninstalling, restart your device, and the drivers will be automatically reinstalled.
5. Use driver update software: If manually updating or reinstalling drivers seems challenging, you can consider using driver update software. There are various third-party applications available that can scan your device, identify outdated or incompatible drivers, and automatically update them for you.
By addressing network driver issues, you can potentially resolve Ethernet connectivity problems. Updating, rolling back, or reinstalling drivers can help ensure that your network adapter is properly communicating with the operating system. If the issue persists even after updating the drivers, there may be other underlying causes that need further investigation. In the subsequent sections, we will provide additional troubleshooting tips to help you fix Ethernet connectivity problems.
Troubleshooting tips for fixing Ethernet connectivity issues
When faced with Ethernet connectivity problems, there are several troubleshooting steps you can take to diagnose and resolve the issue. Here are some tips to help you fix Ethernet connectivity issues:
1. Check the Ethernet cable: Ensure that the Ethernet cable is not damaged or frayed. Try using a different Ethernet cable to eliminate the possibility of a faulty cable causing the problem.
2. Restart the router and modem: Power down both the router and the modem, wait for a few seconds, and then power them back on. This can help refresh the network connection and resolve any temporary glitches.
3. Update network drivers: Ensure that you have the latest network drivers installed on your device. Visit the manufacturer’s website or use driver update software to download and install the latest drivers compatible with your device and operating system.
4. Disable and enable the network adapter: In the Device Manager, right-click on the network adapter and select “Disable.” Wait for a few seconds, then right-click again and select “Enable.” This can help refresh the network adapter settings and resolve minor issues.
5. Reset TCP/IP settings: Open the Command Prompt as an administrator and run the following command: “netsh int ip reset.” This will reset the TCP/IP (Transmission Control Protocol/Internet Protocol) settings back to their default values.
6. Power cycle your device: Power down your device completely, unplug the power cable, and wait for a few minutes. Then, plug in the power cable and power on your device. This can help clear any temporary issues and reset the network connections.
7. Disable firewall or security software: Sometimes, firewall or security software can interfere with network connections. Temporarily disable these programs and check if the Ethernet connection starts working. If it does, you may need to adjust the settings of your security software to allow the Ethernet connection.
8. Perform a system restore: If you recently made changes to your device’s settings or installed new software that may have affected the network connection, consider performing a system restore to revert your device back to a previous state when the Ethernet connection was working correctly.
By following these troubleshooting tips, you can diagnose and fix common Ethernet connectivity issues. If the problem persists, it is recommended to seek professional assistance or contact your internet service provider for further support.
Check the Ethernet cable
One of the first and simplest steps to take when troubleshooting Ethernet connectivity issues is to check the Ethernet cable. A faulty or damaged cable can disrupt the connection and prevent it from functioning correctly. Here’s what you can do to ensure the Ethernet cable is not causing the problem:
1. Inspect the cable visually: Examine the entire length of the Ethernet cable for any visible signs of damage, such as bends, cuts, or fraying. Pay close attention to the connectors on both ends as they can sometimes become loose or bent. If you notice any issues, it’s likely that the cable itself is faulty and needs to be replaced.
2. Securely plug in the cable: Ensure that the Ethernet cable is securely plugged into both the Ethernet port on your device and the port on your router or modem. Make sure the connection is firm and not loose. Sometimes, a loose connection can result in intermittent connectivity or no connection at all.
3. Try a different Ethernet cable: If you suspect that the cable may be the culprit, try using a different Ethernet cable to see if the problem persists. Borrow a cable from a friend or use another known working cable to connect your device to the router or modem. If the connection is successful with a different cable, it confirms that the original Ethernet cable is indeed faulty and needs to be replaced.
4. Test the cable on another device: If you have access to another device with an Ethernet port, such as a laptop or game console, you can test the Ethernet cable on that device. Connect one end of the cable to the other device and the other end to the router or modem. If the connection works on the other device, it indicates that the cable itself is not the issue, and you may need to focus on troubleshooting the Ethernet port or settings on your original device.
5. Replace the Ethernet cable: If you’ve determined that the Ethernet cable is faulty, it’s recommended to replace it with a new one. Purchase a high-quality Ethernet cable of the appropriate length and type (such as Cat5e or Cat6) suitable for your needs. Ensure that the new cable is securely plugged in at both ends and test the connection to verify if the Ethernet connectivity issue has been resolved.
By thoroughly checking the Ethernet cable and ensuring a secure connection, you can eliminate one of the common causes of Ethernet connectivity issues. If the problem persists even after replacing the cable, there may be other factors contributing to the issue that need further investigation and troubleshooting.
Restart the router and modem
When troubleshooting Ethernet connectivity issues, a simple yet effective step is to restart both the router and modem. Restarting these devices can help refresh the network connection and resolve any temporary glitches that may be affecting the Ethernet connectivity. Here’s how you can do it:
1. Power down the devices: Locate the power source for both your router and modem. It is usually a power button or an AC adapter. Press the power button to turn off the devices or unplug the AC adapter from the power outlet.
2. Wait for a few seconds: Allow a few seconds for the devices to completely power down. This will ensure that any lingering network connections are terminated.
3. Disconnect the Ethernet cable: Unplug the Ethernet cable from the router or modem. This step helps break the existing connection between the devices.
4. Power on the modem: Start by turning on the modem. Plug the AC adapter back into the power outlet or press the power button to switch it on. Wait for the modem to fully restart, which can take a few minutes. Check the modem’s indicators or lights to ensure it has established a stable connection.
5. Power on the router: Once the modem is fully powered on and connected, proceed to restart the router. Use the same method as described for the modem, either by pressing the power button or plugging in the AC adapter. Give the router a few minutes to reboot and establish a connection with the modem.
6. Reconnect the Ethernet cable: Once both the modem and router are powered on and connected, plug the Ethernet cable back into the appropriate Ethernet port on the router. Ensure it is securely inserted to establish a stable connection.
7. Verify the Ethernet connection: Once the router and modem have restarted, check if the Ethernet connection is restored. Connect your device to the router using an Ethernet cable and verify if you have internet connectivity.
Restarting the router and modem can clear any network congestion or temporary issues that may be causing the Ethernet connectivity problem. If the issue persists even after restarting the devices, you may need to explore other troubleshooting steps to identify and resolve the root cause of the problem.
Update network drivers
Outdated or faulty network drivers can often cause issues with Ethernet connectivity. Updating the network drivers to their latest versions can help resolve these problems and ensure optimal performance. Here’s how you can update the network drivers:
1. Identify your network adapter: Determine the model and manufacturer of your network adapter. You can find this information by checking the documentation that came with your device or by accessing the Device Manager on your computer.
2. Visit the manufacturer’s website: Go to the website of the manufacturer or the device’s support page. Look for a section such as “Support” or “Downloads” where you can find drivers.
3. Search for the latest drivers: Locate the driver downloads section and search for the latest drivers for your specific network adapter model. Make sure to select the appropriate drivers based on your operating system.
4. Download the drivers: Download the latest drivers for your network adapter. Most manufacturers provide the drivers in executable files that you can run to automatically install them.
5. Install the drivers: Once the drivers are downloaded, double-click on the executable file and follow the on-screen instructions to install them. Restart your computer if prompted to complete the installation process.
6. Verify the driver update: After restarting your computer, verify that the network drivers have been successfully updated. You can do this by accessing the Device Manager, locating the network adapter, and checking the driver version or date. If it matches the latest version from the manufacturer’s website, the update was successful.
If you prefer a more automated approach, you can also use driver update software that scans your system and automatically downloads and installs the latest drivers for your network adapter. There are several reputable driver update software programs available online.
Note that updating network drivers can sometimes introduce compatibility issues, especially if you install an incompatible or beta version. If you encounter any problems after updating the driver, you can revert to the previous version by accessing the Device Manager, right-clicking on the network adapter, and selecting “Roll Back Driver.”
By keeping your network drivers up to date, you ensure that your network adapter functions optimally and resolves any potential conflicts that may be causing Ethernet connectivity issues. If updating the drivers did not resolve the problem, additional troubleshooting steps may be required to identify and resolve the underlying cause.
Disable and enable network adapter
Disabling and enabling the network adapter can help refresh its settings and resolve any minor issues that may be affecting the Ethernet connectivity. Here’s how you can perform this troubleshooting step:
1. Open the Device Manager: Access the Device Manager by right-clicking on the Start menu and selecting “Device Manager” from the context menu. Alternatively, you can use the search function in the taskbar and type “Device Manager” to open it directly.
2. Locate the network adapter: In the Device Manager window, expand the “Network adapters” category. Here, you will find the network adapter(s) installed on your computer.
3. Disable the network adapter: Right-click on the network adapter that you want to disable and select the “Disable” option from the context menu. A confirmation prompt may appear; click “Yes” to proceed. The network adapter will be disabled, and the Ethernet connection will be temporarily disconnected.
4. Enable the network adapter: Once the network adapter is disabled, right-click on it again and select the “Enable” option. This action will re-enable the network adapter and attempt to establish a connection with the Ethernet network.
5. Verify the Ethernet connection: After enabling the network adapter, check if the Ethernet connection is restored. Connect your device to the router or modem using an Ethernet cable and verify if you have internet connectivity.
Performing this disable and enable process helps refresh the network adapter’s settings, clears any temporary issues, and triggers the adapter to establish a new connection. In some cases, this simple action can resolve minor problems that may be causing Ethernet connectivity issues.
If disabling and enabling the network adapter did not resolve the problem, you may need to explore other troubleshooting steps or consider updating the network drivers. In the subsequent sections, we will provide additional tips to help you further troubleshoot and fix Ethernet connectivity problems.
Reset TCP/IP settings
Resetting the TCP/IP (Transmission Control Protocol/Internet Protocol) settings can help resolve network issues, including Ethernet connectivity problems. TCP/IP is a set of protocols that govern the communication between devices on a network. Resetting these settings can help fix any misconfigurations or corrupted settings that may be impacting the Ethernet connection. Here’s how you can reset the TCP/IP settings:
1. Open the Command Prompt as an administrator: Right-click on the Start menu and select “Command Prompt (Admin)” from the context menu. This will open the Command Prompt with administrative privileges.
2. Run the netsh command: In the Command Prompt window, type the following command and press Enter: netsh int ip reset
3. Reset TCP/IP stack: After running the command, the TCP/IP stack will be reset to its default configuration. The Command Prompt will display a message stating that the reset was successful.
4. Restart your computer: To fully apply the changes, restart your computer. This will ensure that the TCP/IP settings are reset and take effect.
After your computer restarts, check if the Ethernet connection is functioning properly. Connect your device to the router or modem using the Ethernet cable and verify if you have internet connectivity. Resetting the TCP/IP settings can often fix issues related to network protocols and configurations, thereby restoring the Ethernet connectivity.
It is worth noting that resetting the TCP/IP settings will remove any custom settings you have made, such as static IP addresses or DNS configurations. If you have made any specific network customizations, you will need to reconfigure them after performing the TCP/IP reset.
If resetting the TCP/IP settings did not resolve the Ethernet connectivity issue, there may be other underlying causes, such as hardware problems or network configurations. In the upcoming sections, we will explore additional troubleshooting tips to help you diagnose and fix the issues.
Conclusion
Having a functional Ethernet connection is crucial for stable and reliable internet access. While it can be frustrating when the Wi-Fi is working fine but the Ethernet connection is not, there are various factors that can contribute to this issue.
In this article, we’ve explored common reasons why the Wi-Fi may be working while the Ethernet connection is experiencing problems. These reasons include loose or faulty Ethernet cable connections, issues with the network adapter, problems with the Ethernet port on the device, incorrect network configurations, and network driver issues.
To troubleshoot and fix Ethernet connectivity issues, we’ve provided a range of troubleshooting tips. Checking the Ethernet cable, restarting the router and modem, updating network drivers, disabling and enabling the network adapter, and resetting TCP/IP settings are some of the steps you can take to diagnose and resolve the problem.
It’s important to remember that each situation may be unique, and the solutions may vary depending on the specific circumstances. If you’ve exhausted these troubleshooting steps and the Ethernet connection issues persist, it may be necessary to seek further assistance from a professional technician or your internet service provider.
By understanding the differences between Wi-Fi and Ethernet connections and employing these troubleshooting tips, you can increase the chances of resolving Ethernet connectivity issues and enjoy a stable and reliable internet connection.


