Introduction
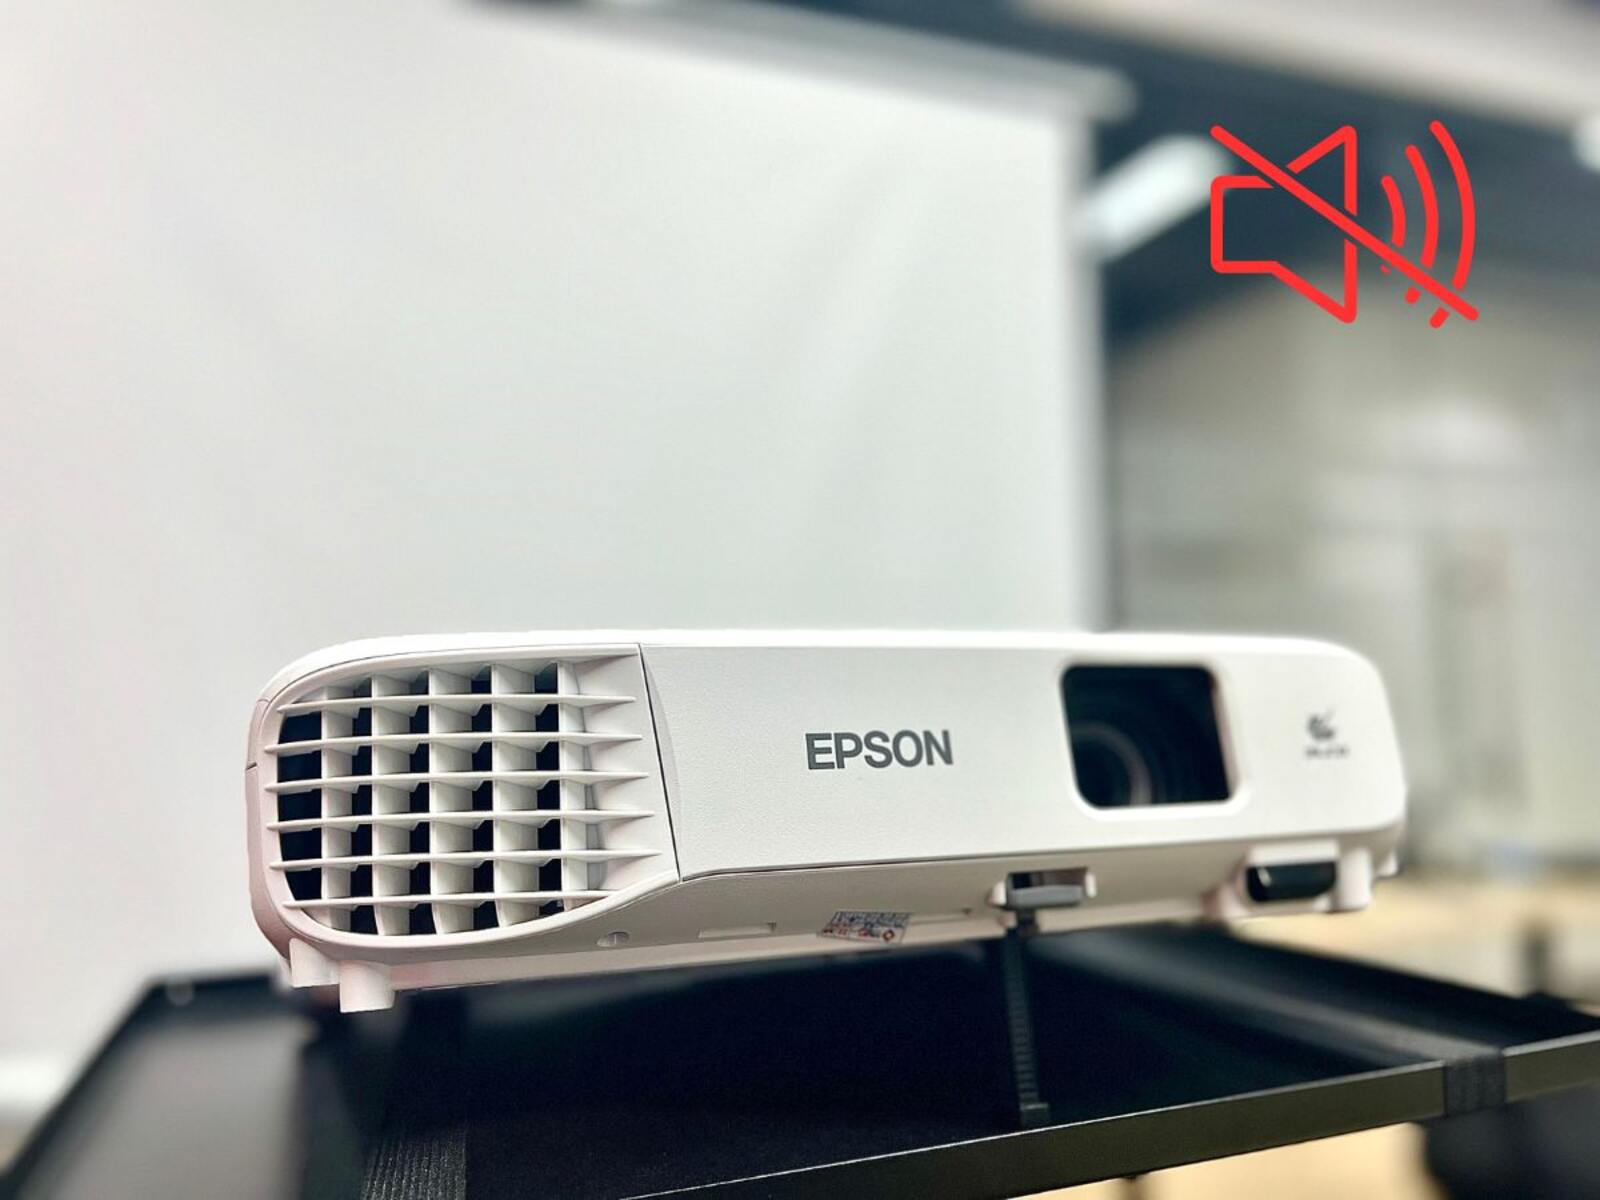
Have you ever experienced the frustration of your projector not playing sound? It can be incredibly disappointing when you’re all set to enjoy a movie night or give a presentation, only to find that there is no audio coming from the projector. Fortunately, there are several common troubleshooting steps that you can take to try and resolve this issue.
In this article, we will explore some potential reasons why your projector may not be playing sound and provide you with practical solutions to get the audio working again. Whether you’re using a projector for personal or professional purposes, understanding these troubleshooting steps will help you to save time and frustration, ensuring that you can enjoy the seamless audio-visual experience you desire.
Before we dive into the troubleshooting steps, it’s important to note that different projectors may have varying audio settings and connectivity options. Therefore, it’s a good idea to consult your projector’s user manual for specific instructions. With that said, let’s explore some common troubleshooting steps that can help you get sound working on your projector.
Common Troubleshooting Steps
When your projector is not playing sound, there are a few common troubleshooting steps you can take to identify and resolve the issue. By following these steps, you can ensure that you cover all the basics and potentially fix the problem without much hassle.
Here are some common troubleshooting steps to consider:
- Check the Connections: Start by verifying that all the audio cables are securely connected to both the projector and the audio source. Ensure that the cables are not damaged or loose, as this can result in a lack of sound output.
- Adjust the Volume Settings: Double-check the volume settings on both the projector and the audio source. Make sure that the volume is not muted or set to an extremely low level that may cause the sound to be barely audible. Also, confirm that the volume controls on the projector and the audio source are turned up to an appropriate level.
- Verify the Audio Source: Ensure that the audio source, whether it’s a Blu-ray player, a laptop, or any other device, is playing audio and that the sound is not disabled or muted on that specific device. Test the audio with a different source to verify if the issue lies with the projector or the audio source.
- Update Projector Firmware: Check if there are any firmware updates available for your projector. Outdated firmware can cause compatibility issues and impact audio performance. If updates are available, follow the manufacturer’s instructions to install the latest firmware.
- Check the Audio Output Settings: Access the projector’s menu settings and ensure that the audio output is properly configured. Some projectors offer different audio output options, such as built-in speakers, external speakers, or audio output ports. Select the appropriate audio output based on your setup.
By systematically going through these common troubleshooting steps, you can often identify and resolve the issue causing your projector to not play sound. If the problem persists despite trying these steps, don’t worry. There are further measures you can take to troubleshoot the issue, which we will explore in the next sections.
Check the Connections
One of the first troubleshooting steps to take when your projector is not playing sound is to check the connections. Ensure that all the audio cables are securely connected to both the projector and the audio source. Sometimes, loose or faulty connections can result in a lack of audio output.
Start by examining the cables for any signs of damage, such as frayed wires or bent pins. If you notice any issues with the cables, try replacing them with new ones. Additionally, make sure that the cables are inserted all the way into the respective audio output and input ports. Sometimes, they may appear to be connected correctly, but are not fully inserted.
If your projector has multiple audio input options, ensure that you have selected the correct input source. Projectors often have HDMI, VGA, or RCA inputs, among others. Verify that the cable you are using matches the input you have selected. It’s also essential to check that the audio output from your audio source is connected to the corresponding audio input on the projector.
For wireless audio connections, such as Bluetooth or Wi-Fi, ensure that both devices are paired correctly. Sometimes, a weak or disrupted wireless connection can result in no sound output from the projector. If the connection is not stable, try re-establishing the pairing or switching to a wired audio connection for troubleshooting purposes.
Finally, it’s worth mentioning that some projectors require an external audio device, such as speakers or an audio receiver, for sound output. In such cases, ensure that the audio device is properly connected to the projector and powered on. Adjust the volume settings on both the projector and the audio device to ensure they are not muted or set to extremely low levels.
By thoroughly inspecting and double-checking the connections between the projector and the audio source, you can eliminate any potential issues caused by loose, damaged, or incorrect connections. If the problem persists, there are other troubleshooting steps to explore, as we will discuss in the following sections.
Adjust the Volume Settings
When your projector is not playing sound, it’s essential to check and adjust the volume settings on both the projector and the audio source. Sometimes, the sound output may be muted, or the volume levels may be set too low, resulting in no audible sound.
Start by checking the volume settings on your projector. Look for physical buttons or menu options on the projector itself to adjust the volume. Ensure that the volume is not muted or set to an extremely low level that may prevent you from hearing any sound. Gradually increase the volume level to a comfortable level and see if you can hear any audio output.
In addition to the projector volume, you should also check the volume settings on the audio source. This could be a Blu-ray player, a laptop, or any other device connected to the projector. Make sure that the volume is not muted or set to an extremely low level on the audio source as well.
If you are using external speakers or an audio receiver with your projector, ensure that the volume settings on these devices are properly adjusted too. Sometimes, the issue may lie with the external audio device rather than the projector itself. Check the volume levels and adjust them accordingly.
It’s worth mentioning that some projectors may have separate volume controls for different audio inputs. For example, if you are using multiple audio sources like HDMI and VGA, verify that the volume settings are appropriately adjusted for each input. This can help you identify if the lack of sound is specific to a particular input or affects all audio sources connected to the projector.
By diligently adjusting the volume settings on both the projector and the audio source, you can eliminate any potential issues caused by muted or low volume levels. If the problem persists, continue troubleshooting using the steps we will explore in the subsequent sections.
Verify the Audio Source
When your projector is not playing sound, it’s important to verify the audio source to ensure that the issue is not originating from the device itself. By confirming that the audio source is functioning correctly, you can narrow down the troubleshooting process and focus on the projector and its connections.
Start by checking if the audio source, such as a Blu-ray player, a laptop, or any other device connected to the projector, is playing audio. Make sure that the sound is not disabled or muted on that specific device. Test the audio source by connecting it to another device, like headphones or speakers, to verify if there is any sound output. This will help determine if the problem lies with the audio source or the projector.
If the audio source is functioning correctly and producing sound, the issue may be related to the connection between the audio source and the projector. Recheck the audio cables and ensure they are securely connected to both the audio source and the projector. If possible, try using different cables or ports to rule out any problems with the connections.
Additionally, consider checking the audio settings on the audio source device. Some devices have specific audio output settings, such as HDMI audio output or audio through a specific port. Make sure the correct audio output settings are selected on the audio source device, based on the connection type with the projector.
It’s also worth mentioning that some devices may require audio output settings to be adjusted in their respective software or operating systems. For example, on a laptop, you may need to navigate to the sound settings and ensure the correct output device is selected.
By verifying the audio source and ruling out any issues with its functionality or settings, you can better pinpoint the problem with your projector. If the problem persists, continue troubleshooting using the steps we will discuss in the subsequent sections.
Update Projector Firmware
Updating the firmware of your projector can often resolve issues related to sound playback. Firmware updates provide bug fixes, performance improvements, and compatibility enhancements that can address audio-related problems. If your projector is not playing sound, it’s worth checking if there are any firmware updates available for your device.
To update the firmware, start by visiting the manufacturer’s website and searching for your projector model. Look for the support or downloads section, where you are likely to find firmware updates. Download the latest firmware version specifically meant for your projector model.
Once you have downloaded the firmware update file, carefully follow the instructions provided by the manufacturer to install it. The installation process may vary depending on the projector model, so it’s important to refer to the user manual or documentation specific to your device.
Before updating the firmware, ensure that your projector’s power supply is stable and uninterrupted. Updating the firmware requires the projector to remain powered on throughout the process, so make sure you have sufficient battery or a reliable power source available.
It’s crucial to strictly adhere to the manufacturer’s instructions and not interrupt the firmware update process. Interrupting the update can result in permanent damage to the projector or render it inoperable.
After the firmware update is complete, restart the projector and test the sound playback. In many cases, updating the firmware resolves audio-related issues, such as sound not playing or distorted audio. However, if the problem persists, there may be other factors contributing to the sound problem, which we will examine in the subsequent sections.
Keep in mind that not all projectors have firmware updates available, as it depends on the manufacturer’s release cycle and ongoing support for the device. Therefore, if there are no updates listed on the manufacturer’s website, it indicates that there are no new firmware versions available at that time.
Check the Audio Output Settings
When your projector is not playing sound, it’s important to check and verify the audio output settings on the device. Projectors often offer different audio output options, such as built-in speakers, external speakers, or audio output ports. Ensuring that the correct audio output setting is selected can help resolve sound playback issues.
Start by accessing the menu settings on your projector. Look for an option related to audio or sound settings. Depending on the projector model, the location of these settings may vary, so refer to the user manual or documentation specific to your device.
Within the audio settings, verify that the correct audio output option is selected. If your projector has built-in speakers, ensure that the internal or built-in speakers option is chosen. If you are using external speakers or an audio receiver, select the appropriate audio output option for your setup.
Some projectors provide audio output ports, such as an audio jack or optical audio output. If you are using external speakers, make sure the audio output setting matches the type of connection you are using. For example, if you are using an audio jack to connect your projector to external speakers, select the audio output option that corresponds to the audio jack.
In addition to selecting the correct audio output, also check the volume levels within the audio settings. Ensure that the volume is not muted or set to an extremely low level that may prevent sound playback. Adjust the volume levels to a suitable level based on your preferences.
If your projector has advanced audio settings, such as equalizer controls or audio effect options, make sure these settings are configured properly. Experiment with different settings to see if changing the audio effects or equalizer settings can enhance the sound playback.
By carefully reviewing and adjusting the audio output settings on your projector, you can optimize the sound playback and potentially resolve any issues with sound not playing or distorted audio. If the problem persists, there may be other factors contributing to the sound issue, which we will explore in the subsequent sections.
Reset the Projector to Factory Settings
If your projector is still not playing sound despite trying other troubleshooting steps, it might be beneficial to reset the device to its factory settings. Resetting the projector can help resolve any software glitches or misconfigurations that could be causing the sound issue.
Before proceeding with a factory reset, it’s important to note that this action will erase any customized settings or configurations you have made on the projector. Make sure to take note of any important settings or preferences so that you can reapply them after the reset.
To perform a factory reset, consult your projector’s user manual or documentation to locate the specific steps for your device. In most cases, you can access the reset option within the projector’s menu settings. It may be listed under a category like “System,” “Setup,” or “Reset.” Follow the instructions provided to initiate the factory reset process.
During the reset process, the projector will restore all settings to their original factory defaults. This includes audio settings, which may have been misconfigured or causing the sound problem. After the reset is complete, the projector will reboot, and you can proceed to reconfigure the settings as needed.
After the factory reset, check if the projector is now playing sound. Test the audio playback using different sources or media to ensure that the sound issue has been resolved. If the sound is still not working, there could be other underlying factors contributing to the problem, which we will address in the following sections.
It’s worth mentioning that a factory reset should only be performed as a last resort when all other troubleshooting steps have been exhausted. If the issue persists even after the factory reset, it is advisable to seek further assistance from technical support or contact the manufacturer for further guidance.
Check for Faulty Cables
When your projector is not playing sound, one possible reason could be faulty cables. Cables can wear out over time, resulting in reduced audio quality or a complete absence of sound. Checking for faulty cables and replacing them if necessary can help resolve the sound issue.
Start by visually inspecting the audio cables connected to your projector. Look for any signs of physical damage, such as frayed wires, bent pins, or loose connectors. Damaged cables can disrupt the audio signal, leading to a lack of sound. If you notice any visible damage, consider replacing the cables with new ones.
If the cables appear to be intact, try disconnecting and reconnecting them. Sometimes, cables can become loose due to movement or accidental disconnection. Ensure that the audio cables are firmly connected to both the projector and the audio source. Give them a gentle tug to confirm that they are securely in place.
It’s important to mention that not all audio cables are created equal. Different projector models may require specific types of cables, such as HDMI, VGA, or RCA. Make sure that you are using the correct type of cable for your projector. Using incompatible cables can result in audio compatibility issues.
If possible, try using different cables to rule out any problems with the existing ones. Borrow cables from other devices or purchase new cables to test if they resolve the sound issue. This can help determine if the problem lies with the cables themselves.
In addition to the audio cables, check the power cables connected to the projector. Sometimes, power issues can indirectly affect the sound output. Ensure that the power cable is securely plugged into the projector and the power source. Consider using a different power outlet or power cable to eliminate any potential power-related issues.
By thoroughly examining and testing the cables connected to your projector, you can identify and resolve any issues caused by faulty or incompatible cables. If the sound problem persists, we will explore additional troubleshooting steps in the following sections.
Test the Audio with Another Device
If your projector is still not playing sound, it’s a good idea to test the audio with another device. By connecting a different audio source to your projector, you can determine if the issue lies with the projector itself or with the original audio source.
Start by connecting a different device, such as a smartphone, tablet, or another media player, to your projector. Use a compatible audio cable or wireless connection to transmit the audio signal. Make sure to adjust the projector’s input settings to match the connected device.
Play audio from the new source and check if the projector is able to produce sound. If you can hear the audio using the different device, it suggests that the problem may be related to the original audio source. Double-check the audio settings and connections on the original device to troubleshoot any issues.
Alternatively, if the projector is still not playing sound with the new device, it indicates a potential problem with the projector itself. In such cases, it may be necessary to further investigate other factors such as internal audio settings, firmware updates, or hardware malfunctions.
If available, consult the user manual or documentation for your projector model to access the audio settings. Check if any specific settings need adjustment, such as audio output modes or equalizer settings. Also, verify if there are any firmware updates available for your projector and install them if necessary.
If you have exhausted all available troubleshooting steps and the projector is still not playing sound with multiple devices, it may be time to seek technical support. Contact the manufacturer or a qualified technician to diagnose and resolve any potential hardware issues with the projector.
Testing the audio with another device helps to narrow down the potential causes of the sound issue. Whether the problem lies with the original audio source or the projector itself, this step provides valuable insights for further troubleshooting and resolution.
Contacting Technical Support
If you have tried all the troubleshooting steps, including checking connections, adjusting volume settings, verifying the audio source, updating firmware, checking audio output settings, testing with different devices, and the issue persists, it may be time to contact technical support for further assistance.
Start by reaching out to the manufacturer of your projector. Visit their website and look for a support section or contact information. They may provide a helpline, live chat, or email support. Explain the issue in detail and provide any relevant information about the troubleshooting steps you have already taken. The manufacturer’s technical support team should be able to provide further guidance and solutions.
If your projector is still under warranty, make sure to mention that to the technical support representative. They may be able to offer solutions or arrange for repairs or replacements depending on the warranty terms and conditions.
If you prefer a more hands-on approach, consider taking your projector to an authorized service center or contacting a professional technician. They have the expertise to diagnose and fix any hardware-related issues with your projector. Be prepared to provide them with a detailed description of the problem and the steps you have already taken to troubleshoot it.
When contacting technical support or a service center, it can be helpful to have the projector’s model number, serial number, and firmware version ready. This information allows the support team to better assist you and troubleshoot your specific device.
Remember to document any conversations or interactions with technical support, noting down the steps or solutions provided. This will be useful if you need to follow up on the issue or if you need to escalate your case.
By contacting technical support, you can benefit from the expertise and knowledge of professionals who specialize in projector-related issues. They can guide you through additional troubleshooting steps or recommend the appropriate course of action to resolve the sound problem with your projector.
Conclusion
When your projector is not playing sound, it can be frustrating and disrupt your intended audio-visual experience. However, by following the troubleshooting steps outlined in this article, you can effectively identify and address the issue causing the lack of sound.
Starting with basic checks, such as verifying connections and adjusting volume settings, is a good first step. It’s important to ensure that all audio cables are secure, the volume is not muted or set to a low level, and the correct audio source is selected.
If these steps do not resolve the issue, updating the projector’s firmware and checking the audio output settings can further troubleshoot the problem. Resetting the projector to factory settings may also help address any software glitches impacting sound playback.
Checking for faulty cables and testing the audio with another device can help pinpoint whether the issue lies with the projector or the audio source. And if all else fails, contacting technical support or seeking professional assistance is recommended to diagnose and resolve hardware-related problems.
Remember, every projector model can have unique features and settings, so consulting the user manual or manufacturer’s documentation is crucial for accurate troubleshooting steps specific to your device.
By diligently following these troubleshooting steps and seeking appropriate assistance when necessary, you can successfully resolve sound-related issues and enjoy the immersive and engaging experience that a projector can offer.