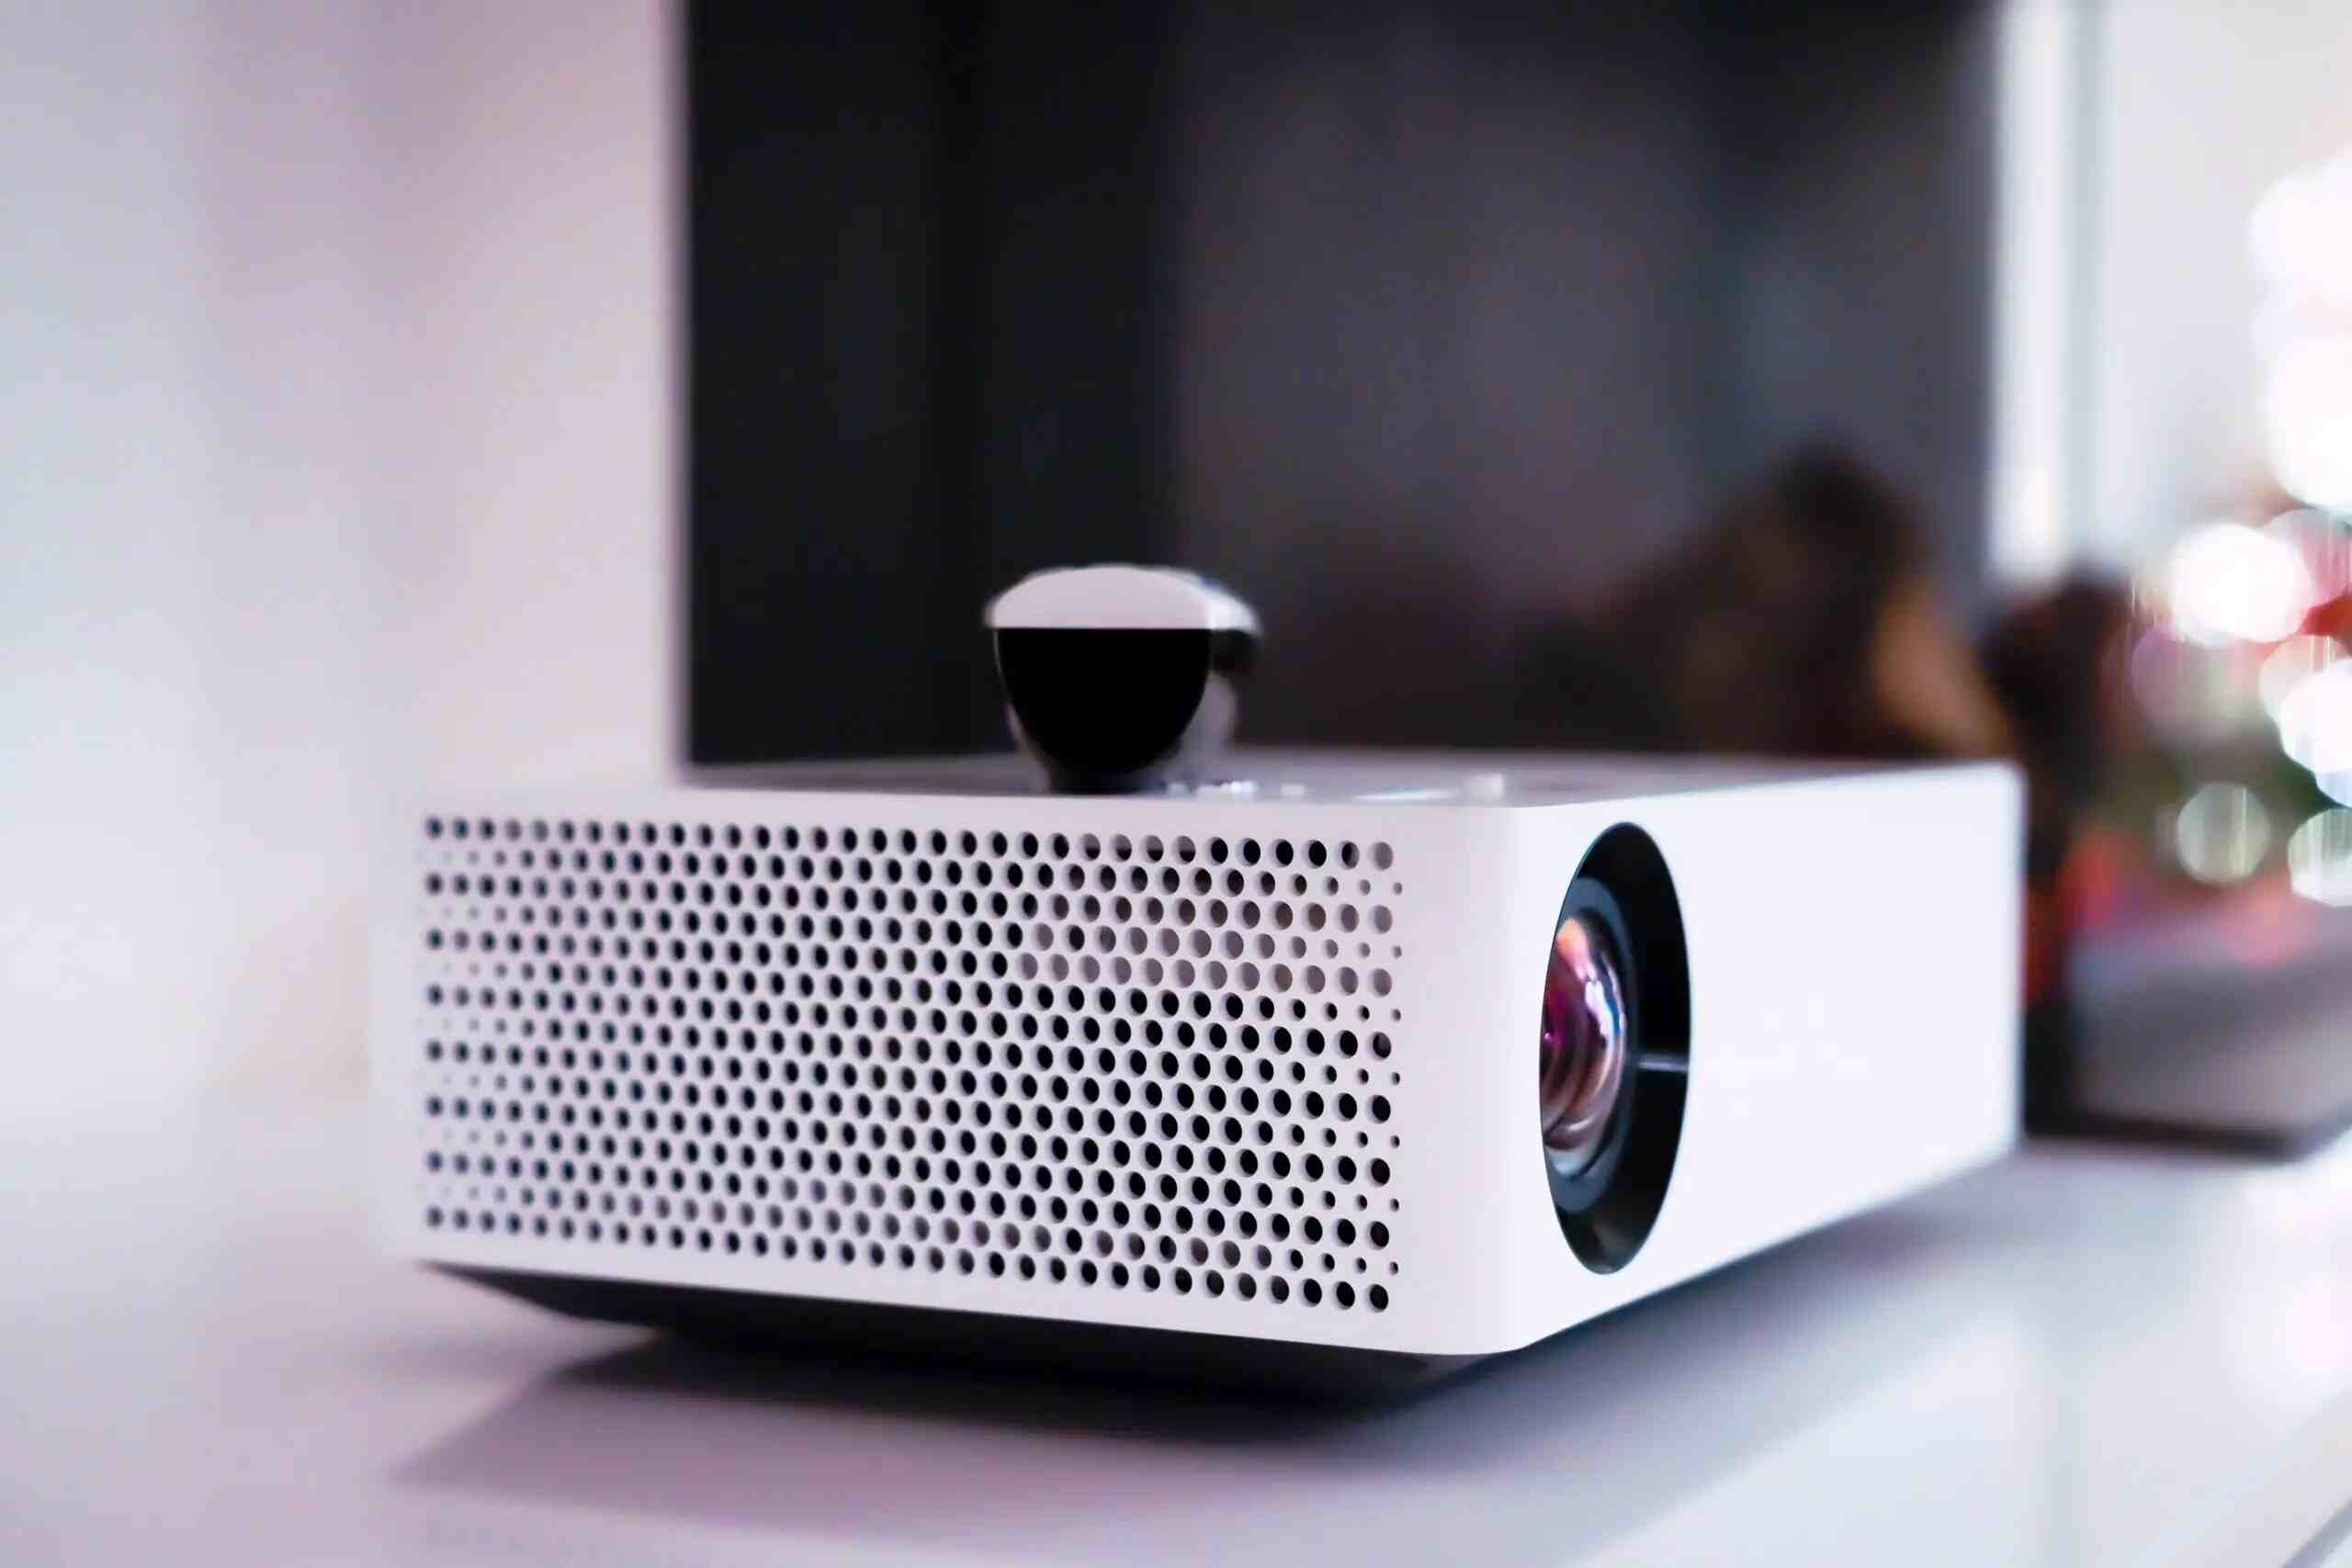
Why Is My Projector Flickering?
Introduction
If you own a projector and have noticed that it is flickering during use, you may be wondering what is causing this annoying issue. A flickering projector can not only be distracting but also diminish the viewing experience, whether you are watching a movie, giving a presentation, or playing games. Understanding the causes of projector flickering is crucial in order to troubleshoot and resolve the problem effectively.
Projector flickering can occur due to various reasons, such as loose connections, inadequate power supply, overheating, worn-out bulbs, incompatible video sources, electronic interference, or incorrect display settings. By identifying the underlying cause, you can take the necessary steps to fix the issue and enjoy a smooth and seamless projection experience.
In this article, we will explore the common causes of projector flickering and provide troubleshooting steps to help you resolve the problem. Whether you are a homeowner, business professional, or avid gamer, this guide will equip you with the knowledge to tackle projector flickering and restore optimal performance to your device. So, let’s delve into the details and find out why your projector is flickering.
Understanding the Basics of Projector Flickering
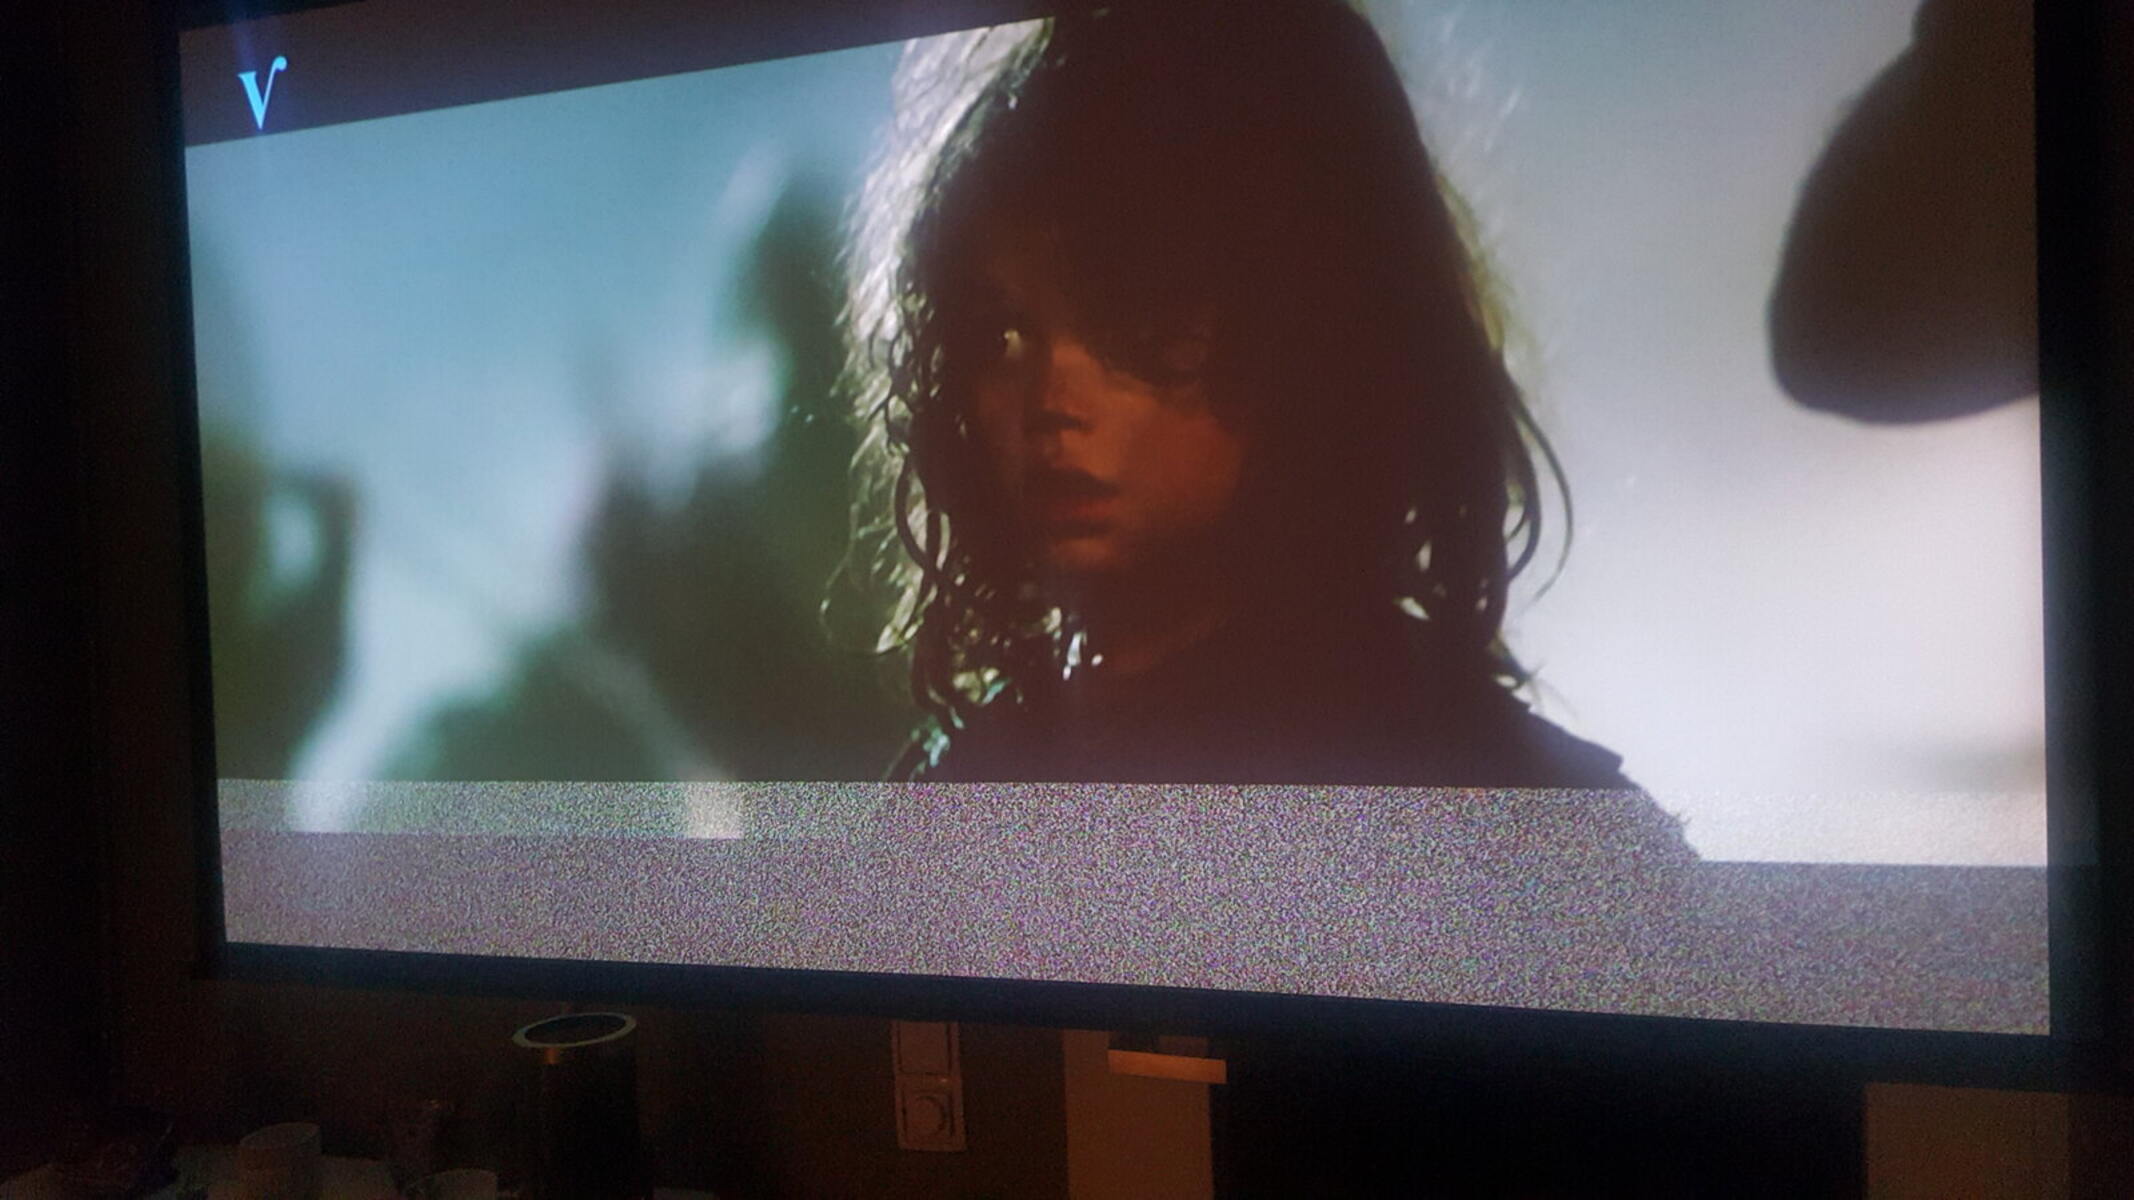
Projector flickering refers to the intermittent or rapid changes in brightness or light intensity emitted by the projector’s screen. It can manifest as a slight flicker or a more noticeable fluctuation in brightness. This issue can occur during startup, while projecting images or videos, or even when the projector is in standby mode. To effectively troubleshoot and address projector flickering, it is essential to have a basic understanding of the underlying factors that contribute to this problem.
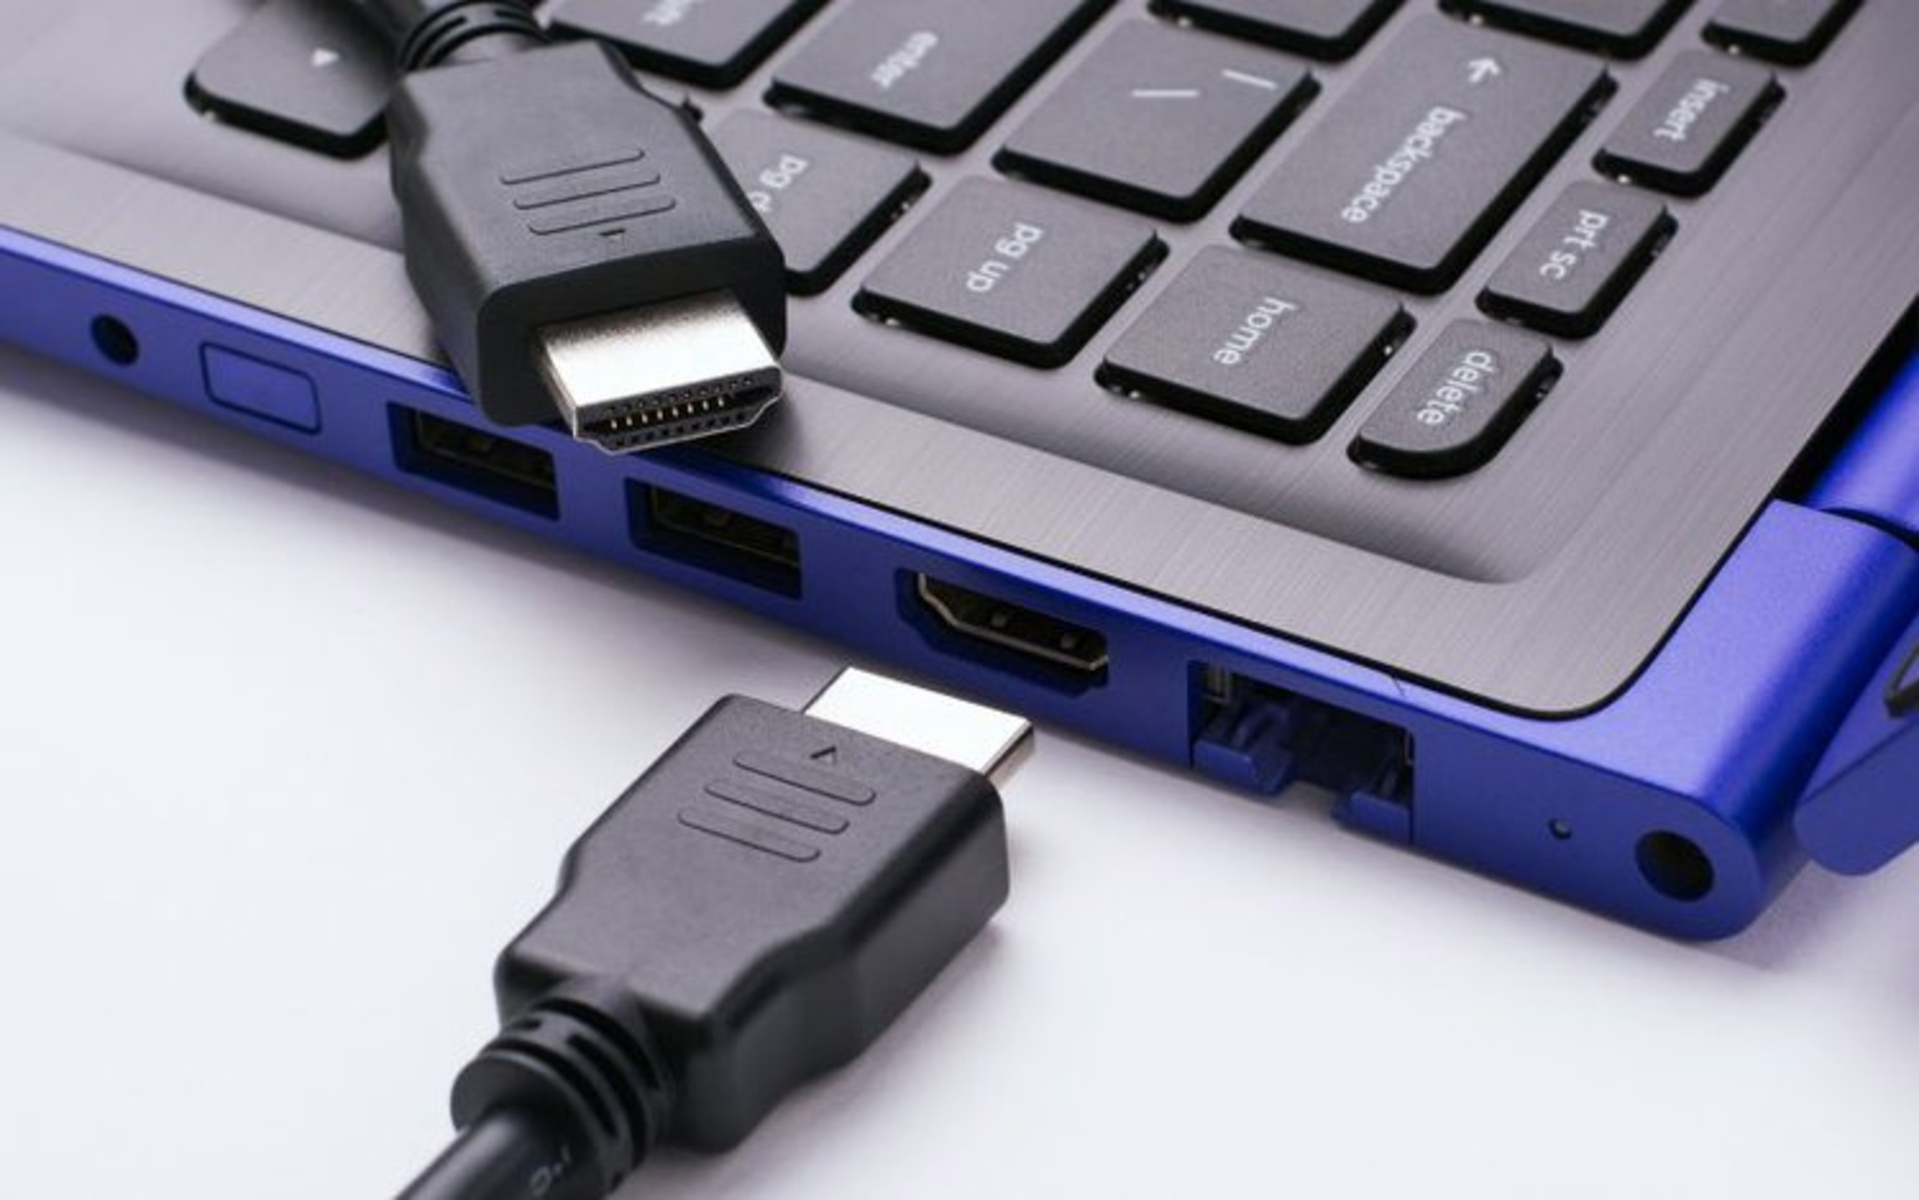
One of the primary causes of projector flickering is a loose or faulty connection between the projector and its input source. If the cables connecting the projector to the video source, such as a computer or DVD player, are not securely plugged in, it can result in intermittent flickering. Similarly, a damaged or worn-out cable can also cause signal disruption and lead to flickering issues.
Another common cause of projector flickering is an inadequate power supply. If the projector is not receiving sufficient power, it may struggle to maintain a stable light output, leading to flickering. Power issues can arise from using an incompatible power adapter, connecting to a faulty power outlet, or sharing power with other electrical devices that draw excessive power.
Overheating is yet another factor that can contribute to projector flickering. Projectors generate heat during operation, and if the internal temperature exceeds the optimal range, it can affect the performance and result in flickering. In some cases, the projector may automatically shut down to prevent damage due to overheating.
Worn-out or defective bulbs can also cause flickering problems. Projectors utilize lamps or bulbs to produce the projected images. Over time, these bulbs can dim or develop issues, resulting in flickering. It is important to regularly check the bulb’s lifespan and replace it if necessary.
Additionally, using an incompatible or outdated video source can cause flickering. If the projector is unable to properly sync with the video signal being sent, it can lead to flickering and image instability. Updating the video source or using a compatible device can often resolve this issue.
Interference from other electronic devices can also disrupt the projector’s performance and cause flickering. Devices such as Wi-Fi routers, cordless phones, or even fluorescent lights can emit signals that interfere with the projector’s signal, resulting in flickering or distorted images.
Lastly, incorrect display settings and configuration on the projector itself can lead to flickering. Adjusting the refresh rate, resolution, or aspect ratio incorrectly can cause compatibility issues with the video source and result in flickering.
By understanding these basic causes of projector flickering, you will be better equipped to identify and resolve the issue. In the next section, we will provide troubleshooting steps to help you fix projector flickering and restore optimal performance.
Possible Causes of Projector Flickering
Projector flickering can be attributed to several factors. By understanding these potential causes, you can pinpoint the source of the issue and take appropriate steps to resolve it. Let’s explore some of the common culprits behind projector flickering:
- Loose or Faulty Connection: A loose or problematic connection between the projector and its input source, such as a computer or DVD player, can result in flickering. Ensure that all cables are securely plugged in and examine them for any signs of damage or wear.
- Inadequate Power Supply: Insufficient power supply to the projector can cause flickering. Check if the power adapter is compatible with the projector and ensure that it is not shared with other power-intensive devices. Additionally, verify the stability of the power outlet being used.
- Overheating Issues: When the internal temperature of the projector exceeds the recommended range, it can lead to flickering. Proper ventilation and ensuring that the projector has sufficient space to dissipate heat can help prevent overheating and flickering.
- Worn-out or Defective Bulb/Lamp: Projector lamps or bulbs that are nearing the end of their lifespan or those that have become faulty can cause flickering. Check the projector’s lamp hour usage and replace the bulb if it is approaching its maximum recommended hours of use.
- Incompatible or Outdated Video Source: Using a video source that is not compatible with the projector can lead to flickering. Ensure that the video source’s resolution, refresh rate, and aspect ratio are supported by the projector. If necessary, update the video source or use a different device.
- Interference from Other Electronic Devices: Electronic devices emitting signals, such as Wi-Fi routers, cordless phones, or fluorescent lights, can interfere with the projector’s signal and result in flickering. Removing or isolating these devices from the vicinity of the projector can reduce interference.
- Display Settings and Configuration: Incorrect display settings and configuration on the projector can cause flickering. Make sure that the projector’s refresh rate, resolution, and aspect ratio are correctly set to match the video source.
By being aware of these potential causes, you can troubleshoot and resolve projector flickering with greater ease. In the next section, we will guide you through the step-by-step troubleshooting process to help you fix the issue effectively.
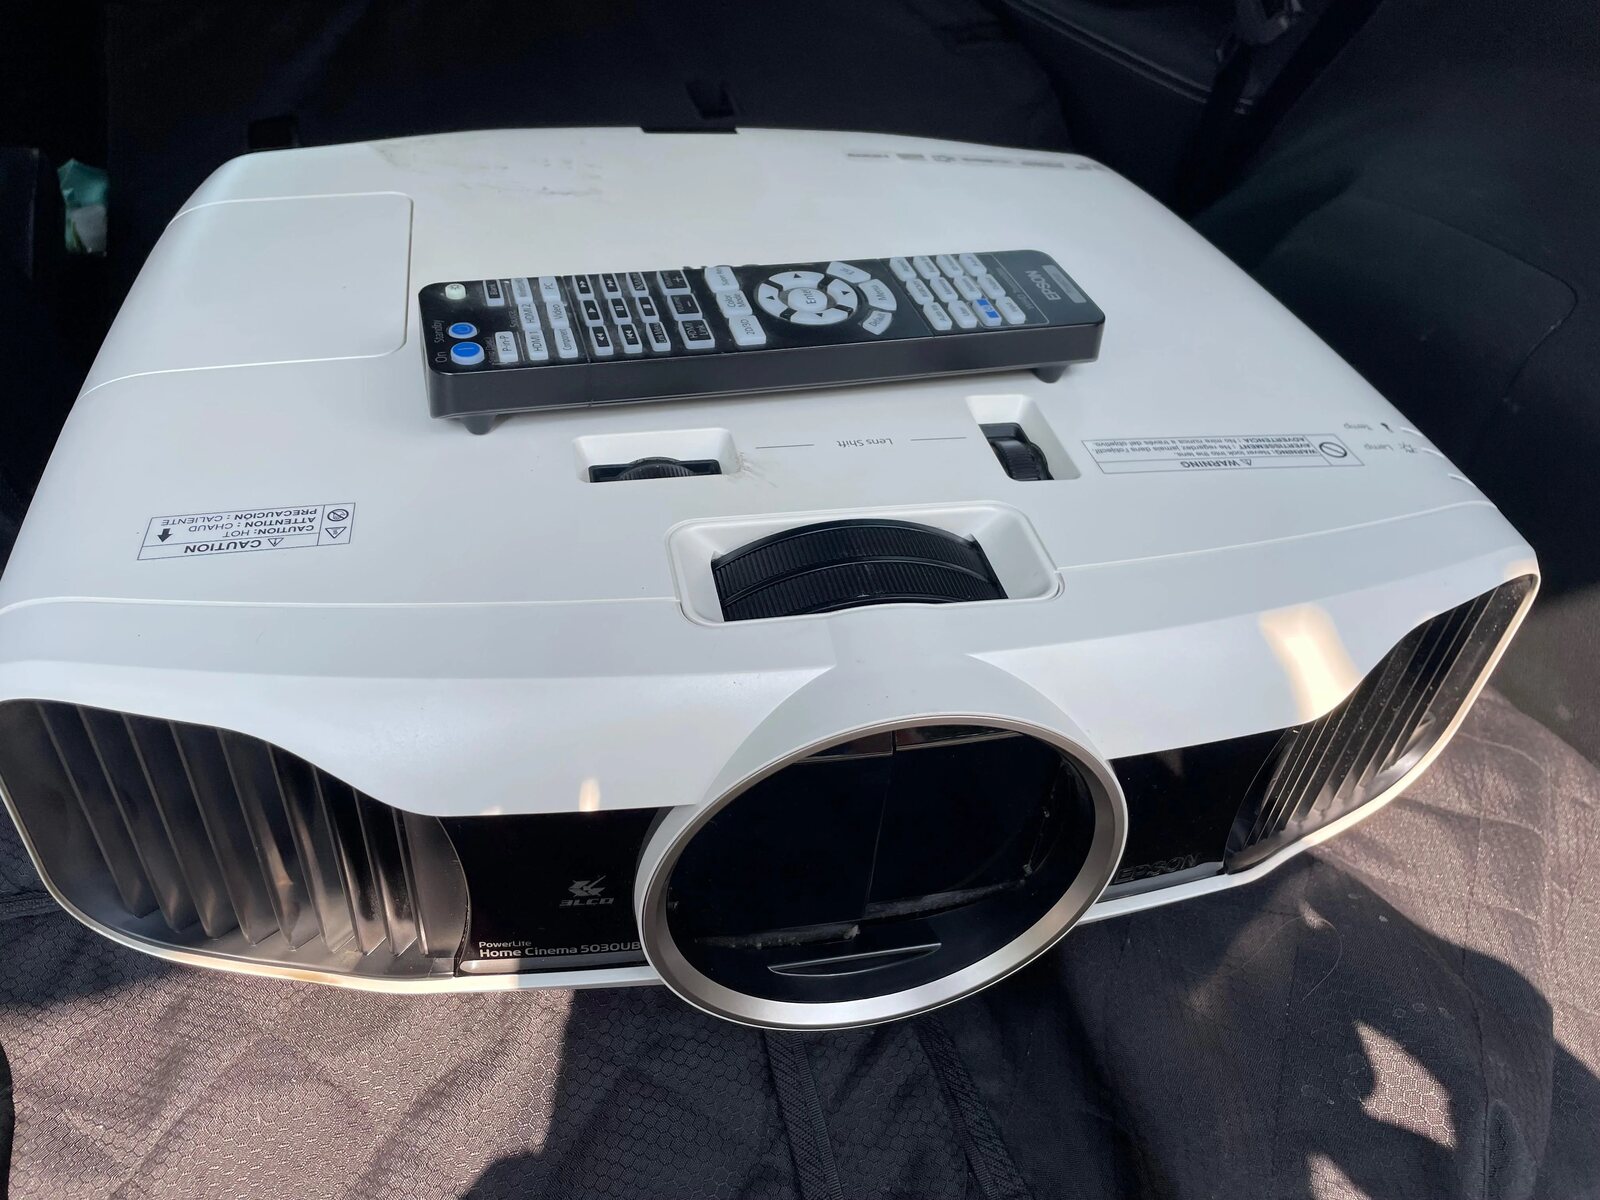
Loose or Faulty Connection
One of the primary causes of projector flickering is a loose or faulty connection between the projector and its input source. When the cables connecting the projector to the video source are not securely plugged in, it can result in intermittent flickering. Similarly, if the cables have become damaged or worn out, they can cause signal disruption and lead to flickering issues.
To address this issue, start by checking all the connections. Ensure that the cables are firmly inserted into their respective ports on both the projector and the video source device, such as a computer, Blu-ray player, or gaming console. Examine the cables for any visible signs of damage, such as frayed wires or bent pins. If you notice any issues, consider replacing the cables with new ones to eliminate the possibility of loose or faulty connections.
It is also important to select the correct input source on the projector. Verify that the input source matches the cable connection being used. For example, if you are using an HDMI cable, select the HDMI input on the projector. This ensures that the projector receives the proper signal and minimizes the chances of flickering due to incorrect input selection.
Furthermore, if you are using an adapter to connect different types of cables, such as HDMI to VGA, make sure that the adapter is functioning properly. Faulty adapters can cause signal instability, leading to flickering. Consider replacing the adapter if necessary.
Additionally, when connecting the projector to a computer, ensure that the display settings on the computer are correctly configured. Adjust the resolution and refresh rate settings to match the optimal settings recommended by the projector manufacturer. Mismatched display settings between the computer and the projector can cause compatibility issues and result in flickering.
By checking and securing the connections, ensuring the correct input source, and adjusting the display settings, you can effectively address the issue of projector flickering caused by loose or faulty connections. However, if the problem persists, further troubleshooting may be required. Let’s explore additional steps in the next section to help you resolve the flickering issue.
Inadequate Power Supply
Another common cause of projector flickering is an inadequate power supply. If the projector is not receiving sufficient power, it may struggle to maintain a stable light output, resulting in flickering. Addressing the power supply issue is crucial to ensure consistent and uninterrupted projection.
To begin troubleshooting, check if the power adapter being used with the projector is compatible. Some projectors require specific power adapters to provide the necessary voltage and current. Using an incompatible power adapter can result in insufficient power supply and lead to flickering. Refer to the projector’s manual or specifications to determine the appropriate power adapter for optimal performance.
Additionally, avoid sharing power with other electrical devices that consume excessive power. Connect the projector to a dedicated power outlet whenever possible. Sharing power with high-powered devices like air conditioners, refrigerators, or amplifiers can cause fluctuations in voltage, resulting in flickering. By ensuring a dedicated power source, you can provide a stable and consistent power supply to the projector.
If you notice that the power outlet itself is unreliable or faulty, consider using a different outlet. Faulty power outlets can cause intermittent power disruptions and contribute to flickering issues. Testing the projector with a different power outlet can help determine if the problem lies with the outlet or the projector itself.
It is also advisable to check the power cable for any damages or frayed wires. A damaged power cable can impact the delivery of power to the projector and result in flickering. If you find any signs of damage, replace the power cable with a new one to ensure a secure and uninterrupted power supply.
Lastly, if the projector has a power-saving mode, ensure that it is disabled or adjusted appropriately. Power-saving modes can reduce the brightness output of the projector, potentially causing flickering. By turning off or adjusting the power-saving settings, you can ensure the projector receives the necessary power to operate without flickering.
By addressing power supply issues, such as using a compatible adapter, utilizing a dedicated power source, checking the power cable, and adjusting power-saving settings, you can alleviate the problem of projector flickering caused by inadequate power supply. If the flickering persists, continue to the next section for additional troubleshooting steps.
Overheating Issues
Overheating is another common factor that can contribute to projector flickering. Projectors generate heat during operation, and when the internal temperature exceeds the recommended range, it can affect their performance and lead to flickering issues. Addressing overheating problems is essential to maintain the optimal functioning of the projector.
Start by ensuring that the projector is placed in a well-ventilated area. Proper airflow around the projector helps dissipate heat and keeps the internal components at a suitable temperature. Avoid placing the projector in enclosed spaces or near objects that could obstruct the airflow, such as curtains or other electronic devices.
Regularly clean the projector’s air filters to prevent them from becoming clogged with dust and debris. Clogged filters can obstruct airflow and contribute to overheating. Refer to the projector’s manual for instructions on how to clean or replace the air filters properly.
Monitor the ambient temperature in the room where the projector is being used. Operating the projector in excessively hot environments can lead to overheating and flickering. If possible, use air conditioning or fans to maintain a cool and comfortable temperature in the room.
Pay attention to any warning lights or indicators on the projector that indicate overheating. If the projector has an automatic shutdown feature to protect against overheating, it may power off when the internal temperature exceeds the safe range. Allow the projector to cool down before attempting to use it again. In some cases, you may need to reduce the projector’s usage time or adjust the brightness settings to prevent overheating.
Keep in mind that some projectors have built-in cooling fans to help regulate temperature. Ensure that these fans are working properly and are not obstructed by dust or other objects. If you suspect there may be an issue with the cooling fans, consult the projector’s manual or contact the manufacturer for further assistance.
By placing the projector in a well-ventilated area, cleaning the air filters, monitoring the ambient temperature, and checking the cooling fans, you can prevent overheating issues and minimize the chances of flickering. However, if the flickering problem persists, continue to the next section for additional troubleshooting steps.
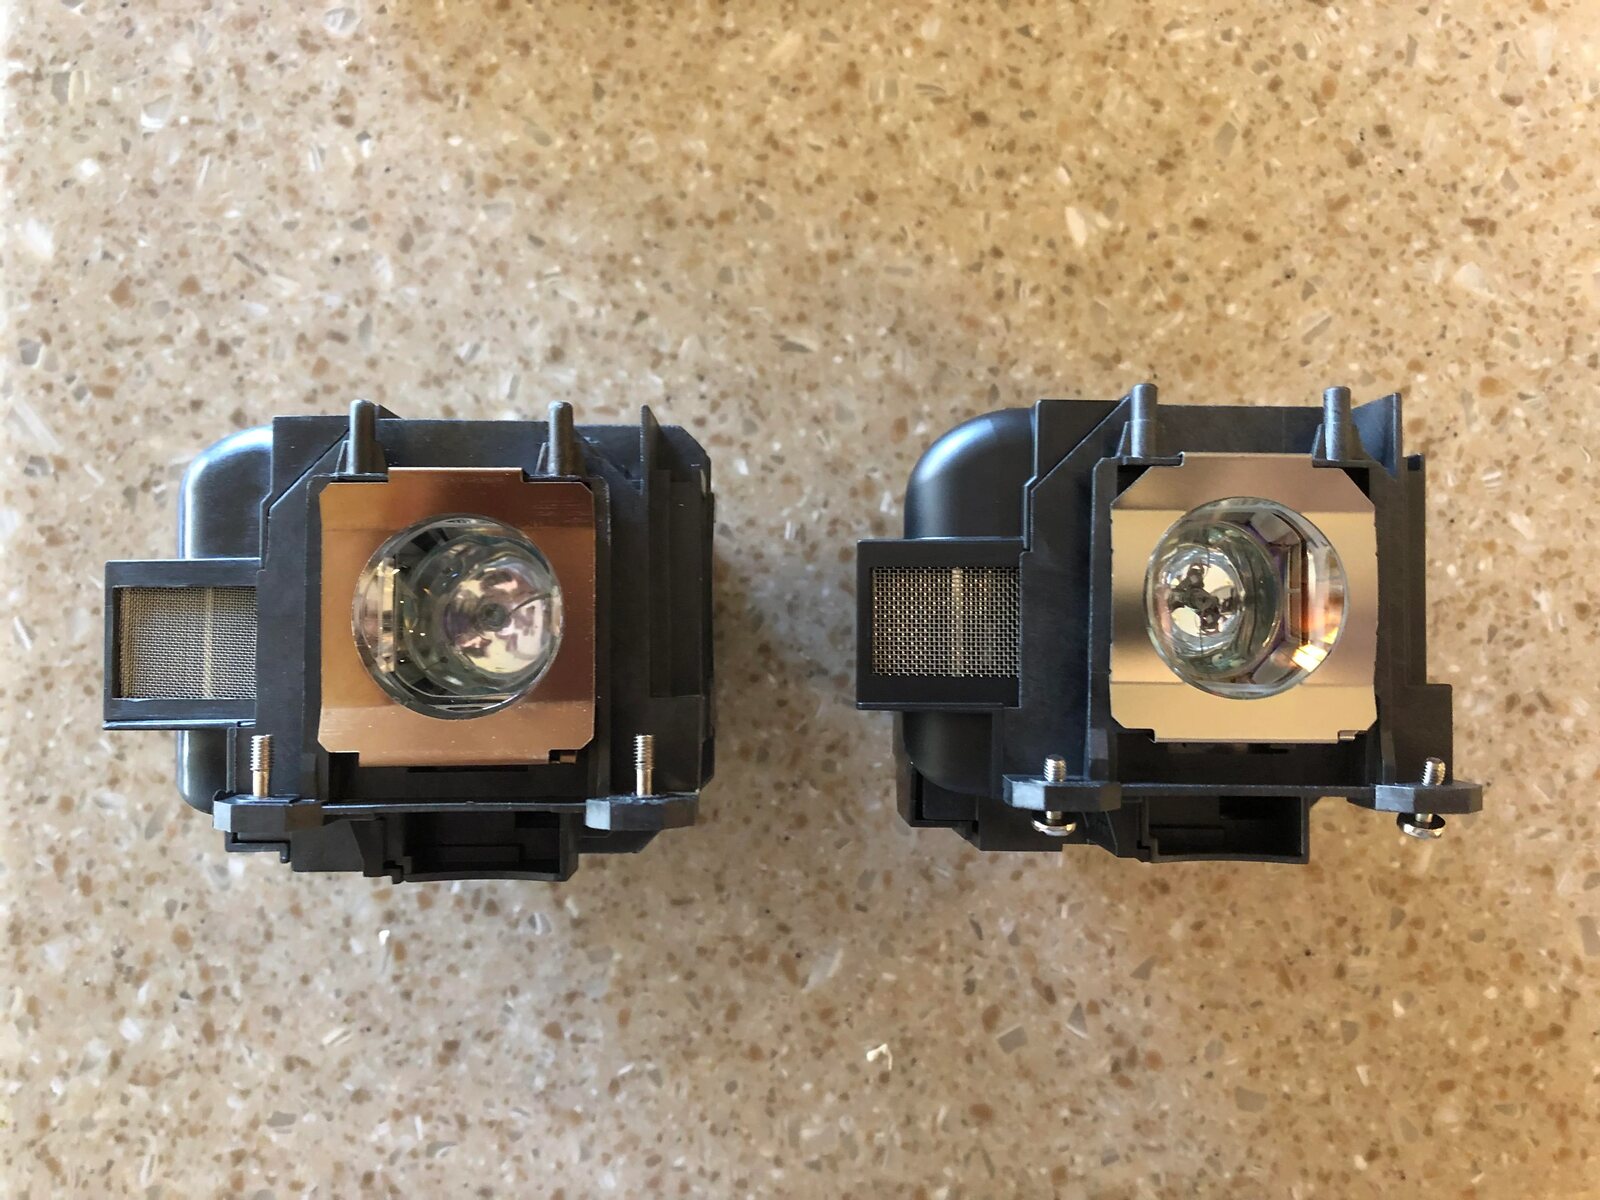
Worn-out or Defective Bulb/Lamp
Another potential cause of projector flickering is a worn-out or defective bulb or lamp. Projectors use lamps or bulbs to produce the projected images, and over time, these components can deteriorate and cause flickering issues. Identifying and replacing a worn-out or defective bulb is crucial to maintaining optimal projection quality.
Start by checking the lamp hours of the projector. Most projectors have built-in timers or settings that allow you to monitor the lamp usage. If the lamp nears its maximum recommended hours of use, it is likely reaching the end of its lifespan and may need to be replaced. Consult the projector’s manual or specifications to determine the recommended lamp life and replacement instructions.
If the lamp has not reached its maximum hours of use, it is still possible for it to be defective or worn out due to other factors. In this case, visually inspect the lamp for any signs of damage, such as visible cracks, dark spots, or obvious discoloration. A damaged or deteriorated lamp can cause flickering. If you suspect that the lamp is defective, it is recommended to replace it with a new one.
When replacing the lamp, ensure that you purchase a genuine or compatible lamp from a reputable source. Using counterfeit or incompatible lamps can lead to poor performance, reduced lifespan, and potential safety issues. Follow the manufacturer’s guidelines and instructions for installing the new lamp properly.
Additionally, some projectors have lamp eco-mode settings that can extend the lifespan of the lamp. Enabling this feature can help reduce flickering by adjusting the lamp’s brightness and power usage. If your projector has this option, consider enabling it to prolong the lamp’s life and minimize flickering issues.
Regularly check and maintain the projector’s cooling system to prevent excessive heat buildup, which can accelerate bulb deterioration. Good ventilation and proper cooling can help extend the lifespan of the lamp.
By monitoring lamp usage, visually inspecting for damage or wear, replacing the lamp when necessary, and maintaining proper cooling, you can address flickering issues caused by worn-out or defective bulbs or lamps. However, if the flickering problem persists, continue to the next section for additional troubleshooting steps.
Incompatible or Outdated Video Source
Flickering issues with projectors can also arise from using an incompatible or outdated video source. If the projector is unable to properly sync with the video signal being sent, flickering and image instability can occur. Ensuring compatibility between the projector and video source is essential for a stable and flicker-free projection experience.
Start by checking the resolution, refresh rate, and aspect ratio settings of the video source. The projector’s manual or specifications will provide the supported specifications. Ensure that these settings match the recommended settings for the projector. Mismatched settings can cause flickering and other display abnormalities.
If the video source is a computer, update the graphics drivers to the latest version. Outdated drivers can sometimes cause compatibility issues and result in flickering. Visit the manufacturer’s website or use a reputable driver update tool to install the latest drivers for your graphics card.
It is also worth trying a different video source to determine if the flickering issue is specific to the current source. Connect a different device, such as a Blu-ray player or gaming console, to the projector and see if flickering persists. If the issue disappears with a different video source, it indicates that the original video source may be outdated or incompatible.
In some cases, using a different type of cable to connect the video source to the projector can resolve compatibility issues. For example, if you are using a VGA cable, consider switching to an HDMI cable or vice versa, depending on the available ports on both devices. Ensure that the chosen cable is compatible with both the video source and the projector.
If the video source itself is outdated or incompatible, consider upgrading to a newer device that is compatible with your projector. Newer video sources often have better compatibility with various display devices and can help eliminate flickering issues.
By verifying and adjusting the resolution, refresh rate, and aspect ratio settings of the video source, updating graphics drivers, trying a different video source or cable, and considering an upgrade if necessary, you can address flickering caused by an incompatible or outdated video source. However, if the flickering problem persists, proceed to the next section for additional troubleshooting steps.
Interference from Other Electronic Devices
Interference from other electronic devices is a common factor that can contribute to flickering issues with projectors. Electronic devices like Wi-Fi routers, cordless phones, or fluorescent lights can emit signals that interfere with the projector’s signal, resulting in flickering or distorted images. Identifying and addressing these sources of interference is crucial for a stable projection experience.
Start by identifying any electronic devices in the vicinity of the projector that could potentially cause interference. Move these devices away from the projector, or alternatively, move the projector away from them to minimize the chances of signal disruption.
If possible, try using shielded cables for the connections between the projector and the video source. Shielded cables can help reduce the impact of electromagnetic interference on the projector’s signal.
Changing the Wi-Fi channel on the router may also reduce interference. Sometimes, routers in close proximity can operate on the same channel, causing interference with the projector’s signal. Access the router’s settings and switch to a different channel that has less traffic or congestion.
Additionally, turning off or relocating other electronic devices that emit signals, such as cordless phones or baby monitors, can help reduce interference and minimize flickering issues.
In some cases, installing filters or surge protectors on the power outlets can help diminish electromagnetic interference. These devices can help filter out unwanted electrical noise, reducing the chances of interference affecting the projector’s signal.
If fluorescent lights are the source of interference, try using different types of bulbs or installing filters on the lights themselves. Some bulbs or filters are designed to minimize electromagnetic interference and can help alleviate flickering caused by fluorescent lights.
By identifying and adjusting the placement of interfering electronic devices, using shielded cables, changing the Wi-Fi channel, adding filters or surge protectors, or using alternative bulbs or filters for fluorescent lights, you can reduce interference and eliminate flickering caused by other electronic devices. However, if the flickering problem persists, proceed to the next section for additional troubleshooting steps.
Display Settings and Configuration
Incorrect display settings and configuration on the projector can contribute to flickering issues. Ensuring that the display settings are properly adjusted and configured is essential for a stable and flicker-free projection experience.
Begin by checking the display resolution settings on the projector. Ensure that the resolution is set to match the native resolution of the content you are projecting. Setting a different resolution can potentially cause flickering or distorted images. Consult the projector’s manual or specifications to determine the recommended resolution.
Adjust the refresh rate setting on the projector to match the capabilities of the video source. A mismatch between the refresh rate of the projector and the video source can result in flickering. Common refresh rates include 60Hz, 75Hz, and 120Hz. Consult the specifications of both the projector and the video source to ensure compatibility and adjust accordingly.
Verify the aspect ratio settings on the projector. Ensure that the aspect ratio matches the content being projected. Mismatched aspect ratios can lead to distorted images or flickering. Common aspect ratios include 4:3 (standard) and 16:9 (widescreen).
Additionally, some projectors offer features such as Keystone correction and image enhancement settings. Ensure that these settings are properly adjusted for the optimal viewing experience. Incorrect settings can potentially introduce flickering or image distortions.
Experiment with different display mode presets on the projector, such as Cinema mode, Standard mode, or Presentation mode. These presets optimize the projector’s settings for specific viewing scenarios. Try different presets to find the one that produces the best results, minimizing flickering and improving image quality.
If the projector has color calibration or gamma correction settings, utilize these settings to adjust the color balance and gamma curve to your preference. Properly calibrated colors can help create a more accurate and visually pleasing projection, reducing the likelihood of flickering.
Keep in mind that the display settings and configuration may vary depending on the projector model. Consult the user manual or the manufacturer’s website for detailed instructions specific to your projector.
By ensuring the correct resolution, refresh rate, and aspect ratio settings, adjusting image enhancement options, exploring different display mode presets, and utilizing color calibration settings, you can optimize the projector’s display settings and minimize flickering issues. However, if the flickering problem persists, further troubleshooting with manufacturer support may be necessary.
Troubleshooting Steps to Fix Projector Flickering
If you are experiencing flickering issues with your projector, follow these troubleshooting steps to diagnose and resolve the problem:
- Check and Secure Connections: Ensure that all cables connecting the projector to the video source are securely plugged in. Examine the cables for any signs of damage and replace them if necessary. Select the correct input source on the projector to ensure proper signal transmission.
- Ensure Sufficient Power Supply: Use a compatible power adapter and connect the projector to a dedicated power outlet. Avoid sharing power with other high-power devices that could cause voltage fluctuations. Verify that the power cable is not damaged and replace it if needed.
- Monitor and Control Temperature: Place the projector in a well-ventilated area to prevent overheating. Clean the air filters regularly to ensure proper airflow. Avoid operating the projector in excessively hot environments.
- Replace the Bulb or Lamp: Check the lamp hours and replace the bulb if it is reaching its maximum recommended usage. Inspect the bulb for any visible damage. Purchase a genuine or compatible replacement from a reputable source.
- Update or Change Video Source: Ensure that the video source’s resolution, refresh rate, and aspect ratio settings match the projector’s specifications. Update graphics drivers on computers if necessary. Try using a different video source or cable to identify compatibility issues.
- Remove or Isolate Electronic Interferences: Keep the projector away from devices that emit signals, such as Wi-Fi routers, cordless phones, or fluorescent lights. Use shielded cables and consider changing the Wi-Fi channel if interference persists. Install filters or surge protectors on power outlets if needed.
- Adjust Display Settings and Configuration: Verify that the projector’s display settings, including resolution, refresh rate, and aspect ratio, are correctly configured. Explore different display mode presets and adjust image enhancement settings as needed. Utilize color calibration options for accurate color reproduction.
Follow these troubleshooting steps systematically to identify and address the causes of projector flickering. Remember to consult the projector’s manual or contact the manufacturer’s support if needed. By taking the necessary steps to resolve the issue, you can enjoy a flicker-free projection experience.
+
Check and Secure Connections
Loose or faulty connections between the projector and its input source can be a common cause of flickering issues. It is crucial to ensure that all cables connecting the projector to the video source are securely plugged in to prevent intermittent flickering. Inspecting and securing the connections should be the first step in troubleshooting this issue.
Start by thoroughly examining the cables and connectors for any visible signs of damage, such as frayed wires, bent pins, or loose fittings. If you notice any issues, replace the cables with new ones to eliminate the possibility of loose or faulty connections. Make sure to select cables that match the input/output ports on both the projector and the video source device, such as HDMI, VGA, or DisplayPort.
Carefully plug in the cables, ensuring they are firmly inserted into their respective ports on both the projector and the video source. Avoid applying excessive force, but ensure that the connectors are securely seated. Sometimes, connectors may have a locking mechanism, so make sure they are engaged properly.
Additionally, verify that the correct input source is selected on the projector. Most projectors have multiple input ports, such as HDMI, VGA, or DVI, and it’s important to choose the corresponding input source that matches the cable connection being used. If the projector is set to the wrong input source, it may not detect the signal properly, resulting in flickering or no display at all.
If you are using adapters or converters to connect different types of cables, such as HDMI to VGA or USB-C to HDMI, ensure that they are working properly and are compatible with the projector and the video source. Faulty or incompatible adapters can cause signal disruptions and lead to flickering issues.
Lastly, when connecting a computer to the projector, double-check the display settings on the computer. Adjust the resolution, refresh rate, and screen mirroring settings to match the recommended settings for the projector. Mismatched display settings between the computer and the projector can cause compatibility issues and result in flickering.
By thoroughly checking and securing the connections, selecting the correct input source, ensuring compatibility with adapters, and adjusting the display settings on the computer, you can effectively address flickering issues caused by loose or faulty connections. However, if the flickering problem persists, further troubleshooting may be required. Proceed to the next step to continue troubleshooting the issue.
Ensure Sufficient Power Supply
Inadequate power supply is a common culprit behind projector flickering. To address this issue, it is essential to ensure that the projector is receiving sufficient power to maintain its stable operation. Taking the necessary steps to verify and optimize the power supply can help alleviate flickering issues.
Start by using a power adapter that is compatible with the projector. Using an incompatible power adapter can result in insufficient power supply, leading to inconsistent performance and flickering. Refer to the projector’s specifications or user manual to determine the correct voltage and amperage requirements for the power adapter. Make sure to use an adapter that meets these specifications.
Ensure that the power outlet being used is providing stable and sufficient power. Avoid sharing power with other high-powered devices, such as air conditioners or amplifiers, as they can draw excessive power and cause voltage fluctuations. Connect the projector to a dedicated power outlet to mitigate any potential power supply issues.
It is also important to check the power cable for any signs of damage or wear. A damaged power cable can negatively impact the delivery of power to the projector, resulting in flickering. Inspect the cable for frayed wires or visible damage, and replace it if necessary. Ensure that the power cable is securely connected to both the projector and the power outlet.
Consider utilizing a surge protector or a power conditioner to safeguard the projector from power surges or drops. These devices can help regulate the incoming power supply, reducing the chances of flickering caused by unstable power.
In some cases, projectors have power-saving features that can affect the brightness and stability of the projection. Check the projector’s settings and disable any power-saving mode or adjust the settings as needed to provide optimal power and brightness for smooth operation without flickering.
By using a compatible power adapter, ensuring a stable power supply, checking the power cable for damage, utilizing surge protectors or power conditioners, and adjusting the power-saving settings, you can address flickering caused by inadequate power supply. However, if the flickering problem persists, it is recommended to proceed to the next step for further troubleshooting.
Monitor and Control Temperature
Overheating can contribute to projector flickering. It is important to monitor and control the temperature of the projector to ensure optimal performance and prevent flickering issues. By implementing proper temperature management techniques, you can minimize the risk of overheating and maintain a stable projection experience.
Start by placing the projector in a well-ventilated area. Ensure that there is sufficient space around the projector for proper airflow. Avoid placing the projector in enclosed spaces, on top of heat-emitting devices, or near obstructing objects like curtains or other electronic equipment. Good ventilation allows the projector to dissipate heat effectively and maintain a suitable operating temperature.
Check the projector’s air filters regularly and keep them clean. Dust and debris can accumulate on the air filters, obstructing airflow and causing the projector to overheat. Follow the manufacturer’s instructions on how to clean or replace the air filters properly. Regular maintenance of the filters will help ensure optimal cooling and prevent flickering issues.
Monitor the ambient temperature in the room where the projector is located. Operating the projector in excessively hot environments can lead to overheating and flickering. If possible, use air conditioning or fans to maintain a cool and comfortable temperature in the room. Avoid exposing the projector to direct sunlight or other heat sources.
Pay attention to any warning lights or indicators on the projector that signal high temperature or potential overheating. Some projectors have built-in features that automatically shut down or reduce brightness when the internal temperature exceeds safe limits. Allow the projector to cool down before using it again to prevent further issues.
Additionally, ensure that the cooling fans inside the projector are functioning properly. Over time, dust can accumulate on the fans and impede their performance. Regularly clean the fans to remove dust buildup and maintain proper airflow for effective heat dissipation.
By placing the projector in a well-ventilated area, cleaning the air filters regularly, monitoring the room’s ambient temperature, paying attention to warning indicators, and maintaining proper fan function, you can effectively manage the temperature of the projector and mitigate the risk of flickering caused by overheating. If the flickering problem persists, it may be necessary to proceed to the next step for additional troubleshooting.
Replace the Bulb or Lamp
A worn-out or defective bulb or lamp can be a common cause of projector flickering. Over time, the brightness of the lamp can decrease, leading to flickering or inconsistent illumination. Replacing the bulb or lamp is essential to maintain optimal projection quality and prevent flickering issues.
The first step is to check the lamp hours of the projector. Most projectors have built-in timers or settings that allow you to monitor the lamp usage. Consult the projector’s manual or specifications to determine the recommended maximum lamp hours. If the lamp is nearing or has exceeded this limit, it is likely time to replace it.
Inspect the lamp visually for any visible signs of damage or wear. Look for dark spots, discoloration, or cracks on the lamp. These can indicate a defective or worn-out bulb. If you suspect that the lamp is the problem, obtain a replacement bulb or lamp from a reputable source. It is recommended to use genuine or compatible products to ensure proper performance and compatibility with the projector.
When replacing the bulb or lamp, make sure to follow the manufacturer’s instructions. Each projector model may have specific requirements and procedures for lamp replacement. Be cautious while handling the bulb and avoid touching the glass surface, as oil or dirt from your fingers can affect its performance or lifespan.
Once the new bulb or lamp is installed, reset the lamp hour counter on the projector if applicable. This will allow you to keep track of the usage of the new lamp effectively.
It is important to note that projector lamps have a limited lifespan, which can vary depending on usage and environmental factors. Regularly check the lamp hours and replace the bulb before it reaches its maximum recommended usage to prevent flickering issues and maintain optimal projection quality.
By monitoring lamp usage, inspecting for visible damage, replacing the bulb or lamp as necessary, and following proper installation procedures, you can address flickering caused by worn-out or defective bulbs or lamps. However, if the flickering problem persists, it may be necessary to proceed to the next step for further troubleshooting.
Update or Change Video Source
Flickering issues with projectors can arise from using an incompatible or outdated video source. Incompatible video sources can result in signal disruptions and ultimately lead to flickering or unstable projection. Updating or changing the video source can help resolve these compatibility issues and ensure a smooth and flicker-free viewing experience.
Start by ensuring that the video source’s resolution, refresh rate, and aspect ratio settings match the specifications recommended by the projector. Mismatched settings can cause flickering and other display abnormalities. Consult the user manual or specifications of both the video source and the projector to determine the compatible settings.
If the video source is a computer, make sure to update the graphics drivers to the latest version. Outdated drivers can cause compatibility issues, leading to flickering. Visit the manufacturer’s website or use a reputable driver update tool to install the latest drivers for your graphics card. Updating the drivers can often resolve compatibility issues and improve performance.
If possible, try connecting a different video source to the projector, such as a Blu-ray player or a gaming console. This allows you to determine if the flickering issue is specific to the original video source. If the issue disappears with a different video source, it indicates that the original video source may be outdated or incompatible. Consider upgrading the video source to a newer model that is compatible with your projector.
It is also worth considering using different cables to connect the video source to the projector. For example, if you are using an HDMI cable, try a different HDMI cable or another type of cable, such as VGA or DisplayPort. Sometimes, faulty or low-quality cables can cause signal disruptions and result in flickering. Using high-quality, shielded cables can help ensure a stable and reliable connection.
If upgrading the video source is not an option, you can also consider using an external video converter or scaler. These devices can help convert the signal from the video source to a format that is compatible with the projector. However, it is important to note that these devices may introduce additional latency or degraded image quality, so it is advisable to use them as a last resort.
By ensuring compatibility between the video source and the projector, updating graphics drivers, trying a different video source or cable, and considering external video converters or scalers, you can address flickering caused by an incompatible or outdated video source. However, if the flickering problem persists, it may be necessary to proceed to the next step for further troubleshooting.
Remove or Isolate Electronic Interferences
Interference from other electronic devices can disrupt the signal and cause flickering issues with projectors. To address this problem, it is important to identify and remove or isolate any potential sources of electronic interferences to ensure a stable projection experience.
Start by identifying any electronic devices near the projector that may be causing interference. Common culprits include Wi-Fi routers, cordless phones, fluorescent lights, or other devices that emit signals. Move these devices away from the projector or consider relocating the projector to minimize the signal disruptions caused by proximity.
Use shielded cables for the connections between the projector and the video source. Shielded cables can help minimize the impact of electromagnetic interference on the projector’s signal, reducing the chances of flickering caused by other nearby electronic devices.
If you are experiencing interference from a Wi-Fi router, try changing the Wi-Fi channel on the router. Sometimes, routers in close proximity can operate on the same channel, leading to interference with the projector’s signal. Access the router’s settings and switch to a different channel that has less traffic or congestion.
Turn off or relocate other electronic devices that emit signals, such as cordless phones, baby monitors, or Bluetooth devices. These devices can interfere with the projector’s signal and cause flickering. By removing or isolating these devices, you can minimize potential signal disruptions and improve the stability of the projection.
Consider installing filters or surge protectors on the power outlets to mitigate electromagnetic interference. These devices can help filter out unwanted electrical noise, reducing the chances of interference affecting the projector’s signal.
If fluorescent lights are present in the same vicinity as the projector, try using different types of bulbs or installing filters on the lights themselves. Certain bulbs or filters are specifically designed to minimize electromagnetic interference and can help mitigate flickering caused by fluorescent lights.
By identifying and adjusting the placement of interfering electronic devices, using shielded cables, changing the Wi-Fi channel, adding filters or surge protectors, or using alternative bulbs or filters for fluorescent lights, you can minimize interference and eliminate flickering caused by other electronic devices. However, if the flickering problem persists, it may be necessary to proceed to the next step for further troubleshooting.
Adjust Display Settings and Configuration
Incorrect display settings and configuration on the projector can contribute to flickering issues. Adjusting and fine-tuning the display settings is essential to ensure a stable and flicker-free projection experience. By properly configuring the display settings, you can optimize the projector’s performance and minimize flickering.
Start by verifying that the resolution settings on the projector match the native resolution of the content you are projecting. Setting a different resolution can potentially cause flickering or distorted images. Refer to the projector’s user manual or specifications to determine the recommended resolution and adjust it accordingly.
Additionally, ensure that the refresh rate setting on the projector matches the capabilities of the video source. Mismatched refresh rates between the projector and the video source can result in flickering. Common refresh rates include 60Hz, 75Hz, and 120Hz. Consult the specifications of both the projector and the video source to ensure compatibility and adjust the refresh rate accordingly.
Verify that the aspect ratio settings on the projector are correct. Proper aspect ratio selection ensures that the content is displayed without distortion or stretching. Common aspect ratios include 4:3 (standard) and 16:9 (widescreen). Choose the appropriate aspect ratio according to the content being projected.
Some projectors offer different display mode presets, such as Cinema mode, Standard mode, or Presentation mode. These presets optimize the projector’s settings for specific viewing scenarios. Experiment with different presets to find the one that produces the best results, minimizing flickering and improving image quality.
Adjust image enhancement settings on the projector, if available. These settings can include options like sharpness, brightness, contrast, and gamma correction. Fine-tuning these settings can optimize the visual quality of the projection and reduce the risk of flickering.
If the projector offers color calibration settings, utilize these options to adjust the color balance and gamma curve to your preference. Accurate color calibration can significantly enhance the visual experience and reduce the chances of flickering caused by color inconsistencies.
Additionally, ensure that the projector is positioned correctly and the projection surface is suitable for displaying crisp and stable images. Adjust the focus, zoom, and keystone correction settings as needed to achieve a properly aligned projection.
By verifying and adjusting the resolution, refresh rate, aspect ratio, display mode presets, image enhancement settings, color calibration, and projection alignment, you can optimize the projector’s display settings and minimize flickering issues. However, if the flickering problem persists, it may be necessary to proceed to the next step for further troubleshooting.
Conclusion
Addressing projector flickering requires a systematic approach to identify and resolve the underlying causes. By understanding the basics of projector flickering and exploring the possible causes, you can troubleshoot the issue effectively. Loose or faulty connections, inadequate power supply, overheating, worn-out or defective bulbs, incompatible or outdated video sources, electronic interferences, and incorrect display settings can all contribute to flickering problems.
Through the troubleshooting steps provided, you can address these issues to ensure a stable and flicker-free projection experience. Checking and securing connections, ensuring sufficient power supply, monitoring and controlling temperature, replacing worn-out or defective bulbs/lamps, updating or changing the video source, removing or isolating electronic interferences, and adjusting display settings and configuration are essential steps in troubleshooting projector flickering.
It is important to remember that each projector model may have specific requirements and troubleshooting steps. Always consult the projector’s manual or contact the manufacturer’s support for detailed guidance if needed.
By following these troubleshooting steps and taking appropriate measures, you can enhance the performance and quality of your projector. Enjoy seamless and flicker-free projection, whether you’re watching movies, giving presentations, or playing games. Should the flickering issue persist despite your efforts, it is advisable to seek professional assistance from a technician or reach out to the projector’s manufacturer for further support.