Introduction
When it comes to optimizing the cooling performance of your computer, having a fan controller is essential. Fan controllers allow you to adjust the speed and performance of your case fans, ensuring optimal airflow and temperature management. However, the question of where to plug in your fan controller may leave you scratching your head.
In this article, we will explore different options for plugging in your fan controller and discuss the pros and cons of each. Whether you prefer a motherboard-based solution, direct connection to the power supply, or utilizing a fan controller hub, we will guide you through the various possibilities.
Before we dive into the details, it’s important to note that the location of the fan controller depends on the type of controller you have. Some fan controllers are designed to be mounted internally, while others can be installed in the front panel of your chassis for easy access. Regardless of the placement, finding the right power source is crucial for your fan controller to function efficiently.
Now, let’s explore the different locations where you can plug in your fan controller and discover which option suits your needs best!
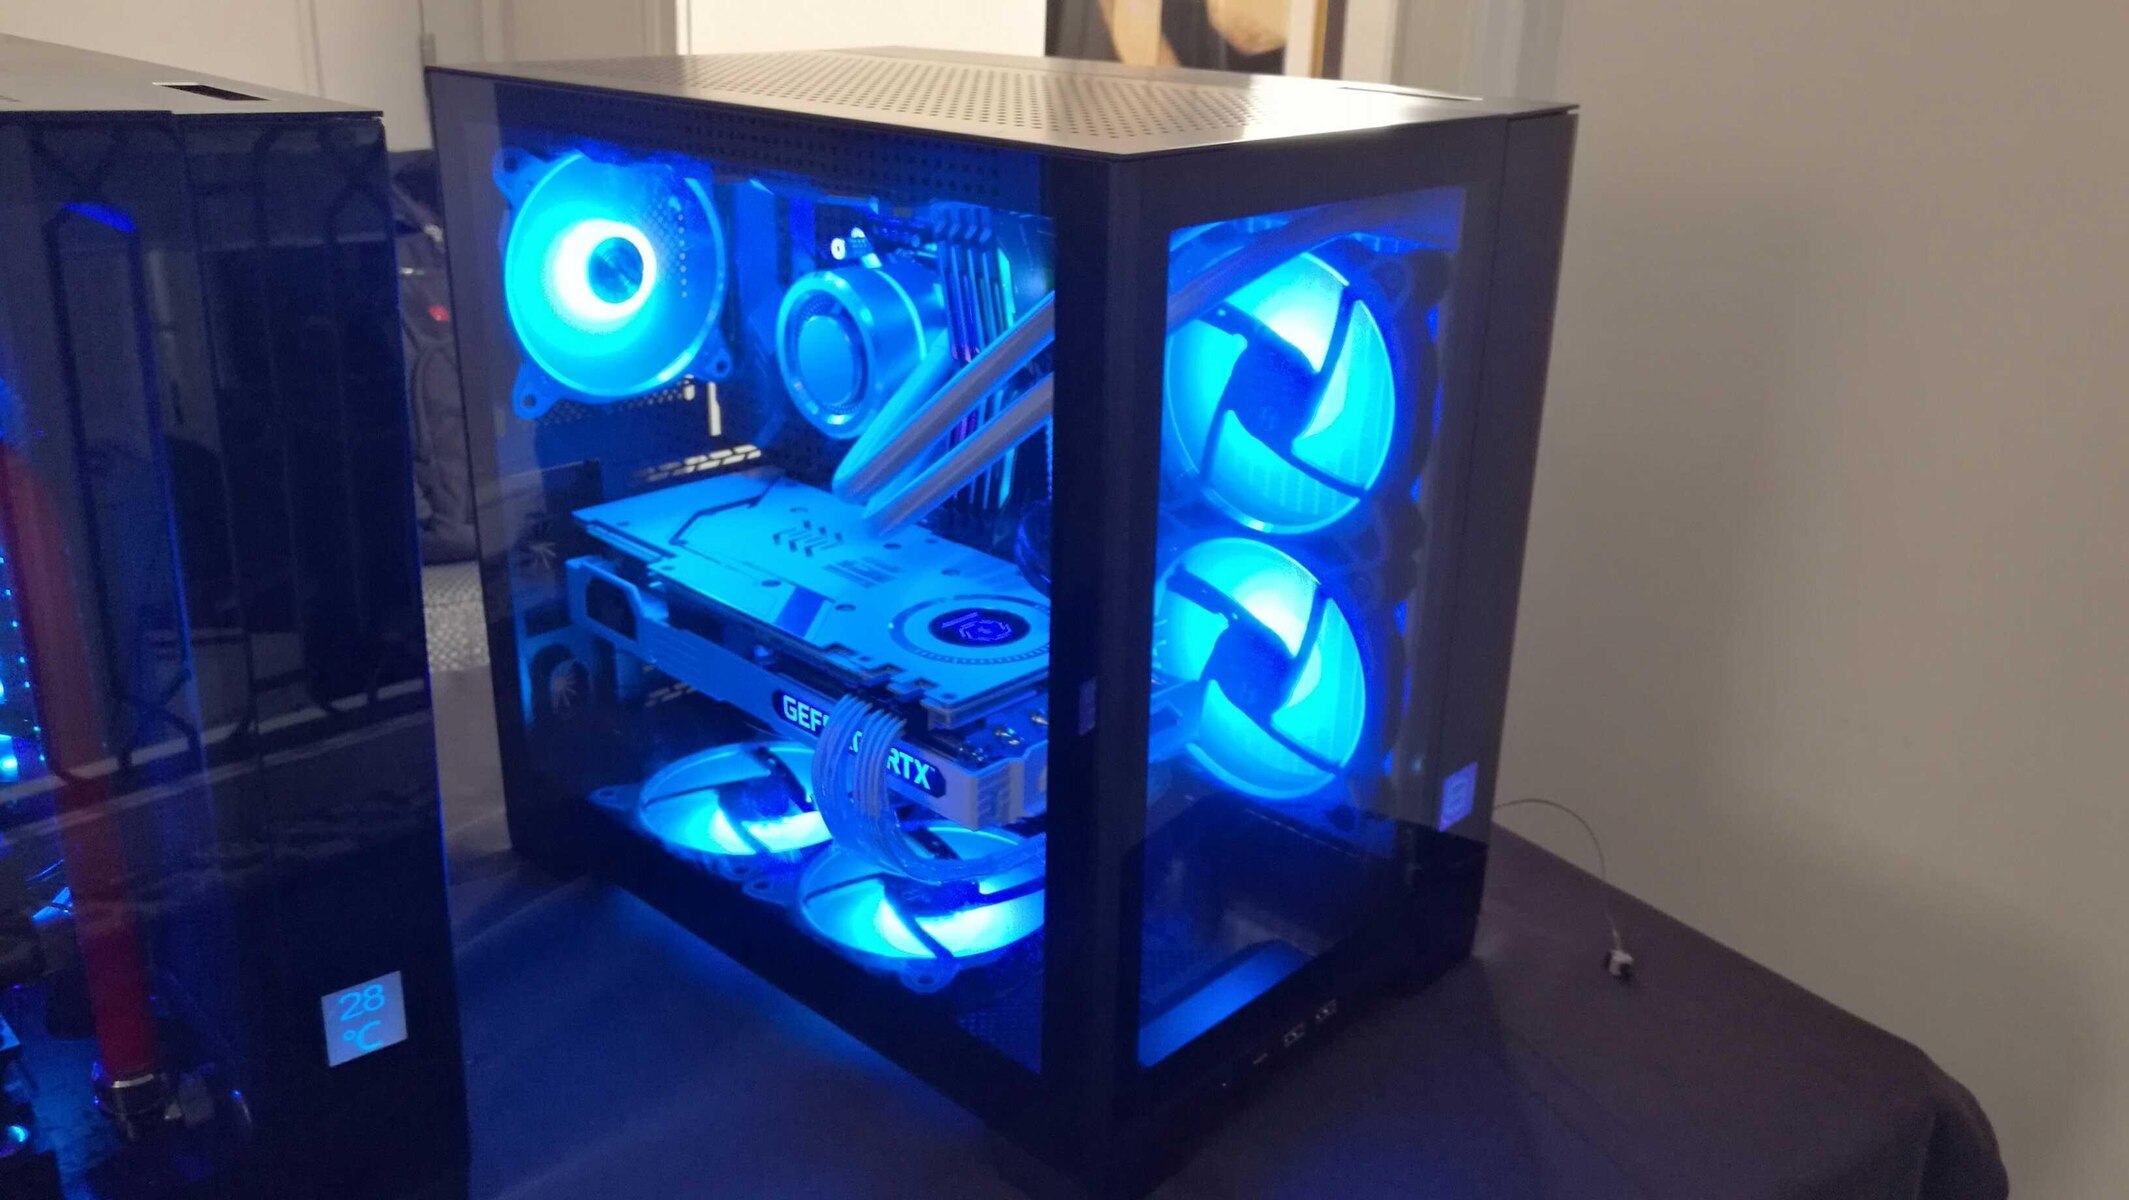
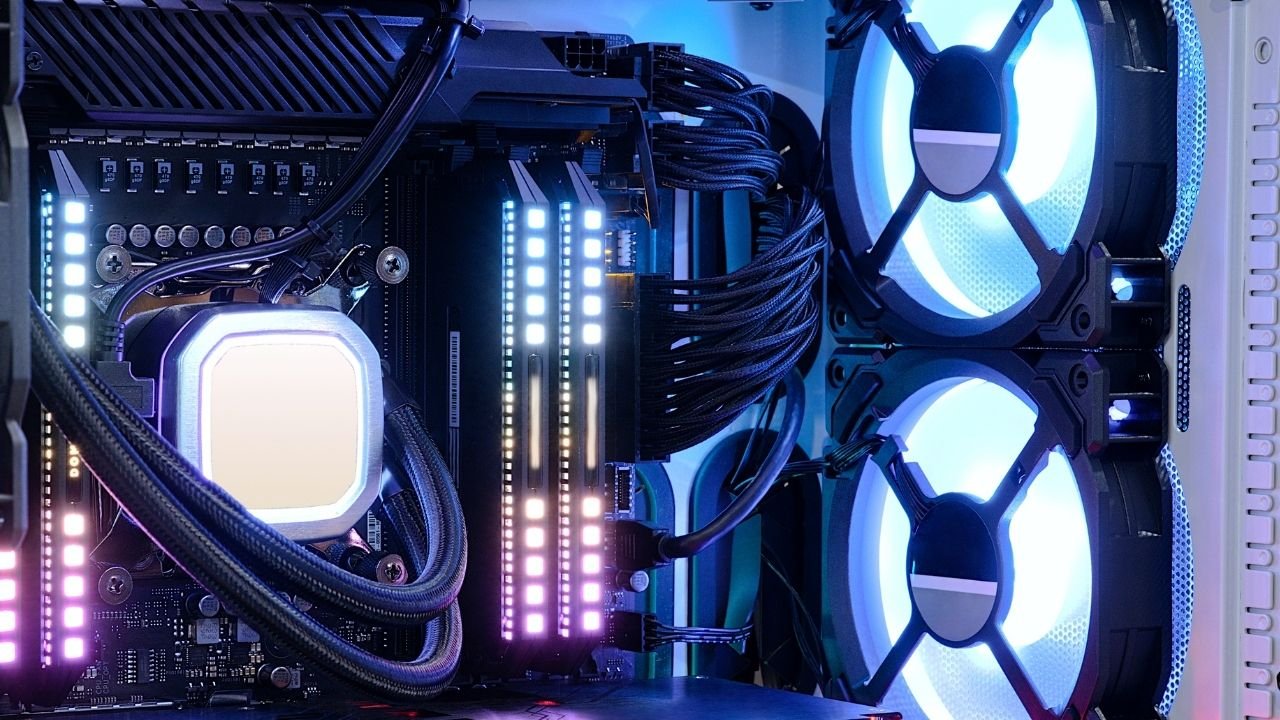
Motherboard Fan Headers
One of the most common options for connecting your fan controller is through the motherboard fan headers. These headers are specifically designed to power and control case fans, making it a convenient choice for many users.
Most modern motherboards come equipped with multiple fan headers, allowing you to connect multiple case fans directly to the motherboard. The number of headers available will depend on your motherboard model.
To plug in your fan controller to a motherboard fan header, simply connect the controller’s power cable to the header. Once connected, you can use your motherboard’s BIOS or software to control and adjust the fan speed. This gives you the flexibility to customize the cooling performance of your system.
Using the motherboard fan headers has several advantages. Firstly, it allows for centralized fan control, as all connected fans will be controlled through a single interface. This makes it easy to manage and adjust the fan speeds according to your needs.
Additionally, using the motherboard’s fan headers provides compatibility and stability, as they are specifically designed to work with the motherboard’s power delivery system. This helps ensure a reliable and consistent power source for your case fans.
However, it is important to note that not all motherboard fan headers are created equal. Some headers may have limited power output, which could affect the performance of your fans. Before connecting your fan controller, check the specifications of your motherboard to ensure that the fan headers can support the power requirements of your case fans.
In some cases, the motherboard fan headers may not provide enough control options for more advanced fan controllers. If you require additional features such as temperature sensors or advanced fan profiles, you might need to consider alternative options such as fan controller hubs.
Overall, connecting your fan controller to the motherboard fan headers is a popular choice for its convenience, centralized control, and compatibility with the motherboard’s power delivery system. However, be mindful of the power requirements and the limitations of your motherboard’s fan headers before making the connection.
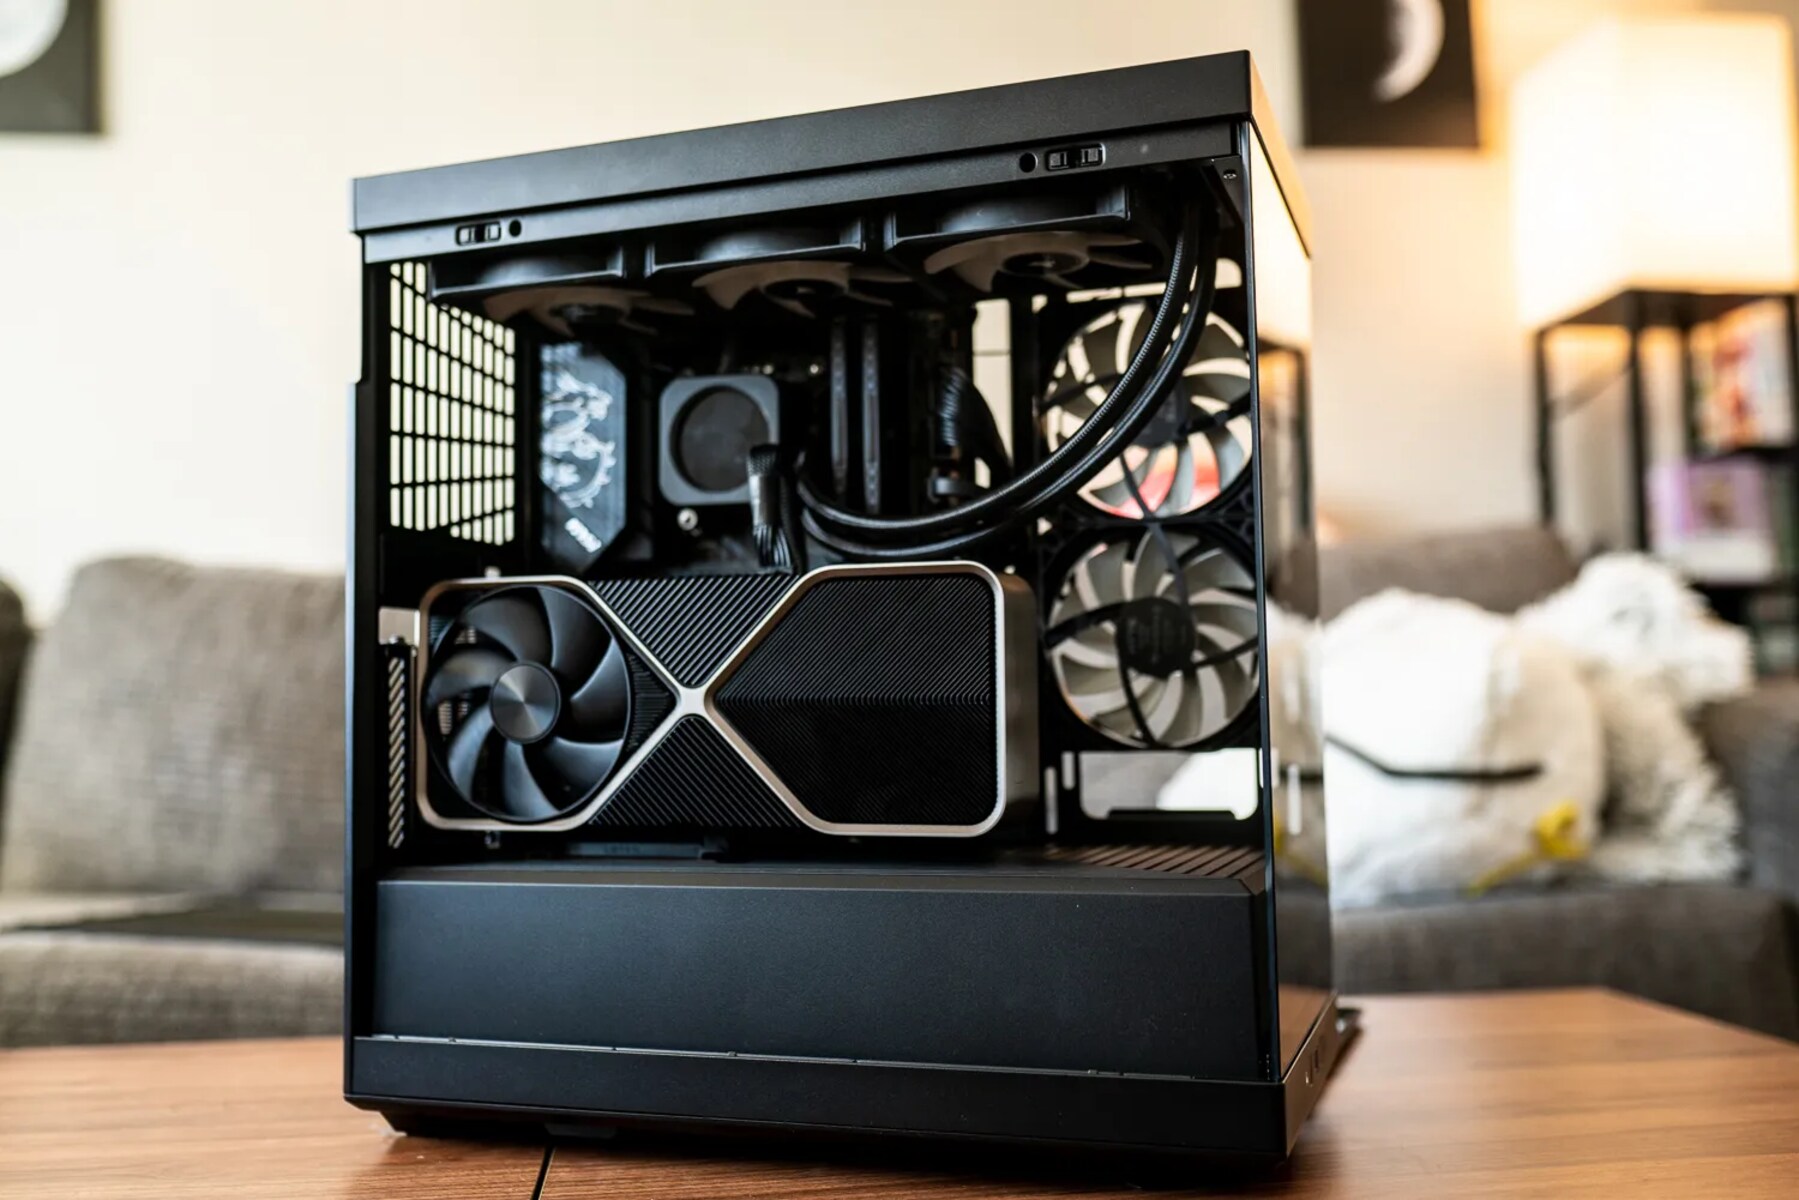
Power Supply
An alternative option for plugging in your fan controller is through the power supply unit (PSU). This method involves connecting the fan controller directly to the PSU, bypassing the motherboard entirely.
Many fan controllers come with a Molex connector, which can be connected to the PSU’s Molex power cables. The advantage of this method is that it can provide a reliable and independent power source for the fan controller and case fans.
When connecting the fan controller to the PSU, it is important to ensure that the fan controller supports the voltage output of the PSU. Most fan controllers are designed to work with the standard 12V output of ATX power supplies, but it is always recommended to check the specifications of both the fan controller and PSU to ensure compatibility.
One of the benefits of using the power supply to connect your fan controller is that it allows for a separate and dedicated power source for your case fans. This can be particularly useful if you have a high-performance system with multiple power-hungry fans that require additional power.
Another advantage of connecting the fan controller to the power supply is that it can reduce the load on the motherboard. By offloading the power supply responsibility to the PSU, the motherboard can allocate more resources to other components, resulting in improved overall system performance.
However, it’s worth noting that by connecting the fan controller to the power supply, you may lose the ability to control the fan speed through software or the motherboard BIOS. The fan controller will run the fans at a constant speed, typically at full power. If you prefer fine-grained control over the fan speed, then connecting to the motherboard fan headers may be a better option.
Overall, using the power supply to connect your fan controller offers the advantages of a dedicated power source and reduced load on the motherboard. However, it may sacrifice the flexibility of controlling the fan speed through software or the motherboard. Consider your specific needs and preferences before deciding to utilize the power supply for your fan controller connection.
Chassis Front Panel
If you prefer convenient accessibility and control over your case fans, connecting your fan controller to the chassis front panel is an excellent choice. Many modern computer cases are equipped with a front panel that includes fan controls, making it easy to manage and adjust your fan speeds.
To connect your fan controller to the chassis front panel, simply follow the manufacturer’s instructions for installation. Typically, this involves plugging the fan controller into the designated ports on the front panel and securing it in place within the chassis.
By using the chassis front panel, you have the advantage of having your fan controls easily accessible. You can make real-time adjustments to your fan speeds without having to navigate through the motherboard BIOS or software. This can be particularly useful if you frequently change your cooling settings or prefer a more hands-on approach to fan management.
In addition to easy access, connecting your fan controller to the chassis front panel allows for seamless integration with the overall design of your computer case. The front panel controls are often aesthetically pleasing and can blend in seamlessly with the rest of your system’s exterior.
It’s important to note, however, that not all computer cases come with a front panel fan controller. If your case does not have this feature, you may need to explore other options such as using a separate fan controller or connecting directly to the motherboard or power supply.
Furthermore, keep in mind that the effectiveness of the front panel fan controls may vary depending on the quality and design of your case. Some cases may offer limited control options or may not support advanced features such as temperature sensing or customized fan profiles.
In summary, connecting your fan controller to the chassis front panel provides convenient accessibility and control over your case fans. It eliminates the need to navigate through the motherboard BIOS or software for fan adjustments. However, the availability and functionality of the front panel fan controls may depend on the specific computer case you have. Consider your preference for ease of use and integration with the overall design when deciding to connect your fan controller to the chassis front panel.
Direct to the Fan
If you prefer a simple and straightforward method of connecting your fan controller, you can opt to connect it directly to the case fans themselves. This method involves bypassing both the motherboard and power supply unit.
To connect your fan controller directly to the fans, you will need to access the cables coming from each fan. Most case fans have a 3-pin or 4-pin connector that can be plugged into the corresponding ports on the fan controller.
One of the advantages of connecting your fan controller directly to the fans is that it provides individual control over each fan. This means that you can adjust the speed and performance of each fan separately, allowing for greater customization and fine-tuning of your system’s cooling capabilities.
In addition to individual control, connecting directly to the fans also eliminates the need for additional cables and connectors, resulting in a cleaner cable management setup. This can improve airflow and overall aesthetic appeal inside your computer case.
However, there are a few considerations to keep in mind when connecting your fan controller directly to the fans. Firstly, make sure that the fan controller you choose can support the voltage and current requirements of the fans you are connecting. Mismatched power requirements can lead to performance issues or even damage to the fans.
Furthermore, connecting the fan controller directly to the fans may limit your control options. You may not be able to utilize advanced features such as temperature sensors or software-based controls. If you require these features, it might be best to consider other connection methods, such as using the motherboard fan headers or a fan controller hub.
Overall, connecting your fan controller directly to the fans offers individual control over each fan and simplifies cable management. It provides a straightforward and customizable solution for managing your system’s cooling. However, be mindful of the power requirements and potential limitations in control options before opting for this connection method.
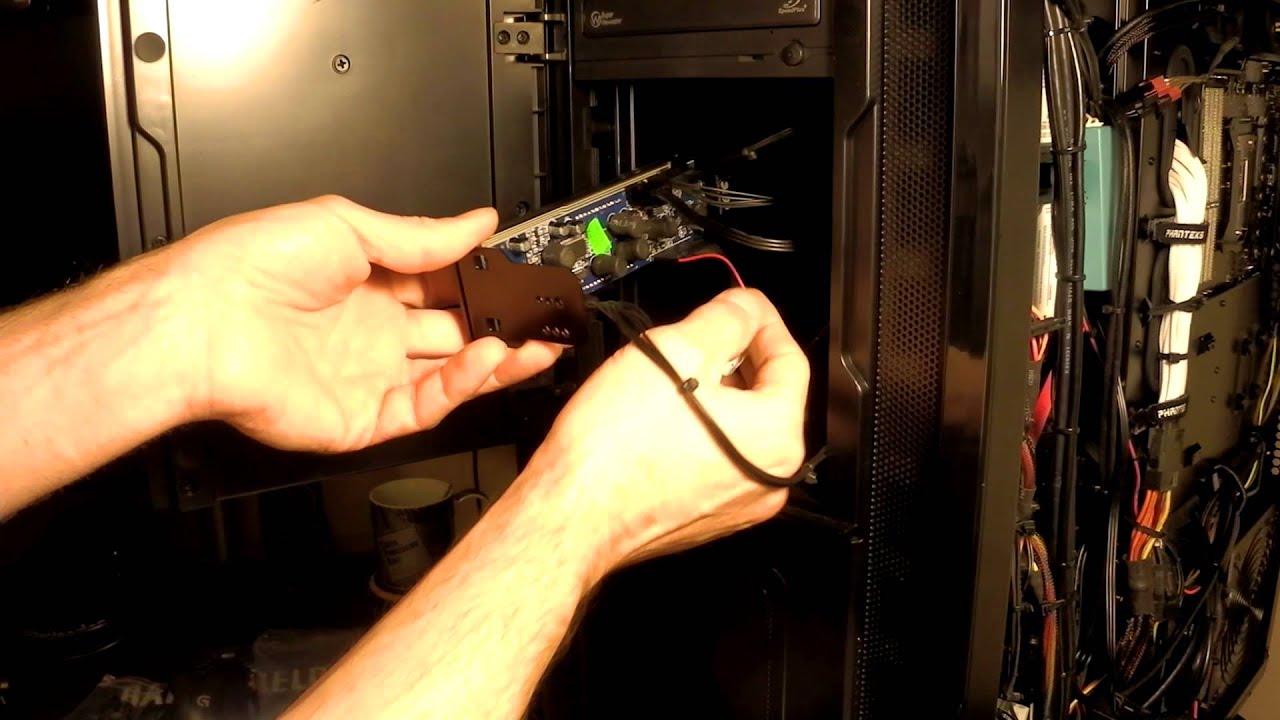
Fan Controller Hub
If you have a large number of case fans or require advanced control options, utilizing a fan controller hub can be a practical and efficient solution. A fan controller hub acts as a central hub where you can connect multiple case fans and control their speeds and performance.
When using a fan controller hub, you will typically connect the hub to a power source, such as the power supply unit, and then connect all of your case fans to the hub. Most hubs feature multiple fan ports, allowing you to connect several fans simultaneously.
One of the main advantages of using a fan controller hub is the ability to control multiple fans with ease. The hub provides centralized control, allowing you to adjust the fan speeds collectively or individually, depending on your preference. This makes it convenient to manage and fine-tune the cooling performance of your system.
Furthermore, fan controller hubs often come equipped with additional features like temperature sensors, allowing you to set up automatic fan speed adjustments based on the temperature readings. This can help ensure optimal cooling performance without the need for manual adjustments.
Another benefit of using a fan controller hub is that it can reduce the load on the motherboard’s fan headers. By connecting multiple fans to the hub, you can distribute the power requirements across different channels, alleviating any potential strain on the motherboard’s power delivery system.
Additionally, utilizing a fan controller hub can simplify cable management. Instead of having multiple fan cables connecting to the motherboard, you only need to connect the hub to the power source, resulting in a neater and more organized setup.
However, it’s important to note that not all fan controller hubs are created equal. When choosing a hub, consider factors such as the number of fan ports, power output, and compatibility with your system. It’s also essential to check if the hub supports the control options you desire, such as manual adjustments, temperature sensing, or software-based controls.
In summary, using a fan controller hub provides centralized control, advanced features, and simplified cable management for your case fans. It allows you to efficiently manage multiple fans and customize their performance based on your needs. Consider the number of fans you have and the features you require when deciding to utilize a fan controller hub.
Conclusion
Choosing the right location to plug in your fan controller is crucial for optimizing the cooling performance of your computer. Each option discussed – motherboard fan headers, power supply, chassis front panel, direct to the fan, and fan controller hubs – offers its own set of advantages and considerations.
If you prefer centralized control and compatibility with your motherboard’s power delivery system, connecting your fan controller to the motherboard fan headers is a popular choice. It allows for easy adjustments through the BIOS or software and ensures stable power delivery to your case fans.
For those seeking a reliable and independent power source, connecting the fan controller to the power supply unit offers a dedicated solution. It can handle the power requirements of multiple fans and reduces strain on the motherboard.
Alternatively, connecting the fan controller to the chassis front panel provides convenience and easy accessibility. This option eliminates the need for navigating through the BIOS or software and allows for real-time adjustments to fan speeds.
If you require fine-tuned control and customization, connecting the fan controller directly to the fans offers individual control over each fan. However, be mindful of the power requirements and limitations in control options.
Last but not least, utilizing a fan controller hub enables centralized control over multiple fans and advanced features like temperature sensing. It simplifies cable management and reduces the load on the motherboard’s fan headers.
When deciding where to plug in your fan controller, consider your specific needs, the number of fans you have, and the desired level of control and customization. Keep in mind the compatibility and power requirements of your components to ensure optimal performance and longevity.
By carefully selecting the best location for your fan controller, you can enhance the cooling efficiency of your computer and maintain optimal temperatures for your hardware, ultimately prolonging its lifespan and improving overall system performance.