Introduction
As an adventurous drone pilot, there might come a time when you face the unnerving situation of your drone landing in water. Whether it’s a lake, pond, or even the ocean, the immediate instinct may be to panic and worry about the fate of your beloved drone. However, it’s crucial to stay calm and take the necessary steps to salvage and potentially repair your drone.
In this guide, we will walk you through the process of what to do if your drone lands in water. By following these steps, you can increase the chances of recovering your drone and minimizing the damage caused by water exposure.
Please note that the actions mentioned in this article are general guidelines and may vary depending on the specific make and model of your drone. Always consult the manufacturer’s instructions and guidelines for your particular drone to ensure the best course of action.
So, without further ado, let’s dive into the steps you need to take if your drone ends up taking an unexpected swim.
Assess the Situation
The first step after discovering that your drone has landed in water is to quickly assess the situation. It’s essential to evaluate the depth and type of water your drone is submerged in to determine the potential risks and challenges you may face during the retrieval process.
If the water is shallow, such as a shallow pool or a calm pond, the retrieval process may be relatively simple. However, if your drone has sunk into deep water or a fast-flowing river, the situation becomes more complex and may require additional precautions.
It’s also crucial to consider the weather conditions at the time of the incident. If it’s raining or there are strong winds, it can affect the possibility of retrieving the drone safely. Assessing the current weather conditions will help you decide whether to proceed with the retrieval immediately or wait for more favorable conditions.
Additionally, you should also take into account any potential hazards in or around the water. These could include rocks, branches, or other debris that could make the retrieval process more risky or cause further damage to your drone.
Assessing the situation with a calm and rational mind will help you make informed decisions throughout the recovery process. Remember, patience and careful planning are crucial when dealing with a drone in water.
Retrieve the Drone
Once you have assessed the situation and are ready to proceed, it’s time to retrieve your drone from the water. However, keep in mind that safety should always be your top priority. Ensuring your own well-being and taking necessary precautions is essential before attempting to recover the drone.
If the water is shallow enough and you can see the drone, you may be able to wade in and retrieve it manually. However, if the water is deep or the drone is in a hard-to-reach spot, you may need some additional tools or assistance.
One method to retrieve a drone from deep water is by using a long pole or a fishing net. Gently maneuver the pole or net around the drone, taking care not to apply too much pressure or might cause damage. Slowly lift the drone out of the water and onto the shore.
In cases where the drone is in a fast-flowing river or inaccessible location, it may be necessary to seek professional help. Reach out to a local professional diver or search-and-rescue team who can safely retrieve the drone for you. It’s important not to attempt dangerous retrieval methods that could put yourself or others at risk.
Once you have successfully retrieved the drone, handle it with care and avoid shaking or moving it abruptly. Waterlogged drones are fragile, and any sudden movements could potentially cause further damage.
Remember, patience is key during this process. It’s better to take your time and retrieve the drone safely rather than rushing and causing more harm in the process.
Dry the Drone
After retrieving the drone from the water, the next crucial step is to dry it thoroughly. Water exposure can cause damage to the electronic components of the drone if not addressed promptly. Here are some important steps to follow to ensure proper drying:
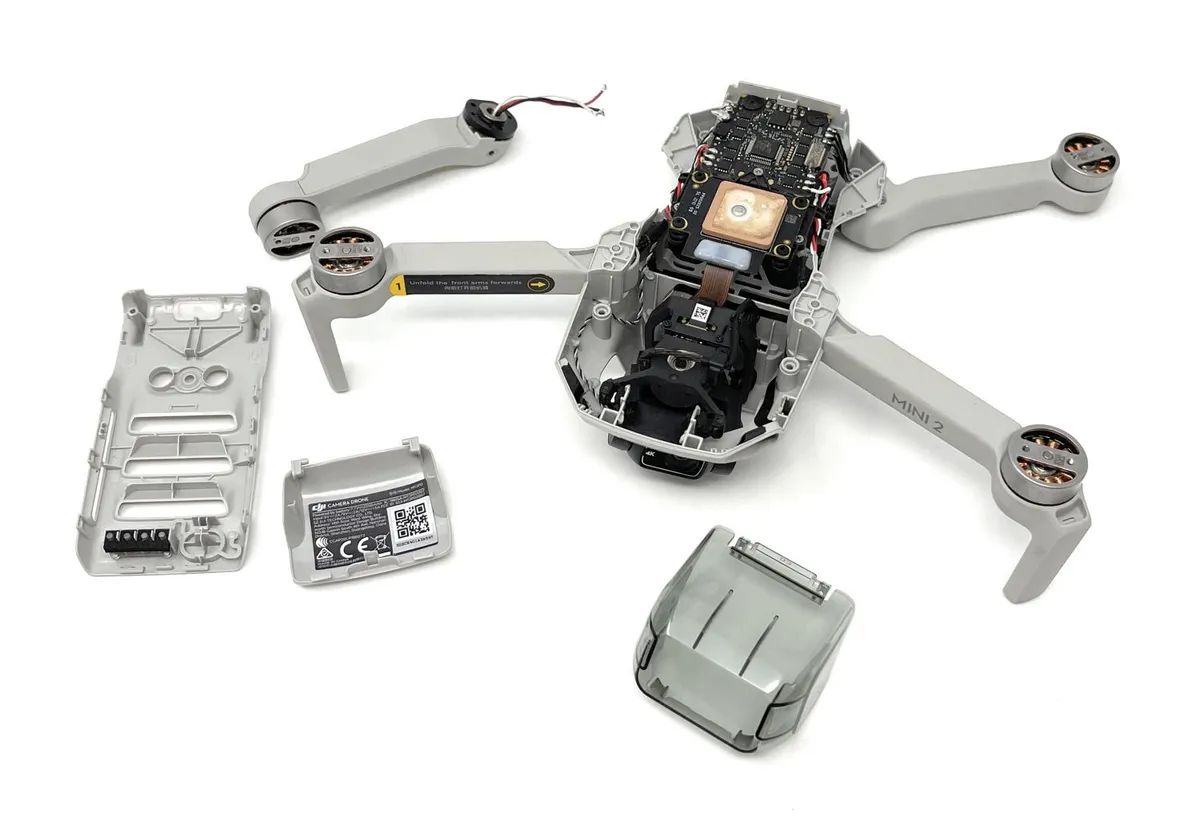
- Remove the battery: Start by removing the battery from the drone. This will help prevent any potential short circuits and further damage.
- Pat dry: Use a soft cloth or absorbent material to gently pat dry the exterior of the drone. Be careful not to rub or apply excessive pressure, as this could push water further into the drone.
- Air dry: Find a well-ventilated area or use a fan to allow the drone to air dry. Do not use a hairdryer or other heat sources, as it could cause damage to the internal components.
- Open compartments: If your drone has removable compartments or access panels, open them up to allow air circulation inside. This will assist in drying out any residual moisture.
- Silica gel packets: Consider placing silica gel packets near the drone. These can help absorb any remaining moisture in the surrounding environment.
It’s important to note that adequate drying time may vary depending on the extent of water exposure and the specific drone model. Allow sufficient time for the drone to dry completely before attempting to power it back on.
Remember, the goal is to remove all moisture from the drone to prevent potential damage to the sensitive electronic components. Taking the time to dry the drone properly can significantly increase the chances of a successful recovery.
Inspect for Damage
After the drone has been dried thoroughly, the next step is to carefully inspect it for any signs of damage. Water exposure can potentially cause various issues, including corrosion, electrical damage, or compromised structural integrity. Here’s how to conduct a thorough inspection:
- Exterior examination: Start by visually inspecting the exterior of the drone. Look for any visible signs of water damage, such as rust, discoloration, or swelling of the casing. Pay attention to the joints and connectors as these areas are more susceptible to water penetration.
- Check the camera and gimbal: If your drone has a built-in camera or gimbal, inspect these components for any signs of water damage. Look for foggy lenses, water spots, or malfunctioning movements.
- Inspect the battery: Carefully examine the battery for any signs of water damage, such as corrosion on the contacts or swelling. If there are any concerns about the battery’s integrity, it’s recommended to replace it to avoid any safety risks.
- Test the motors and controls: Power on the drone and perform a series of tests to ensure that all motors and controls are functioning correctly. Pay attention to any abnormal noises, vibrations, or unresponsive movements, as these could indicate water damage.
- Check for water inclusions: Look for any signs of water inside the drone, particularly in hard-to-reach areas. Even small amounts of residual water can cause long-term damage if not addressed.
If you notice any significant damage or malfunctioning components during the inspection, it is recommended to contact the manufacturer or a qualified drone repair specialist for further assistance. They will be able to provide expert advice and guidance on the necessary repairs or replacements.
By thoroughly inspecting your drone, you can identify and address any damage earlier, minimizing the risk of further complications and ensuring the drone’s longevity.
Test the Drone
After drying and inspecting the drone for any water damage, it’s time to perform a series of tests to ensure that the drone is fully functional. Testing the drone is a crucial step to confirm that all components are working as they should. Here’s what you should do:
- Power on the drone: Turn on the drone and allow it to initialize. Pay attention to any error messages or abnormal behavior during startup.
- Check the connectivity: Ensure that the drone is connecting properly to the controller or mobile device. Test the range and stability of the connection to ensure a reliable signal.
- Test the flight controls: Take the drone to an open and safe area for flight testing. Test each of the flight controls, including throttle, pitch, roll, and yaw, to see if they respond accurately and smoothly.
- Verify stability and balance: Observe the stability of the drone during flight. Check if it hovers steadily and maintains its balance without any erratic movements.
- Test advanced features: If your drone has any advanced features like automated flight modes or obstacle avoidance, test them to ensure they are functioning correctly.
- Check the camera and gimbal: Test the camera and gimbal functionalities. Check if the camera captures clear images or videos and if the gimbal stabilizes the camera effectively.
- Monitor battery performance: Keep an eye on the battery performance during the test flight. Ensure that it holds a charge properly and doesn’t drain excessively.
During the testing phase, be vigilant for any unusual behavior or malfunctions. If you notice any issues or suspect that there is still water damage affecting the drone’s performance, it is recommended to seek professional help or contact the manufacturer for further assistance.
Remember, thorough testing ensures the safety and efficiency of your drone during future flights. It’s better to detect and address any lingering issues now rather than experiencing unexpected problems while in the air.
Take Preventive Measures
Once you have successfully retrieved, dried, inspected, and tested your drone, it’s essential to take preventive measures to avoid a similar incident in the future. Implementing these measures can help protect your drone from water damage and ensure its longevity:
- Check weather conditions: Before each flight, check the weather forecast to ensure suitable flying conditions. Avoid flying in heavy rain, strong winds, or near bodies of water if possible.
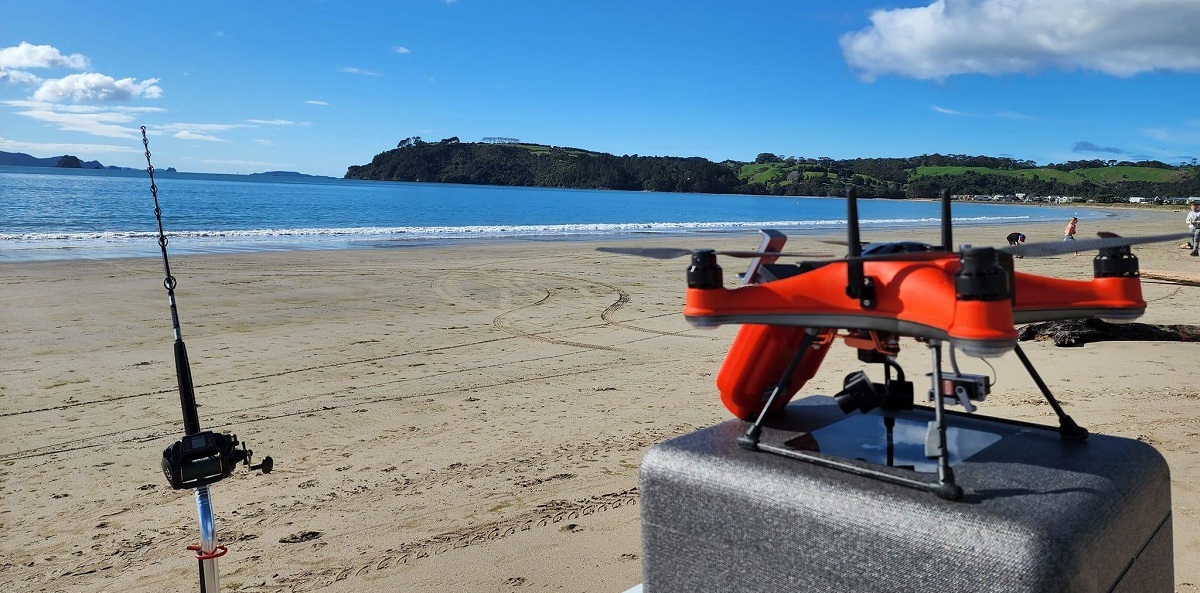
- Stay cautious near water bodies: When flying near water, exercise caution and maintain a safe distance. Be aware of your drone’s limits and take extra care when maneuvering over water surfaces.
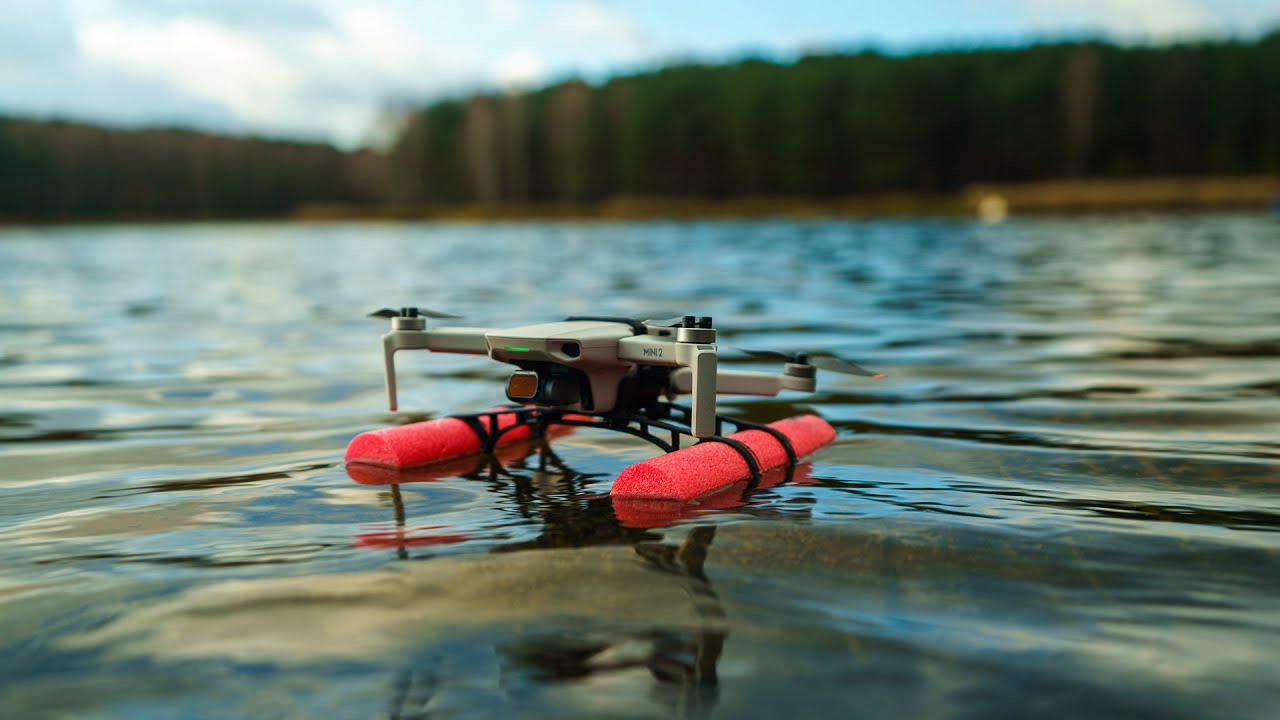
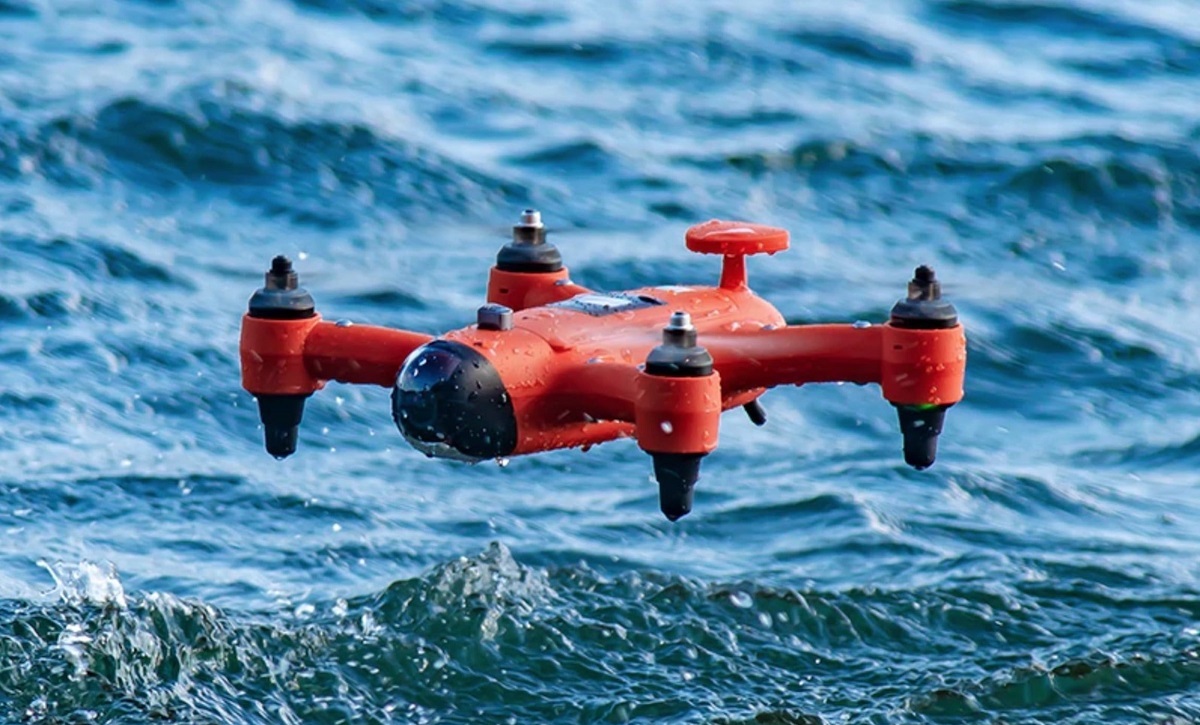
- Invest in a waterproof drone: If you frequently fly in wet environments, consider investing in a waterproof or water-resistant drone. These drones are designed to withstand immersion in water and provide an added layer of protection.
- Apply water repellent coating: Apply a water repellent coating to the exterior of the drone. This can help repel small amounts of water and minimize its impact on the electronic components.
- Use landing gear extensions: Landing gear extensions can raise the drone’s body higher off the ground, reducing the risk of water contact during landing and takeoff.
- Carry rescue equipment: Keep tools such as a fishing net, a long pole, or a flotation device with you during your drone flights near water. These can assist in quickly retrieving the drone in case of an emergency.
- Regular maintenance: Perform routine maintenance checks on your drone, including inspecting seals, connectors, and other vulnerable areas for any signs of wear or damage. Promptly address any issues to prevent water ingress.
- Keep spare parts and accessories: Have extra batteries, propellers, or other essential accessories readily available. This ensures that you can continue flying even if a component needs replacement due to water damage or other unforeseen circumstances.
By taking these preventive measures, you can minimize the risk of your drone landing in water and reduce the potential for damage. Remember, prevention is always better than dealing with the aftermath of a water-related incident.
Conclusion
Dealing with a drone that has landed in water can be a stressful situation, but by following the steps outlined in this guide, you can increase your chances of successfully recovering and potentially repairing your drone.
Remember to assess the situation, retrieve the drone safely, dry it thoroughly, inspect for damage, test its functionality, and take preventive measures to avoid future water incidents. By staying calm, being patient, and taking proper precautions, you can minimize the damage caused by water exposure.
However, it’s important to note that every drone may react differently to water exposure and these steps may not guarantee a full recovery. In some cases, professional help or manufacturer assistance might be required to assess and repair the damage.
Ultimately, prevention is key. Stay vigilant, fly responsibly, and take measures to protect your drone from water damage before it happens. By adopting preventive practices and being prepared, you can enjoy countless hours of worry-free flights with your drone.