Introduction
Welcome to the world of laser engraving! If you’re looking to bring your creative ideas to life, the Eleksmaker A3 Laser Engraver is a versatile tool that can help you achieve stunning results. Whether you’re a hobbyist or a professional, this high-quality machine offers precision and flexibility in your artistic endeavors.
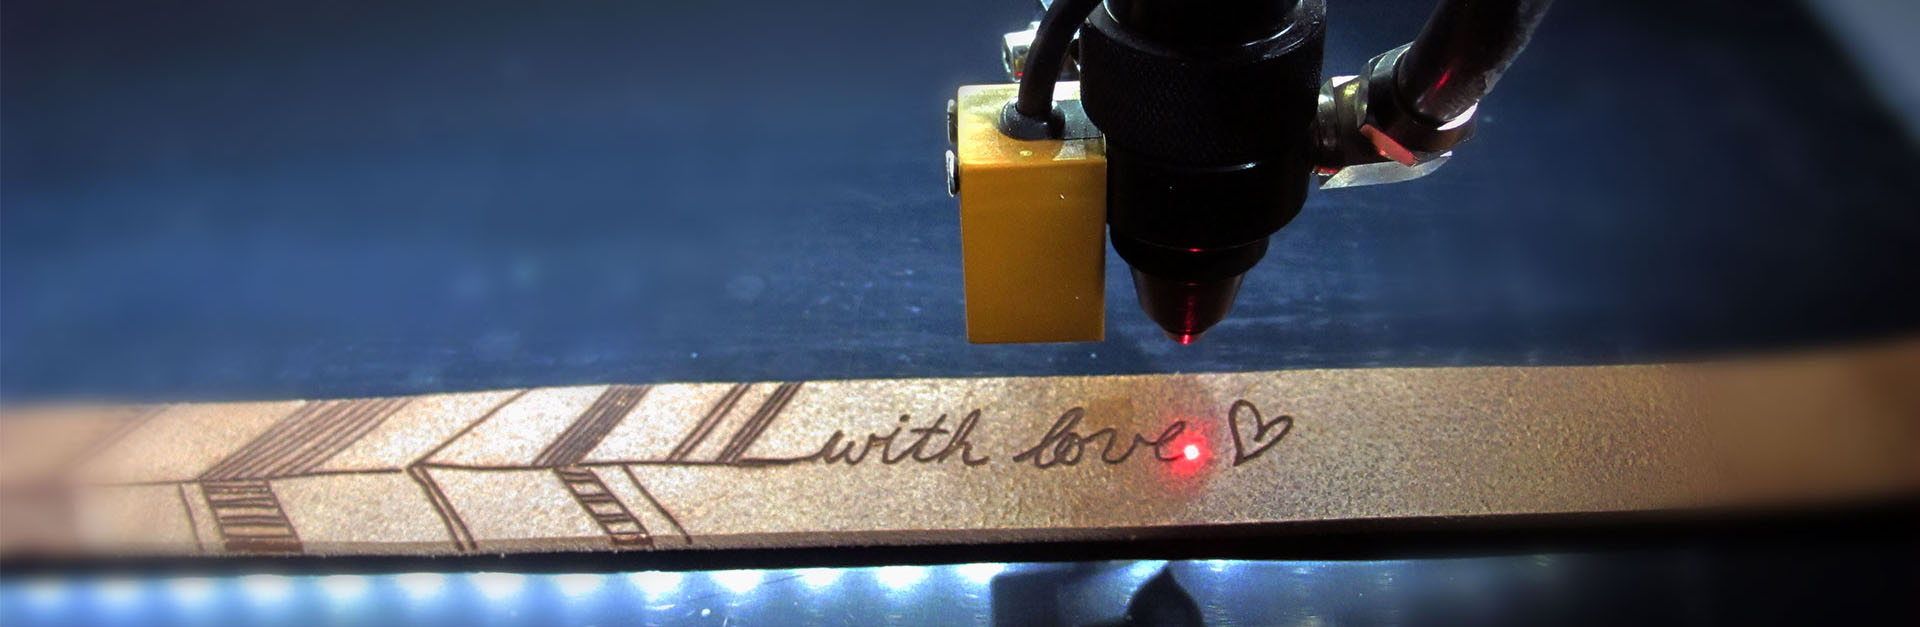
The Eleksmaker A3 Laser Engraver uses a laser beam to etch or cut materials such as wood, acrylic, leather, and more. Its compact design and user-friendly interface make it ideal for both home and small-scale business use. While the machine offers numerous features and capabilities, one of the questions that often arises is: what is its maximum speed?
Understanding the maximum speed of the Eleksmaker A3 Laser Engraver is crucial for achieving efficiency and optimizing your workflow. In this article, we will delve into the factors that affect the speed and explore the specifications related to the maximum speed of this machine. Furthermore, we will provide practical tips to help you increase the maximum speed and get the most out of your engraving projects.
Before we dive into the details, it’s important to note that the maximum speed of the Eleksmaker A3 Laser Engraver can vary depending on several factors. These factors include the type of material being engraved, the complexity of the design, and the settings you choose. By understanding these variables and optimizing your approach, you can achieve impressive results while taking full advantage of the machine’s speed capabilities.
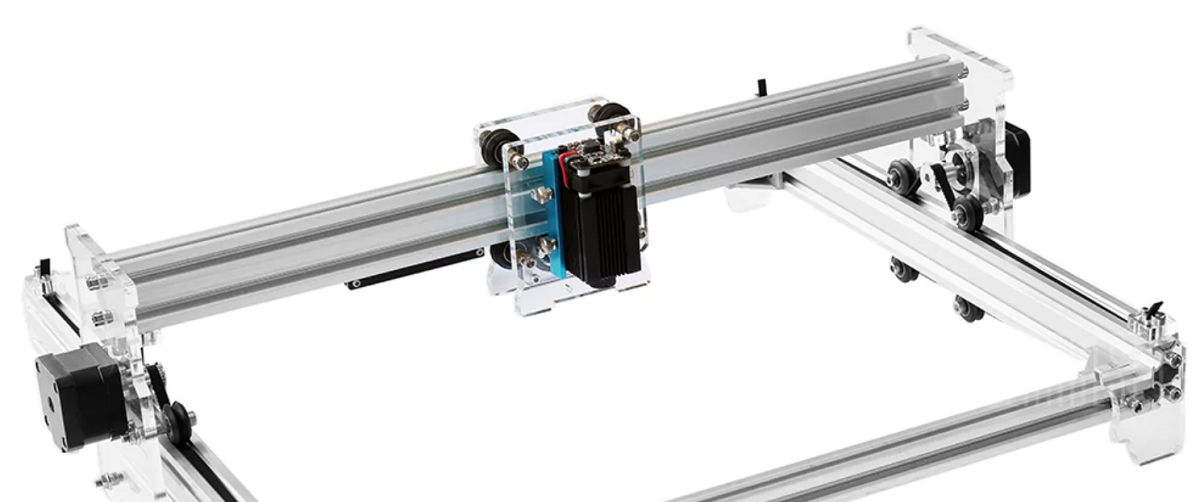
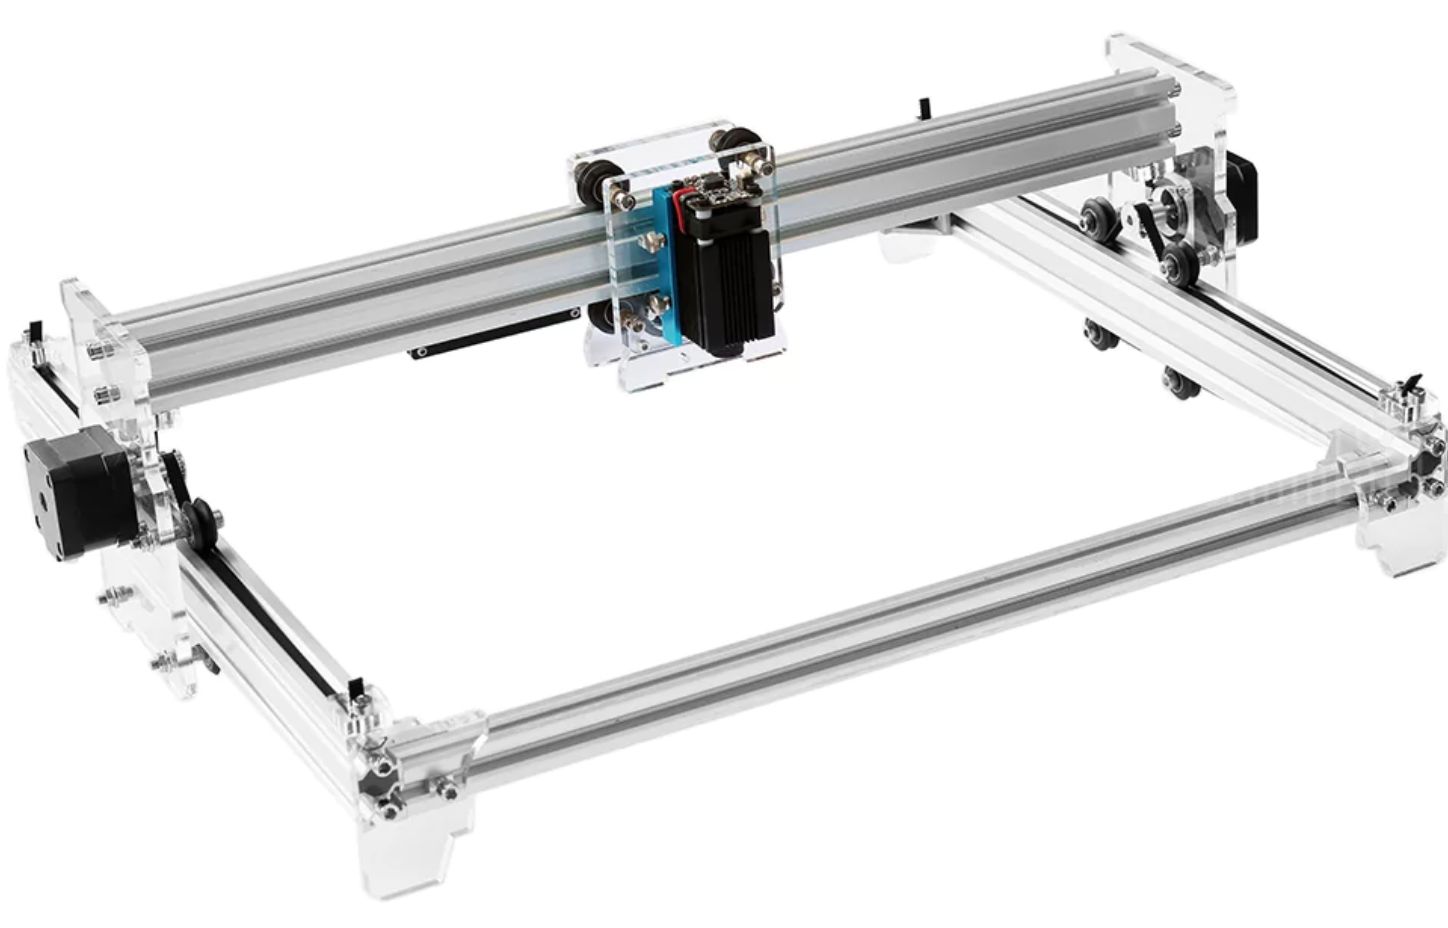
What is the Eleksmaker A3 Laser Engraver?
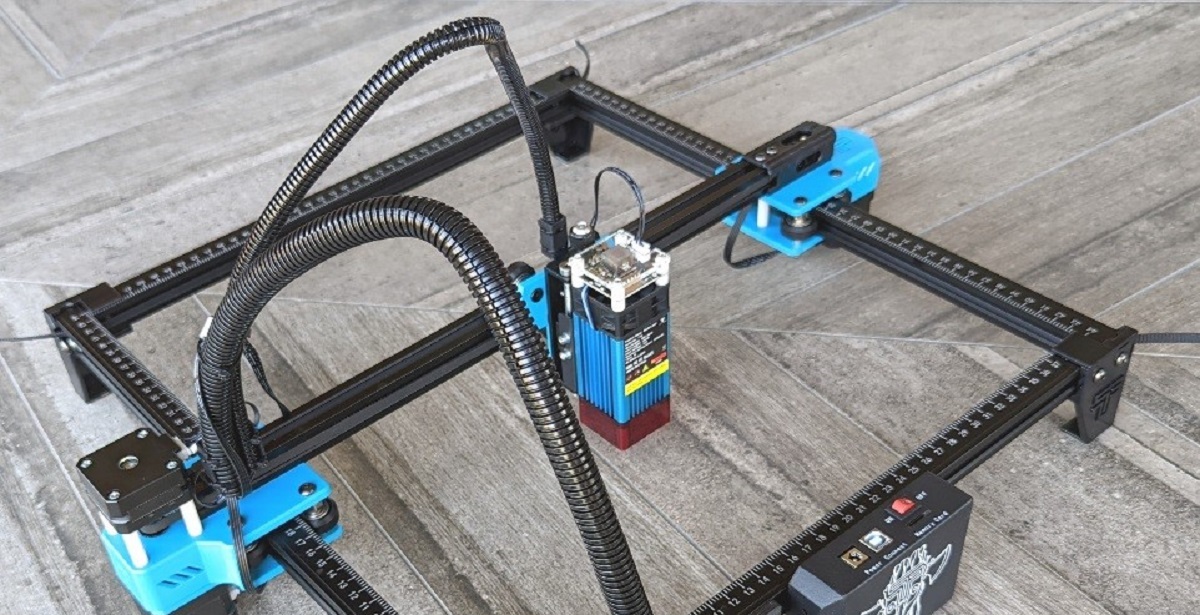
The Eleksmaker A3 Laser Engraver is a powerful and versatile machine that allows you to create intricate designs and patterns on a variety of materials. It combines cutting-edge technology with user-friendly features to provide an exceptional engraving experience.
This laser engraver operates by emitting a high-intensity laser beam that precisely etches or cuts through materials such as wood, acrylic, leather, and fabric. It can be used to create personalized gifts, artistic decorations, signage, and even intricate artwork. The Eleksmaker A3 Laser Engraver opens up a world of possibilities for artists, crafters, and designers.
One of the standout features of the Eleksmaker A3 is its compact design, making it suitable for both small-scale businesses and home use. Its intuitive interface and easy-to-use software provide a seamless engraving process. With adjustable laser power and a range of speed options, you have full control over the depth and the intensity of your engravings.
The Eleksmaker A3 Laser Engraver also offers a generous working area, allowing you to engrave objects up to A3 size. This means you can work on larger projects and accommodate a variety of materials of different sizes and thicknesses. Whether you’re engraving large wooden signs or intricate jewelry pieces, the Eleksmaker A3 can handle it all with precision and accuracy.
In addition to its impressive performance, the Eleksmaker A3 Laser Engraver is built with safety in mind. It comes equipped with safety features such as laser hoods, emergency stop buttons, and protective goggles, ensuring that you can work confidently and securely.
Overall, the Eleksmaker A3 Laser Engraver offers a reliable and efficient solution for all your engraving needs. Its combination of functionality, precision, and ease of use makes it a valuable tool for both professionals and enthusiasts alike. Whether you’re starting a small engraving business or simply pursuing your passion for creativity, the Eleksmaker A3 Laser Engraver is a machine that can take your projects to the next level.
Factors Affecting Speed
When it comes to laser engraving with the Eleksmaker A3 Laser Engraver, several factors can impact the speed at which you can operate the machine. Understanding these factors will help you optimize your workflow and achieve the best possible results.
Material Type: The type of material being engraved is a significant factor affecting the speed of the engraving process. Some materials, such as softwoods or plastics, may be easier to engrave and allow for faster speeds. On the other hand, harder materials like metals or dense hardwoods may require slower speeds to achieve precise and clean engravings.
Design Complexity: The complexity of your design can also impact the engraving speed. Intricate and highly detailed designs often require slower speeds to ensure accuracy and maintain the integrity of the final result. Simple designs with minimal details, on the other hand, can be engraved at faster speeds, saving time without sacrificing quality.
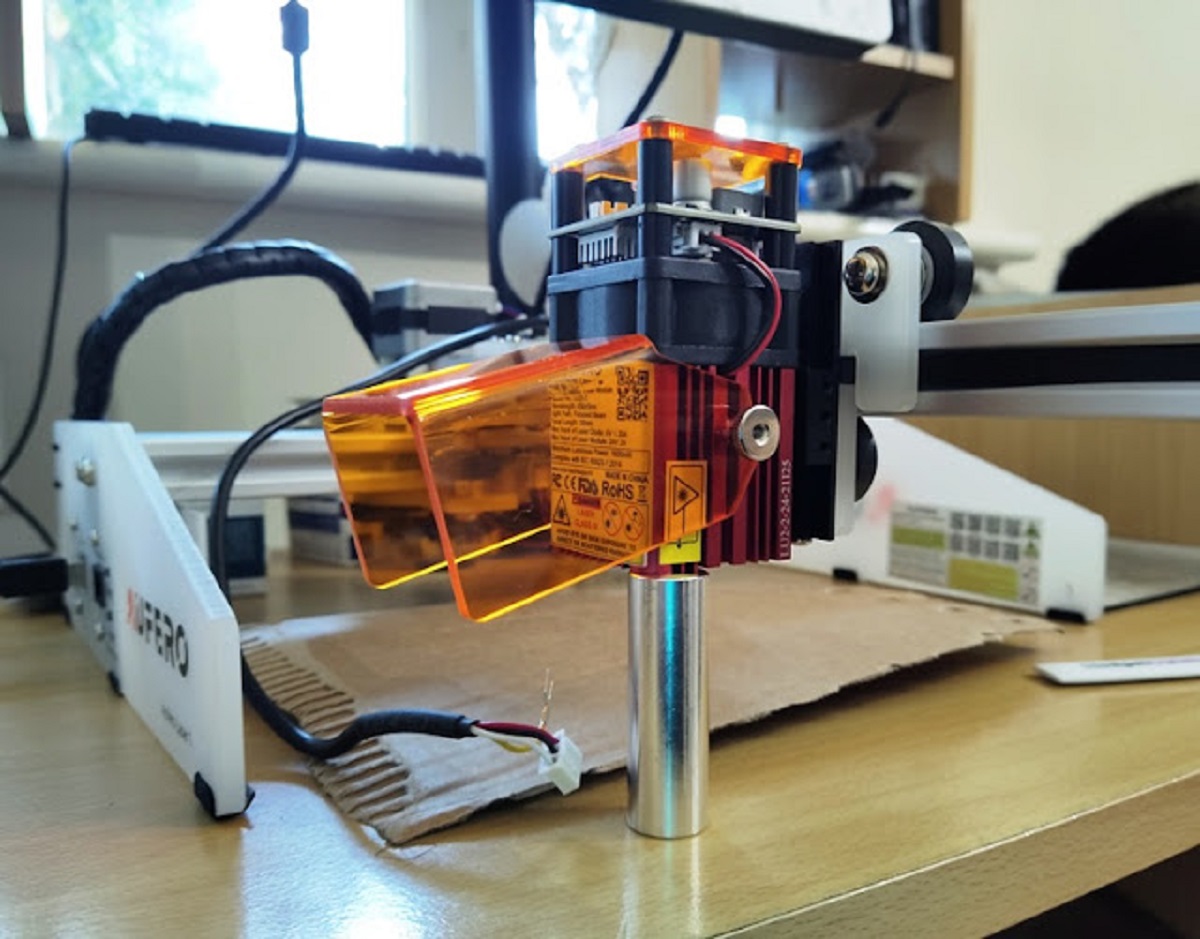
Power and Speed Settings: The power and speed settings you choose on the Eleksmaker A3 Laser Engraver control the intensity and speed of the laser beam. Higher power settings generally require slower speeds to prevent the material from burning or melting. Lower power settings, on the other hand, can allow for faster engraving speeds without compromising the quality of the final result.
Resolution: The resolution at which you choose to engrave can affect the speed as well. Higher resolutions require the laser to make more passes over the same area, resulting in slower engraving speeds. Lower resolutions, while sacrificing some fine details, can be engraved more quickly by reducing the number of passes needed to complete the design.
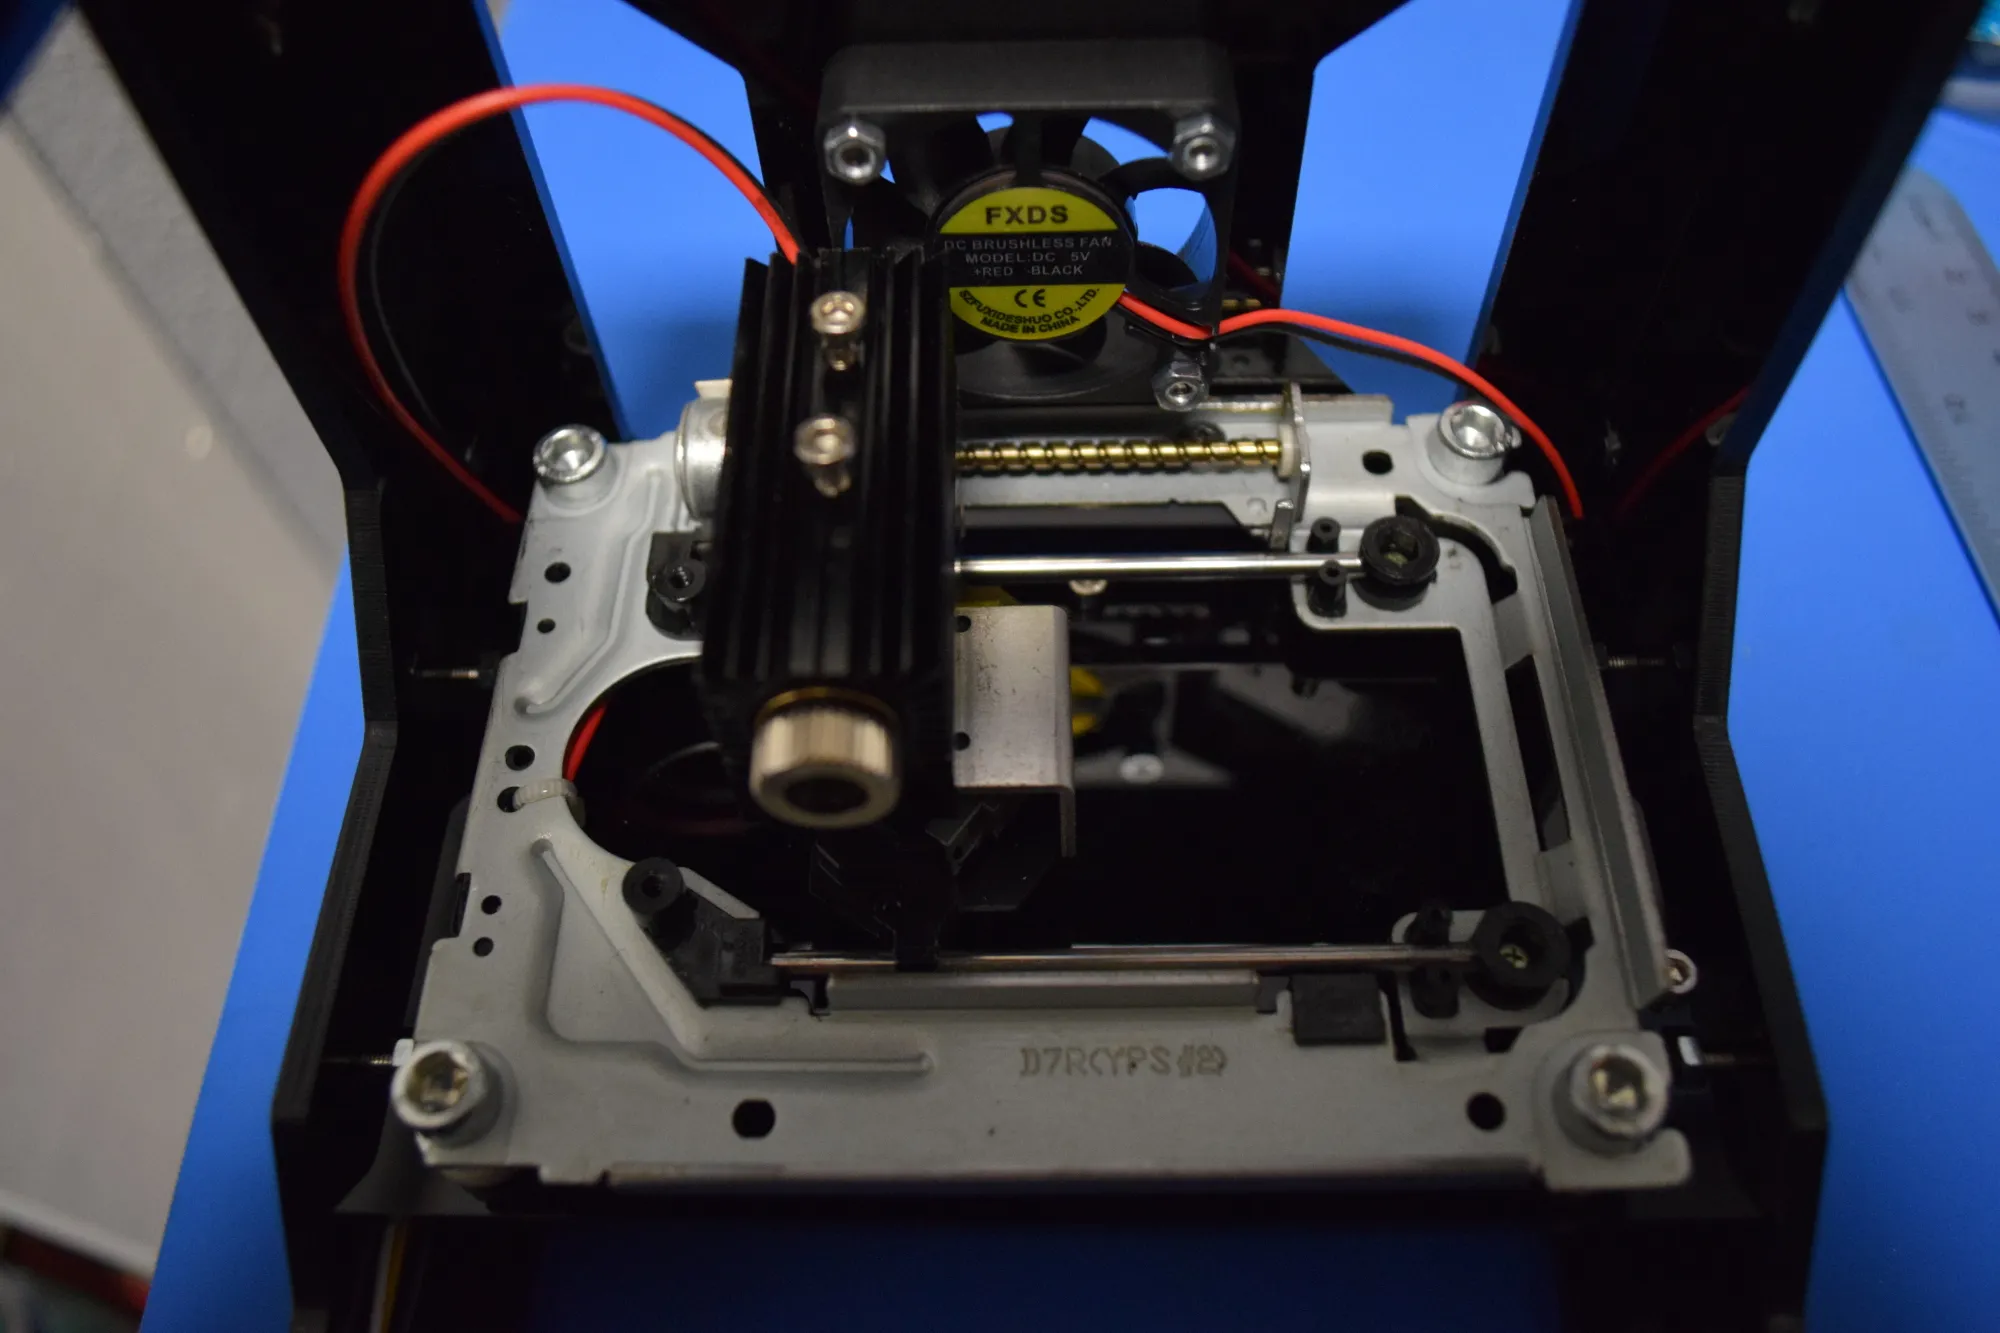
Machine Calibration: Ensuring that your Eleksmaker A3 Laser Engraver is properly calibrated is essential for achieving accurate and consistent results. Poor calibration can lead to variations in engraving depth and speed. Regularly calibrating your machine will help maintain optimal performance and speed.
By taking these factors into consideration, you can make informed decisions when setting the speed of your Eleksmaker A3 Laser Engraver. Experimenting with different settings and materials will allow you to find the optimal balance between speed and precision, ensuring that your engravings are of the highest quality.
Maximum Speed Specifications
The Eleksmaker A3 Laser Engraver comes with specific specifications regarding its maximum speed, which can vary depending on the model and the specific setup you have. While these numbers provide a guideline, it’s important to test and adjust the settings based on your specific needs and the material you’re working with.
The maximum speed of the Eleksmaker A3 Laser Engraver is typically measured in millimeters per second (mm/s). This indicates the speed at which the laser head moves across the material being engraved. The machine’s software allows you to adjust this speed to achieve your desired results.
On average, the Eleksmaker A3 Laser Engraver has a maximum speed range of approximately 200 – 500 mm/s. However, it’s important to note that the actual speed you can achieve may vary depending on factors such as the material, design complexity, power settings, and machine calibration.
It’s also worth mentioning that faster speeds may not always be ideal for every engraving project. While high-speed engraving can save time, it may sacrifice the level of detail and precision that you desire. Therefore, finding the right balance between speed and quality is crucial.
Keep in mind that achieving the maximum speed with the Eleksmaker A3 Laser Engraver requires careful consideration of the material’s characteristics, the power levels, and the overall engraving setup. Experimentation and adjustments will help you find the optimal speed for your specific projects.
Ultimately, the maximum speed specifications provide a starting point for your engraving journey. It’s important to be aware of these numbers and understand how they can be influenced by various factors. By fine-tuning the speed settings and exploring the machine’s capabilities, you can unleash your creativity and achieve remarkable engraving results.
Testing the Max Speed
Testing the maximum speed of the Eleksmaker A3 Laser Engraver is a crucial step in understanding its capabilities and determining the optimal settings for your engraving projects. By conducting speed tests, you can fine-tune your approach and achieve efficient results.
To test the maximum speed, start by selecting a material that you commonly work with. It’s important to choose a material that allows for high-speed engraving without compromising quality or safety. Consider using a scrap piece of the same material to minimize the risk of damaging your workpieces.
Next, set up your Eleksmaker A3 Laser Engraver according to the manufacturer’s instructions. Ensure that the machine is properly calibrated to achieve accurate results. Configure the power and speed settings based on your desired outcome and the material you’re using.
Create a simple design or use a test pattern provided by the machine’s software. Start with a conservative speed setting, and gradually increase the speed for each test run. Take note of the results at each speed setting, evaluating the quality, precision, and engraving depth of the design.
Pay close attention to any signs of overheating or issues with material burning. If you notice any negative effects at higher speeds, consider reducing the speed for future tests. It’s essential to find the sweet spot where speed and quality align.
While conducting speed tests, keep in mind that the results may vary depending on different factors such as the complexity of the design and the properties of the material. For finer details or more intricate patterns, lower speeds may be necessary to achieve the desired outcome.
Additionally, it’s important to consider the limitations of the machine’s hardware and software. In some cases, the maximum speed setting may not be achievable due to technical constraints. Always consult the manufacturer’s guidelines and recommendations to ensure safe operation.
By systematically testing the maximum speed of your Eleksmaker A3 Laser Engraver, you can gain a better understanding of its capabilities and limitations. This knowledge will allow you to optimize your workflow, increase efficiency, and achieve consistent high-quality results in your engraving projects.
Tips to Increase Max Speed
If you’re looking to maximize the speed of your Eleksmaker A3 Laser Engraver, there are several tips and techniques you can employ to optimize your engraving workflow. By following these recommendations, you can increase efficiency and achieve faster results without compromising the quality of your engravings.
1. Material Selection: Choosing materials that are well-suited for high-speed engraving can significantly improve your overall workflow. Softwoods, such as pine or balsa wood, and thinner acrylic sheets are often ideal for faster engraving speeds due to their ease of cutting and lower melting points. Experiment with different materials to find ones that allow for efficient high-speed engraving.
2. Simple Design Elements: Complex designs require more time to engrave due to the need for multiple passes and intricate detailing. Simplifying your design elements, especially when precision is not compromised, can significantly increase your engraving speed. Consider using fewer lines or reducing the number of fine details to achieve faster results.
3. Optimal Power Settings: Adjusting the power settings on your Eleksmaker A3 Laser Engraver can have a direct impact on the engraving speed. Higher power settings typically require slower speeds to prevent the material from burning or melting. Finding the optimal balance between power and speed will allow you to increase efficiency without sacrificing the quality of your engravings.
4. Proper Machine Calibration: Regularly calibrating your laser engraver ensures accurate and consistent results. Poor calibration can lead to variations in engraving depth and speed. Refer to the manufacturer’s guidelines to properly calibrate your machine, as this will enhance its performance and help achieve faster engraving speeds.
5. Use Test Runs: Before committing to a full engraving project, it’s beneficial to conduct test runs with different speed settings. This will allow you to evaluate the quality, precision, and engraving depth of your designs at varying speeds. Testing and fine-tuning your approach will provide valuable insights into the optimum speed settings for different materials and designs.
6. Maintain and Clean Your Machine: Keeping your Eleksmaker A3 Laser Engraver clean and properly maintained is essential for optimal performance. Regularly clean the lens, remove any debris that may hinder the engraving process, and lubricate moving parts as recommended by the manufacturer. A well-maintained machine will operate smoothly and contribute to faster engraving speeds.
7. Stay Updated with Software and Firmware: Ensure that you are using the latest software and firmware updates for your Eleksmaker A3 Laser Engraver. Manufacturers often release updates that improve performance, fix bugs, and optimize engraving speeds. Staying up to date will allow you to take advantage of any enhancements that can improve the efficiency of your laser engraver.
By implementing these tips and techniques, you can significantly increase the speed of your Eleksmaker A3 Laser Engraver. Experiment with different materials, designs, power settings, and calibration techniques to find the optimal balance between speed and quality. With practice and fine-tuning, you’ll achieve faster engraving times and finish your projects in a more efficient and productive manner.
Conclusion
The Eleksmaker A3 Laser Engraver is a versatile and powerful tool that opens up a world of creativity and possibilities. Understanding its maximum speed, factors that affect speed, and implementing optimization techniques can help you achieve efficient and high-quality results in your engraving projects.
Throughout this article, we have explored the various aspects of the Eleksmaker A3 Laser Engraver, including its features, capabilities, and considerations for maximizing its speed. We discussed the importance of material selection, design complexity, power and speed settings, machine calibration, and conducting speed tests. By incorporating these elements into your engraving workflow, you can achieve faster results without compromising the quality of your engravings.
It’s important to remember that while speed is crucial, it’s equally important to find the right balance between speed and precision. Each project and material may require different speed settings and approaches. It’s essential to experiment, test, and adjust accordingly to achieve the desired outcome.
As you embark on your engraving journey with the Eleksmaker A3 Laser Engraver, continue to explore and push the boundaries of your creativity. With practice and experience, you will not only discover techniques to increase speed but also unlock the full potential of this incredible machine.
Embrace the versatility of the Eleksmaker A3 Laser Engraver, experiment with different materials and settings, and let your imagination soar. With the right techniques and a deep understanding of the machine’s capabilities, you can achieve remarkable results and bring your artistic visions to life.
Remember to always prioritize safety, follow the manufacturer’s guidelines, and stay updated with the latest software and firmware. With a combination of technique, creativity, and diligence, the Eleksmaker A3 Laser Engraver will become an invaluable tool in your artistic arsenal.
So, unleash your creativity, harness the power of the Eleksmaker A3 Laser Engraver, and embark on your journey to create stunning and intricate engravings that will captivate and inspire.