Inserting the SD Card
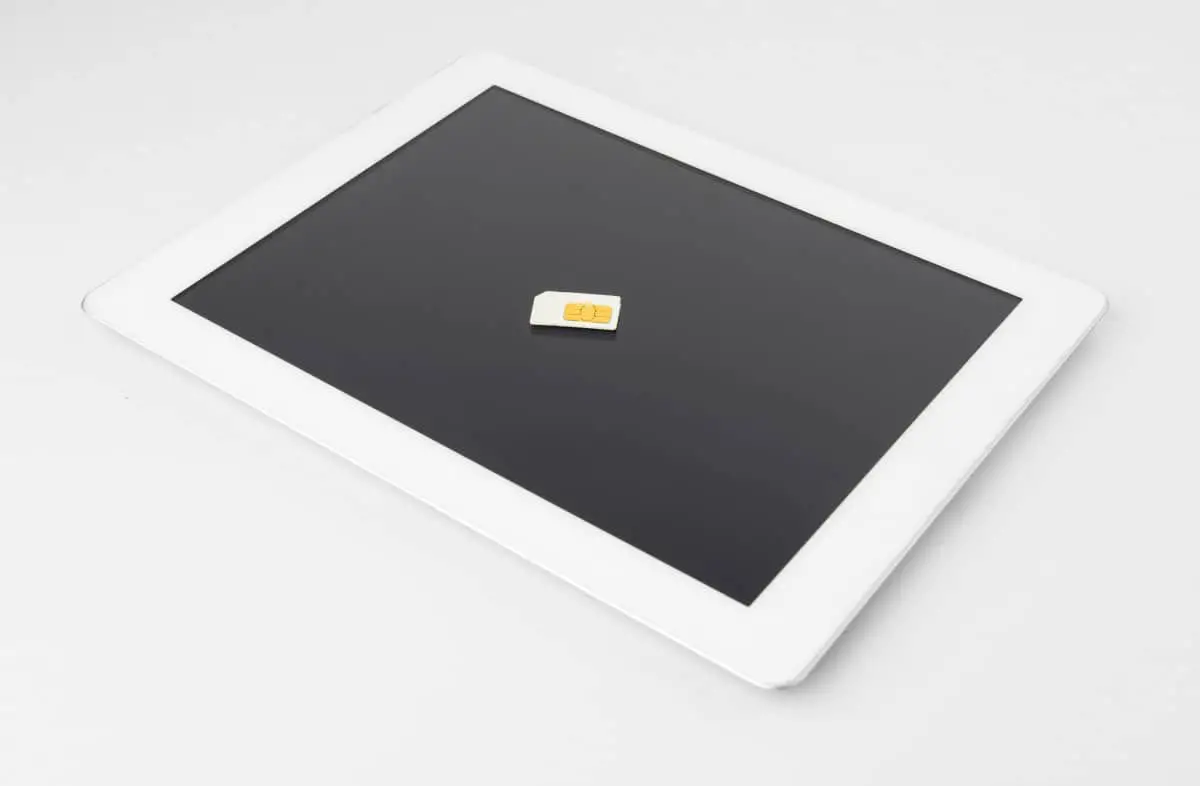
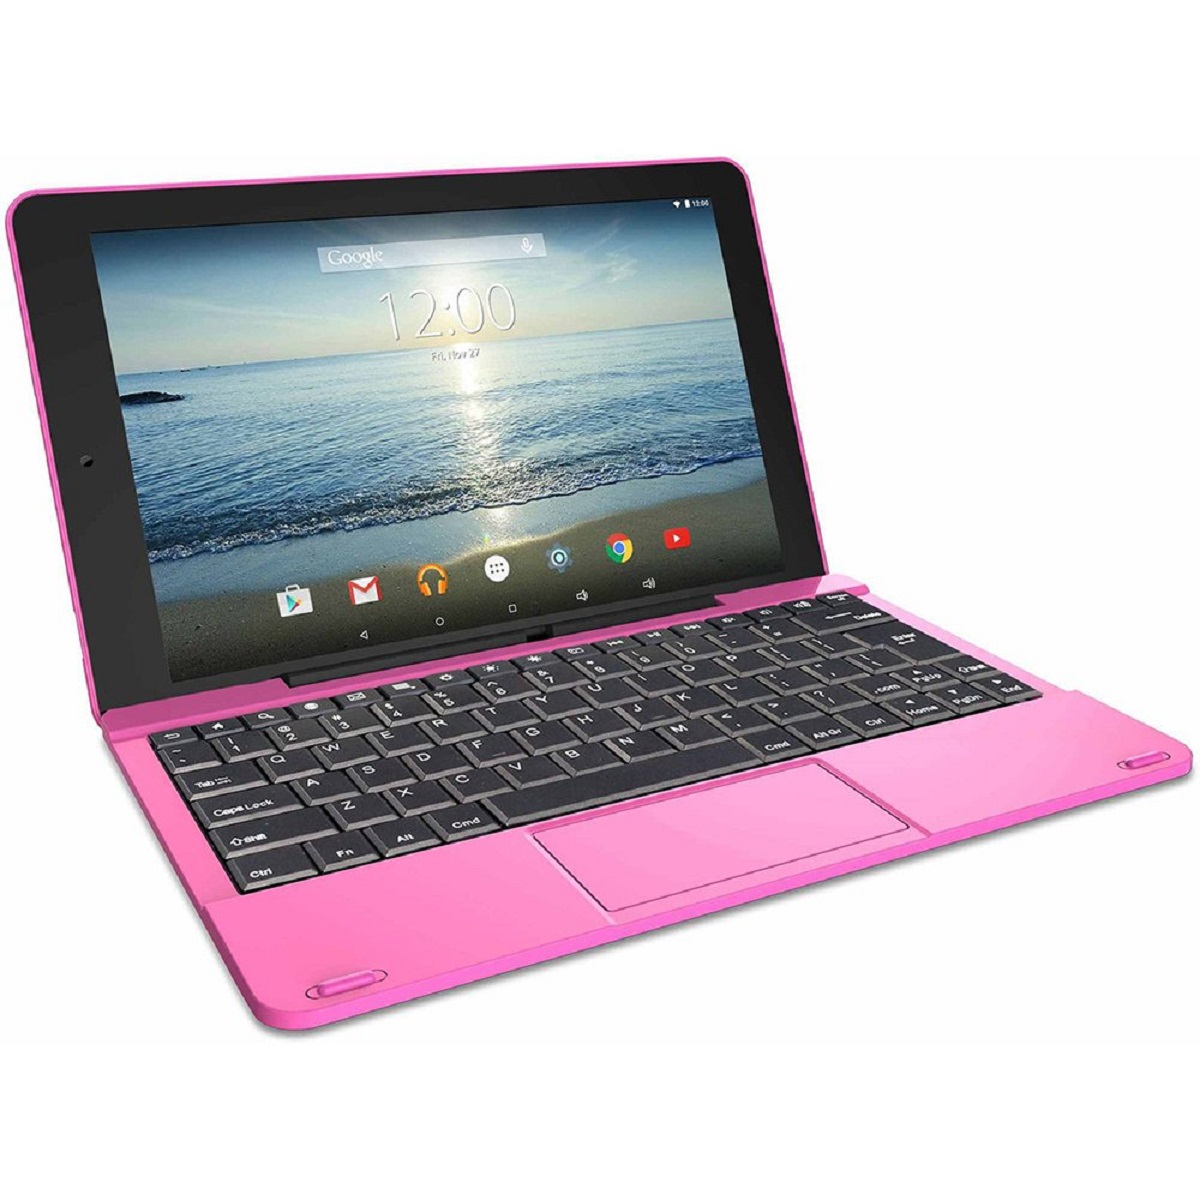
If you have recently purchased an RCA tablet and want to expand its storage capacity, inserting an SD card is a great option. An SD card allows you to store additional files, such as photos, videos, and documents, without taking up precious internal storage space. Here’s a step-by-step guide on how to insert an SD card into your RCA tablet.
- Locate the SD card slot: The SD card slot is usually located on the side of your RCA tablet. Look for a small rectangular slot with a label indicating “SD” or “MicroSD.”
- Turn off your tablet: Before inserting or removing the SD card, it’s recommended to turn off your tablet completely. This ensures the safety of your device and prevents any potential data loss.
- Open the SD card slot: Use a small, pointed object like a paperclip or SIM card ejector tool to gently press the SD card slot cover. This will release the latch and allow you to access the slot.
- Insert the SD card: Place the SD card into the slot, ensuring that the gold contacts on the card align with the pins inside the slot. Gently push the card in until it clicks into place.
- Close the SD card slot: Once the SD card is inserted, carefully close the slot cover to secure it in place. Make sure it snaps shut properly.
- Power on your tablet: After inserting the SD card, power on your tablet by pressing the power button. Wait for your device to boot up and recognize the newly inserted SD card.
That’s it! You have successfully inserted an SD card into your RCA tablet. Now, you can start utilizing the additional storage space and enjoy the convenience of storing more files on your device. Remember to handle the SD card with care and avoid removing it while your tablet is in use to prevent any potential data corruption.
Mounting the SD Card
After inserting the SD card into your RCA tablet, you need to mount it so that your device can recognize and access the storage. The process of mounting the SD card is straightforward and ensures that you can use it seamlessly. Follow these simple steps to mount your SD card on your RCA tablet.
- Go to Settings: Open the Settings app on your RCA tablet by tapping on the gear icon in the app drawer or by swiping down from the top of the screen and selecting the gear icon from the quick settings panel.
- Find the Storage menu: Scroll down in the Settings menu and look for the “Storage” or “Storage & USB” option. Tap on it to proceed.
- Select the SD card: In the Storage menu, you will see the available storage options on your RCA tablet. Look for the SD card section and tap on it to access the SD card settings.
- Mount the SD card: On the SD card settings page, you will find an option to “Mount” or “Mount SD card.” Tap on it to initiate the mounting process.
- Wait for the process to complete: Your RCA tablet will begin the process of mounting the SD card. This may take a few seconds, so be patient and wait until you see a notification confirming that the SD card has been successfully mounted.
- Access the SD card: Once the SD card is mounted, you can now access it like any other storage option on your RCA tablet. You can view its contents, transfer files, and even set it as the default storage location for certain apps.
With the SD card mounted on your RCA tablet, you now have expanded storage to store your files, media, and documents. It’s important to note that whenever you insert or remove the SD card, you may need to remount it by following these steps again. This ensures that your RCA tablet recognizes and properly utilizes the storage provided by the SD card.
Formatting the SD Card
Formatting an SD card is a necessary step to ensure compatibility and optimal performance on your RCA tablet. It erases all data on the card and prepares it for use. If you’re using a new SD card or want to clear any existing data, here’s how you can format an SD card on your RCA tablet:
- Open the Settings app: Access the Settings app on your RCA tablet by tapping on the gear icon in the app drawer or swiping down from the top of the screen and selecting the gear icon from the quick settings panel.
- Navigate to Storage settings: Scroll down in the Settings menu and locate the “Storage” or “Storage & USB” option. Tap on it to proceed.
- Choose SD card: In the Storage menu, find the SD card section and tap on it to access the SD card settings and details.
- Format the SD card: On the SD card settings page, you will find an option to “Format” or “Format SD card.” Tap on it to begin the formatting process.
- Confirm formatting: A warning message will appear, stating that formatting will erase all data on the SD card. If you have any important files, make sure to back them up before proceeding. Confirm the formatting action.
- Wait for the formatting to complete: Your RCA tablet will start formatting the SD card. This process may take a few minutes depending on the size of the card. It’s important not to interrupt the formatting process to avoid data corruption.
- Formatting complete: Once the formatting is complete, you will receive a notification confirming the successful format. The SD card is now ready for use.
It’s worth mentioning that formatting an SD card will erase all existing data, so ensure that you have backed up any files you want to keep. Formatting is particularly useful if you encounter any issues with the card or if you want to start fresh with a clean slate. Remember to handle the SD card with care and avoid removing it while formatting or transferring data to prevent any data loss or corruption.
Transferring Files to the SD Card
Now that you have your SD card inserted and mounted on your RCA tablet, it’s time to start transferring files to it. Transferring files to the SD card not only helps free up space on your device but also allows for convenient storage and easy access to your photos, videos, music, and documents. Here’s how you can transfer files to the SD card:
- Open the file manager: Navigate to your app drawer and find the file manager app on your RCA tablet. It may be labeled as “Files,” “File Manager,” or a similar name. Tap on it to open.
- Select files to transfer: Browse through the internal storage of your tablet to locate the files you want to transfer to the SD card. Long-press on a file or select multiple files by tapping on them. You can also tap on a folder to access its contents and select files from there.
- Initiate the transfer: Once you have selected the files, look for the option to “Move,” “Cut,” or “Copy.” Tap on this option to initiate the transfer process.
- Select the SD card as the destination: After selecting the files and choosing to move or copy them, you will be prompted to select the destination. Look for the SD card option and tap on it to choose it as the destination for the transferred files.
- Start the transfer: Tap on the “Move” or “Copy” button to begin the transfer process. Your RCA tablet will start moving the selected files to the SD card. The duration of the transfer will depend on the size and number of files being transferred.
- Verify the transfer: Once the transfer is completed, you can check the SD card to ensure that the files have been successfully transferred. Open the file manager and navigate to the SD card section. You should see the transferred files in their respective folders.
With the files successfully transferred to the SD card, you can now access them directly from your RCA tablet. This allows you to free up internal storage space and organize your files more efficiently. Remember that you can also transfer files from the SD card back to the internal storage if needed. Just follow the same steps but select the internal storage as the destination instead.
Managing Files on the SD Card
After transferring files to your SD card, it’s important to manage and organize them effectively to ensure easy access and efficient storage on your RCA tablet. Here are some tips for managing files on the SD card:
- Create folders: To keep your files organized, consider creating folders on the SD card. You can group files based on their type, such as photos, videos, music, or documents. Open the file manager app, navigate to the SD card section, and tap on the “New Folder” option to create folders.
- Rename files: If you want to give your files more descriptive names or modify the existing names, you can do so by selecting the file and choosing the “Rename” option in the file manager app. This can make it easier to locate and identify specific files.
- Move or copy files: If you need to rearrange your files or create backups, you can move or copy files within the SD card or between the SD card and the internal storage. Use the file manager app to select the files and choose the appropriate option (Move or Copy) to perform the action.
- Delete unnecessary files: Regularly review the files on your SD card and delete any unnecessary or duplicate files to free up storage space. Be cautious when deleting files and ensure that you have backups if needed.
- Install apps on the SD card: Depending on the capabilities of your RCA tablet, you may have the option to install certain apps directly onto the SD card. This can help save internal storage space and keep your device running smoothly.
- Check storage capacity: Keep an eye on the storage capacity of your SD card to ensure you don’t exceed its limits. You can view the available storage space in the Settings app under the Storage menu.
By effectively managing your files on the SD card, you can maximize its storage capacity and maintain a well-organized digital environment on your RCA tablet. Take some time regularly to review and organize your files to ensure quick and easy access whenever needed.
Ejecting the SD Card
When you no longer need to use the SD card or if you want to remove it from your RCA tablet, it’s essential to eject it properly to avoid data corruption or damage to the card. Ejecting the SD card ensures that all read and write operations are completed and that it’s safe to remove the card. Follow these steps to properly eject the SD card from your RCA tablet:
- Save and close any open files: Before ejecting the SD card, ensure that you have saved and closed any files or apps that are stored on the card. This prevents any potential data loss or corruption.
- Open the Settings app: Access the Settings app on your RCA tablet by tapping on the gear icon in the app drawer or swiping down from the top of the screen and selecting the gear icon from the quick settings panel.
- Navigate to Storage settings: Scroll down in the Settings menu and locate the “Storage” or “Storage & USB” option. Tap on it to proceed.
- Choose SD card: In the Storage menu, find the SD card section and tap on it to access the SD card settings and details.
- Unmount or eject the SD card: On the SD card settings page, you will find an option to “Unmount,” “Eject,” or “Safely Remove.” Tap on this option to initiate the ejection process.
- Wait for the ejection process: Your RCA tablet will start the process of unmounting and ejecting the SD card. This may take a few seconds. Avoid removing the SD card until you receive a notification confirming that it’s safe to do so.
- Remove the SD card: Once you receive the notification that the SD card has been safely ejected, you can carefully remove it from the SD card slot. Gently press on the card to release it and pull it out.
Ejecting the SD card properly ensures that no data is lost or corrupted. It’s important to note that abruptly removing the SD card without ejecting it can lead to data loss or damage to the card. Additionally, avoid removing the SD card while your RCA tablet is powered on to prevent any potential issues. Handle the SD card with care and store it in a safe place when not in use.


