Introduction
Welcome to our guide on upgrading the RAM of your Lenovo Ideapad Ultrabook! If you are experiencing sluggish performance or want to increase the multitasking capabilities of your ultrabook, upgrading the RAM can be a great solution. RAM, or Random Access Memory, plays a crucial role in your computer’s overall performance by allowing it to quickly access and store data that is actively used. By upgrading your RAM, you can provide your ultrabook with more memory space to handle demanding tasks and run multiple applications simultaneously.
In this article, we will walk you through the step-by-step process of upgrading the RAM of your Lenovo Ideapad Ultrabook. Before we delve into the technicalities, it’s important to note that this guide is specifically for Lenovo Ideapad Ultrabooks. If you have a different model or brand, we recommend referring to the manufacturer’s documentation for specific instructions.
Upgrading the RAM on your ultrabook is a relatively simple process, but it requires careful attention to detail. Before you begin, it’s essential to gather the necessary tools and ensure compatibility with your device. This guide will provide a comprehensive overview of the steps involved and equip you with the knowledge needed to successfully upgrade your ultrabook’s RAM.
Whether you’re a tech enthusiast or a novice, this guide will help you navigate through the process with ease. So, without further ado, let’s get started on upgrading the RAM of your Lenovo Ideapad Ultrabook!
Why Upgrade the RAM?
Upgrading the RAM of your Lenovo Ideapad Ultrabook can bring about significant improvements in its overall performance and user experience. Here are a few compelling reasons why you should consider upgrading the RAM:
- Enhanced Speed and Responsiveness: One of the primary benefits of upgrading the RAM is improved speed and responsiveness. With more RAM, your ultrabook can handle tasks more efficiently, resulting in faster application launch times, smoother multitasking, and reduced lag.
- Better Multitasking: If you often find yourself running multiple applications simultaneously or working with resource-intensive programs, upgrading the RAM can provide a significant boost to your ultrabook’s multitasking capabilities. It allows for seamless switching between applications and smoother operation while handling complex tasks.
- Increased Performance for Demanding Applications: Resource-hungry applications, such as video editing software, graphic design tools, or virtual machines, require a substantial amount of RAM. Upgrading the RAM ensures that these applications have enough space to function optimally, resulting in faster rendering times, smoother operation, and an overall improved user experience.
- Future-Proofing Your Ultrabook: Technology is constantly advancing, and newer applications and operating systems tend to demand more resources. By upgrading the RAM, you future-proof your ultrabook by ensuring that it can meet the requirements of upcoming software updates and applications, prolonging its lifespan.
- Cost-Effective Upgrade: Upgrading the RAM is often a cost-effective way to improve your ultrabook’s performance without investing in a brand-new device. Adding more RAM can provide a significant performance boost at a fraction of the cost of purchasing a new laptop.
Now that you understand the benefits of upgrading the RAM of your Lenovo Ideapad Ultrabook, let’s move on to the next section, where we will discuss the importance of checking compatibility before proceeding with the upgrade.
Check the Compatibility
Before proceeding with the RAM upgrade on your Lenovo Ideapad Ultrabook, it’s crucial to ensure compatibility between the new RAM module and your device. Here are some essential factors to consider when checking compatibility:
- Supported RAM Type and Speed: Different ultrabooks support specific types and speeds of RAM. Check the specifications provided by the manufacturer or consult the user manual to determine the compatible RAM type (e.g., DDR3, DDR4) and the maximum speed supported by your ultrabook.
- Capacity Limitation: Each ultrabook has a maximum supported RAM capacity. It’s crucial to verify this limit to avoid purchasing a RAM module that exceeds your ultrabook’s capability. You can usually find this information in the device’s documentation or by searching for your specific model online.
- Number of Available Slots: Ultrabooks typically have a limited number of RAM slots. It’s important to determine how many slots are available and if any are currently occupied by RAM modules. This will help you choose the appropriate RAM module configuration for your upgrade.
- Form Factor: The physical dimensions of the RAM module are referred to as the form factor. Ensure that the form factor of the new RAM module matches the available space and connector type in your ultrabook.
- Operating System Compatibility: Although RAM compatibility is primarily hardware-dependent, it’s advisable to ensure that the operating system installed on your ultrabook supports the new RAM module. This is rarely an issue as most modern operating systems are designed to work with a wide range of RAM configurations.
Once you have gathered this information, you can cross-reference it with the specifications of the RAM module you intend to purchase. Many online retailers and RAM manufacturers provide compatibility tools or guides that allow you to enter your ultrabook’s model or specifications to find compatible RAM modules. Additionally, you can consult with computer hardware experts or forums for further assistance in case you have any doubts or questions about compatibility.
By ensuring compatibility between the new RAM module and your Lenovo Ideapad Ultrabook, you can proceed confidently with the upgrade, knowing that the new RAM will work optimally with your device. In the next section, we will discuss the essential tools you need for a successful RAM upgrade.
Gather the Required Tools
Before you start the process of upgrading the RAM on your Lenovo Ideapad Ultrabook, it’s essential to gather the necessary tools. Here is a list of the tools you will need:
- Philips Screwdriver: Most ultrabooks require a Phillips screwdriver to remove the screws that secure the back panel or access cover. Make sure you have the appropriate size for your ultrabook’s screws.
- Antistatic Wrist Strap: To protect your ultrabook from potential static damage, it’s recommended to wear an antistatic wrist strap. This ensures that any static electricity on your body is safely discharged, minimizing the risk of damaging sensitive electronic components.
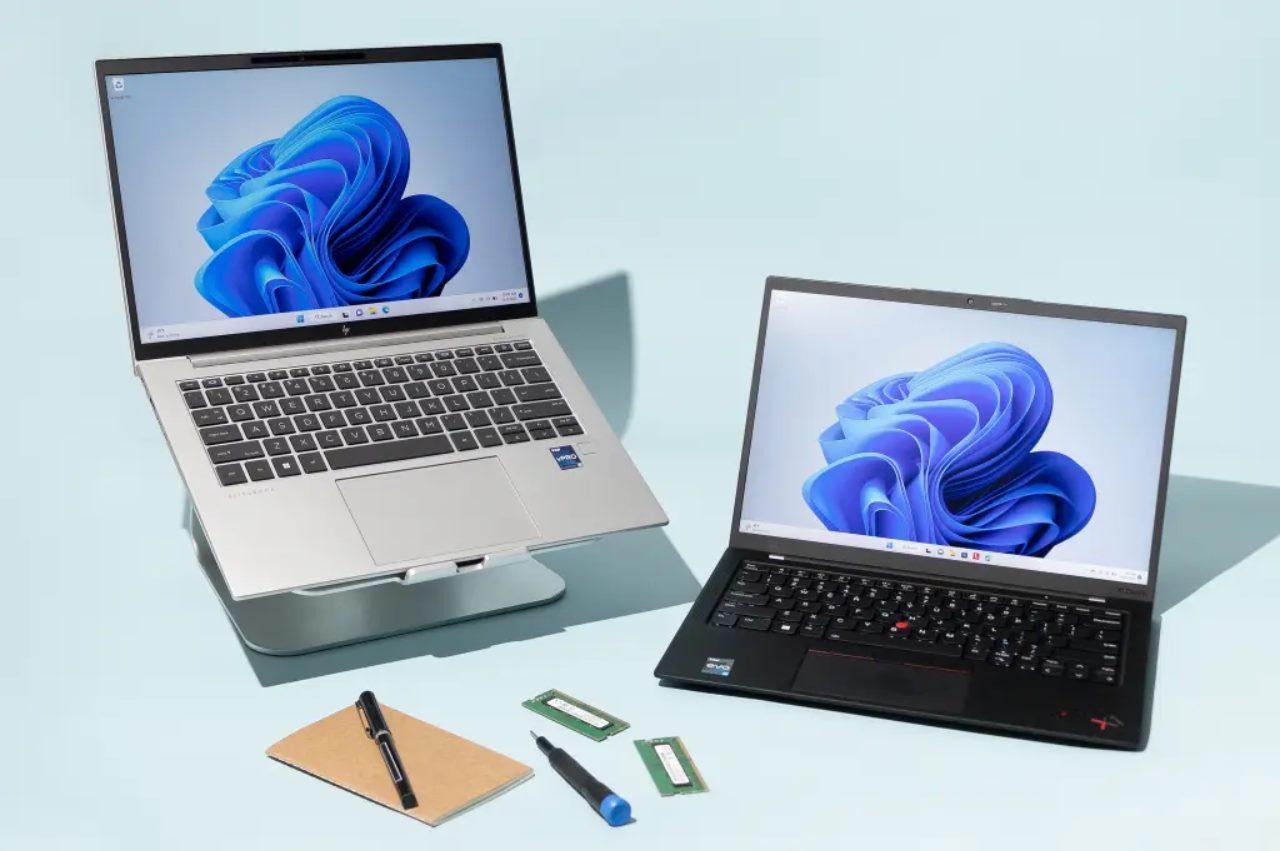
- Replacement RAM Module: Of course, you will need a compatible replacement RAM module. Ensure that it matches the specifications of your ultrabook, including the type, speed, and capacity.
- Clean, Static-Free Work Surface: Find a clean, static-free surface to work on, such as an anti-static mat or a wooden table. Avoid working on carpets or surfaces that generate static electricity, as this can potentially damage your ultrabook or the RAM module.
- Small Containers or Bowls: It’s a good idea to have some small containers or bowls on hand to hold screws and other small components. This will prevent them from rolling away or getting lost during the disassembly process.
- Cleaning Cloth and Isopropyl Alcohol: Before installing the new RAM module, it’s recommended to clean the memory slots and connectors with a soft, lint-free cloth and isopropyl alcohol. This helps remove any dust or debris that may affect the connection or performance of the RAM module.
- User Manual or Online Documentation: Keep the user manual or any online documentation handy for reference. It may contain specific instructions or diagrams that are helpful during the upgrading process.
By gathering these essential tools, you will be well-prepared for the RAM upgrade process. Having everything in place ensures a smoother and more efficient upgrade experience. In the next section, we will walk you through a step-by-step guide on how to upgrade the RAM of your Lenovo Ideapad Ultrabook, so stay tuned!
Step-by-Step Guide for Upgrading RAM
Now that you have gathered the necessary tools and checked the compatibility, it’s time to proceed with the step-by-step process of upgrading the RAM on your Lenovo Ideapad Ultrabook. Follow these instructions carefully:
- Power Off and Unplug: Before starting any hardware modifications, shut down your ultrabook and unplug it from the power source. This ensures your safety and prevents any potential damage to the device.
- Ground Yourself: Wear an antistatic wrist strap and attach it to a grounded metal object to protect your ultrabook from static electricity.
- Remove the Back Panel/Access Cover: Using a Phillips screwdriver, carefully remove the screws that secure the back panel or access cover of your ultrabook. Set aside the screws in a container or bowl for safekeeping.
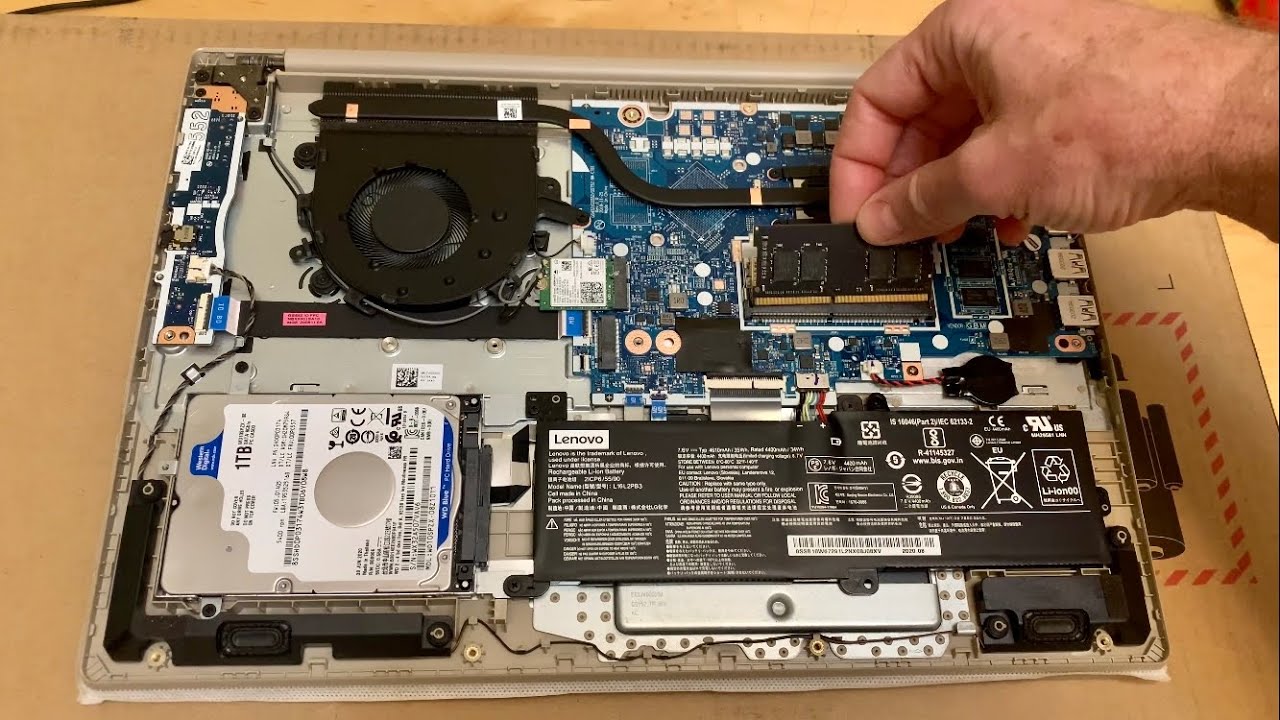
- Locate the RAM Slots: Identify the RAM module slots on your ultrabook’s motherboard. They are usually rectangular slots with small retaining clips on either side.
- Release Retaining Clips: Gently push the retaining clips outward on both sides of the RAM slot until they release. This will allow the existing RAM module to pop up at an angle.
- Remove Existing RAM Module: Grasp the existing RAM module by its edges and carefully pull it out at the same angle it popped up. Place it aside in an antistatic bag for safekeeping or consider donating or recycling.
- Insert the New RAM Module: Take the new RAM module and align the notch on the module’s golden contacts with the notch in the RAM slot. Once aligned, insert the module at the same angle as before and press down firmly until it clicks into place.
- Secure Retaining Clips: Gently push the retaining clips back into position until they lock the new RAM module securely.
- Replace the Back Panel/Access Cover: Carefully align the back panel or access cover with the screw holes. Insert and tighten the screws using the Phillips screwdriver.
- Power On and Verify the Upgrade: Reconnect the power supply, power on your ultrabook, and wait for it to start up. Once your system has booted, navigate to the system settings or use third-party software to verify that the new RAM module is recognized and functioning correctly.
Congratulations! You have successfully upgraded the RAM of your Lenovo Ideapad Ultrabook. Enjoy the improved performance and enhanced multitasking capabilities that come with the increased memory.
Remember, if you encounter any difficulties during the upgrade process or have any concerns about compatibility or performance, it’s always a good idea to reach out to the manufacturer’s support or consult with a professional technician for assistance.
In the next section, we will wrap up this guide with a brief summary of the key takeaways and the importance of properly upgrading RAM to optimize your Lenovo Ideapad Ultrabook’s performance.
Conclusion
Upgrading the RAM of your Lenovo Ideapad Ultrabook is a relatively straightforward process that can greatly enhance its performance and multitasking capabilities. By following the step-by-step guide and ensuring compatibility, you can seamlessly install a new RAM module and reap the benefits of increased memory.
Upgrading the RAM offers several advantages, including improved speed and responsiveness, better multitasking capabilities, increased performance for demanding applications, and future-proofing your ultrabook. It is a cost-effective way to enhance the overall performance of your device without investing in a brand-new laptop.
Remember to power off your ultrabook, ground yourself to avoid static electricity, and carefully remove the back panel or access cover. Identify and release the retaining clips on the RAM slots, remove the existing RAM module, and insert the new module securely. Finally, replace the back panel or access cover, power on your ultrabook, and verify the successful upgrade.
If you encounter any difficulties during the upgrade process or have concerns about compatibility, it’s advisable to consult the manufacturer’s support or seek assistance from a professional technician.
By upgrading the RAM of your Lenovo Ideapad Ultrabook, you can unlock its full potential and enjoy a faster, more efficient computing experience. So, don’t hesitate to follow this guide and embark on your RAM upgrade journey today!