Getting Started with Apple Pencil
If you want to elevate your writing experience on Google Docs to a whole new level, using an Apple Pencil with your iPad can make all the difference. Apple Pencil offers a seamless and intuitive way to write and create content digitally, with precision and responsiveness that mimics the feel of using a traditional pen or pencil. Here’s how you can get started with Apple Pencil on Google Docs:
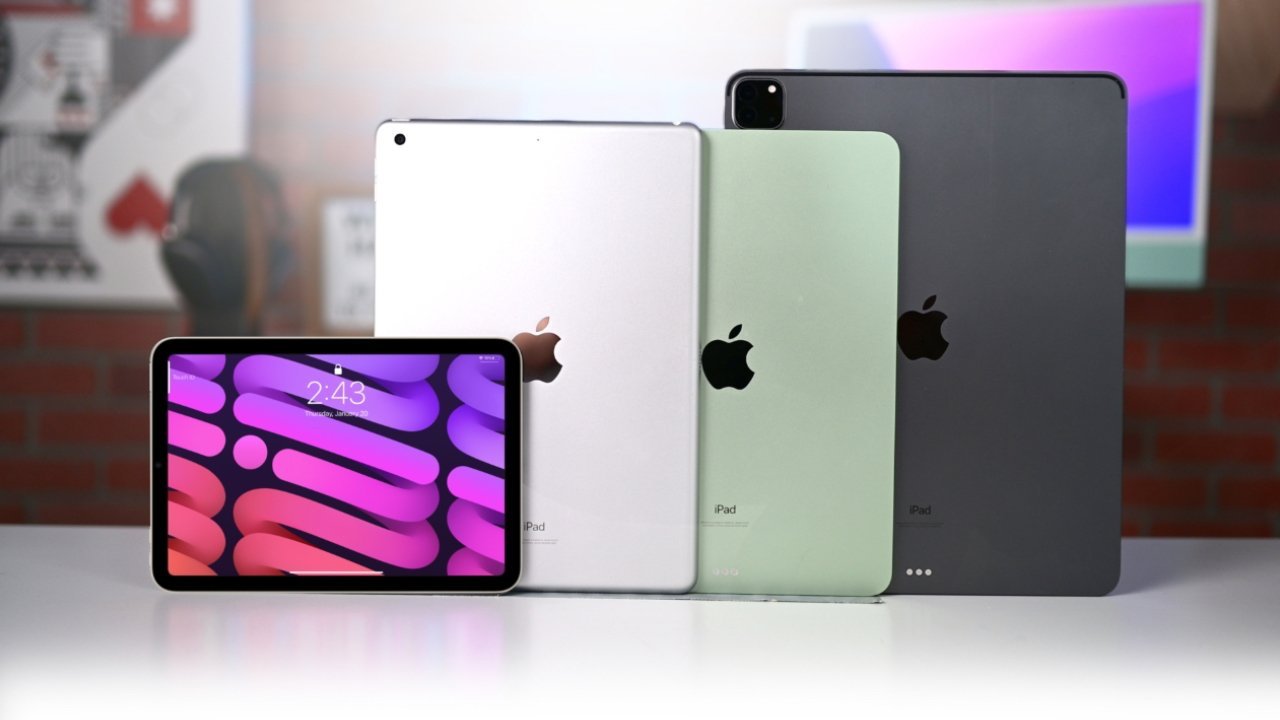
To begin, ensure that your iPad is compatible with the Apple Pencil. Currently, Apple Pencil works with the iPad Air (3rd generation), iPad mini (5th generation), iPad Pro 12.9-inch (1st and 2nd generation), iPad Pro 10.5-inch, and iPad Pro 9.7-inch.
To pair your Apple Pencil with your iPad, simply attach it magnetically to the side of your iPad or plug it into the Lightning connector on your device. Once connected, follow the on-screen prompts to pair your Apple Pencil with your iPad. This step is crucial to ensure that your Apple Pencil functions properly and is recognized by your device.
Now that your Apple Pencil is paired with your iPad, open the Google Docs app from your home screen. If you don’t have the app installed, you can download it for free from the App Store. Make sure you are signed in to your Google account to access and create your documents.
Upon opening Google Docs, you will be presented with a list of your existing documents, or you can choose to create a new document by tapping the “+” button at the bottom right corner of the screen.
Once you have opened a document or created a new one, you can now start writing with your Apple Pencil. Simply tap on the blank space and begin writing or sketching your ideas. The Apple Pencil’s pressure sensitivity allows you to vary the thickness and darkness of your strokes, resulting in a more natural and expressive writing experience.
Moreover, you can easily select and highlight text using your Apple Pencil. To do this, press and hold the tip of your Apple Pencil on the start of the text you want to select, and then drag it to the end of the desired text. You will notice that the text is now highlighted. Release your Apple Pencil to complete the selection.
To format text with Apple Pencil, you can use the formatting options available on the toolbar at the top of the screen. This includes changing the font, font size, text alignment, and more. Simply tap on the formatting option you want to apply and then start writing or editing your document with Apple Pencil.
In addition to text formatting, you can also easily add bulleted or numbered lists to your document using Apple Pencil. Simply tap on the “Bulleted list” or “Numbered list” icon on the toolbar while writing, and a bullet or number will automatically be added to the beginning of each new line.
While writing with Apple Pencil, you may want to insert images or tables into your document. To do this, tap on the “+” button on the toolbar, and a menu will appear with various options. Choose “Image” to insert an image from your device’s photo library or “Table” to add a table to your document. You can then resize or customize these elements as needed.
If you are collaborating with others on a document, you can still use Apple Pencil to contribute. Changes made with Apple Pencil will sync in real-time, allowing you to seamlessly work together with colleagues and editors.
Lastly, it is essential to save and share your document to ensure that your work is safe and accessible. Google Docs automatically saves your changes as you write, but you can manually save the document by tapping on the checkmark icon in the top left corner. To share your document, tap on the share button on the top right corner, and choose the desired sharing options.
Now that you know how to get started with Apple Pencil on Google Docs, you are ready to unleash your creativity and productivity in your digital writing endeavors. Enjoy the fluidity and precision that Apple Pencil brings to your writing experience, making your work standout on Google Docs.
Pairing Apple Pencil with your iPad
To make the most of your Apple Pencil and unlock its full functionality on your iPad, you first need to pair the two devices. The pairing process is straightforward and requires just a few simple steps. Here’s how you can pair your Apple Pencil with your iPad:
1. Ensure that your iPad is compatible with Apple Pencil. As of now, Apple Pencil works with the iPad Air (3rd generation), iPad mini (5th generation), iPad Pro 12.9-inch (1st and 2nd generation), iPad Pro 10.5-inch, and iPad Pro 9.7-inch. Check the Apple website or product documentation if you are unsure about compatibility.
2. Remove the cap at the end of your Apple Pencil to reveal the Lightning connector. This connector allows you to connect your Apple Pencil to your iPad for pairing and charging purposes.
3. Plug the Lightning connector of your Apple Pencil into the Lightning port on your iPad. The iPad will display an on-screen notification indicating that it has detected the Apple Pencil.
4. Follow the on-screen instructions to complete the pairing process. This may include tapping on the Pair button or enabling Bluetooth if prompted. Ensure that your iPad is connected to the internet during this process, as it may require downloading the necessary software or firmware updates.
5. Once the pairing is complete, your Apple Pencil will be ready to use with your iPad. You can start writing, drawing, or navigating the interface using the Apple Pencil’s precise and responsive tip.
If you encounter any issues while pairing your Apple Pencil with your iPad, here are a few troubleshooting tips:
- Make sure your Apple Pencil is fully charged. A low battery level can cause connectivity issues. To charge your Apple Pencil, plug it into the Lightning port on your iPad or use the included Lightning adapter.
- Check that your iPad’s Bluetooth is turned on. To do this, navigate to the Settings app on your iPad, then tap on Bluetooth. If it’s already turned on, try turning it off and then back on again.
- Restart your iPad and try pairing again. Sometimes, a simple restart can resolve connectivity issues.
- If you are still having trouble, visit the Apple Support website or contact Apple Support directly for further assistance.
Once you have successfully paired your Apple Pencil with your iPad, you can enjoy the seamless integration and enhanced productivity that it brings to your digital writing and creative tasks. The precise control and pressure sensitivity of the Apple Pencil make it a valuable tool for artists, designers, students, and anyone looking to elevate their iPad experience.
Opening Google Docs on your iPad
To begin using Google Docs with your Apple Pencil on your iPad, you’ll first need to open the Google Docs app. The Google Docs app allows you to create, edit, and collaborate on documents seamlessly. Here’s how you can open Google Docs on your iPad:
1. Check if you have the Google Docs app installed on your iPad. If not, head to the App Store and search for “Google Docs.” Tap on the “Get” or “Install” button to download and install the app onto your device. The Google Docs app is available for free.
2. Once the Google Docs app is installed, locate its icon on your home screen or in your app library. It features the Google Docs logo, which is a blue document with a white pen icon in the corner. Tap on the icon to launch the app.
3. If you haven’t signed in to your Google account on the app, you’ll be prompted to do so. Enter your username and password and tap “Sign in.” If you have multiple Google accounts, select the one you want to use with Google Docs.
4. After signing in, you’ll be taken to the main screen of the Google Docs app. Here, you’ll see a list of your existing documents and folders if you have any. If this is your first time using Google Docs, the list may be empty.
5. To create a new document, tap on the “+” (plus) button at the bottom right corner of the screen. This will open a blank document for you to start writing with your Apple Pencil.
6. If you already have existing documents that you want to access, simply tap on the document’s name in the list to open it. The document will load, and you can start editing or reading it using your Apple Pencil.
It’s worth noting that the Google Docs app requires an internet connection to function. Ensure that your iPad is connected to Wi-Fi or cellular data to access your documents and collaborate with others in real time.
Should you encounter any issues opening Google Docs on your iPad, here are a few troubleshooting tips:
- Make sure that you have a stable internet connection. Check your Wi-Fi or cellular data settings and try reconnecting if necessary.
- If the app is not loading or responding, try force quitting the Google Docs app and relaunching it. To force quit an app on your iPad, swipe up from the bottom of the screen and pause slightly in the middle. Then, swipe left or right to find the Google Docs app preview and swipe it up to close it.
- Ensure that you have the latest version of the Google Docs app installed on your iPad. Updates often contain bug fixes and performance improvements, which can help resolve any issues you may encounter.
- If all else fails, try deleting the app and reinstalling it from the App Store. This can sometimes fix any underlying software issues that may be causing problems.
Now that you know how to open Google Docs on your iPad, you’re ready to start writing, editing, and collaborating on your documents using the power of your Apple Pencil.
Creating a New Document
Creating a new document in Google Docs using your iPad and Apple Pencil is a straightforward process that allows you to start writing or sketching your ideas in no time. Here’s how you can create a new document:
1. Open the Google Docs app on your iPad. If you don’t have the app installed, you can download it for free from the App Store. Sign in to your Google account if prompted.
2. Once you’re in the Google Docs app, you’ll see a list of your existing documents. To create a new document, tap on the “+” (plus) button at the bottom right corner of the screen. This will open a blank document for you to start working on.
3. The blank document will appear on your screen, ready for you to add content. You can now use your Apple Pencil to write, draw, or sketch directly on the canvas. The Apple Pencil’s precision and responsiveness make it feel like you’re writing with a real pen or pencil.
4. Simply tap on the blank space within the document and start writing with your Apple Pencil. As you write, your strokes will instantly appear on the screen, allowing you to see your work in real time.
5. If you need to switch between writing and typing, you can also use the on-screen keyboard. Tap on the spot where you want to start typing, and the keyboard will appear. To go back to writing with your Apple Pencil, tap anywhere outside the keyboard area.
6. As you create your document, Google Docs will automatically save your changes in real time. This eliminates the need for manual saving and ensures that your work is always up to date. You can also save the document manually by tapping on the checkmark icon in the top left corner.
7. To exit the document and return to the main screen of the Google Docs app, tap the back arrow icon in the top left corner or swipe right from the left edge of the screen. Your document will be saved, and you can easily find it later in the list of documents.
Creating a new document in Google Docs with your iPad and Apple Pencil gives you the flexibility to work on the go and capture your ideas as they come to you. Whether you’re taking notes, brainstorming, or working on a project, the combination of Apple Pencil and Google Docs provides a seamless and convenient way to bring your thoughts to life.
Writing with Apple Pencil on Google Docs
Writing with Apple Pencil on Google Docs combines the precision and fluidity of digital writing with the convenience and power of a cloud-based document editor. Whether you’re taking notes, drafting a document, or working on a creative project, here’s how you can make the most of writing with Apple Pencil on Google Docs:
To start writing, open Google Docs on your iPad and create a new document or open an existing one. Once you’re in the document, tap on the blank space or anywhere you want to add text. This will activate the document for writing, and the on-screen keyboard will appear.
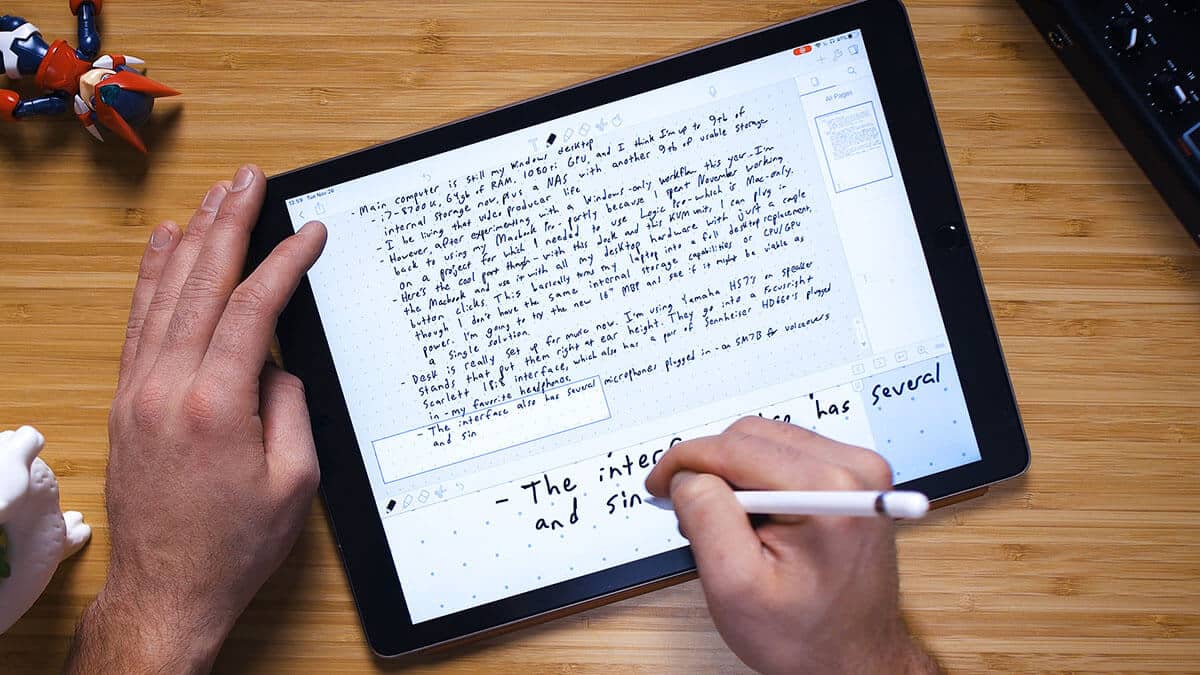
Now, with Apple Pencil, you have the versatility to write directly on the screen. Simply pick up your Apple Pencil and start writing on the canvas. The Apple Pencil’s precise tip and pressure sensitivity allow you to create smooth and natural strokes, making your digital writing experience feel like using a traditional pen or pencil on paper.
As you write with Apple Pencil, your strokes will be instantly displayed on the screen, allowing you to see and edit your work in real time. This immediate feedback ensures a seamless and fluid writing experience, enabling you to focus on your ideas and thoughts without interruption.
In addition to writing, Google Docs supports a variety of editing features that can enhance your writing process. You can easily select and highlight text using your Apple Pencil. To do this, press and hold the tip of your Apple Pencil on the start of the text you want to select, and then drag it to the end of the desired text. You will notice that the text is now highlighted. Release your Apple Pencil to complete the selection.
To format text with Apple Pencil, you can utilize the formatting options available on the toolbar at the top of the screen. This includes changing the font, font size, text color, text alignment, and more. Simply tap on the formatting option you want to apply, and then start writing or editing your document with Apple Pencil.
In addition to text formatting, you can also add bulleted or numbered lists to your document using Apple Pencil. Simply tap on the “Bulleted list” or “Numbered list” button on the toolbar while writing, and a bullet or number will automatically be added to the beginning of each new line.
To navigate and scroll through your document while writing, you can use two-finger gestures on the screen. Place two fingers on the screen and move them up, down, left, or right to scroll through your document effortlessly.
Furthermore, Google Docs offers real-time collaboration, allowing you to work together with others on the same document simultaneously. This collaborative feature is particularly useful for team projects, group brainstorming sessions, or editing sessions with colleagues. Each person’s changes made with Apple Pencil will be visible to all collaborators in real time.
No matter the size of your writing project, Google Docs ensures that your work is automatically saved as you write. This auto-save feature ensures that your progress is never lost, providing peace of mind and allowing you to focus solely on your writing.
Writing with Apple Pencil on Google Docs provides an efficient and seamless experience that empowers you to transform your ideas into polished documents. The combination of Apple Pencil’s precision and Google Docs’ powerful editing features makes it an ideal choice for writers, students, professionals, and anyone looking to enhance their digital writing experience.
Selecting and Highlighting Text
When using Apple Pencil on Google Docs, selecting and highlighting text is a breeze and allows you to easily edit and organize your document. Here’s how you can select and highlight text with Apple Pencil:
To begin, open your document in the Google Docs app on your iPad. Tap and hold the tip of your Apple Pencil on the starting point of the text you want to select. Then, drag your Apple Pencil across the screen to highlight the desired text. As you drag, you’ll see the text being highlighted in a different color, indicating that it has been selected.
If you want to select a specific word, double-tap on it with the tip of your Apple Pencil. Google Docs will recognize this action and select the entire word. Alternatively, you can triple-tap to select an entire paragraph. This feature makes selecting text more precise and efficient, especially when working with larger documents.
Once the text is selected, you can perform various actions on it. For instance, you can copy the selected text by tapping on the “Copy” button that appears above the selection. This makes it easy to duplicate text or move it to another location within the document or to a different application.
If you want to highlight text with a specific color, you can tap on the “Highlight” button that appears above the selected text. This will display a palette of colors to choose from. Simply tap on the desired color, and the selected text will be highlighted accordingly. Highlighting specific sections of your document is useful for emphasizing important points, categorizing information, or making specific text stand out.
Moreover, you can also apply text formatting options to the selected text. Google Docs provides a formatting toolbar at the top of the screen, where you can change the font, font size, font color, style, and more. When you select a portion of text with Apple Pencil, the formatting toolbar automatically updates to reflect the formatting options applicable to the selected text. Simply tap on the desired formatting option to apply it to the selected text.
In addition to highlighting and formatting, you can also delete or replace the selected text. Once the text is selected, simply tap on the “Delete” key on the on-screen keyboard to remove the selected text. Alternatively, you can start typing, and the selected text will be replaced with the new input.
It’s worth noting that the actions mentioned above apply to both text and images within the document. You can easily select, highlight, and modify images using Apple Pencil, allowing you to arrange and adjust visual elements within your document with precision and ease.
Being able to select and highlight text using Apple Pencil on Google Docs enhances your document editing and organization capabilities. It provides a seamless and efficient approach to working with text and images, allowing you to create and refine your document with precision and ease.
Formatting Text with Apple Pencil
When using Apple Pencil on Google Docs, you have the ability to format text with precision, allowing you to create visually appealing and well-structured documents. Here’s how you can format text with Apple Pencil on Google Docs:
After opening your document in the Google Docs app on your iPad, simply tap and hold the tip of your Apple Pencil on the desired section of text that you want to format. A toolbar with formatting options will appear at the top of the screen, allowing you to customize the appearance of the selected text.
One of the fundamental formatting options available is changing the font style and size. You can tap on the “Font” option in the toolbar and select from a variety of font styles available. Additionally, you can adjust the font size by selecting the “Size” option and choosing your preferred size from the dropdown menu.
If you want to make the selected text bold, italicized, or underlined, you can tap on the corresponding buttons in the formatting toolbar. These styling options are useful for adding emphasis, indicating importance, or distinguishing specific sections within your document.
Furthermore, you can change the color of the selected text by tapping on the “Text color” option in the formatting toolbar. This will open a palette of colors from which you can choose to apply to the selected text. Customizing the text color can help differentiate sections, highlight keywords, or enhance the overall visual appeal of your document.
Alignment is another essential aspect of text formatting. Google Docs provides options for left aligning, centering, right aligning, and justifying text. To change the alignment of the selected text, tap on the corresponding alignment button in the toolbar. This allows you to create a visually consistent and organized document layout.
In addition to the basic formatting options, you can also create bulleted or numbered lists with your Apple Pencil. When creating a new line in your document, if you want to add a bullet or a number to the line, simply tap on the “Bulleted list” or “Numbered list” button in the formatting toolbar. Each new line will automatically begin with a bullet point or number, helping you organize information and create easy-to-read lists.
If you are looking to add a hyperlink to the selected text, tap on the “Insert link” option in the toolbar. This will allow you to enter the desired URL and assign it to the selected text. By inserting hyperlinks, you can provide references, direct readers to external resources, or link to specific sections within your document.
Lastly, if you make a mistake while formatting text, you can easily undo or redo your changes. Simply tap on the “Undo” or “Redo” buttons in the toolbar, respectively, to reverse or reapply the most recent formatting action.
Remember, as you format text with Apple Pencil, Google Docs automatically saves your changes. This ensures that your formatting remains intact, even if you close the document or switch to a different device.
Formatting text with Apple Pencil on Google Docs allows you to personalize and enhance the visual appearance of your documents. Utilizing the various formatting options ensures that your text is presented in a clear, organized, and aesthetically pleasing manner, making your documents stand out and engage your readers.
Adding Bulleted or Numbered Lists
Creating bullet or numbered lists with Apple Pencil on Google Docs is a useful formatting option that enhances the readability and organization of your documents. Whether you want to create a to-do list, outline key points, or present information in a structured manner, here’s how you can add bulleted or numbered lists:
Begin by opening your document in the Google Docs app on your iPad. If you’re creating a new document, tap the “+” (plus) button to start a new blank document.
To add a bulleted list, position your cursor or tap on the desired location within the document with your Apple Pencil. Then, tap on the “Bulleted list” button in the formatting toolbar located at the top of the screen. Each time you press Enter or begin a new line, a bullet point will automatically be added.
If you prefer a numbered list, follow the same steps as above but tap on the “Numbered list” button instead. This will create a list where each new line is preceded by a number.
To indent or create sub-items within your list, position your cursor at the beginning of the line you want to indent and tap on the “Increase indent” button in the formatting toolbar. This will move the line further to the right, creating a sub-item within your list. To decrease the indent, tap on the “Decrease indent” button.
If you want to return to regular text formatting outside of the list, simply tap the “Bulleted list” or “Numbered list” button again to disable the list format. You can then continue writing without bullet points or numbers.
Google Docs also allows you to customize the appearance of your bullet or number style. To do this, tap on the “More options” button (represented by three dots) next to the “Bulleted list” or “Numbered list” button. A menu will appear with various bullet or numbering styles to choose from. Select the style that best fits your document’s aesthetic or purpose.
When collaborating with others on a Google Docs document, any changes made to the bulleted or numbered lists with Apple Pencil will be instantly visible to all collaborators in real time. This feature allows for efficient teamwork and seamless coordination.
Remember, Google Docs automatically saves your changes as you type or edit, including the formatting of your lists. This saves you the hassle of manual saving and ensures that your document is always up to date.
By incorporating bulleted or numbered lists into your documents with Apple Pencil on Google Docs, you can present information in a clear, concise, and organized manner. Whether you’re creating outlines, educational materials, or project plans, bullet and numbered lists add structure and improve readability, helping your audience better understand and engage with your content.
Inserting Images and Tables
Adding images and tables to your documents can greatly enhance the visual appeal and presentation of your content. With Apple Pencil on Google Docs, you can easily insert images and tables to create engaging and organized documents. Here’s how you can do it:
To begin, open your document in the Google Docs app on your iPad. If you’re starting a new document, tap the “+” (plus) button to create a blank document.
Inserting an image is as simple as tapping on the spot within the document where you want the image to appear. Then, tap the “+” (plus) button in the toolbar to open the insert menu. From the options provided, choose “Image.” This will allow you to select an image from your device’s photo library. You can browse through your photos and select the image you want to insert. Once selected, the image will be placed in your document, and you can resize or reposition it as needed.
If you want to insert a table into your document, follow a similar process. Tap on the spot within the document where you want the table to be inserted, then tap the “+” (plus) button in the toolbar. From the insert menu, select “Table.” This will open a grid-like interface where you can specify the number of rows and columns for your table. Simply tap on the desired number of rows and columns, and the table will be added to your document. You can then populate the table with text, numbers, or additional content.
To resize an image or table, tap on the item to select it. You’ll notice resizing handles appear at the corners and sides. Simply tap and drag these handles to increase or decrease the size of the image or table. This allows you to adjust the dimensions of the image or table to fit your document layout and design.
If you need to adjust the position of the image or table, tap and hold on it with your Apple Pencil. Then, drag it to the desired location within your document. This flexibility allows you to arrange and organize your content in a way that best suits your needs.
When collaborating with others on a document, any images or tables added with Apple Pencil will be visible to all collaborators in real time. This real-time collaboration ensures seamless teamwork and facilitates efficient communication.
It’s important to note that Google Docs automatically saves your changes, including images and tables, as you work. This ensures that your document is continuously updated and can be accessed from any device with an internet connection.
By leveraging the power of Apple Pencil on Google Docs, you can easily incorporate images and tables into your documents, bringing visual appeal and organization to your content. Whether you’re creating reports, presentations, or educational materials, images and tables provide an effective means of visually conveying information and enhancing the overall quality of your documents.
Collaborating with Others
Collaboration is a key aspect of document creation, and with Google Docs and Apple Pencil, working with others becomes effortless. Collaborating with colleagues or team members on a document ensures that everyone’s input is incorporated, resulting in a more comprehensive and polished final product. Here’s how you can collaborate with others using Apple Pencil on Google Docs:
To begin, open your document in the Google Docs app on your iPad. Ensure that you are signed in to your Google account to access the collaboration features.
When collaborating on a document with others, you can view who else is active in the document by looking at the top-right corner of the screen. You’ll see the profile pictures of any collaborators currently viewing or editing the document.
Collaborators can contribute to the document simultaneously, making real-time changes that are visible to all participants. If someone is using Apple Pencil, their edits and additions will instantly appear on the screen for everyone to see.
You can communicate and share ideas with collaborators through the built-in chat feature in Google Docs. Tap on the chat icon in the top-right corner, and a chat window will appear. You can then type and send messages to your collaborators, discussing specific sections of the document or clarifying any questions or concerns.
Collaborators can also leave comments on specific parts of the document using Apple Pencil. To do this, select the text or image that you want to comment on and tap on the “Comment” icon that appears. This will open a sidebar where you can enter your comment. Collaborators can then reply to the comment, creating a threaded conversation for easy reference and discussion.
If you want to assign specific tasks or request input from a particular collaborator, you can use the “Assign action item” feature. To do this, select the text or section in the document that needs attention, tap on the “+ ” icon in the toolbar, and choose “Action items.” Enter the collaborator’s name or email address and add a description of the assigned task. This feature helps streamline collaboration and keeps track of individual responsibilities.
When collaborating on a document, it’s important to note that Google Docs automatically saves changes made by each collaborator in real time. This ensures that everyone’s contributions and edits are captured, and no information is lost. You can see the real-time updates as each change is made, providing a cohesive and synchronized workflow for all collaborators.
Collaboration extends beyond Apple Pencil and the Google Docs app. You and your collaborators can access and work on the document from multiple devices, including laptops, desktop computers, and other tablets. This allows for seamless collaboration, enabling you to continue working on the document regardless of your location or device.
With Apple Pencil on Google Docs, collaborating with others becomes a dynamic and efficient process. The smooth integration of real-time editing, commenting, task assignment, and communication features facilitates seamless teamwork and brings out the best in collaborative document creation.
Saving and Sharing your Document
Saving and sharing your document is essential to ensure that your work is secure, accessible, and can be easily shared with others. With Apple Pencil on Google Docs, saving and sharing your document is a seamless process. Here’s how you can do it:
When working on your document in the Google Docs app on your iPad, your changes are automatically saved in real time. This means that you don’t have to worry about manually saving your work. Google Docs continuously saves each edit, ensuring that all the updates are captured and preserved.
To ensure that your document is saved and up to date, you can manually save it by tapping on the checkmark icon in the top left corner of the screen. This action will trigger an immediate save of your document, providing an additional level of assurance that your progress is securely stored.
Sharing your document is effortless with Google Docs. Tap on the share button located in the top right corner of the screen. This will open a menu where you can specify the sharing settings and invite others to collaborate on or simply view your document.
In the sharing menu, enter the email addresses or names of the people you want to share the document with. You can also adjust the sharing permissions, granting them the ability to edit, comment, or only view the document. Additionally, you can generate a link to the document and share it via email or messaging apps. This allows recipients to access the document without needing explicit permission.
Furthermore, you can choose whether collaborators need to sign in with a Google account to access the document or if it can be accessed by anyone with the link. These flexible sharing options give you complete control over who can view and edit your document, ensuring the privacy and security of your work.
Collaborators who have access to your document can open it on their own devices using the Google Docs app or any compatible web browser. They can continue working on the document, making edits, adding comments, and contributing to the collaborative process.
Google Docs also provides the option to make your document available offline. This feature allows you to access and work on your document even when you don’t have an internet connection. Any changes made while offline will be synced back to the cloud when you regain internet access, ensuring that your work is always up to date.
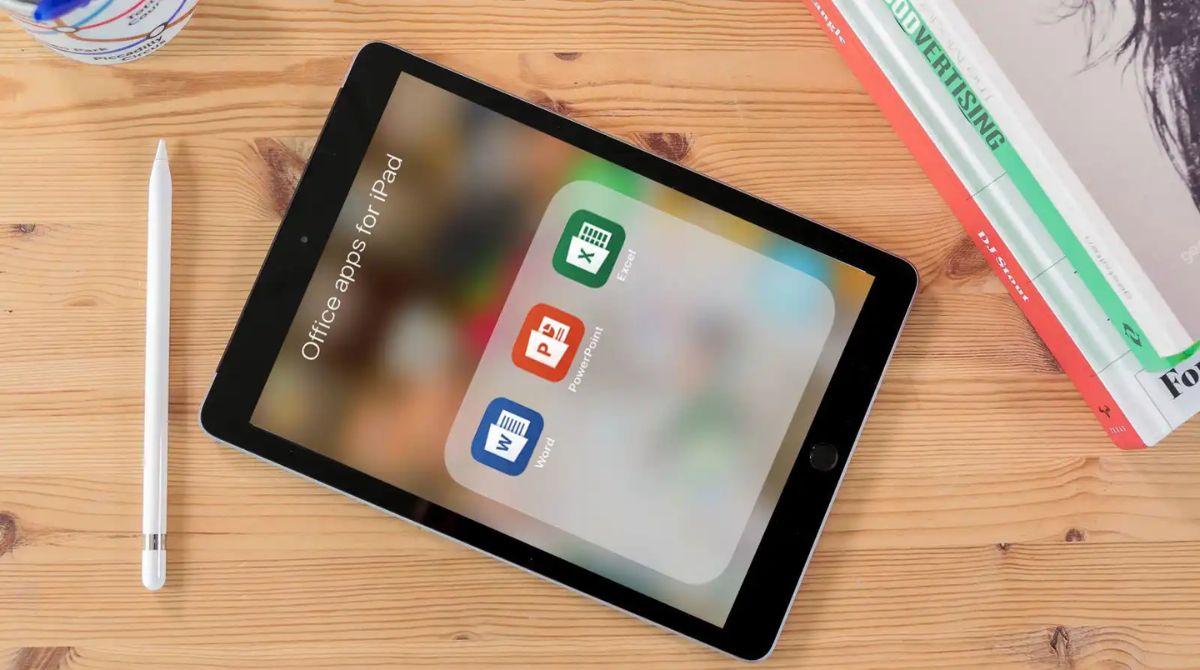
If you want to export your document in a different format, such as a PDF or Microsoft Word document, you can do so from the Google Docs app. Tap on the three dots icon in the top right corner of the screen, then select “Export.” Choose the desired format, and Google Docs will create a downloadable file for you to save or share.
Saving and sharing your document with Apple Pencil on Google Docs is a seamless process that allows you to protect your work, collaborate with others, and share your ideas with ease. The automatic saving, flexible sharing options, and offline accessibility ensure that your document remains secure, accessible, and ready to be shared with others.
Troubleshooting Common Issues
While using Apple Pencil on Google Docs is generally a smooth and hassle-free experience, you may occasionally encounter some common issues. Here are a few troubleshooting tips to help you resolve these problems:
1. Connectivity issues: If your Apple Pencil is not connecting or pairing properly with your iPad, ensure that Bluetooth is enabled on your iPad. You can check this by going to the Settings app and navigating to Bluetooth. If it’s already enabled, try turning it off and then back on again. Additionally, make sure your Apple Pencil is fully charged, as a low battery level can cause connectivity issues. Simply connect your Apple Pencil to your iPad and let it charge for a while.
2. App not responding: If the Google Docs app becomes unresponsive or freezes, try force quitting the app and then relaunching it. To force quit an app on your iPad, swipe up from the bottom of the screen and pause slightly in the middle. Then, swipe left or right to find the Google Docs app preview and swipe it up to close it. Once closed, reopen the Google Docs app and check if it functions properly.
3. Outdated app version: Ensure that you have the latest version of the Google Docs app installed on your iPad. App updates often include bug fixes and performance improvements, which can help resolve any issues you may be experiencing. To check for updates, open the App Store, go to the Updates tab, and see if there is an available update for the Google Docs app. If an update is available, tap on the “Update” button to install it.
4. Poor internet connection: If you’re experiencing slow speeds or intermittent internet connection, it can impact the performance of Google Docs and Apple Pencil on your iPad. Make sure that you are connected to a stable and reliable Wi-Fi network. If you’re using cellular data, check your signal strength and consider moving to a location with better reception. A strong and stable internet connection will ensure a seamless experience while using Apple Pencil on Google Docs.
5. Unresponsive or laggy writing: If you notice that your writing with Apple Pencil is unresponsive or laggy, try restarting your iPad. Sometimes, temporary glitches or memory-related issues can affect the performance of Apple Pencil. Simply turn off your iPad, wait a few seconds, and then turn it back on. This can often resolve any performance issues and restore smooth functionality.
6. Seek further assistance: If you have tried the above troubleshooting steps and are still experiencing issues, consider visiting the Apple Support website or contacting Apple Support directly. They can provide further guidance and assistance to address any specific issues you may be facing with Apple Pencil or the Google Docs app on your iPad.
By following these troubleshooting tips, you can overcome common issues and enjoy a seamless experience while using Apple Pencil on Google Docs. Don’t let technical difficulties hinder your creativity and productivity; instead, tackle them head-on and continue to create and collaborate with ease.
Conclusion
Using Apple Pencil on Google Docs opens up a world of possibilities for digital writing and collaboration. The seamless integration of Apple Pencil’s precise and responsive capabilities with the powerful features of Google Docs allows you to elevate your writing experience to new heights. Whether you’re a student, professional, or creative individual, Apple Pencil on Google Docs offers a range of benefits.
With Apple Pencil, you can write, sketch, highlight, and format text with ease, bringing a natural and intuitive feel to your digital writing. The pressure sensitivity and precise tip allow for a seamless transition from pen and paper to the digital realm, making your writing experience more comfortable and engaging.
Google Docs on your iPad provides a robust platform for document creation and collaboration. With real-time editing, comments, chat functionality, and task assignments, working together with colleagues or classmates has never been easier. Apple Pencil enhances this collaborative experience, empowering you to make edits, leave comments, and contribute to the document with precision and ease.
By inserting images and tables, you can further enhance the visual appeal and organization of your documents. Capture ideas with sketches or diagrams, present information in a structured format, and create polished documents that engage and inform your audience.
Remember to save and share your documents to ensure accessibility and collaboration. Google Docs’s auto-save feature eliminates the fear of losing your work, while its flexible sharing options allow you to collaborate with others seamlessly. Whether you’re coediting a document or presenting your work, Apple Pencil and Google Docs provide a streamlined platform for communication and sharing.
Should you encounter any issues, such as connectivity, app responsiveness, or writing delay, use the provided troubleshooting tips to overcome them. Apple Support and the Google Docs Help Center are also valuable resources for more specific guidance.
In conclusion, Apple Pencil on Google Docs unlocks a new level of creativity and productivity. Seamlessly integrating digital writing, collaboration, and document creation, this powerful combination empowers you to bring your ideas to life with precision and style. Embrace the fluidity of Apple Pencil and the versatility of Google Docs to elevate your digital writing experience and create impactful documents that stand out.