Introduction
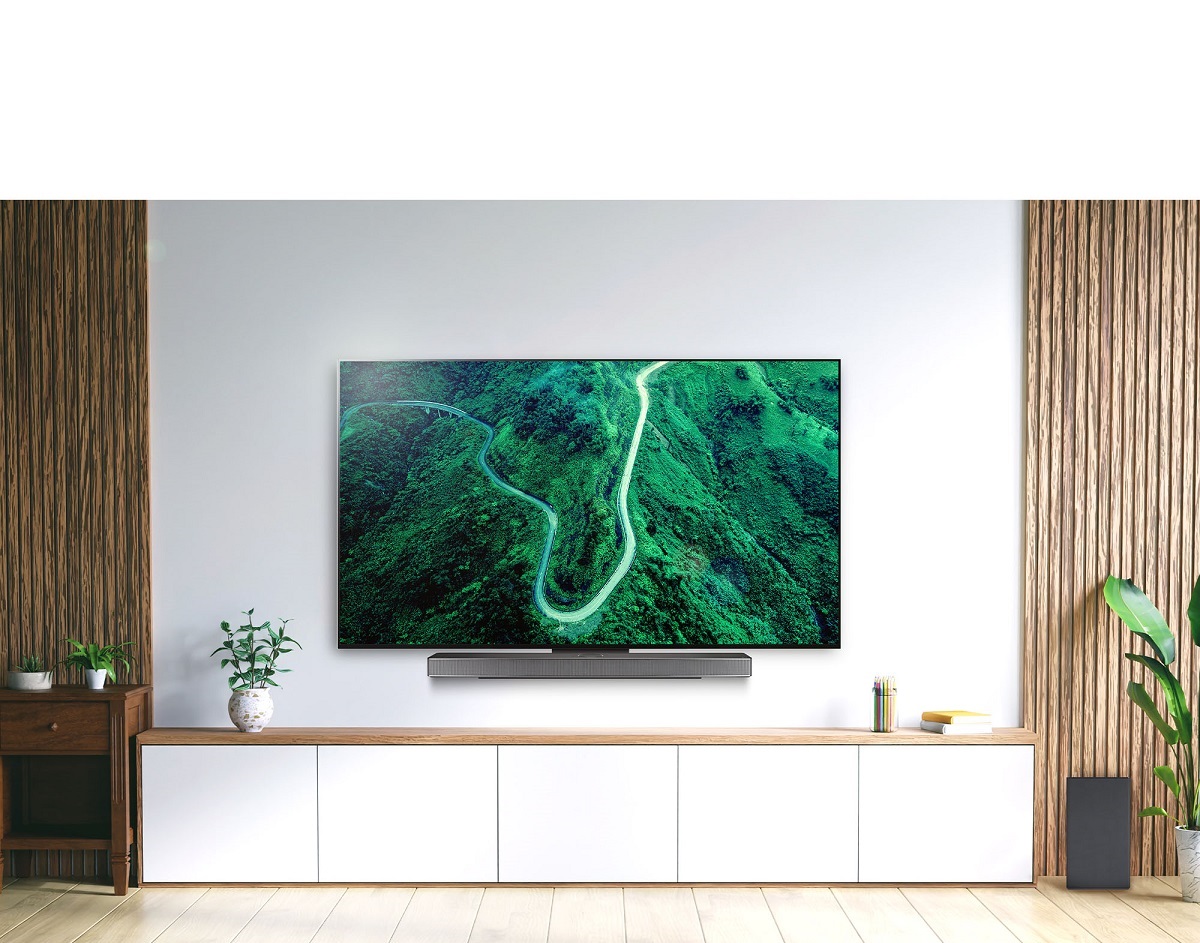
Welcome to our guide on how to wall mount your LG OLED TV! Wall mounting your TV not only provides a sleek and modern look to your space but also helps to maximize your viewing experience by allowing you to position the TV at the ideal height and angle. Whether you’re looking to save space or create a home theater setup, wall mounting is a great solution.
In this step-by-step guide, we will walk you through the process of wall mounting your LG OLED TV. We will cover everything from preparing the wall and finding the right spot to mounting the bracket, attaching the TV, and concealing the cables. By following our instructions, you will be able to securely mount your TV on the wall and create a stunning visual centerpiece for your living room, bedroom, or any other area.
Before we dive into the details, let’s take a moment to go over the tools and materials you will need for this project. Having the right equipment and being prepared will ensure a smooth installation process and help you avoid any unnecessary delays or complications.
Now, let’s gather all the necessary tools and materials and get ready to transform your viewing experience by wall mounting your LG OLED TV!
Tools and Materials Needed
Before you begin, make sure you have the following tools and materials ready:
- A stud finder: This tool will help you locate the wall studs, which are essential for securely mounting the TV bracket.
- A drill: You’ll need a drill to create holes in the wall for mounting the bracket and any necessary cable management.
- Level: Use a level to ensure that your TV is mounted straight and aligned properly.
- Screwdriver: Depending on the type of bracket you’re using, you may need a screwdriver to attach it to the wall or secure the TV to the bracket.
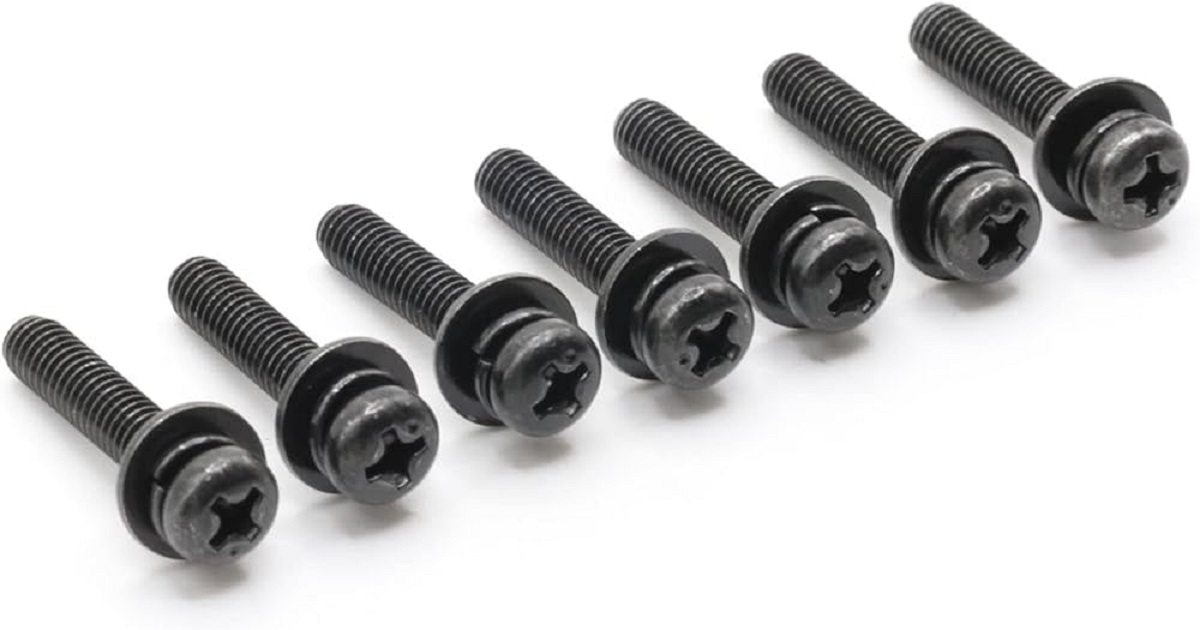
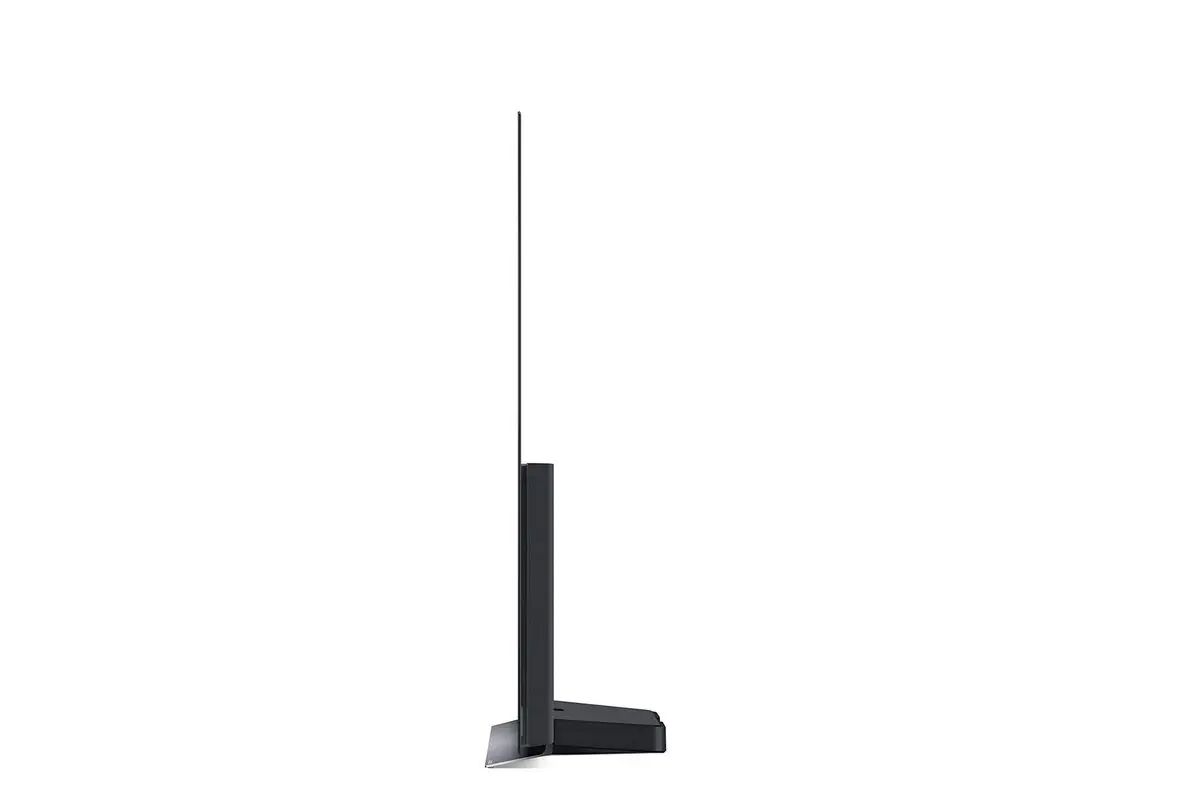
- Mounting bracket: Select a wall mounting bracket that is compatible with your LG OLED TV model. Make sure to choose a bracket that can support the weight and size of your TV.
- Wall anchors and screws: If you’re not able to locate wall studs, you’ll need wall anchors and screws to secure the bracket to the wall.
- HDMI cables: To connect your TV to other devices, such as a cable box, gaming console, or sound system, you’ll need HDMI cables. Measure the required length based on the distance between your TV and the devices.
- Cable management: Consider using cable management solutions, such as cable raceways or wall plates, to keep your cables neatly organized and hidden.
- Measuring tape: Use a measuring tape to ensure accurate placement and alignment of the bracket on the wall.
- Assistant: Enlist the help of a friend or family member to assist you during the installation process. Having an extra set of hands can make the job much easier.
Make sure you have all of these tools and materials on hand before you start the wall-mounting process. This will save you time and make the installation smoother. Now that you have everything ready, let’s move on to preparing the wall.
Preparing the Wall
Before you can mount your LG OLED TV, it’s important to prepare the wall to ensure a secure and stable installation. Follow these steps to prepare the wall:
- Clear the area: Remove any furniture, decorations, or obstacles near the wall where you plan to mount your TV. This will give you ample space to work and make the installation process easier.
- Locate the wall studs: Use a stud finder to locate the wall studs. These are vertical wooden beams behind the drywall that provide additional support and stability. It’s crucial to attach the TV bracket to the studs for a secure mount. Mark the stud locations with a pencil or masking tape.
- Check the wall condition: Inspect the wall for any damages, such as cracks or holes. If you notice any significant damage, consider repairing or reinforcing the wall before proceeding. A sturdy and even wall surface is essential for a stable TV installation.
- Measure and mark the desired height: Measure the desired height for your TV and mark it on the wall. Consider factors like viewing comfort and visual aesthetics when determining the height. The center of the TV screen should be at eye level when seated.
- Double-check measurements and alignment: Use a level and measuring tape to double-check the accuracy of your markings. Ensure that the height is aligned with your eye level and that the marks for the studs are properly aligned. This step is crucial to avoid any installation errors.
Once you have prepared the wall, ensuring it is clear, stud locations are marked, and measurements are accurate, you’re ready to move forward with finding the right spot for mounting your LG OLED TV. This step allows you to determine the optimal location for an enjoyable viewing experience. Let’s explore this step in the next section.
Finding the Right Spot
Choosing the right spot to mount your LG OLED TV is crucial for a comfortable and immersive viewing experience. Consider the following factors when determining the ideal location:
- Viewing distance: Determine the optimal viewing distance based on the size of your TV. As a general rule, a viewing distance that is approximately 1.5 to 2.5 times the diagonal screen size is recommended. This will allow you to enjoy a clear and immersive view without eye strain.
- Room layout: Take into account the layout and furniture arrangement in the room. Consider the seating arrangement and ensure that the TV will be easily visible from all desired viewing positions. Avoid placing the TV in a spot that may be obstructed by furniture or other objects.
- Glideability: If you have a swivel or tilting mount, consider the ability to adjust the TV’s position. This can be advantageous when you want to reduce glare from windows or optimize the viewing angles for multiple seating areas.
- Wall stud alignment: Keep in mind the location of the wall studs you identified earlier. Try to position the TV bracket in a way that aligns with the studs to ensure a secure and stable mount. If necessary, you can use wall anchors and screws for added support.
- Cable accessibility: Consider the accessibility of power outlets and cable connections. Ensure that there are convenient points nearby to connect your TV and other devices. Also, plan for cable management solutions that can hide and organize the cables effectively.
Take the time to assess these factors and experiment with different locations within the room. You may want to use a cardboard cutout or a piece of paper to simulate the size of your TV and visualize the placement before making any permanent marks on the wall. Once you have found the perfect spot, you’re ready to move on to mounting the bracket, which we will cover in the next section.
Mounting the Bracket
Now that you have found the ideal spot for your LG OLED TV, it’s time to mount the bracket onto the wall. Follow these steps to securely mount the bracket:
- Align the bracket: Hold the TV bracket against the wall, ensuring that it is level and aligned with the markings you made earlier. If you’re attaching the bracket to wall studs, position it accordingly. If not, use a wall anchor and screw for each mounting hole.
- Drill pilot holes: Using a drill with the appropriate drill bit, create pilot holes at the marked positions. It’s important to use a drill bit that matches the size of the wall anchors or screws you’re using. This will make it easier to mount the bracket securely.
- Attach the bracket: Line up the bracket with the pilot holes and attach it to the wall using the provided screws or wall anchors. Make sure the bracket is tightly secured to the wall. Use a level to ensure it remains straight during the installation process.
- Double-check stability: Gently shake or apply pressure to the bracket to ensure that it is securely fastened. If you notice any wobbling or instability, reposition the bracket by adjusting the screws or anchor positions as needed.
Remember to refer to the manufacturer’s instructions for your specific TV bracket and follow any additional steps or recommendations they provide for mounting. Once the bracket is firmly attached to the wall, you’re ready to proceed to the next step – attaching the TV to the bracket. This step requires caution and attention to detail to ensure a safe and successful installation. Continue reading to learn more.
Attaching the TV to the Bracket
Now that the bracket is securely mounted on the wall, it’s time to attach your LG OLED TV. Follow these steps to safely and correctly attach the TV to the bracket:
- Prepare the TV: Place a soft cloth or blanket on a flat surface to protect the front of the TV. Carefully place your LG OLED TV face down on the cloth, ensuring that the screen is supported and doesn’t come in contact with any hard surfaces.
- Locate the mounting holes: Depending on the model of your LG OLED TV, there will be specific mounting holes on the back. Remove any protective plastic covers or panels to reveal these holes. Refer to your TV’s user manual if you’re unsure about the location of these mounting holes.
- Align the TV with the bracket: With the help of a friend or family member, carefully lift the TV and align the mounting holes on the back of the TV with the corresponding brackets on the wall. Take your time to ensure proper alignment to avoid any accidental drops or damage.
- Attach the TV to the bracket: Once the TV is aligned, follow the manufacturer’s instructions and use the provided screws to secure the TV to the bracket. Make sure to tighten the screws securely, but avoid overtightening, as it may damage the TV or the bracket.
- Double-check stability: Gently give the TV a gentle shake or apply light pressure to test its stability. If it feels wobbly or insecure, check the screws and attachment points to ensure they are tightened properly.
It’s important to note that the weight and size of LG OLED TVs can vary, so make sure to follow the specific instructions provided by LG for your model. Additionally, enlisting the help of someone else during this step is highly recommended, as it will make the process easier and safer.
Once the TV is securely attached to the bracket, you’re almost there! The next step involves checking for stability, making any necessary adjustments, and ensuring that all cables are properly concealed. We will cover this in the following section.
Checking for Stability and Adjustments
After attaching your LG OLED TV to the bracket, it’s crucial to check for stability and make any necessary adjustments to ensure a secure and balanced installation. Follow these steps to ensure that your TV is stable and aligned properly:
- Confirm the alignment: Step back and take a look at the TV from different angles. Ensure that it is level and aligned with the room and other surrounding objects. Use a level or adjust the bracket if needed to achieve the desired alignment.
- Test the stability: Carefully give the TV a gentle shake or push to test its stability. It should remain firmly in place and not wobble or move excessively. If you notice any instability, recheck the attachment points on both the bracket and the TV, and tighten any loose components as necessary.
- Adjust the viewing angle: If your TV bracket allows for adjustment, use this opportunity to fine-tune the viewing angle. You can tilt or swivel the TV to optimize the viewing experience based on your seating position and screen visibility.
- Retighten screws if needed: Check all the screws and bolts on the bracket and ensure they are securely tightened. Over time, vibrations or movement can cause screws to loosen, so it’s a good idea to periodically inspect and retighten them as needed.
Take your time to perform these stability checks and make any necessary adjustments. It’s essential to have a stable and level TV installation to prevent any accidents or damage to the TV and ensure a comfortable viewing experience.
Now that the TV is securely mounted and stable, the next step is to consider cable management to keep the wires organized and out of sight. Continue reading to learn how to conceal the cables effectively.
Concealing the Cables
One of the final touches to achieve a clean and organized look is to conceal the cables running from your LG OLED TV to your other devices. Here are some effective methods to hide and manage the cables:
- Wall-mounted cable raceways: Cable raceways are plastic or metal channels that can be mounted to the wall to hide and organize your cables. These channels have adhesive backing and can be painted to match the wall color for a seamless appearance.
- In-wall cable management: If you have the option, using in-wall cable management solutions can provide a truly hidden cable setup. This may involve running cables through the wall and using recessed cable plates or conduit to conceal them. Consult a professional if you’re unsure about this process.
- Cable sleeves and wraps: Cable sleeves are flexible tubes that gather and enclose the cables, keeping them organized and preventing tangles. Cable wraps are Velcro or zip-up covers that provide a neat, bundled look. These options are particularly useful if you have a shorter distance between the TV and your devices.
- Wireless connectivity: Consider using wireless connectivity options whenever possible. For example, connect your TV to a wireless network to stream content or use wireless audio systems to eliminate the need for speaker cables.
When concealing your cables, always prioritize safety and accessibility. Avoid overcrowding or tightly binding the cables, as this can lead to overheating or difficulty in future cable management or maintenance. Additionally, ensure that the cables are not stretched or bent too tightly, as it can cause signal degradation or damage to the cables.
Remember to plan the cable management setup before permanently fixing the cables. Test different options and configurations to find the most visually pleasing and functional solution for your space.
With the cables neatly concealed, your TV setup will look clean and clutter-free. However, there are a few final touches and considerations to keep in mind to ensure a successful installation. We will cover these in the following section.
Final Touches and Considerations
With your LG OLED TV securely mounted, cables concealed, and installation close to completion, there are a few final touches and considerations to keep in mind:
- Remote control accessibility: Ensure that the TV’s sensors are not obstructed by the mounting bracket or any other objects. This will allow the remote control signals to reach the TV without any issues.
- Power source: Make sure there is a nearby power outlet easily accessible to connect the TV. Consider using a surge protector to protect your TV and other devices from power fluctuations and surges.
- Device connections: Connect any additional devices, such as cable boxes, gaming consoles, or sound systems, to your TV using the appropriate cables. Follow the manufacturer’s instructions for each device and make sure all connections are secure.
- Adjust settings: Once everything is set up, customize the TV settings to optimize your viewing experience. Adjust brightness, contrast, and other picture settings to suit your preferences.
- Regular maintenance: Dust the TV and clean the screen periodically to maintain optimal picture quality. Follow the manufacturer’s cleaning recommendations to avoid damaging the screen.
- Enjoying your new setup: Sit back, relax, and enjoy your new wall-mounted LG OLED TV! Invite friends and family over for a movie night or to watch your favorite shows in style.
By taking the time to consider these final touches and incorporating them into your installation process, you can ensure a smooth and enjoyable TV viewing experience for years to come.
Remember, every TV and mounting setup may have unique requirements and specifications. Always refer to the manufacturer’s instructions and guidelines specific to your LG OLED TV model for the best results.
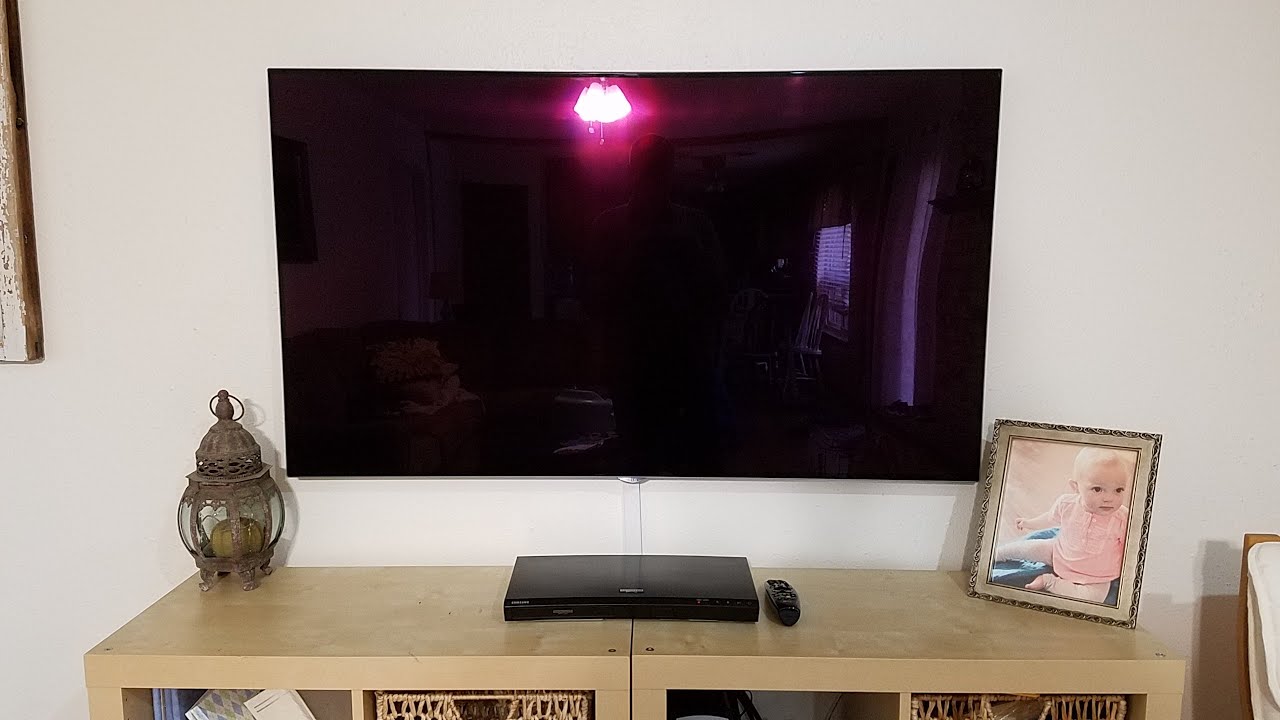
We hope this guide has been helpful in assisting you with wall mounting your LG OLED TV. Now you can sit back, relax, and immerse yourself in the incredible picture quality and entertainment experience that comes with an elegantly mounted TV.
Conclusion
Wall mounting your LG OLED TV can transform your space and elevate your viewing experience. By following the step-by-step guide provided, you learned how to properly prepare the wall, find the right spot, mount the bracket, attach the TV, conceal the cables, and add final touches to ensure a successful installation.
Remember to gather all the necessary tools and materials, including a stud finder, drill, level, screwdriver, mounting bracket, wall anchors and screws, HDMI cables, cable management solutions, measuring tape, and an assistant to help during the installation process.
We highlighted the importance of preparing the wall by clearing the area, locating the wall studs, checking the wall condition, and measuring and marking the desired height. Finding the right spot involved considering viewing distance, room layout, glideability, wall stud alignment, and cable accessibility.
The guide also covered the crucial steps of mounting the bracket securely, attaching the TV to the bracket with proper alignment, ensuring stability by checking for wobbling, and making any necessary adjustments. Concealing the cables using wall-mounted cable raceways, in-wall cable management, cable sleeves and wraps, and wireless connectivity added to the clean and organized look.
Finally, we emphasized the importance of remote control accessibility, a nearby power source, device connections, adjusting settings for optimal viewing, regular maintenance, and, most importantly, enjoying your new wall-mounted LG OLED TV.
Always refer to the manufacturer’s instructions specific to your LG OLED TV model to ensure proper installation and to address any unique requirements.
Now that you have successfully mounted your LG OLED TV, sit back, relax, and immerse yourself in the stunning visuals and captivating entertainment experience that your wall-mounted TV brings to your space.