Introduction
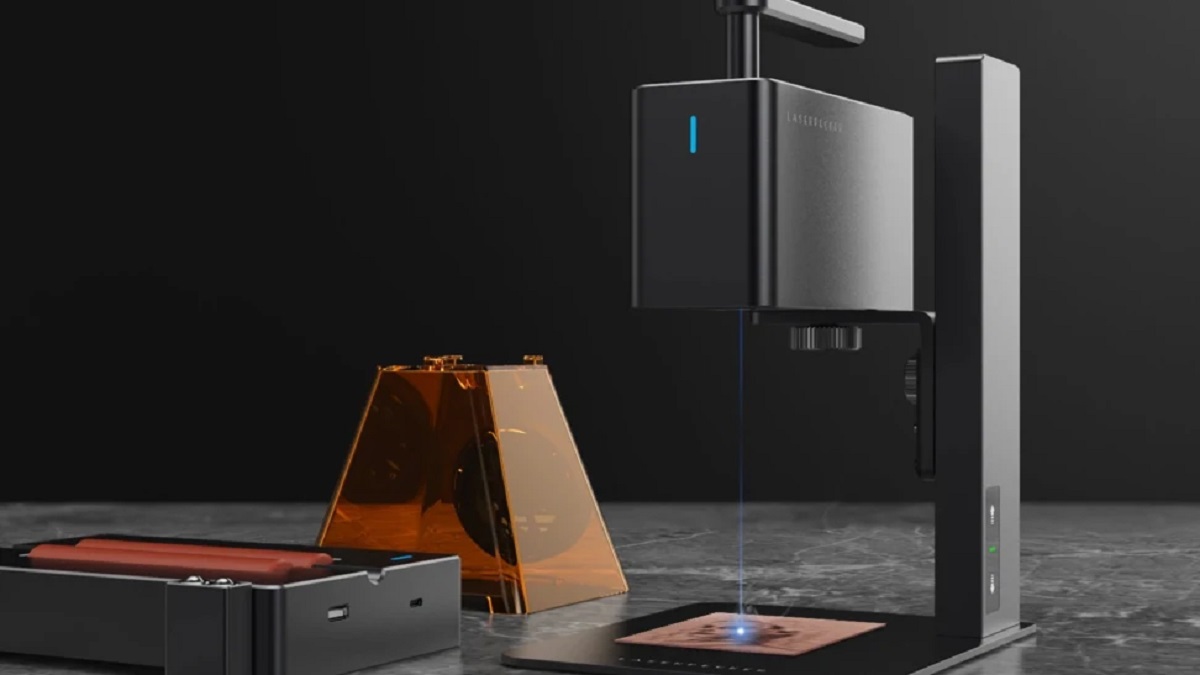
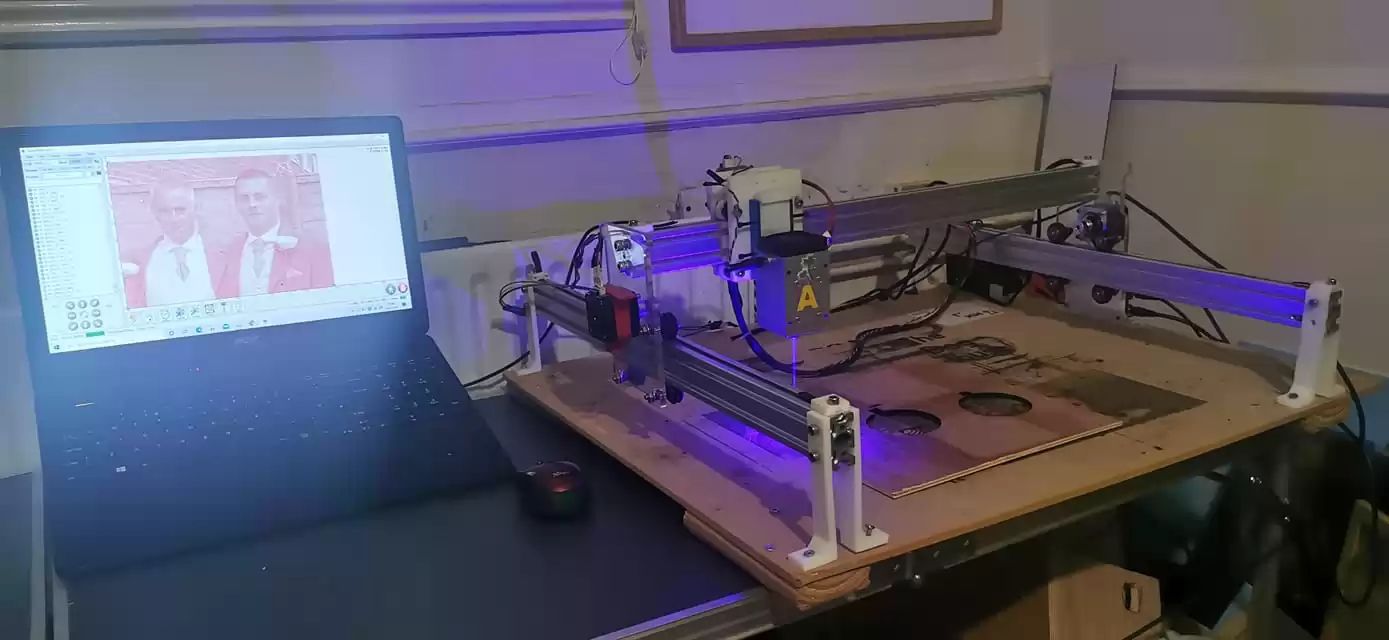
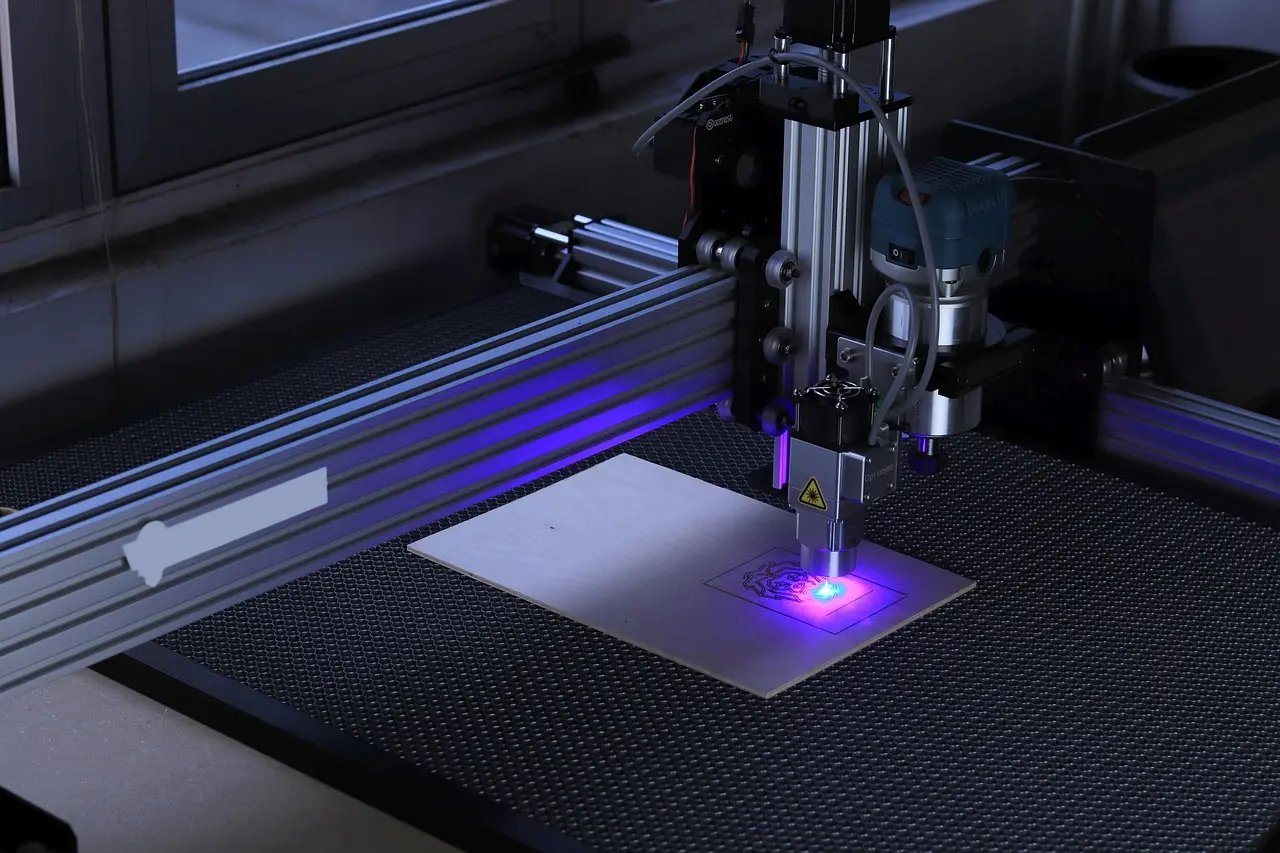
Welcome to the world of laser engraving! If you’re looking to add a personal touch to your crafts, artwork, or even products, then learning how to use Repetier Host for your laser engraver is a great place to start. Repetier Host is a leading software program that allows you to control and manage your laser engraving machine seamlessly.
Whether you are a beginner or an experienced user, this guide will walk you through the process of installing Repetier Host, connecting it to your laser engraver, and configuring it to ensure optimal performance. We will also cover loading and preparing design files, setting up laser parameters, initiating the engraving process, and fine-tuning the engraving settings. Additionally, we’ll discuss common troubleshooting issues and solutions to help you overcome any obstacles you may encounter along the way.
By the end of this guide, you will have a solid understanding of how to effectively use Repetier Host to bring your laser engraving ideas to life. So, let’s dive in and unleash your creativity!
Installing Repetier Host
Before you can start using Repetier Host, you need to install the software on your computer. Follow these steps to install Repetier Host:
- Visit the Repetier website (www.repetier.com) and navigate to the Downloads page.
- Choose the appropriate version of Repetier Host for your operating system (Windows, Mac, or Linux).
- Click on the download link and save the installation file to your computer.
- Locate the downloaded file and double-click on it to begin the installation process.
- Follow the on-screen instructions to complete the installation. Make sure to agree to the license terms and specify the desired installation location.
- Once the installation is complete, launch Repetier Host by clicking on the desktop shortcut or searching for it in your Start Menu.
Congratulations! You have successfully installed Repetier Host on your computer. In the next section, we will explore how to connect Repetier Host to your laser engraver.
Connecting Repetier Host to Your Laser Engraver
Now that you have Repetier Host installed on your computer, it’s time to connect it to your laser engraver. Follow the steps below to establish a connection:
- Ensure that your laser engraver is turned off and securely connected to your computer via a USB cable.
- Launch Repetier Host on your computer.
- In the top menu, click on “Printer” and select “Printer Settings” from the dropdown menu.
- In the Printer Settings window, click on the “Connection” tab.
- Under the Connection tab, select the appropriate port (COM port) that corresponds to your laser engraver. You can usually find this information in the Device Manager on your computer.
- Next, select the baud rate for your laser engraver. The default baud rate for most engravers is 115200, but consult your device’s manual if you’re unsure.
- Click on the “Connect” button to establish a connection between Repetier Host and your laser engraver.
Once the connection is established, Repetier Host will display the status of your laser engraver in the bottom left corner of the interface. It should show as “Connected” or “Online.”
Now that Repetier Host is successfully connected to your laser engraver, you are ready to configure the software to ensure optimal performance. In the next section, we will explore the process of configuring Repetier Host for your laser engraver.
Configuring Repetier Host for Laser Engraver
After establishing the connection between Repetier Host and your laser engraver, it’s important to configure the software to maximize its performance. Follow these steps to configure Repetier Host for your laser engraver:
- In Repetier Host, click on “Printer” in the top menu and select “Printer Settings” from the dropdown menu.
- In the Printer Settings window, click on the “Printer Shape” tab.
- Under the Printer Shape tab, input the dimensions of your laser engraver’s workspace. This ensures that Repetier Host accurately represents the engraving area.
- Next, navigate to the “Extruder” tab. Since we are configuring Repetier Host for a laser engraver, set the number of extruders to 0.
- Under the “Configuration” tab, you can further customize the settings according to your preferences. However, the default settings should work well for most laser engravers.
- Click on the “OK” button to save the changes and close the Printer Settings window.
Now that Repetier Host is configured for your laser engraver, you are ready to load and prepare your design files. In the next section, we will explore how to load and prepare designs using Repetier Host.
Loading and Preparing the Design File
Once Repetier Host is configured for your laser engraver, it’s time to load and prepare the design file that you want to engrave. Follow these simple steps:
- In Repetier Host, click on the “Load” button in the top menu or navigate to “File” and select “Load” from the dropdown menu.
- Browse your computer to locate the design file you wish to engrave. Repetier Host supports various file formats, such as SVG, DXF, BMP, and JPG.
- Select the desired file and click “Open” to load it into Repetier Host.
- Once the design file is loaded, you can preview it in the working area of Repetier Host. Here, you can adjust the placement, scale, or rotation of the design if necessary.
- If needed, you can make additional modifications to the design using the editing tools within Repetier Host. These tools allow you to resize, crop, or add text to the design before engraving.
- After making any necessary adjustments, it’s essential to ensure that the design fits within the boundaries of your laser engraver’s workspace. Double-check its dimensions to avoid any potential issues during the engraving process.
Once you’re satisfied with the design and its placement, you’re ready to move on to the next step: setting up the laser parameters. We’ll explore this in the following section.
Setting Up Laser Parameters
Before you can initiate the engraving process, it’s crucial to set up the laser parameters in Repetier Host. These parameters dictate the speed, power, and depth of the laser engraving. Follow these steps to configure the laser parameters:
- In Repetier Host, click on the “Slicer” tab located in the top menu.
- Under the “Laser” section, you will find the settings for speed, power, and depth. Adjust these parameters based on your preferences and the material you’ll be engraving.
- Start by setting the laser speed. Keep in mind that slower speeds generally result in deeper and more precise engravings, while faster speeds may create lighter and shallower engravings.
- Next, adjust the power setting to determine the intensity of the laser. Be cautious not to use excessive power, as it may result in burning or damaging the material.
- If your laser engraver supports variable-depth engraving, you can also set the engraving depth. This parameter allows you to control the depth of the laser penetration into the material.
- It’s highly recommended to perform test engravings on scrap materials to fine-tune the laser parameters and achieve the desired results.
Once you’ve set up the laser parameters, you are now ready to initiate the engraving process. However, it’s important to keep in mind that different materials and designs may require specific adjustments to achieve optimal results. In the next section, we will explore the process of initiating the engraving process using Repetier Host.
Initiating the Engraving Process
With the laser parameters configured in Repetier Host, you are now ready to initiate the engraving process. Follow these steps to start engraving your design:
- Ensure that your laser engraver is properly positioned and any necessary safety precautions are in place.
- In Repetier Host, click on the “Print” button in the top menu or navigate to “File” and select “Print” from the dropdown menu.
- Review the engraving settings one final time, including the laser speed, power, and depth parameters.
- Click on the “Print” button to begin the engraving process.
- Repetier Host will send the necessary commands to your laser engraver, guiding it to follow the design path and create the desired engraving.
- During the engraving process, consistently monitor the operation to ensure that everything is running smoothly. Be prepared to pause or stop the process if any issues arise.
- Once the engraving is complete, carefully remove the engraved material from the engraver.
It’s important to note that the duration of the engraving process will vary depending on the complexity of the design, the material being engraved, and the laser settings. Exercise patience and allow the machine to do its work while maintaining a safe environment.
Congratulations! You have successfully initiated the engraving process. In the next section, we will explore how to fine-tune the engraving settings to achieve optimal results.
Fine-Tuning the Engraving Settings
After completing the initial engraving process, you may find that certain adjustments are necessary to achieve the desired results. Fine-tuning the engraving settings in Repetier Host will allow you to optimize the quality and precision of your engravings. Follow these steps to fine-tune the settings:
- Inspect the engraved result carefully. Pay attention to the depth, intensity, and clarity of the engraving.
- If the engraving is too shallow or faint, you may need to increase the laser power slightly. Gradually adjust the power setting and perform small test engravings to find the optimal balance.
- If the engraving is too deep or causing excessive burning on the material, you should reduce the laser power. Again, make incremental adjustments and test engrave on scrap materials to find the right balance.
- Modifying the laser speed can also have an impact on the engraving quality. Slower speeds usually produce deeper engravings, while faster speeds yield shallower engravings. Experiment with different speeds to achieve the desired effect.
- Consider the material you are engraving on. Different materials may require specific adjustments to optimize the engraving settings. For example, engraving on wood may require different settings compared to engraving on acrylic or metal. Research and experimentation will help you find the ideal settings for each material.
- Take note of any design-specific considerations. Intricate or complex designs may require different settings compared to simpler designs. Experiment with the settings to ensure that all details are accurately captured in the engravings.
- Continue refining the settings through a process of trial and error. Keep track of the adjustments you make and the corresponding outcomes to create a reference guide for future engravings.
By fine-tuning the engraving settings in Repetier Host, you can achieve precise and high-quality engravings that meet your expectations. Remember that practice and experimentation are key to perfecting your engraving skills.
In the next section, we will address some common troubleshooting issues that you may encounter along your laser engraving journey.
Troubleshooting Common Issues
While using Repetier Host for your laser engraver, you may encounter some common issues that can impact the engraving process. Here are a few troubleshooting tips to help you overcome these challenges:
- Uneven or Incomplete Engravings: If your engravings are coming out uneven or incomplete, check the focus of your laser. Ensure that it is properly aligned and focused on the material surface. Adjust the focal length if necessary.
- Burning or Scorching: Excessive burning or scorching of the material can occur if the laser power is set too high or the speed is too slow. Decrease the power and increase the speed to reduce the heat generated by the laser.
- Inaccurate Design Reproduction: If the engraved design does not accurately match the original design, check the scaling settings in Repetier Host. Ensure that the scaling is set to 100% to maintain the design’s original proportions.
- Software Crashes or Connectivity Issues: If you experience software crashes or connectivity problems, check the USB cable connection between your computer and the laser engraver. Additionally, make sure you have the latest version of Repetier Host installed and consider restarting both your computer and the engraver.
- Sudden Stops or Pauses: If the engraving process suddenly stops or pauses, check for any error messages or alerts in Repetier Host. Assess if there is any material obstruction or if the machine needs maintenance. Reset or restart the engraver if necessary.
- Inconsistent Engraving Depth: Inconsistent engraving depth can result from uneven material surfaces or incorrect laser focus. Use materials with consistent thickness and ensure proper alignment and focus of the laser on the material.
If these troubleshooting tips do not resolve the issue, refer to the user manual of your specific laser engraver model or contact the manufacturer for further assistance. Remember, troubleshooting is a valuable learning experience that can refine your skills and make you more proficient in using Repetier Host.
In the next section, we will conclude our guide on using Repetier Host for laser engraving.
Conclusion
Congratulations on mastering the use of Repetier Host for your laser engraver! By installing the software, connecting it to your engraver, configuring the settings, loading and preparing designs, and fine-tuning the parameters, you have gained the necessary skills to create beautiful and personalized engravings.
Remember to always prioritize safety when operating your laser engraver. Follow proper safety guidelines, use suitable protective gear, and ensure a well-ventilated workspace to mitigate any potential risks.
As you continue your laser engraving journey, don’t hesitate to experiment, try new materials, and explore different design ideas. Practice and patience will be key to improving your techniques and achieving the best results.
Should you encounter any issues or challenges along the way, refer back to this guide for troubleshooting tips. Additionally, seek support from online forums or the manufacturer of your laser engraver for specific technical assistance.
Now, armed with your newfound knowledge of Repetier Host, go ahead and unleash your creativity with laser engraving. Whether you’re creating personalized gifts, adding intricate details to crafts, or customizing products, Repetier Host will be your trusted companion throughout the process. Enjoy the journey, and may your laser engravings bring joy and delight to those who behold them!


