Introduction
Welcome to the world of homemade yogurt made in the Instant Pot IP-Duo80 7-In-1 electric pressure cooker. Yogurt is a delicious and nutritious treat enjoyed by many, and with the help of the Instant Pot, you can easily make your own yogurt right at home. Whether you’re looking to save money, control the ingredients, or simply enjoy the satisfaction of creating your own culinary masterpiece, making yogurt in the Instant Pot is a convenient and rewarding process.
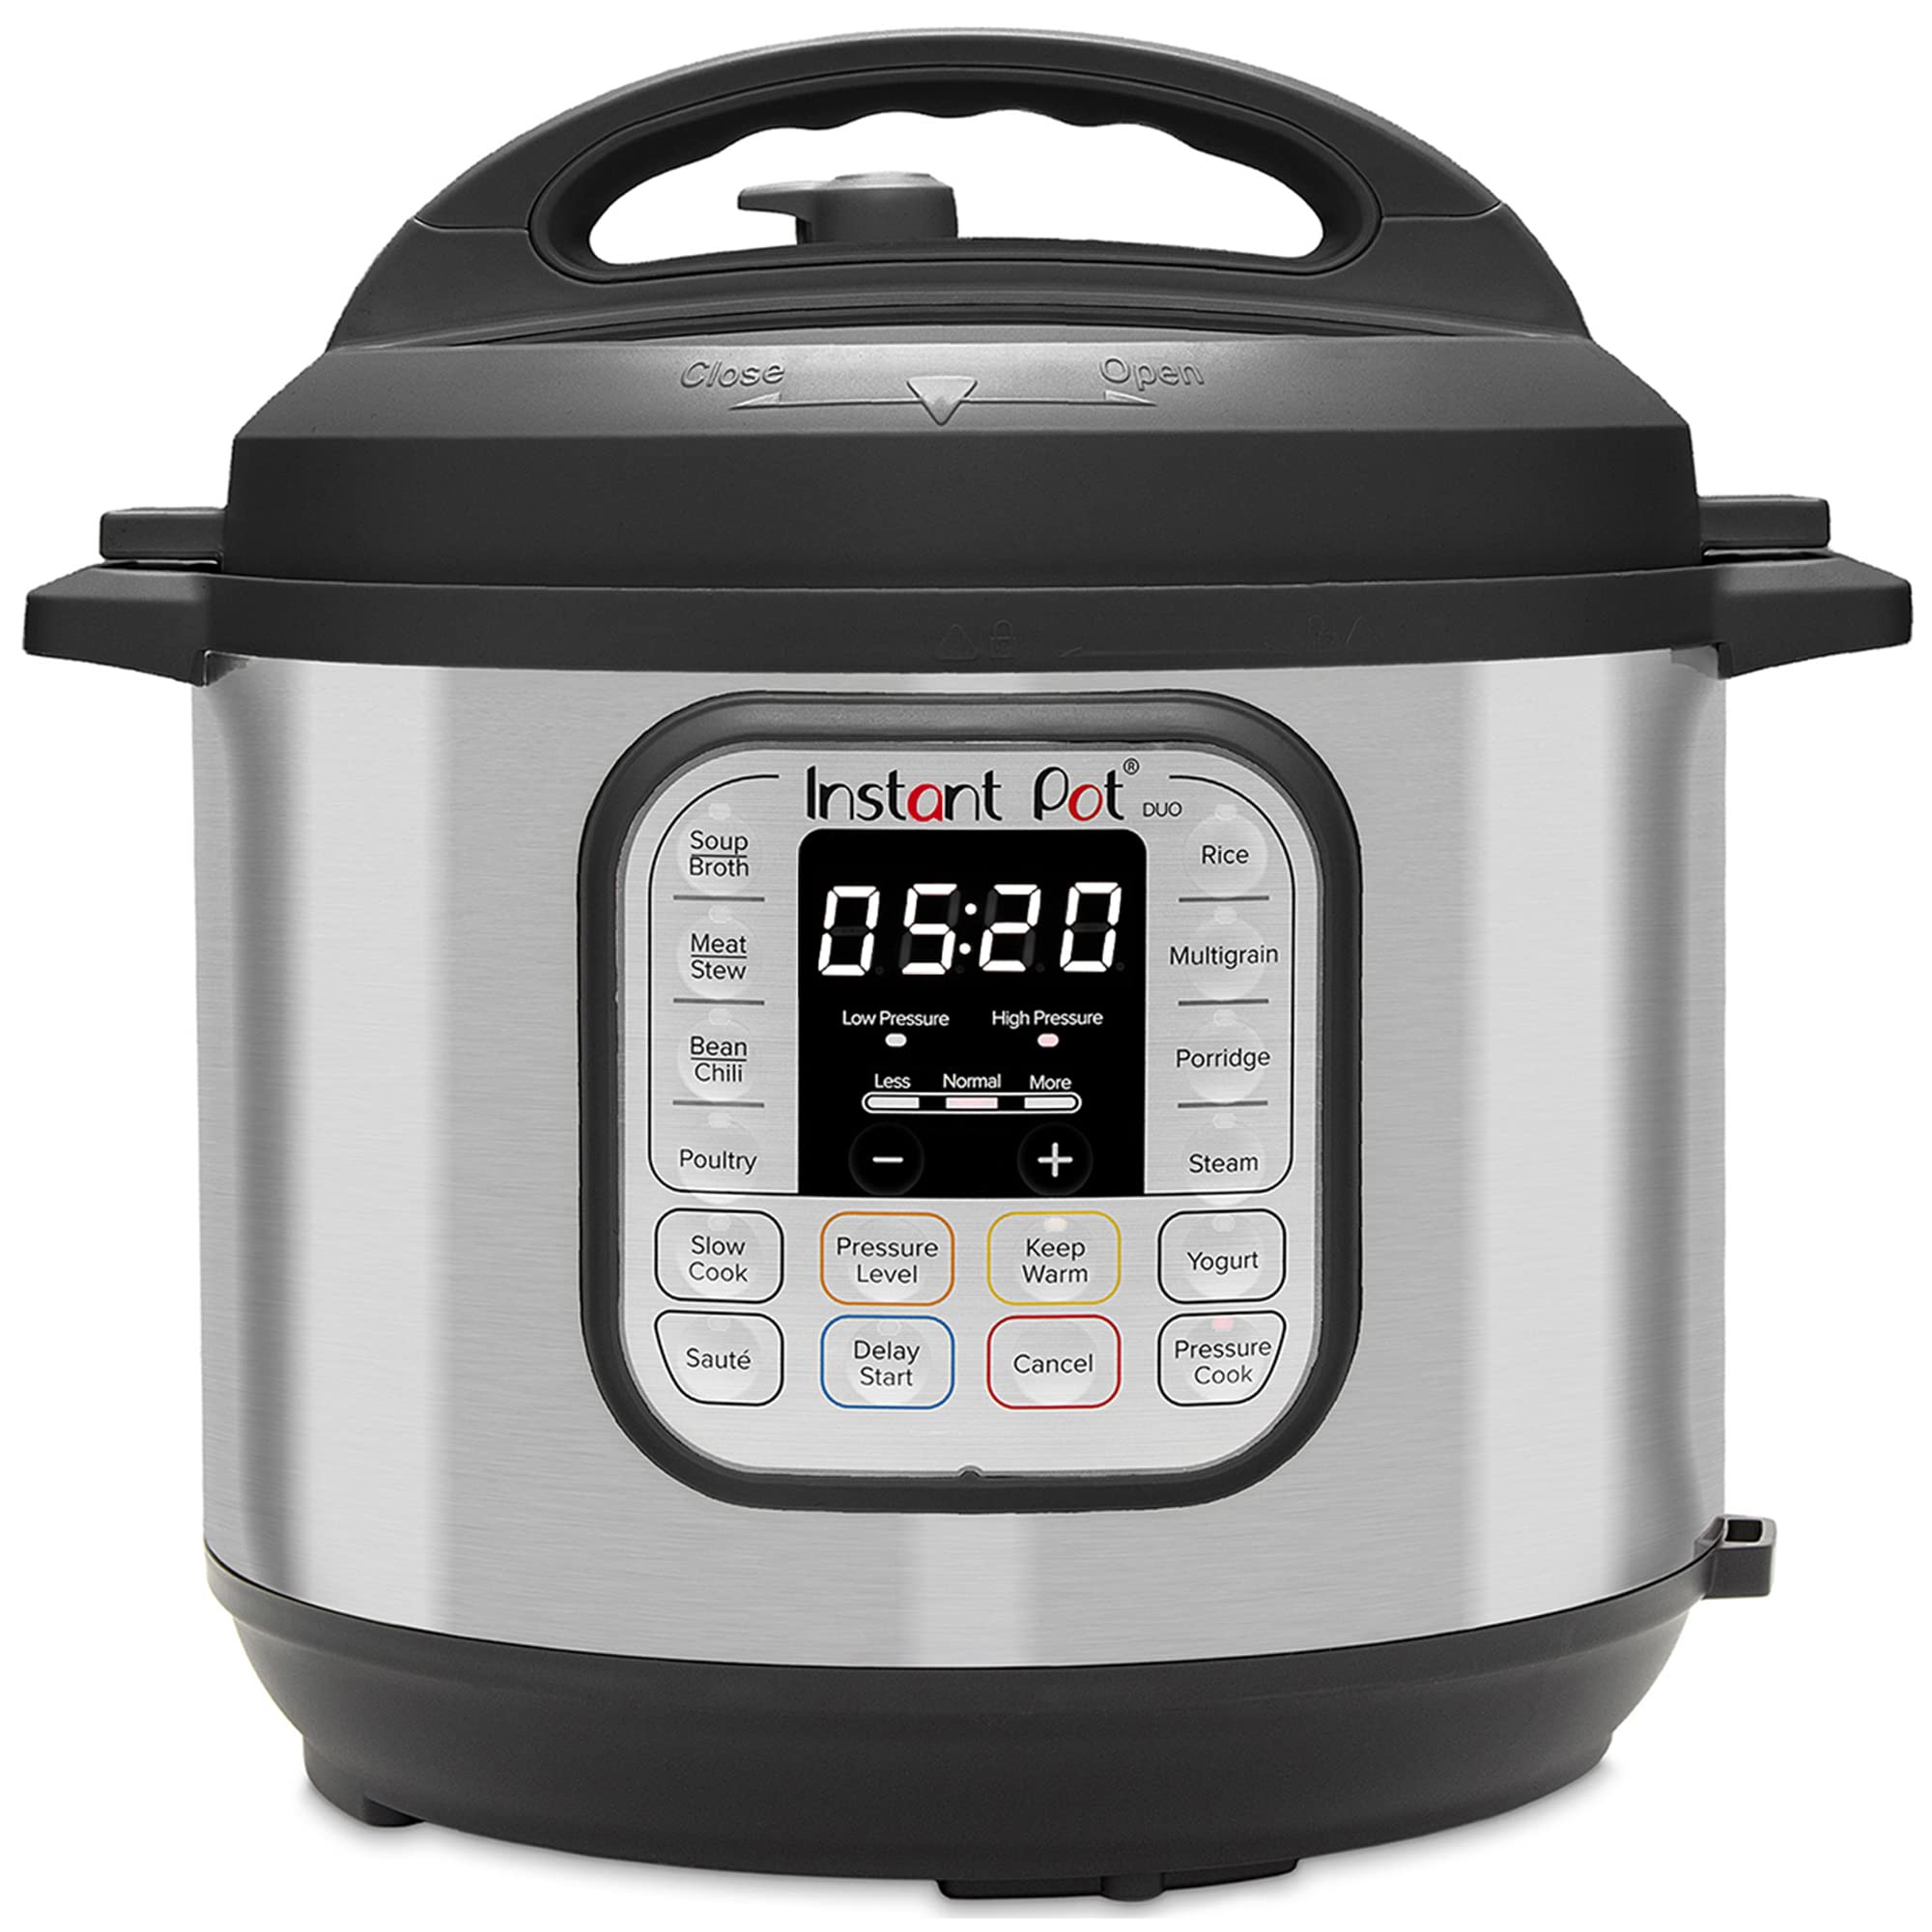
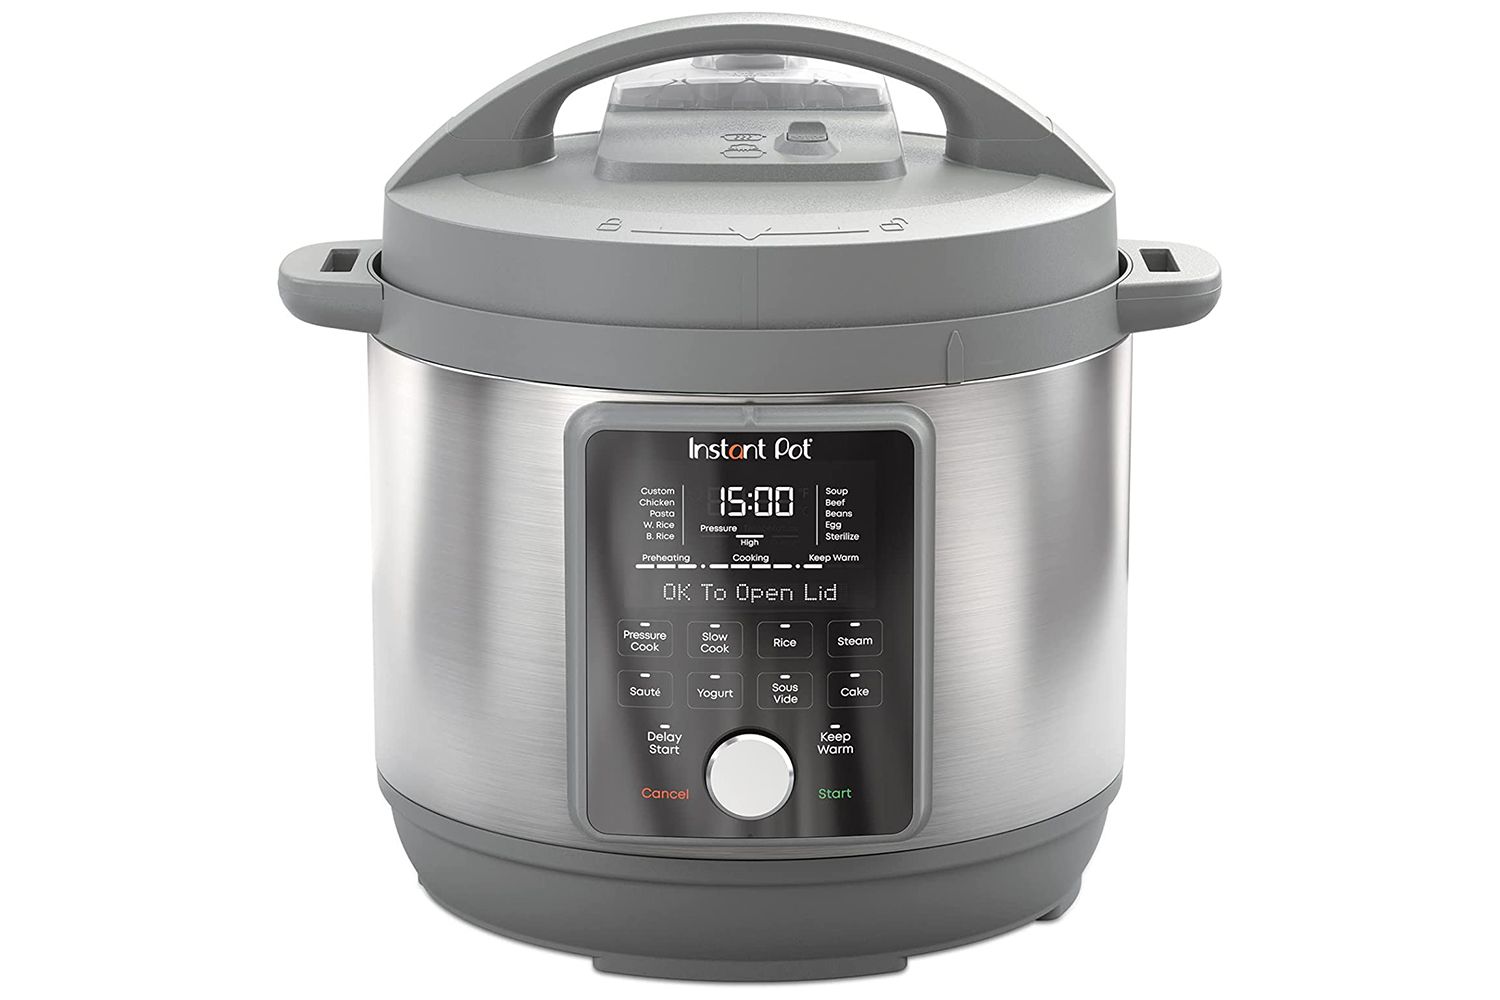
The Instant Pot IP-Duo80 7-In-1 is a versatile kitchen appliance that combines the functions of a pressure cooker, slow cooker, rice cooker, sauté pan, steamer, yogurt maker, and food warmer. Its yogurt-making feature allows you to take advantage of the precise temperature control and consistent results that the Instant Pot offers, resulting in creamy, smooth, and delicious yogurt every time.
In this article, we will guide you through the step-by-step process of making yogurt in the Instant Pot IP-Duo80 7-In-1. We will cover everything from setting up the Instant Pot for yogurt making to incubating the yogurt and achieving the perfect consistency. Along the way, we’ll share some tips and tricks to ensure you achieve yogurt-making success.
So, let’s get started and embark on this yogurt-making adventure with your Instant Pot IP-Duo80 7-In-1!
Benefits of Making Yogurt in an Instant Pot IP-Duo80 7-In-1
Making yogurt in an Instant Pot IP-Duo80 7-In-1 comes with numerous benefits that go beyond just convenience. Here are some of the top advantages of using the Instant Pot for yogurt making:
- Cost-effective: Making your own yogurt at home can save you money in the long run. Store-bought yogurt can be expensive, especially if you prefer organic or specialty varieties. With the Instant Pot, you can make a large batch of yogurt for a fraction of the cost of store-bought options.
- Control over ingredients: When you make yogurt at home, you have complete control over the ingredients used. You can choose high-quality milk, add your preferred sweeteners and flavorings, and avoid any artificial additives or preservatives often found in store-bought yogurt. This allows you to create a healthier and more personalized yogurt experience.
- Consistent results: The Instant Pot IP-Duo80 7-In-1 provides precise temperature control, ensuring that the yogurt incubates at the ideal temperature for the desired period. This consistency helps achieve a smooth and creamy texture in your yogurt, without any guesswork or fluctuating temperatures that can affect traditional yogurt-making methods.
- Time-saving: With the Instant Pot’s yogurt-making function, you can significantly reduce the time it takes to make yogurt compared to traditional methods. While traditional yogurt-making may require constant temperature monitoring and careful attention, the Instant Pot simplifies the process, allowing you to set it and forget it while you go about your day.
- Versatility: The Instant Pot IP-Duo80 7-In-1 is not just a yogurt maker. It is a multi-function appliance that can replace several other kitchen gadgets. This means that, in addition to making yogurt, you can use the Instant Pot for pressure cooking, slow cooking, steaming, and more. It’s a space-saving and efficient tool that adds value to your kitchen.
By making yogurt in the Instant Pot IP-Duo80 7-In-1, you can enjoy these benefits while indulging in the deliciousness of homemade yogurt. Let’s move on to the next section to learn how to set up your Instant Pot for yogurt making.
Step 1: Setting up the Instant Pot for Yogurt Making
Before diving into the yogurt-making process, it’s important to properly set up your Instant Pot IP-Duo80 7-In-1 for yogurt making. Here’s what you need to do:
- Ensure the Instant Pot is clean: Start by thoroughly cleaning the inner pot, lid, and any accessories you’ll be using for yogurt making. This will help maintain a hygienic environment for your yogurt culture to thrive.
- Assemble the Instant Pot: Insert the stainless steel inner pot into the Instant Pot base. Double-check that the sealing ring is securely in place and that the float valve is functioning properly. This ensures that your Instant Pot is ready to create a sealed environment that will maintain the ideal temperature for yogurt incubation.
- Add water to the Instant Pot: To create a water bath for consistent heat distribution during incubation, pour about 1 cup of water into the inner pot of the Instant Pot. This will help maintain a stable and controlled temperature throughout the yogurt-making process.
- Place a trivet inside the Instant Pot: To elevate the yogurt containers and prevent direct contact with the hot water, insert a trivet or steaming rack into the Instant Pot above the water level. This will create a barrier and allow for proper heat circulation around the yogurt containers.
- Close the lid and set the vent: Close the Instant Pot lid, ensuring that it is properly aligned and locked. Move the steam release valve to the “Venting” position to release any remaining steam from previous cooking. This ensures a proper seal is formed when the Instant Pot reaches the desired temperature for yogurt making.
Once you have successfully set up your Instant Pot for yogurt making, you are ready to move on to the next step: preparing the ingredients. Let’s discover the essential elements needed for delicious homemade yogurt in the following section.
Step 2: Preparing the Ingredients
Now that your Instant Pot is set up, it’s time to gather and prepare the ingredients needed for making your homemade yogurt. Here’s what you’ll need:
- Milk: Start with high-quality milk, preferably whole milk for a creamier texture. You can use dairy or non-dairy options like soy or almond milk, but be sure to choose unsweetened and unflavored varieties.
- Yogurt starter or culture: You’ll need a yogurt starter or culture to introduce the beneficial bacteria necessary for the fermentation process. You can use a store-bought plain yogurt with live active cultures as your starter. Look for a yogurt with a minimal number of ingredients and no additives. Alternatively, you can purchase specific yogurt cultures online or at specialty stores.
- Sweeteners and flavorings (optional): If you prefer your yogurt slightly sweetened, you can add natural sweeteners like honey, maple syrup, or agave syrup. For flavor variations, consider adding vanilla extract, fruit puree, or spices like cinnamon or nutmeg.
- Yogurt containers: Choose containers that fit comfortably inside your Instant Pot and can hold the desired amount of yogurt. Glass jars or ceramic ramekins with lids work well. Make sure the containers are clean and sterilized before use.
- Thermometer: While not necessary, having a food thermometer can be helpful to accurately measure the temperature of the milk during heating and cooling stages.
Once you have gathered all the ingredients and equipment, it’s time to move on to the next step: heating the milk in the Instant Pot. Stay tuned for detailed instructions on how to achieve the perfect temperature for yogurt making in the upcoming section.
Step 3: Heating the Milk in the Instant Pot
With your ingredients prepped and ready, it’s time to start the process of heating the milk in the Instant Pot. Follow these steps for a successful yogurt-making experience:
- Pour milk into the Instant Pot: Start by pouring the desired amount of milk into the stainless steel inner pot of the Instant Pot. Make sure not to exceed the maximum fill line indicated on the pot.
- Close the Instant Pot lid: Securely close the Instant Pot lid, ensuring that it is properly aligned and locked. This will create a sealed environment necessary for the heating process.
- Select the “Yogurt” function: On the control panel of your Instant Pot, press the “Yogurt” button. The default setting is usually set to “Normal” or “Medium.” If you prefer a thicker consistency, you can adjust the incubation time later during the process.
- Adjust the temperature: By default, the Instant Pot will heat the milk to a temperature of around 180°F (82°C), which helps kill any harmful bacteria and denature proteins. If you prefer a milder taste and a thinner consistency, you can reduce the heating time by pressing the “Adjust” button until the screen displays “Less.” This will heat the milk to a lower temperature of around 165-170°F (74-77°C).
- Wait for the Instant Pot to heat the milk: The Instant Pot will begin heating the milk, and the display screen will show the progress with a countdown timer. The heating process can take anywhere from 30 minutes to an hour, depending on the amount of milk and the selected temperature.
- Check the temperature: When the heating process is complete, you can check the temperature of the milk using a food thermometer. It should be around 180°F (82°C) if following the default setting or lower if you selected the “Less” option.
Heating the milk is a crucial step in yogurt making as it helps create an environment that encourages proper fermentation and the growth of beneficial bacteria. In the next step, we’ll discuss the process of cooling the milk and preparing the starter culture. Stay tuned!
Step 4: Cooling the Milk and Preparing the Starter Culture
After heating the milk to the desired temperature, it’s time to cool it down and prepare the starter culture. Follow these steps to continue your yogurt-making journey:
- Cool the milk: Carefully remove the inner pot from the Instant Pot and place it in a sink filled with cold water or fill the sink with cold water up to the level of the milk in the pot. This will help cool the milk rapidly and prevent it from continuing to heat.
- Stir occasionally: Gently stir the milk every few minutes to help distribute the heat evenly and promote faster cooling. Be mindful not to introduce any contaminants into the milk.
- Check the temperature: Just like during the heating process, you can use a food thermometer to check the temperature of the milk as it cools. You want the milk to reach a temperature of around 110-115°F (43-46°C) before proceeding to the next step. This temperature range is optimal for the starter culture to activate and ferment.
- Prep the starter culture: While the milk is cooling, take the opportunity to prepare your starter culture. Take a small amount of the yogurt starter or culture and mix it with a few tablespoons of the cooled milk in a separate bowl. Stir well to ensure the culture is evenly distributed.
- Add the starter culture to the milk: Once the milk has cooled to the appropriate temperature, pour the starter culture mixture into the pot of milk. Stir gently to evenly distribute the culture throughout the milk. This step introduces the beneficial bacteria that will ferment the milk and transform it into yogurt.
By cooling the milk and adding the starter culture, you’re setting the stage for the fermentation process that will turn your milk into delicious yogurt. In the next step, we’ll discuss how to incubate the yogurt in the Instant Pot. Stay tuned!
Step 5: Adding the Starter Culture to the Milk
Now that the milk has cooled to the appropriate temperature, it’s time to introduce the starter culture and begin the fermentation process. Follow these steps to add the starter culture to the milk:
- Pour the starter culture into the milk: Take the bowl containing the prepared starter culture and slowly pour it into the pot of cooled milk. Ensure that the culture is evenly distributed throughout the milk by gently stirring it with a clean spoon.
- Optional: Mix in sweeteners or flavorings: If you’d like to sweeten or flavor your yogurt, now is the time to add any additional ingredients such as honey, maple syrup, vanilla extract, fruit puree, or spices. Mix them well into the milk and starter culture mixture.
- Mix gently: Use a gentle folding motion to incorporate the starter culture and any added sweeteners or flavorings into the milk. Avoid vigorous stirring, as excessive agitation can disrupt the fermentation process.
- Replace the Instant Pot lid: Place the Instant Pot lid back on, ensuring it is properly aligned and locked in place. This will create the sealed environment necessary for the fermentation process to occur.
- Set the incubation time: Press the “Yogurt” button on the control panel to enter the yogurt-making menu. Adjust the incubation time based on your preference for a set period, usually 8 to 12 hours for a mild-tasting yogurt. Remember that the longer the incubation, the tangier the yogurt will become.
- Starting the incubation: After setting the incubation time, the Instant Pot will begin maintaining a consistent temperature to promote the fermentation of the yogurt. You will see the countdown timer on the control panel indicating the duration until your yogurt is ready.
With the starter culture added to the milk, the fermentation process begins, transforming the mixture into creamy, tangy yogurt. In the next step, we’ll discuss how to monitor and check the consistency of the yogurt while it incubates in the Instant Pot. Keep reading!
Step 6: Incubating the Yogurt in the Instant Pot
With the starter culture added to the milk mixture, it’s time to incubate the yogurt in the Instant Pot. The incubation period allows the beneficial bacteria to ferment the milk and transform it into a creamy and tangy yogurt. Follow these steps to successfully incubate your yogurt:
- Leave the Instant Pot undisturbed: Once you’ve set the incubation time on the control panel, it’s important to avoid opening the Instant Pot or disturbing the yogurt during the incubation period. This ensures a stable environment for the fermentation process.
- Monitor the incubation temperature: The Instant Pot will automatically maintain a consistent temperature during the incubation process, allowing the yogurt cultures to propagate. Some models have an “Incubate” mode specifically designed for yogurt making. It’s recommended to periodically use a food thermometer to double-check the internal temperature to ensure it remains around 110-115°F (43-46°C).
- Adjust the incubation time if needed: Depending on your preference and desired tartness, you can adjust the incubation time. The longer the incubation, the tangier the yogurt will become. However, it’s generally recommended to incubate the yogurt for at least 8 to 12 hours to achieve a good balance of flavor and texture.
- Do not disturb the fermentation process: It’s important not to move or jar the Instant Pot during the incubation period to allow the yogurt cultures to develop properly. Any unnecessary movement can disturb the process and affect the final consistency of the yogurt.
While the yogurt is incubating in the Instant Pot, you may notice a slight whey separation or a thin layer of yellowish liquid forming on top. This is normal and can be gently stirred back into the yogurt once it has finished incubating.
Now that your yogurt is incubating, all that’s left to do is wait patiently for the fermentation process to work its magic. In the next step, we’ll discuss how to check the consistency of the yogurt and store it for later enjoyment. Stay tuned!
Step 7: Checking the Yogurt Consistency and Refrigerating
After the incubation period is complete, it’s time to check the consistency of your homemade yogurt and prepare it for refrigeration. Follow these steps for the final stages of yogurt making:
- Check the consistency: Carefully remove the lid of the Instant Pot and examine the yogurt. It should have thickened and set to a creamy consistency. If it appears too thin or runny, you can incubate it for a bit longer to allow for further fermentation. Remember, each batch may vary slightly in texture, and personal preference plays a role in determining the desired consistency.
- Refrigerate the yogurt: Once you are satisfied with the consistency of the yogurt, remove the inner pot from the Instant Pot and place it in the refrigerator. Let the yogurt cool and set for at least 4 to 6 hours, or overnight. This chilling period helps the yogurt firm up and develop a smooth texture.
- Optional: Straining the yogurt (Greek-style): If you prefer a thicker and creamier yogurt like the Greek-style variety, you can strain the yogurt to remove excess whey. Line a fine-mesh sieve or colander with cheesecloth or a coffee filter, place it over a bowl, and pour the yogurt into the sieve. Allow it to strain in the refrigerator for a few hours, or until it reaches your desired thickness.
- Store and enjoy: Once your yogurt has chilled and set, transfer it to clean, airtight containers. You can use glass jars, plastic containers, or any other suitable storage vessels. Keep the yogurt refrigerated, and it will stay fresh for about 1 to 2 weeks.
Now that your homemade yogurt is ready to enjoy, you can savor it as is or add your favorite toppings like fresh fruit, granola, or a drizzle of honey. Homemade yogurt makes for a delicious and healthy snack or a versatile ingredient in various recipes.
By following these steps, you can successfully make yogurt in your Instant Pot IP-Duo80 7-In-1 and enjoy the wholesome goodness of homemade yogurt whenever you desire. Experiment with different flavors and variations to find your perfect yogurt creation.
Remember, the more you practice making yogurt, the better you’ll become at achieving your desired consistency and flavor. So, get creative and enjoy the satisfaction of making your own healthy and delicious homemade yogurt!
Tips and Tricks for Perfect Instant Pot Yogurt
While making yogurt in the Instant Pot IP-Duo80 7-In-1 is a straightforward process, these tips and tricks can help you achieve even better results:
- Use a reliable starter culture: Choose a high-quality starter culture or a plain yogurt with live active cultures as the starter. This ensures a good fermentation process and consistent results.
- Heat the milk evenly: Stir the milk occasionally during heating to prevent scorching and ensure even heat distribution. This helps avoid a burnt milk taste and promotes a smooth texture in the final yogurt.
- Monitor the temperature carefully: Use a food thermometer to ensure the milk reaches the proper temperature range during heating and cooling. This accuracy helps create an optimal environment for the starter culture to thrive.
- Choose the right incubation time: Experiment with different incubation times to find your preferred level of tanginess and texture. Longer incubation times can result in a tangier yogurt, while shorter times produce a milder flavor.
- Prevent contamination: Keep all equipment and surfaces clean and sanitized to prevent unwanted bacteria from interfering with the fermentation process. This includes sterilizing containers, utensils, and the Instant Pot before starting.
- Strain for a thicker consistency: If you prefer a thicker yogurt, strain it through a cheesecloth or coffee filter. This removes the excess whey, resulting in a creamy and denser texture similar to Greek-style yogurt.
- Refrigerate before consuming: After incubation, allowing the yogurt to chill in the refrigerator helps it set and develop a smooth texture. It’s best to refrigerate it for at least 4 to 6 hours, or overnight, before enjoying.
- Save a portion as a starter for the next batch: Reserve a small portion of your homemade yogurt to use as a starter for future batches. This ensures continuity and consistency in your yogurt-making process.
- Experiment with flavors and mix-ins: Customize your yogurt by adding different flavors, fruits, nuts, or spices before or after incubation. Get creative and try new combinations to find your favorite variations.
- Be patient and embrace variations: Making yogurt is a process that may have slight variations from batch to batch. Embrace the natural variations in taste and texture, and enjoy the uniqueness of each homemade yogurt creation.
By following these tips and tricks, you can elevate your Instant Pot yogurt-making skills and produce consistently delicious and healthy yogurt. Remember, practice makes perfect, so don’t be afraid to experiment and find your own preferences along the way!
Conclusion
Congratulations! You’ve now become acquainted with the process of making yogurt in your Instant Pot IP-Duo80 7-In-1. With its convenience and precise temperature control, the Instant Pot is a valuable tool that allows you to enjoy delicious, homemade yogurt right in your own kitchen.
We began by discussing the benefits of making yogurt in the Instant Pot, such as cost-saving, ingredient control, consistency, time efficiency, and the appliance’s versatility. From there, we walked through each step of the yogurt-making process, including setting up the Instant Pot, preparing the ingredients, heating the milk, cooling the milk, adding the starter culture, incubating the yogurt, checking the consistency, and refrigerating the final product.
Throughout the article, we offered tips and tricks to help you achieve the perfect batch of yogurt, such as using a reliable starter culture, monitoring the temperature, experimenting with incubation time, preventing contamination, straining for a thicker consistency, and much more.
Remember that making yogurt is a journey of exploration and experimentation. Each batch may vary in taste and texture as you customize the process to suit your preferences. Don’t be afraid to get creative, try different flavors and mix-ins, and enjoy the satisfaction of creating your own unique homemade yogurt.
So, grab your Instant Pot, gather your ingredients, and embark on the wonderful world of making yogurt at home. With patience, practice, and the guidance provided in this article, you’ll soon be savoring delicious, creamy, and healthy homemade yogurt that can rival any store-bought variety. Enjoy the process, and may your yogurt-making adventures be filled with joy and culinary delight!