Introduction
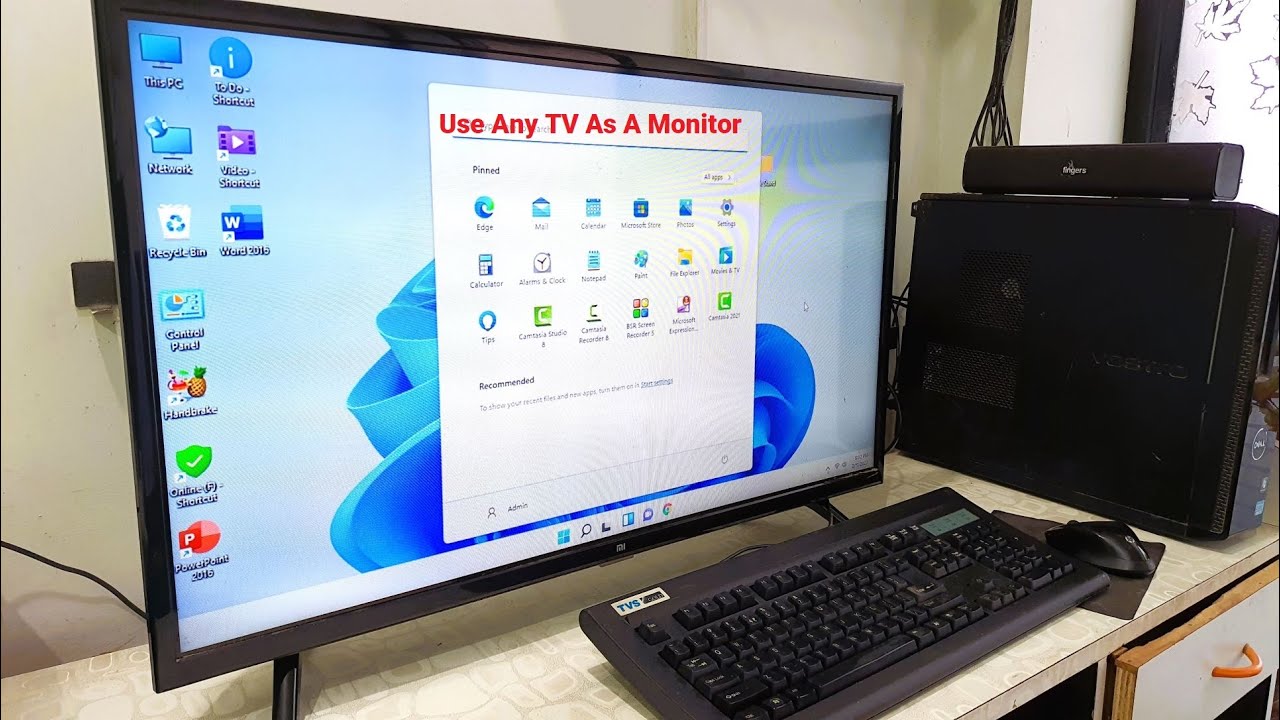
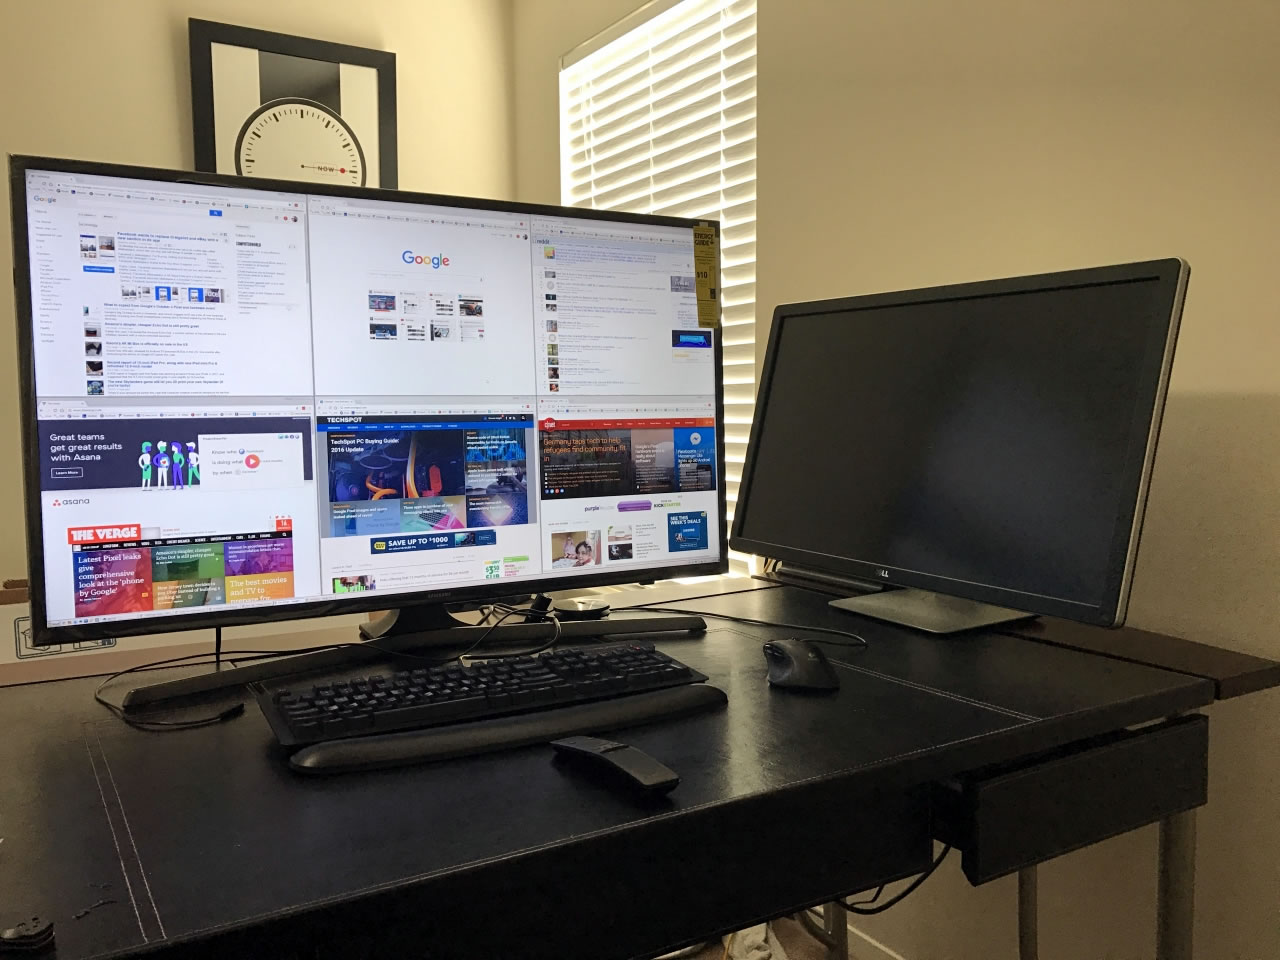
Using a TV as a computer monitor opens up a world of possibilities, allowing you to enjoy a larger screen size and more immersive experience while working or gaming. Whether you want to watch movies, browse the web, or do professional design work, connecting your computer to a TV can offer a whole new level of productivity and entertainment.
In this guide, we will walk you through the steps to successfully use your TV as a computer monitor. We will cover everything from connecting the TV to your computer to adjusting the display settings and troubleshooting common issues. So, let’s get started!
Before you begin, you’ll need to ensure that your TV has the necessary ports to connect to your computer. Most modern TVs come with HDMI, VGA, or DVI ports, which are commonly found on computers as well. Additionally, make sure you have the right cables or adapters to connect your devices.
Using a TV as a computer monitor can greatly enhance your viewing experience, especially if you’re used to working on a small laptop screen. It offers a larger display area, sharper image quality, and improved color accuracy, making it perfect for gaming, graphic design, watching videos, or simply multitasking with multiple windows.
However, it’s important to note that even though a TV can serve as a computer monitor, there are some differences between the two. TVs are typically optimized for video playback and have different screen resolutions compared to computer monitors. As a result, you may need to adjust the display settings accordingly to ensure that the content fits perfectly on the TV screen.
Throughout this guide, we will provide you with step-by-step instructions and valuable tips to maximize your TV’s potential as a computer monitor. By following these guidelines, you’ll be able to enjoy a seamless and immersive experience that combines the functionalities of a TV and a computer monitor.
Step 1: Connecting the TV to the Computer
Before you can begin using your TV as a computer monitor, you need to establish a physical connection between the two devices. Depending on the available ports on your TV and computer, you can choose from several options:
- HDMI: If both your TV and computer have HDMI ports, this is the easiest and most common method of connection. Simply connect one end of the HDMI cable to the HDMI port on your computer and the other end to the HDMI port on your TV. Make sure to select the correct HDMI input on your TV using the remote control.
- VGA: If your computer and TV have VGA ports, you can use a VGA cable to connect the two devices. VGA is an older technology and may not support high-definition resolutions, but it can still be a reliable option for connecting your computer to the TV.
- DVI: Similar to VGA, DVI is another older video interface that can be used to connect your computer to the TV. If your computer has a DVI port and your TV has a DVI input, you can use a DVI cable for the connection. Keep in mind that DVI only supports video signals, so you’ll need a separate audio connection.
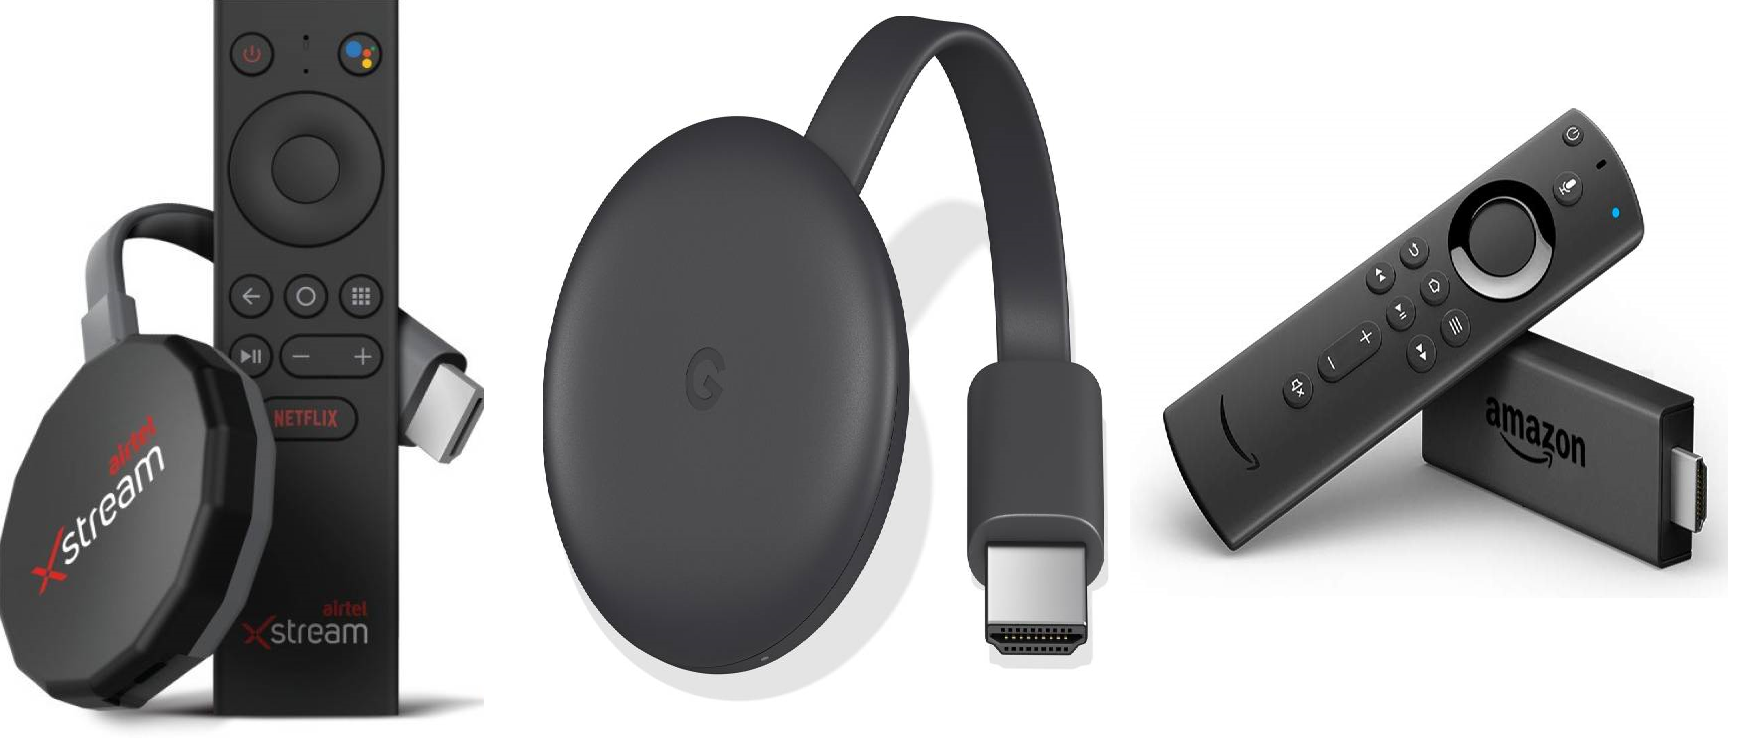
- Wireless Display: Some modern TVs support wireless display technology, such as Miracast or Chromecast. If your TV and computer both support this feature, you can wirelessly mirror your computer’s display onto the TV. Follow the instructions provided by your TV manufacturer and enable wireless display on your computer to establish the connection.
Once you’ve connected your TV and computer using the appropriate cable or wireless method, your computer should recognize the TV as an additional display. You may need to adjust the display settings on your computer to extend or duplicate the screen onto the TV. Go to your computer’s display settings and select the TV as the second monitor. You can also specify the resolution and orientation of the TV display to ensure optimal visuals.
It’s worth noting that some older TVs may have limitations on screen resolutions or refresh rates, which could affect the overall display quality. In such cases, it’s recommended to consult the user manual of your TV or visit the manufacturer’s website for specific instructions on connecting it to a computer.
Now that you have successfully established a connection between your TV and computer, you’re ready to move on to the next step: adjusting the screen resolution for optimal viewing and productivity.
Step 2: Adjusting the Screen Resolution
Once you have connected your TV to your computer, it’s important to adjust the screen resolution to ensure that the content fits correctly on the TV screen. This step is crucial for achieving optimal visual clarity and avoiding any distortion or cutoffs.
To adjust the screen resolution on your computer, follow these steps:
- Right-click on your desktop and select “Display settings” from the dropdown menu. This will open the display settings window.
- In the display settings window, you will see a section called “Display resolution” or a similar name. Here, you can choose the resolution that best suits your TV. You may need to experiment with different resolutions to find the one that provides the most crisp and clear image on your TV.
- Click on the dropdown menu under “Resolution” and select a resolution that matches the native resolution of your TV. The native resolution is the default resolution that is recommended by the manufacturer for optimal display quality. If you’re unsure about the native resolution of your TV, refer to the user manual or visit the manufacturer’s website for specifications.
- After selecting the desired resolution, click on “Apply” to save the changes. Your computer will adjust the screen resolution accordingly, and you’ll see the changes reflected on your TV screen.
It’s important to note that not all resolutions may be compatible with your TV. If you experience any issues or notice that the display appears stretched or distorted, try selecting a different resolution. You can also experiment with the aspect ratio settings, such as “16:9” or “4:3,” to optimize the content for your TV screen.
In addition to adjusting the screen resolution, you may also need to configure other display settings, such as the refresh rate, color settings, and display mode. These settings can vary depending on your computer’s operating system and graphics card. Consult the user manual or online resources for your specific hardware to ensure that you make the necessary adjustments for the best viewing experience.
By properly adjusting the screen resolution and other display settings, you can ensure that the content on your computer is displayed perfectly on the TV screen. This will not only enhance your overall viewing experience but also improve productivity and enjoyment when using your TV as a computer monitor.
Step 3: Calibrating the Display Settings
After adjusting the screen resolution, it’s essential to calibrate the display settings on your TV to achieve optimal image quality and color accuracy. Calibrating the display ensures that the colors and brightness levels are correctly represented, enhancing your overall viewing experience.
Here are some steps to help you calibrate the display settings on your TV:
- Access the TV’s picture settings menu. This can usually be done through the settings or menu button on your TV remote control.
- Look for options such as “Picture Mode” or “Picture Settings” in the menu. This section allows you to adjust various display settings, including brightness, contrast, color temperature, and sharpness.
- Start by setting the brightness level. Adjust it to a level that provides good visibility without causing eye strain or making the image appear too dim or washed out.
- Next, adjust the contrast level. Increasing the contrast can make the image appear more vibrant, but be cautious not to set it too high, as it can lead to loss of detail in bright or dark areas.
- Take a look at the color settings. Here, you can adjust the color temperature, saturation, and tint. Experiment with these settings until you achieve a balance that looks natural and pleasing to your eyes.
- Lastly, adjust the sharpness setting to enhance the clarity of the image. Be careful not to set it too high, as it may introduce artifacts and make the image appear unnaturally sharp.
It’s important to note that every TV model is different, and the available options in the picture settings menu may vary. It’s recommended to refer to the user manual or documentation provided by the manufacturer for specific instructions on calibrating your TV’s display settings.
For a more accurate calibration, you can use a calibration tool such as a colorimeter or calibration software. These tools measure the color accuracy and brightness of your TV and provide suggestions for calibration. Calibration tools ensure that the colors displayed on your TV are true to life and consistent across different applications.
By calibrating the display settings on your TV, you can ensure that the colors are accurate, the images are sharp, and the overall viewing experience is enhanced. Taking the time to fine-tune these settings will result in a more enjoyable and immersive experience when using your TV as a computer monitor.
Step 4: Optimizing Audio Output
Now that you have your TV connected and the display settings calibrated, it’s time to optimize the audio output. By ensuring that the audio settings on your TV and computer are properly configured, you can enjoy high-quality sound while using your TV as a computer monitor.
Here are some steps to help you optimize the audio output:
- Access the audio settings on your TV. This can usually be done through the menu or settings button on your TV remote control.
- Look for options such as “Audio Settings” or “Sound Settings” in the menu. In this section, you can adjust various audio settings, including volume, equalizer, balance, and surround sound.
- Start by setting the volume to a comfortable level. Adjust it to your preference, ensuring that it’s not too loud or too soft.
- Explore the equalizer settings if available. This allows you to customize the audio frequencies based on your preference. You can boost or attenuate certain frequencies to enhance the overall sound quality.
- If your TV supports surround sound or audio enhancements, you can enable them for a more immersive audio experience. Experiment with these settings to see which configuration suits your preferences.
- Next, check the audio output settings on your computer. Right-click on the volume icon in the system tray and select “Playback Devices” or a similar option.
- In the playback devices window, select the TV from the list of available audio devices. Set it as the default playback device to ensure that audio is routed correctly to the TV.
- If you have external speakers or a soundbar connected to your TV, make sure they are properly configured as well. Check their volume levels and any additional settings they may have for further audio optimization.
By optimizing the audio output settings on both your TV and computer, you can enjoy a rich and immersive audio experience while using your TV as a computer monitor. Whether you’re watching movies, playing games, or listening to music, having high-quality audio enhances the overall enjoyment.
It’s important to regularly check the audio settings and adjust them according to your preferences or changes in the setup. Keep in mind that different TVs and audio devices may have different settings and features, so refer to the user manual or online resources provided by the manufacturers for specific instructions.
With the audio output optimized, you can now fully immerse yourself in the content you’re viewing or the tasks you’re working on, making the most of your TV as a computer monitor.
Step 5: Using Wireless Connectivity
While connecting your TV to your computer using cables is the most common method, many modern TVs also offer wireless connectivity options. This can be particularly convenient if you want to reduce cable clutter or if your computer is located far from the TV. Here’s how you can take advantage of wireless connectivity:
- Check if your TV supports wireless display technology. Some common wireless display technologies include Miracast, Chromecast, or AirPlay. Consult the user manual or the manufacturer’s website for your TV to determine the supported wireless display options.
- On your computer, make sure that the wireless display feature is enabled. This can usually be found in the display settings or in a dedicated wireless display control panel.
- Follow the instructions provided by your TV manufacturer to enable wireless display on your TV. This usually involves accessing the TV settings or using the remote control to establish a connection.
- Once the connection is established, your computer’s display will be wirelessly mirrored on the TV. You may need to adjust the display settings on your computer, such as screen resolution and orientation, to ensure the content fits correctly on the TV screen.
- Enjoy the wireless connectivity! You can now use your TV as a computer monitor without the need for physical cables.
Using wireless connectivity offers flexibility and convenience, allowing you to easily switch between using your TV as a computer monitor and as a regular television. It’s important to note that wireless display technology may introduce a slight delay or latency compared to a wired connection. This can be more noticeable when playing games or watching videos that require real-time interaction. However, for most everyday tasks, the wireless connection should be sufficient.
Keep in mind that the range of wireless connectivity can vary depending on the specific technology and the environment. Make sure your TV and computer are within range and that there are no obstructions or interference that could degrade the wireless signal.
Wireless connectivity is a convenient option for using your TV as a computer monitor, providing you with the flexibility to move around and eliminating the need for cables. Explore the wireless display options available for your TV and computer to enhance your overall experience.
Step 6: Troubleshooting Common Issues
While using your TV as a computer monitor can be a rewarding experience, it’s not uncommon to encounter some common issues along the way. Here are some troubleshooting tips for addressing these issues:
- No Signal: If your TV displays a “No Signal” message, ensure that all cables are securely connected between your computer and TV. Check that you have selected the correct input source on your TV. Restart both your computer and TV if needed.
- Screen Resolution Issues: If the content on your TV screen appears distorted or cutoff, adjust the screen resolution on your computer to match the native resolution of your TV. Experiment with different resolutions until the content fits correctly.
- No Audio: If you’re not getting any audio output through your TV, check the audio settings on both your TV and computer. Ensure that the TV is selected as the default playback device on your computer and that the volume is adjusted appropriately on both devices.
- Poor Picture Quality: If the image on your TV appears blurry or pixelated, double-check the screen resolution and display settings on your computer. Make sure the display mode is set correctly for optimal visuals. Additionally, ensure that your TV is set to the appropriate picture mode and that any enhancements or filters are disabled.
- Wireless Connectivity Problems: If you’re experiencing issues with wireless connectivity, ensure that both your TV and computer support the same wireless display technology. Make sure the wireless display feature is enabled on your computer and follow the instructions provided by your TV manufacturer to establish the connection. Check for any firmware updates for your TV and computer that may resolve compatibility issues.
- Audio-Video Sync Issues: If you notice a delay between the audio and video on your TV, try adjusting the audio synchronization settings on your TV or computer. This setting may be called “Audio Delay” or “Lip Sync” in the menu options. Experiment with different settings until the audio and video are properly synchronized.
If you encounter any other issues that are not covered above, consult the user manual of your TV or computer, or visit the manufacturer’s support website for further troubleshooting steps. There may be specific solutions or firmware updates available for your device.
Remember, troubleshooting is a process of trial and error, so be patient and methodical in your approach. Don’t hesitate to seek assistance from online forums or technical support if you’re unable to resolve the issues on your own.
By addressing and troubleshooting these common issues, you can ensure a smooth and enjoyable experience when using your TV as a computer monitor.
Conclusion
Using a TV as a computer monitor can offer a range of benefits, from a larger display size to improved visuals and enhanced productivity. By following the steps outlined in this guide, you can successfully connect your TV to your computer, adjust the screen resolution and display settings, optimize the audio output, utilize wireless connectivity, and troubleshoot common issues.
Whether you’re working on creative projects, watching movies, or gaming, using a TV as a computer monitor provides a more immersive and enjoyable experience. The larger screen size allows for better multitasking and a more comfortable viewing experience, while the optimized display settings ensure that the content is vibrant, sharp, and accurately represented.
Remember to choose the appropriate cable or wireless method for connecting your TV and computer, ensuring compatibility and optimal signal quality. Adjust the screen resolution to match your TV’s native resolution, calibrate the display settings to achieve optimal visuals, and optimize the audio output for immersive sound quality.
While troubleshooting issues can be frustrating, it’s important to approach them systematically and be patient. Check cable connections, adjust settings, and consult the user manuals for your TV and computer for specific instructions on addressing common issues.
With the appropriate setup and proper configuration, your TV can seamlessly transform into a powerful computer monitor, blurring the boundaries between work and entertainment. Enjoy the benefits of a larger screen, clearer visuals, and enhanced audio as you navigate through your tasks and activities.
Whether you’re using it for work, gaming, or simply enjoying your favorite content, harnessing the power of a TV as a computer monitor opens up a world of possibilities. Embrace the immersive and productive experience that it offers and elevate your computing experience to new heights.