Introduction
In this digital age, where speed and performance are paramount, traditional hard disk drives (HDDs) often struggle to keep up with the demands of modern computing. This is where solid-state drives (SSDs) come into play. With their lightning-fast speeds and unmatched reliability, SSDs have become the go-to choice for many tech enthusiasts and professionals.
An SSD drive, also known as a solid-state disk or solid-state storage, is a storage device that uses integrated circuit assemblies to store data persistently. Unlike HDDs, which rely on spinning magnetic disks and mechanical components, SSDs store data on flash memory chips. This enables them to access and retrieve data at lightning speeds, making them a game-changer in terms of performance.
The benefits of using SSD drives go beyond just speed. They offer improved durability, energy efficiency, and silent operation. SSDs are less prone to physical damage as they don’t have any moving parts, which means they are more reliable and less susceptible to mechanical failures. Additionally, SSDs consume less power, resulting in extended battery life for laptops and reduced electricity costs for desktops.
If you’re considering using an SSD drive, there are a few things to take into account. The first step is choosing the right SSD drive that suits your needs and budget. Next, you’ll need to connect and format the SSD drive, ensuring it is ready for data storage. Transferring your data from your old storage device to the SSD drive is the next crucial step. Finally, configuring your operating system to optimize performance and lifespan will maximize the benefits of the SSD drive.
In this article, we will guide you through the process of using an SSD drive, from choosing the right one to optimizing its performance. Whether you’re a tech-savvy enthusiast or a casual computer user, this comprehensive guide will give you the knowledge and confidence to harness the power of an SSD drive and enhance your computing experience.
What is an SSD Drive?
An SSD drive, short for solid-state drive, is a type of storage device that has revolutionized the way we store and access data. Unlike traditional hard disk drives (HDDs), which use spinning magnetic platters and mechanical components to store and retrieve data, SSDs utilize flash memory chips to achieve faster and more reliable performance.
At the core of an SSD drive are NAND flash memory cells. These cells are responsible for storing the data in a non-volatile manner, meaning that the data remains intact even when the power is turned off. By eliminating the need for moving parts, SSD drives offer several advantages over HDDs.
One of the key benefits of SSD drives is their speed. Traditional HDDs rely on a mechanical arm that has to physically move to read or write data from the spinning platters. This process takes time and creates delays in data access. In contrast, SSD drives have no moving parts and can access data instantly. This difference in access time results in significantly faster boot-up times, application loading speeds, and overall system responsiveness.
In addition to speed, SSD drives offer improved durability. Since there are no moving parts, there is a lower chance of mechanical failure or damage due to shock or vibration. This makes SSD drives more resistant to physical wear and tear, enhancing their lifespan and reliability.
Another advantage of SSD drives is their energy efficiency. Traditional HDDs require more power to spin the platters and move the mechanical arm, resulting in higher energy consumption. On the other hand, SSD drives consume less power as they do not require any mechanical components. This not only extends the battery life of laptops but also reduces electricity costs for desktop computers.
Furthermore, SSD drives operate silently. Without any moving parts, SSD drives do not generate noise or sound vibrations. This makes them an ideal choice for users who prefer a quiet computing experience, such as creative professionals or individuals who value a peaceful working environment.
In summary, SSD drives offer faster performance, improved durability, energy efficiency, and silent operation compared to traditional HDDs. Whether you’re a casual computer user, a gamer, or a professional who relies on high-speed data processing, an SSD drive can significantly enhance your computing experience by providing faster access to your files and applications, making your system more responsive and efficient.
Benefits of Using an SSD Drive
Using an SSD drive offers a range of benefits that can greatly enhance your computing experience. Whether you’re a gamer, a creative professional, or a casual computer user, here are some of the advantages that SSD drives bring to the table:
1. Lightning-fast speeds: SSD drives are known for their exceptional speed and performance. With their ability to access data instantly, SSD drives significantly reduce loading times for applications, files, and games. This means you’ll spend less time waiting and more time being productive or enjoying your favorite activities.
2. Improved system responsiveness: The fast read and write speeds of SSD drives contribute to a more responsive system overall. Whether you’re booting up your computer, launching applications, or multitasking, an SSD drive ensures a smoother and more seamless user experience.
3. Enhanced durability: SSD drives have no moving parts, which makes them more resistant to physical shock, vibration, and wear and tear. This durability factor ensures that your data remains intact even in harsh conditions, making SSD drives a reliable choice for portable devices like laptops.
4. Reduced power consumption: SSD drives consume less power compared to traditional HDDs, resulting in lower electricity costs and extended battery life for laptops. This energy efficiency also helps reduce heat generation, contributing to a cooler and quieter system.
5. Silent operation: With no moving parts, SSD drives operate silently, eliminating the mechanical noise associated with traditional HDDs. This is particularly beneficial for individuals who value a quiet environment, such as content creators, professionals working from home, or those who simply prefer a peaceful computing experience.
6. Compact and lightweight: SSD drives are designed to be compact and lightweight, making them ideal for portable devices like laptops and tablets. Their small form factor allows for easy integration into slim and ultra-thin devices without compromising on storage capacity or performance.
7. Quick file transfers: SSD drives excel in transferring large files and handling intensive tasks. Whether you’re working with high-resolution media files, rendering videos, or running data-intensive applications, an SSD drive can significantly reduce the time it takes to complete these tasks, boosting your productivity.
In summary, using an SSD drive offers a myriad of benefits, including faster speeds, improved system responsiveness, enhanced durability, reduced power consumption, silent operation, compactness, and quick file transfers. By upgrading to an SSD drive, you can unlock the full potential of your computer and enjoy a smoother, more efficient, and enjoyable computing experience.
Things to Consider Before Using an SSD Drive
Before diving into the world of SSD drives, there are a few important factors to consider. Understanding these considerations will help you make an informed decision and ensure optimal performance and compatibility with your system. Here are some key factors to keep in mind:
1. Compatibility: Check if your computer or device supports the use of SSD drives. While most modern systems do, it’s always a good idea to verify the compatibility before making a purchase. Look for specifications and requirements provided by the manufacturer or consult with a computer technician if needed.
2. Storage capacity: Determine the amount of storage capacity you require. SSD drives are available in various capacities, ranging from smaller sizes like 128GB to larger ones like 1TB or more. Consider your needs, such as the type of data you plan to store and the applications you use, to determine the suitable capacity for your SSD drive.
3. Budget: Set a budget for your SSD drive purchase. While SSD drives provide significant benefits, they may come at a higher cost compared to traditional HDDs. Determine your budget and look for options that offer the best balance between cost and performance.
4. Performance: Pay attention to the performance specifications of the SSD drive you are considering. Look for details such as read and write speeds, random access times, and input/output operations per second (IOPS). These specifications will give you an idea of how fast and responsive the SSD drive will be in real-world usage.
5. Data migration: If you plan to transfer data from your existing storage device to the new SSD drive, consider the process of data migration. Depending on your specific situation, you may need to clone your existing drive, manually transfer files, or reinstall the operating system. Ensure you understand the steps involved in this process and have the necessary tools or software.
6. Backup and data security: Before making any changes to your storage system, it is crucial to have a backup of your data. This applies not only to the data on your existing drive but also to any data you plan to transfer to the SSD drive. Take the necessary precautions to ensure the security and integrity of your data throughout the migration process.
7. Warranty and support: Check the warranty and support options provided by the SSD drive manufacturer. A longer warranty period can give you peace of mind and serve as an indicator of the drive’s reliability. Additionally, look for customer support resources such as FAQs, user forums, and technical assistance to address any issues or questions that may arise.
By considering these factors, you can make an informed decision when choosing and implementing an SSD drive into your system. Taking the time to assess compatibility, storage capacity needs, budget, performance specifications, data migration process, data security, and warranty and support options will help ensure a smooth transition and maximize the benefits of using an SSD drive.
Step 1: Choosing the Right SSD Drive
Choosing the right SSD drive is essential to ensure optimal performance and compatibility with your system. With the wide range of options available, it can be overwhelming to make a decision. In this step, we’ll guide you through the key factors to consider when selecting an SSD drive that meets your needs.
1. Storage capacity: Determine the amount of storage capacity you require. Consider the types of data you need to store, such as operating system files, applications, documents, multimedia files, and games. SSD drives are available in various capacities, so choose one that provides enough space to accommodate your storage needs while leaving room for future growth.
2. Interface: Identify the appropriate interface for your SSD drive. The two common interfaces for SSDs are SATA (Serial ATA) and NVMe (Non-Volatile Memory Express). SATA SSDs are widely compatible and offer good performance for most everyday tasks. NVMe SSDs, on the other hand, provide significantly faster speeds and are ideal for demanding applications, gaming, and professional workloads. Ensure that your system supports the chosen interface before making a purchase.
3. Performance: Consider the performance specifications of the SSD drive you are considering. Look for details such as read and write speeds, random read and write performance, and sustained performance. Higher speeds and better performance specifications will result in improved system responsiveness and faster data transfer rates. Evaluate your usage requirements to determine the level of performance you need.
4. Endurance and lifespan: Look for the endurance rating of the SSD drive, which indicates its durability and longevity. SSDs have a limited number of program/erase cycles, so it’s crucial to choose a drive with a higher endurance rating, especially if you’ll be performing frequent read and write operations. This ensures that the SSD drive will last longer and provide reliable performance.
5. Price: Set a budget for your SSD drive purchase. While SSD drives have become more affordable in recent years, they are still typically more expensive than traditional HDDs. Determine the maximum amount you’re willing to spend and look for options that offer the best balance between price and performance.
6. Brand reputation and warranty: Consider the reputation of the SSD drive brand and the warranty provided. Established brands with a track record of quality and customer satisfaction are more likely to offer reliable products. Additionally, a longer warranty period provides peace of mind and ensures that you’re protected in case of any unexpected issues.
7. Reviews and recommendations: Research and read reviews from reliable sources to gain insights into the performance and reliability of different SSD drives. Pay attention to user feedback, professional reviews, and comparisons to narrow down your choices. Recommendations from trusted sources can help you make an informed decision.
By carefully considering these factors, you can choose an SSD drive that meets your storage requirements and delivers optimal performance for your specific needs. Taking the time to assess storage capacity, interface compatibility, performance specifications, endurance, price, brand reputation, warranty, and reviews will help ensure a satisfying and reliable SSD drive choice.
Step 2: Connecting the SSD Drive
Once you have chosen the right SSD drive for your system, the next step is to connect it properly. Whether you’re installing it as a primary drive or adding it as secondary storage, follow these steps to connect your SSD drive correctly:
1. Turn off your computer: Before connecting any hardware, shut down your computer and unplug it from the power source. This is a crucial safety measure to avoid any potential damage to the system or yourself.
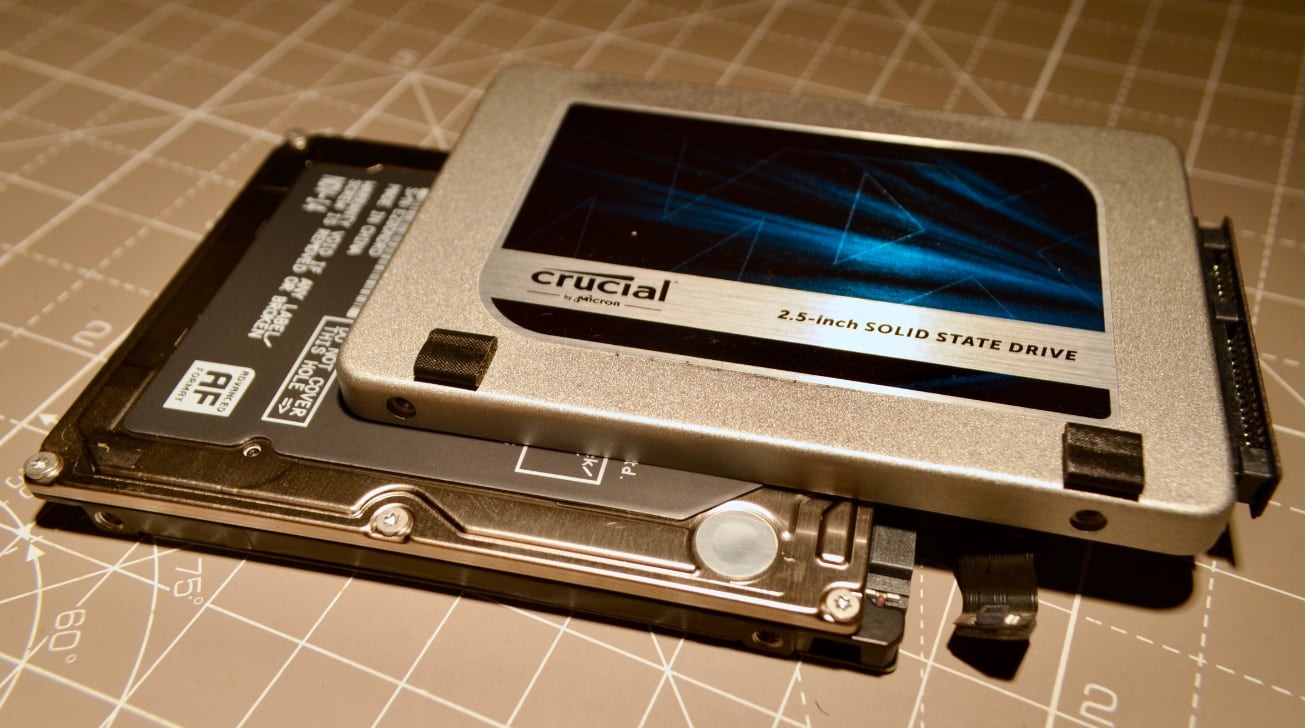
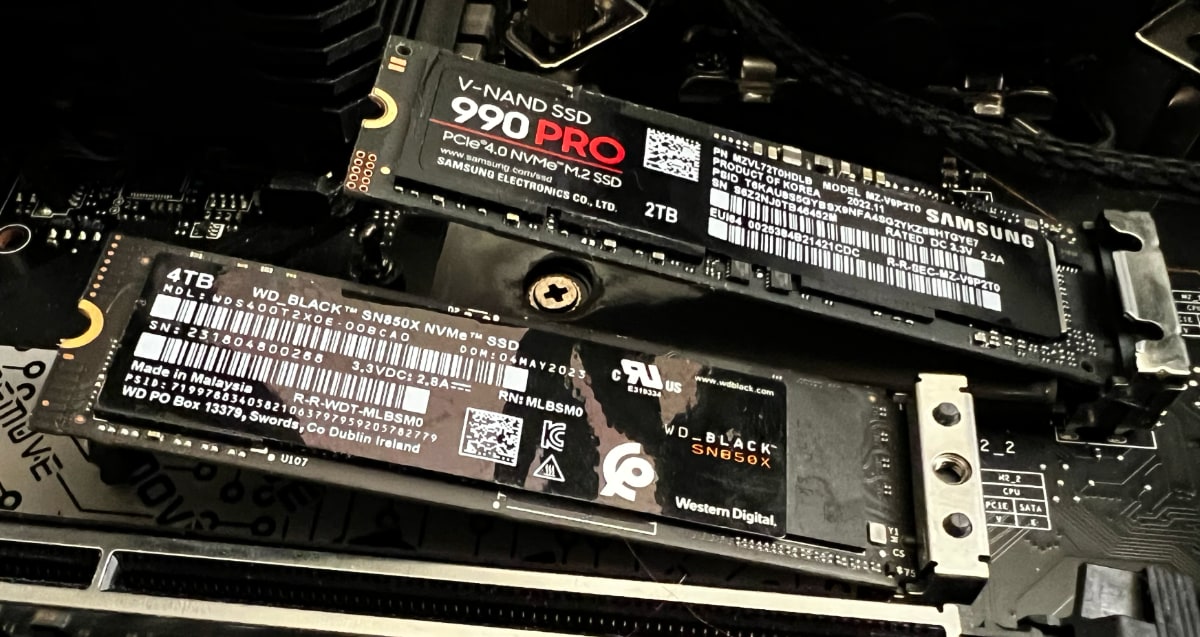
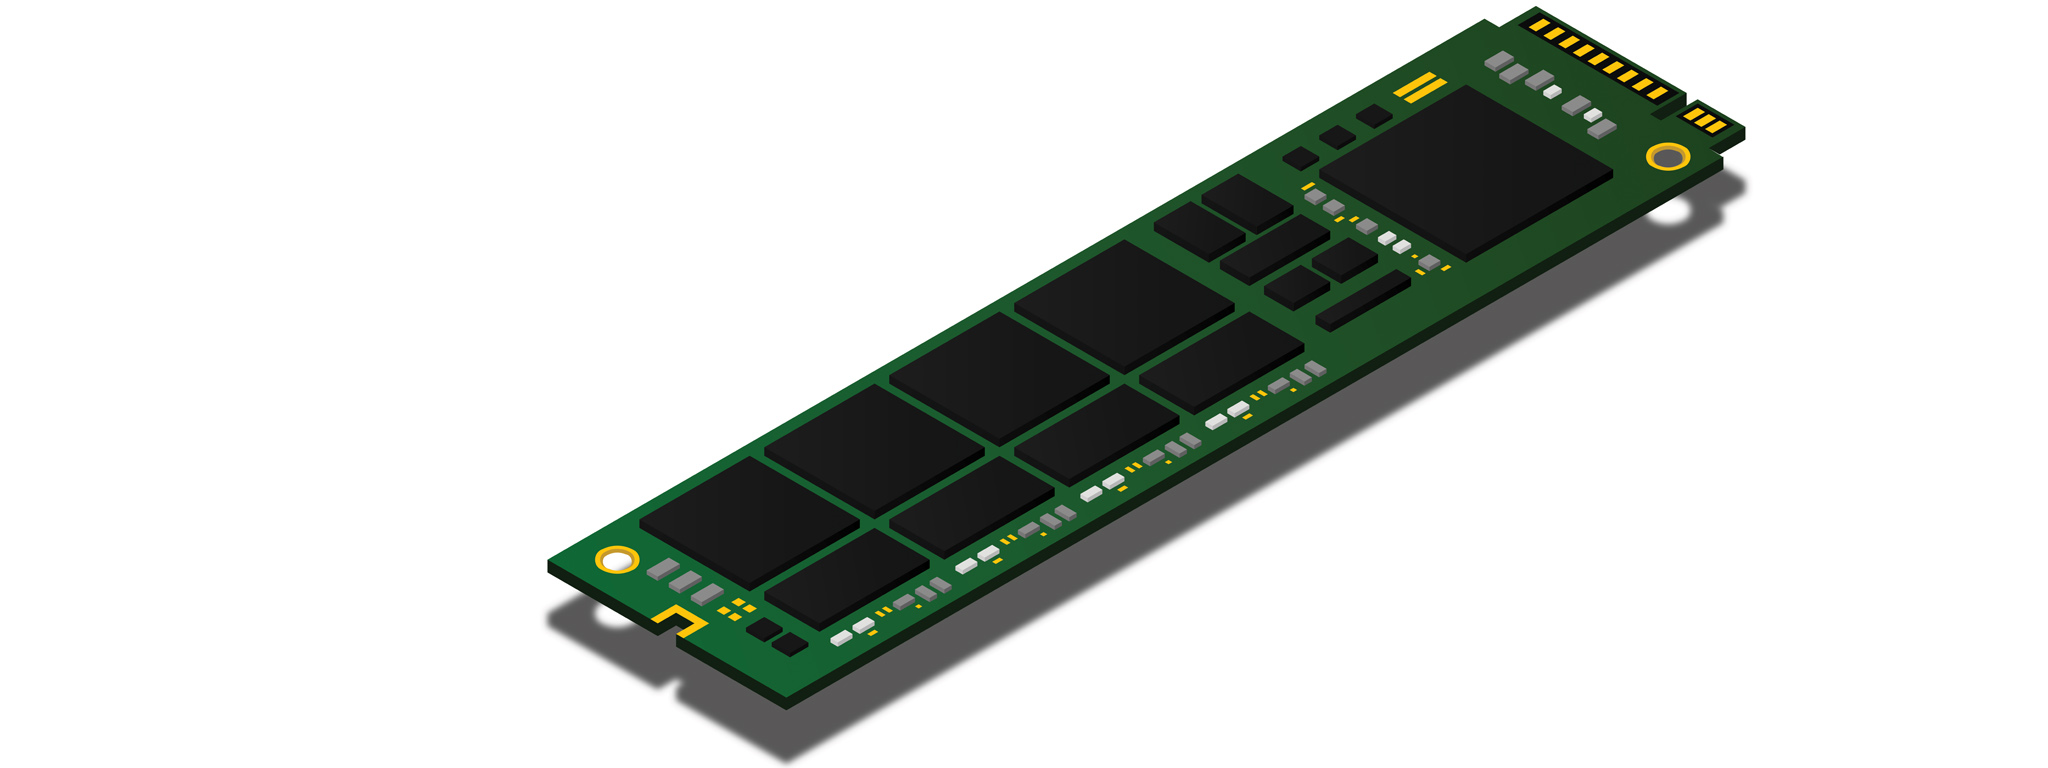
2. Locate an appropriate slot: Identify an available slot for the SSD drive in your computer case. The slot will depend on the form factor of your SSD drive and the available connections on your motherboard. Common form factors include 2.5-inch, M.2, and PCIe.
3. Connect the data cable: Determine the type of data cable required for your SSD drive. SATA drives typically use SATA data cables, while M.2 and PCIe drives connect directly to the motherboard. Connect one end of the data cable to the appropriate slot on the SSD drive and the other end to the corresponding SATA or M.2 connector on the motherboard.
4. Connect the power cable: Locate a spare power cable from your power supply unit (PSU) and connect it to the power port on the SSD drive. Most SSD drives use a standard SATA power connector, which is the same as the one used for HDDs and other SATA devices.
5. Secure the SSD drive: Depending on the slot and form factor, you may need to secure the SSD drive using screws or clips provided with your computer case or SSD drive. Follow the instructions provided by the manufacturer to ensure the drive is securely mounted.
6. Close the computer case: Once the SSD drive is connected and secure, carefully close the computer case and secure it with screws. Ensure that all cables are neatly arranged and not interfering with any components or fans inside the case.
7. Plug in and power on: Reconnect the power cable and any other peripherals, then plug your computer back into the power source. Power on your computer and enter the BIOS or UEFI settings to verify that the SSD drive is detected by the system. If necessary, consult your motherboard manual for guidance on accessing the BIOS or UEFI settings.
Congratulations! You have successfully connected your SSD drive to your system. The next step is to format and prepare the SSD drive for data storage. Refer to the manufacturer’s instructions or consult the operating system documentation for guidance on formatting and partitioning your new SSD drive. Once the formatting process is completed, your SSD drive will be ready to store and access data at lightning-fast speeds.
Step 3: Formatting the SSD Drive
After connecting your SSD drive to your system, the next step is to format it to prepare it for data storage. Formatting ensures that the SSD drive is compatible with your operating system and ready to store files. Follow these steps to format your SSD drive:
1. Open Disk Management: In Windows, press the Windows key + R to open the Run dialog box. Type “diskmgmt.msc” and press Enter. This will open the Disk Management utility, which allows you to manage and format your drives.
2. Identify the SSD drive: Locate the SSD drive in the list of drives displayed in the Disk Management window. It should be labeled with the capacity of the drive and its file system, or it may appear as “unallocated” if it hasn’t been initialized yet.
3. Initialize the SSD drive: If the SSD drive appears as “unallocated,” right-click on it and select “Initialize Disk.” Choose the appropriate disk initialization option (usually MBR or GPT) and click OK to proceed. This process will prepare the drive for formatting and partitioning.
4. Create partitions: Right-click on the SSD drive and select “New Simple Volume.” Follow the on-screen instructions to specify the size of the partition and assign a drive letter to it. You can also choose to format the partition as FAT32 or NTFS, with NTFS being the preferred choice for most users.
5. Format the SSD drive: After creating a partition, right-click on it and select “Format.” Choose the file system (NTFS or FAT32) and give the partition a name. Ensure that the “Quick Format” option is selected to speed up the formatting process. Click OK to begin the formatting process.
6. Wait for the formatting to complete: Depending on the size of the SSD drive, the formatting process may take a few minutes. Be patient and let the process complete uninterrupted.
7. Verify the formatted SSD drive: Once the formatting is complete, the SSD drive will show up in Windows Explorer with the assigned drive letter and name. You can now start using the SSD drive to store files and data.
Note: If you’re using a different operating system, the steps for formatting may vary. Consult the documentation or support resources for your specific operating system to carry out the formatting process correctly.
Formatting your SSD drive ensures that it is ready for use and allows your operating system to recognize and utilize the drive’s capacity. By following these steps, you can set up your SSD drive for data storage, maximizing its performance and reliability.
Step 4: Transferring Data to the SSD Drive
Now that you have formatted your SSD drive, it’s time to transfer your data from your old storage device to the newly installed SSD drive. Transferring data ensures that you have access to your files, applications, and settings on the faster and more efficient SSD drive. Follow these steps to transfer your data:
1. Identify the data to transfer: Determine the data you want to transfer to the SSD drive. This may include personal files, documents, photos, videos, music, and application installations. Make a list of the files and folders you want to move to the SSD drive.
2. Backup your data: Before proceeding with the data transfer, it is crucial to create a backup of your important files and data. This ensures that your data is protected in case of any errors or issues during the transfer process.
3. Manual transfer: If you prefer a manual approach, you can manually copy and paste your data from the old storage drive to the SSD drive. Simply navigate to the folders containing your files, select the files you want to transfer, right-click, and choose “Copy”. Then, navigate to the SSD drive, right-click, and choose “Paste” to transfer the files.
4. Data migration software: Alternatively, you can use data migration software to streamline the transfer process. Many SSD manufacturers provide their own migration software, which simplifies the process and ensures that all necessary files and settings are transferred to the SSD drive. Follow the instructions provided by the software to perform the data migration.
5. Reinstall applications: After transferring your personal files, you may need to reinstall your applications on the SSD drive. This ensures that the applications are properly registered and configured to run on the new drive. Use the original installation media or download the latest version from the software provider’s website.
6. Configure default storage locations: To optimize storage space and performance, you can configure your operating system and applications to save new files to the SSD drive by default. This can usually be done through the settings or preferences of individual applications, as well as the system settings for file downloads and storage locations.
7. Verify data transfer: After the data transfer is complete, ensure that all your files, applications, and settings are intact on the SSD drive. Double-check that you can access and open your files and that your applications are functioning correctly.
By following these steps, you can successfully transfer your data to the SSD drive, ensuring that your files, applications, and settings are readily accessible on the faster and more efficient storage medium. Enjoy the improved speed and performance that the SSD drive provides for your computing experience.
Step 5: Configuring the Operating System for the SSD Drive
Configuring your operating system for the SSD drive is crucial to optimize its performance and take full advantage of its capabilities. By making a few adjustments, you can ensure that your operating system is properly utilizing the SSD drive and maximizing its speed and efficiency. Follow these steps to configure your operating system for the SSD drive:
1. Enable AHCI mode: Access your computer’s BIOS or UEFI settings and ensure that the SATA controller mode is set to Advanced Host Controller Interface (AHCI). AHCI enables advanced features and improves the performance of SSD drives.
2. Disable disk defragmentation: SSD drives do not need to be defragmented like traditional HDDs. In fact, frequent defragmentation can decrease the lifespan of an SSD drive. Disable automatic disk defragmentation in your operating system settings to prevent unnecessary wear and tear on the SSD drive.
3. Disable Superfetch and Prefetch: Superfetch and Prefetch are features in Windows that optimize system performance by preloading frequently used applications into memory. However, these features can cause unnecessary read and write operations on your SSD drive, reducing its lifespan. Disable Superfetch and Prefetch in the Windows services settings to prevent excessive SSD usage.
4. Enable TRIM support: TRIM is a feature that helps maintain the performance of SSD drives by allowing the operating system to inform the drive which blocks of data are no longer in use. Verify that TRIM support is enabled in your operating system settings. This feature helps prevent performance degradation over time.
5. Adjust power settings: Configure your power settings to prevent the operating system from putting the SSD drive into low-power mode too often. This can be done by adjusting the power plan settings in your operating system. Keeping the SSD drive active ensures optimal responsiveness.
6. Update drivers and firmware: Regularly check for updates for your SSD drive’s drivers and firmware. Updated drivers and firmware can improve compatibility, performance, and reliability. Visit the manufacturer’s website to download and install the latest updates.
7. Regularly check for software updates: In addition to drivers and firmware, keep your operating system and applications up to date. Software updates often include performance optimizations and bug fixes that can benefit SSD drive performance.
By following these steps, you can configure your operating system to ensure that it optimally utilizes the SSD drive. Enabling AHCI mode, disabling unnecessary features like disk defragmentation and Superfetch, enabling TRIM support, adjusting power settings, and keeping drivers and software up to date will maximize performance and extend the lifespan of your SSD drive. Take the time to configure your operating system properly and enjoy the full benefits of your SSD drive’s speed and efficiency.
Step 6: Optimizing Performance and Lifespan of the SSD Drive
To ensure the optimal performance and lifespan of your SSD drive, it’s important to take additional steps to maximize its efficiency and longevity. By implementing certain optimization techniques, you can enhance the performance of your SSD drive and maintain its optimal condition. Follow these steps to optimize the performance and lifespan of your SSD drive:
1. Enable over-provisioning: Over-provisioning is the process of allocating a certain amount of unformatted space on your SSD drive. This helps maintain the drive’s performance and extends its lifespan. Some SSD drives come with built-in over-provisioning, while others may require manual configuration through the manufacturer’s software or the SSD’s firmware.
2. Minimize write operations: Excessive write operations can affect the lifespan of your SSD drive. Minimize unnecessary writes by avoiding excessive downloading, excessive use of temporary files, and unnecessary write-intensive operations. Regularly monitor and analyze your usage to identify any potential areas for reducing write operations.
3. Disable hibernation: Hibernation involves writing the contents of your computer’s memory to the SSD drive, consuming unnecessary write cycles. Disable hibernation in your operating system settings to reduce the frequency of write operations on your SSD drive.
4. Manage page file usage: The page file, also known as virtual memory, can contribute to unnecessary write operations on SSD drives. Consider reducing the size of the page file or moving it to a separate HDD to minimize its impact on the SSD drive’s lifespan.
5. Enable TRIM support: Ensure that TRIM support is enabled in your operating system and that it is actively working with your SSD drive. TRIM helps optimize the performance of your SSD drive by allowing the operating system to inform the drive about unused data blocks that can be erased.
6. Regularly update firmware: Check for firmware updates provided by the manufacturer and apply them regularly. Firmware updates can enhance performance, improve compatibility, and address any known issues or vulnerabilities.
7. Monitor drive health and performance: Utilize SSD monitoring tools provided by the manufacturer to regularly check the health and performance of your SSD drive. Monitoring tools can provide valuable information about the drive’s lifespan, wear level, and any potential issues that may require attention.
8. Backup your data: Regularly backup your data to ensure it is protected in case of any unforeseen SSD failures. Consider using cloud storage, external hard drives, or automated backup solutions to ensure your valuable data is safe and easily recoverable.
By following these optimization techniques, you can maximize the performance and lifespan of your SSD drive. Enabling over-provisioning, minimizing write operations, disabling hibernation, managing page file usage, enabling TRIM support, updating firmware regularly, monitoring drive health, and backing up your data are all effective ways to optimize your SSD drive’s performance and ensure its longevity. Take the time to implement these steps and enjoy the full benefits of your SSD drive for years to come.
Conclusion
Using an SSD drive can significantly enhance your computing experience by providing faster speeds, improved system responsiveness, enhanced durability, reduced power consumption, silent operation, and compactness. By following the steps outlined in this guide, you can properly choose, connect, format, transfer data to, and configure your operating system for an SSD drive.
Choosing the right SSD drive involves considering factors such as storage capacity, interface compatibility, performance specifications, endurance, price, brand reputation, warranty, and reviews. Once you’ve selected the appropriate SSD drive, connecting it to your system requires identifying the suitable slot, connecting the data and power cables, and securely mounting the drive in the computer case.
Next, formatting the SSD drive ensures it is compatible with your operating system and ready for data storage. Step-by-step instructions for formatting can be found in the guide. Transferring data to the SSD drive allows you to migrate your files, applications, and settings from your old storage device to the faster and more efficient SSD drive. Configuring the operating system involves adjusting settings such as AHCI mode, disabling unnecessary features, enabling TRIM support, and updating drivers and firmware.
Finally, optimizing the performance and lifespan of your SSD drive involves enabling over-provisioning, minimizing write operations, disabling hibernation, managing page file usage, updating firmware regularly, monitoring drive health and performance, and backing up your data.
By following these steps and taking the necessary precautions, you can fully utilize the benefits of an SSD drive, improve overall system performance, and ensure the longevity of your storage solution. Whether you’re a gamer, a creative professional, or a casual computer user, upgrading to an SSD drive will provide you with faster speeds, quicker data access, and a more efficient computing experience.