Introduction
Welcome to the world of smart technology, where you can easily access and enjoy your favorite photos, videos, and more on your LG Smart TV. LG has designed its smart TVs to be incredibly versatile, allowing you to stream content, connect external devices, and even upload your own photos directly to the TV for a larger-than-life viewing experience.
Whether you want to relive cherished memories from a recent vacation, show off your photography skills to friends and family, or simply enjoy a slideshow of stunning visuals, uploading photos to your LG Smart TV is a breeze. In this guide, we’ll walk you through the step-by-step process of how to upload photos to your LG Smart TV so you can effortlessly display your favorite images on the big screen.
Before we dive into the nitty-gritty details, it’s important to note that the exact steps may vary slightly depending on the specific model of your LG Smart TV. However, the basic principles and functionalities remain the same across most LG Smart TVs.
So, without further ado, let’s get started on this exciting journey of uploading your cherished memories to your LG Smart TV!
Step 1: Connect Your Device to the TV
The first step in uploading your photos to your LG Smart TV is to establish a connection between your device (such as a smartphone, tablet, or laptop) and the TV. There are several ways to do this:
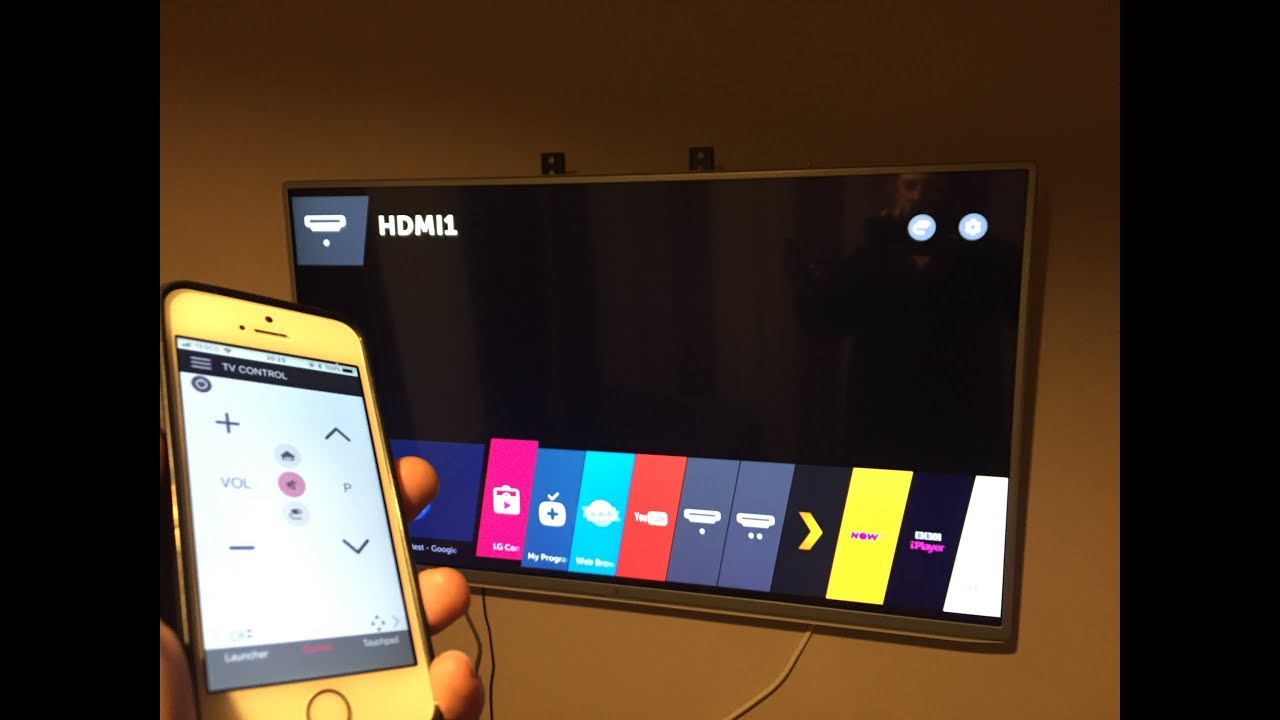
1. HDMI Cable: The most common and straightforward method is to use an HDMI cable to connect your device directly to the TV. Simply plug one end of the cable into the HDMI port on the TV and the other end into the HDMI port on your device. Once connected, select the corresponding HDMI input on your TV to display your device’s screen.
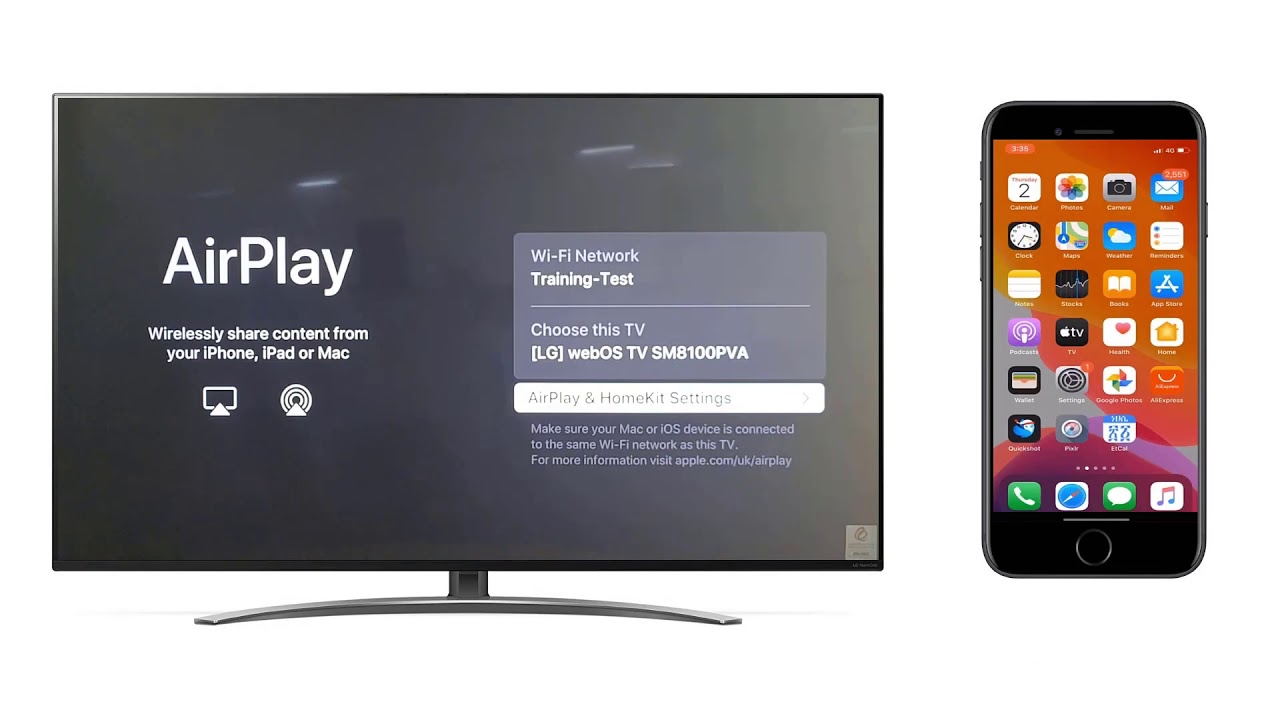
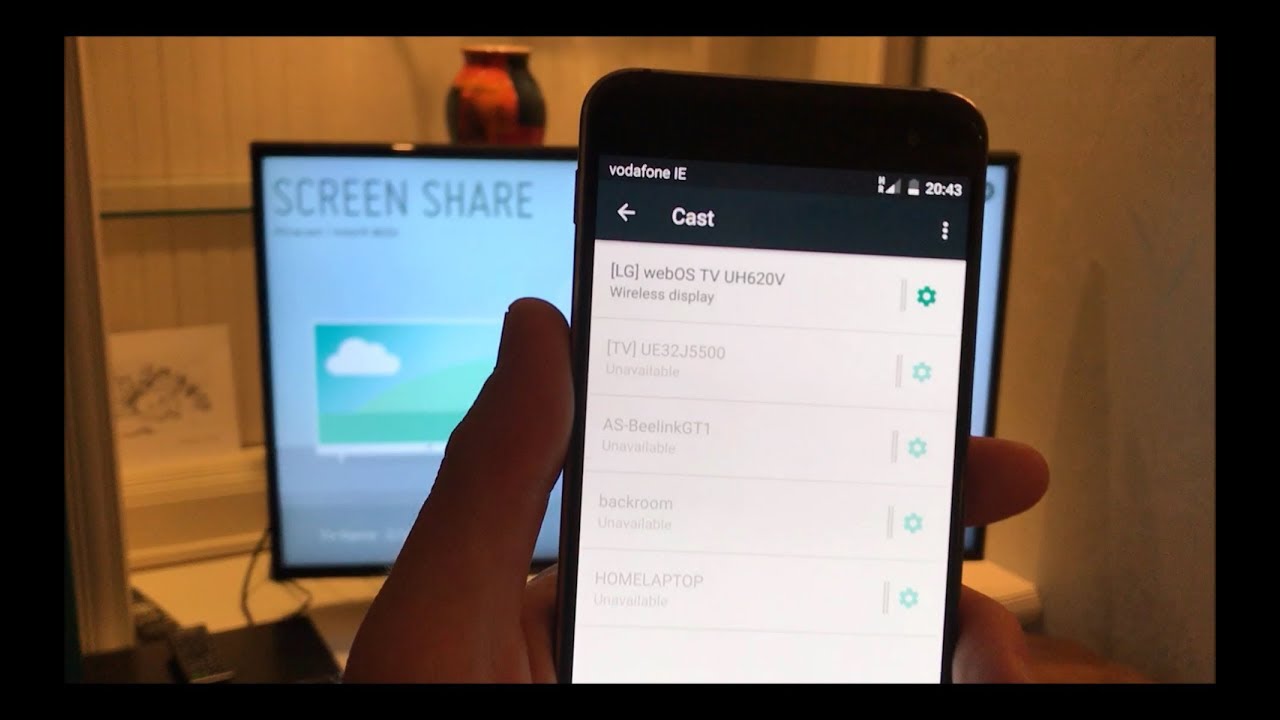
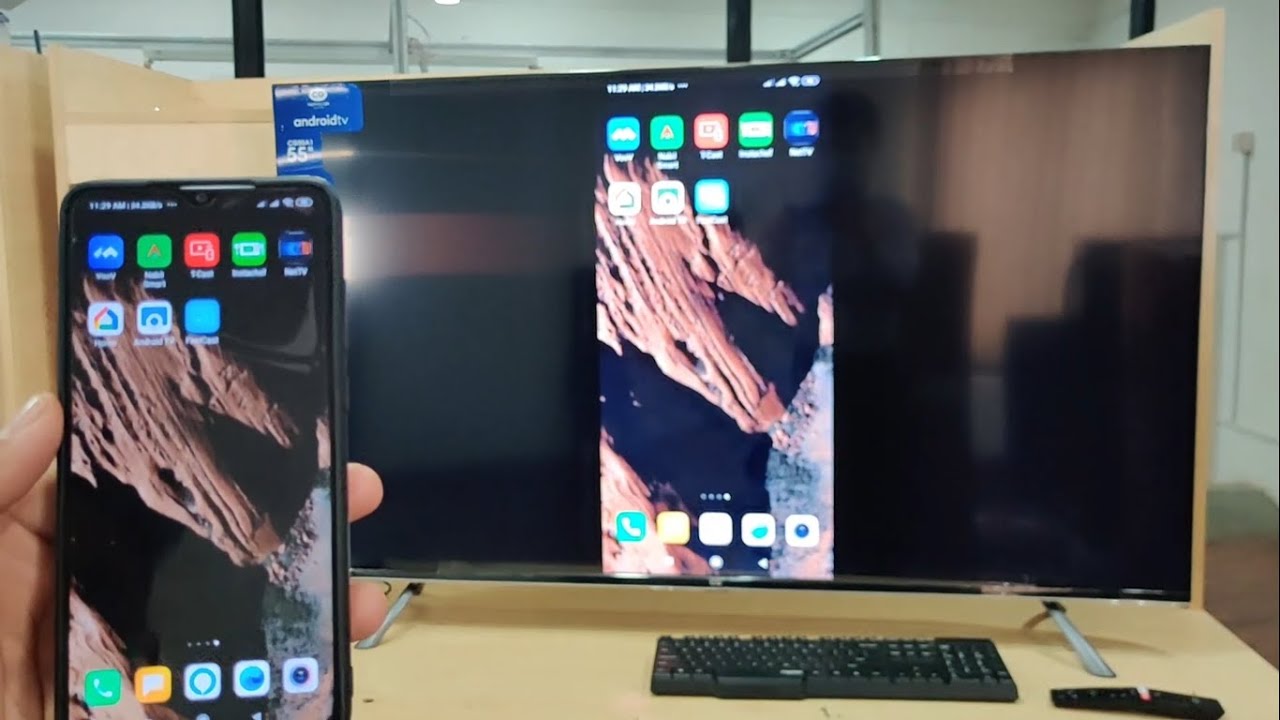
2. Screen Mirroring: If your LG Smart TV supports screen mirroring, you can wirelessly connect your device to the TV. Both the TV and your device should be connected to the same Wi-Fi network. On your device, enable screen mirroring or casting and select your LG Smart TV from the available devices list. Follow any on-screen prompts to establish the connection.
3. Wireless Connectivity: Some LG Smart TVs support wireless connection methods such as Bluetooth or Wi-Fi Direct. Check your TV’s manual or settings to see if these options are available. If so, follow the instructions provided by the TV to connect your device wirelessly.
Please note that the specific steps for connecting your device may vary depending on the model and operating system of your device. Consult your device’s user manual or online support resources for detailed instructions.
Once your device is successfully connected to the TV, you’re ready to move on to the next step: enabling file sharing on your device.
Step 2: Enable File Sharing on Your Device
Now that your device is connected to your LG Smart TV, you need to enable file sharing to allow the TV to access and display your photos. The process for enabling file sharing may vary depending on the operating system of your device. Here are some general steps to help you get started:
1. For Android Devices:
– Open the Settings app on your device and navigate to the “Connections” or “Network & Internet” section.
– Look for the “Sharing & Connections” or “More” option, then select “Media Sharing” or “File Sharing”.
– Enable the file sharing option and follow any on-screen prompts to set up the sharing preferences and permissions.
2. For iOS Devices (iPhone/iPad):
– Open the Settings app on your device and go to the “Wi-Fi” or “Bluetooth & Wi-Fi” section.
– Find the network that your LG Smart TV is connected to and tap on the (i) or “Info” icon next to it.
– Enable the “Media Sharing” or “Share My Content” option, and configure the sharing settings if necessary.
3. For Windows PCs:
– Open the Control Panel on your PC and search for “Network and Sharing Center”.
– Click on “Change advanced sharing settings” and make sure that network discovery and file sharing are both turned on.
– Go to the folder containing your photos, right-click on it, and select “Properties”. Navigate to the “Sharing” tab and enable sharing for this folder.
These steps provide a general overview of enabling file sharing on your device. However, the actual procedure may differ depending on your device’s specific settings and options. Refer to your device’s user manual or online support resources for detailed instructions.
With file sharing enabled on your device, you’re now ready to access the Smart Share app on your LG Smart TV, which we’ll cover in the next step.
Step 3: Access the Smart Share App on Your LG Smart TV
Now that you have your device connected to the TV and file sharing enabled, it’s time to access the Smart Share app on your LG Smart TV. The Smart Share app allows you to browse and access media content from your connected devices, including your photos. Here’s how to do it:
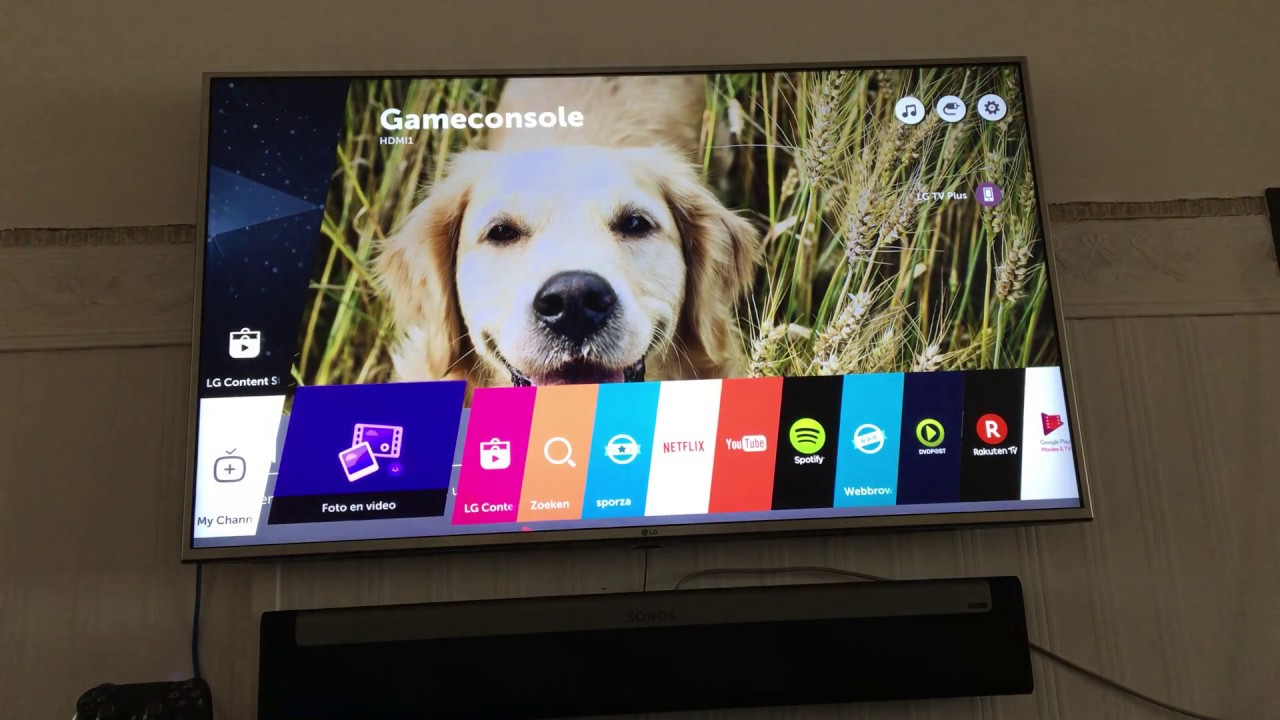
1. Turn on your LG Smart TV and use the remote control to navigate to the home screen.
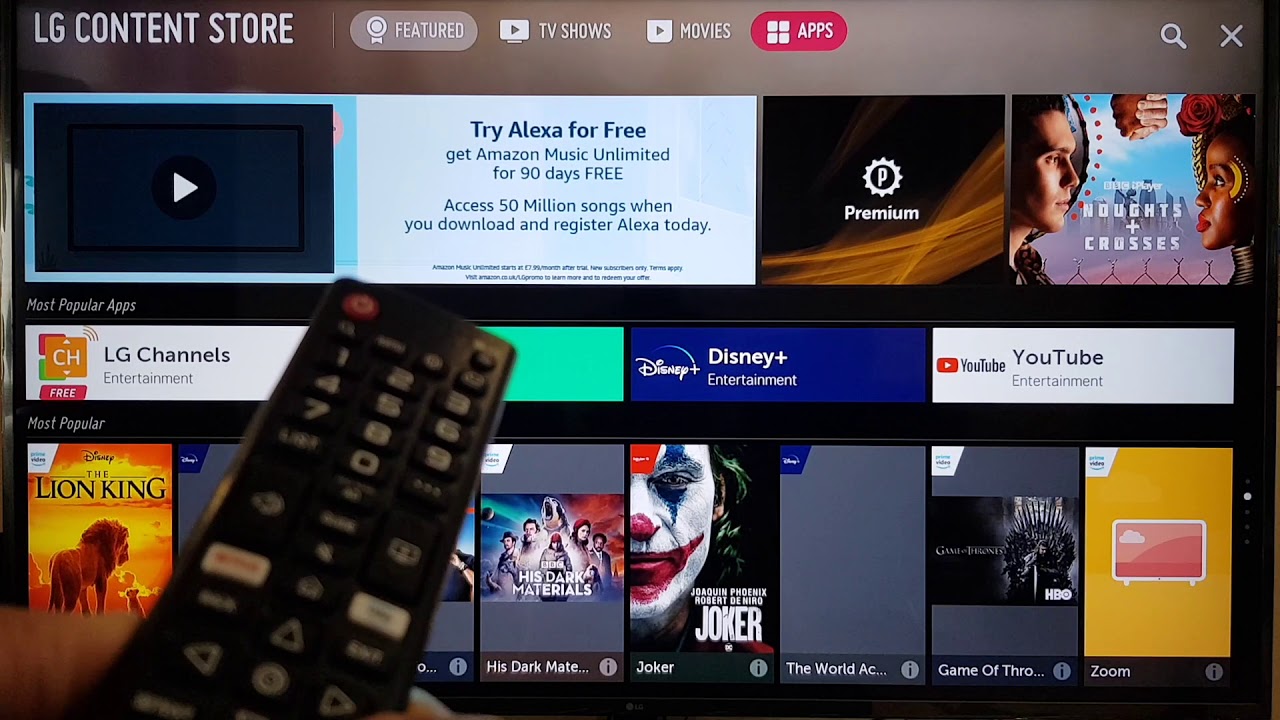
2. Look for the Smart Share icon or app on the home screen. It may be represented by a series of interconnected squares or labeled as “Smart Share” or “Media Link”.
3. Once you’ve located the Smart Share app, select it by pressing the corresponding button on your remote control.
4. The Smart Share app will open, displaying a list of available devices that are connected to your LG Smart TV. Look for your device (the one you connected earlier) in the list and select it.
5. After selecting your device, you will be able to access the media content it has shared. Navigate to the folder or location where your photos are stored.
6. Select the photos you want to upload by highlighting them and pressing the “OK” or “Enter” button on your remote control.
7. Once you have made your selection, click on the “Upload” or “Send” option to initiate the upload process.
The Smart Share app provides a simple and intuitive interface, making it easy to browse and select your desired photos for uploading. However, keep in mind that the exact steps and options may vary slightly depending on the model and version of your LG Smart TV. Consult your TV’s user manual or online support resources for more specific instructions if needed.
With your photos uploaded to your LG Smart TV, you’re ready to move on to the next step: customizing your photo viewing experience.
Step 4: Choose the Photos You Want to Upload
Now that you have accessed the Smart Share app on your LG Smart TV and located the folder containing your photos, it’s time to select the specific photos you want to upload. Here’s how you can do it:
1. Using your remote control, navigate through the folders and files displayed on your TV screen within the Smart Share app.
2. Look for the folder that contains the photos you want to upload.
3. Enter the folder by selecting it with your remote control.
4. Browse through the photos by using the arrow keys or navigation buttons on your remote control.
5. To select a photo, highlight it and press the “OK” or “Enter” button on your remote control. The selected photo may be indicated with a checkmark or other visual cue.
6. Repeat the process for each photo you want to upload. You can select multiple photos if desired.
7. If your TV supports additional sorting or filtering options, you may be able to organize the photos based on criteria such as date, name, or size. Refer to your TV’s user manual or on-screen instructions for more details on these features.
8. Once you have made your selection, continue to the next step to begin the upload process.
It’s important to note that the number of photos you can upload at once may be limited by your TV’s specifications or the available storage space. If you have a large number of photos, consider uploading them in smaller batches to ensure a smooth and efficient process.
With your desired photos selected, you’re ready to move on and start the upload process. We’ll cover that in the next step.
Step 5: Begin the Upload Process
Now that you have chosen the photos you want to upload to your LG Smart TV, it’s time to begin the upload process. Follow these steps to initiate the upload:
1. With the selected photos still highlighted within the Smart Share app on your TV screen, look for the “Upload” or “Send” option.
2. Press the corresponding button on your remote control to start the upload process.
3. Depending on the size and number of photos being uploaded, it may take some time to complete the transfer. Be patient and allow the TV to process the upload.
4. You may see a progress bar or an indicator of the transfer status on your TV screen. This will give you an idea of how much time is remaining for the upload to complete.
5. Once the upload is finished, you will receive a confirmation message on your TV screen. The uploaded photos should now be accessible within the Smart Share app or another designated photo viewing section of your LG Smart TV.
6. Take a moment to verify that the uploaded photos are displaying correctly and that you are satisfied with the outcome.
It’s worth noting that the exact steps and options for the upload process may vary depending on the model and version of your LG Smart TV. Refer to your TV’s user manual or online support resources for more specific instructions if needed.
With the successful completion of the upload process, you’re now ready to move on to the final step: customizing your photo viewing experience on your LG Smart TV.
Step 6: Customize Your Photo Viewing Experience
Now that you have uploaded your photos to your LG Smart TV, it’s time to customize your photo viewing experience and make it even more enjoyable. Here are some options to enhance your photo viewing:
1. Slideshow Settings: Most LG Smart TVs offer options to customize the slideshow settings. You can adjust the duration between slides, transition effects, and even add background music. Explore the settings menu within the photo viewing app or settings options on your TV to personalize the slideshow according to your preferences.
2. Zoom and Pan: Some LG Smart TVs allow you to zoom in on specific areas of a photo or pan across the image for a closer look. Use your remote control or on-screen navigation options to explore these interactive features and get a more detailed view of your photos.
3. Sorting and Filtering: If you have a large collection of photos, you may want to sort and filter them based on specific criteria. Look for options to sort by date, name, or other metadata, allowing you to easily locate and view specific photos in your collection.
4. Editing and Enhancing: Some LG Smart TVs offer basic editing functionalities for your photos. You may be able to rotate, crop, or adjust the brightness and contrast of your images directly on the TV. Check the photo viewing app or additional apps included with your TV to see if editing options are available.
5. Sharing Options: LG Smart TVs often provide sharing options for your photos. You can easily share your favorite photos on social media platforms or directly send them to compatible devices using features like AirPlay or Miracast.
6. Create Photo Albums and Collages: Depending on the capabilities of your LG Smart TV, you may be able to create albums or collages with your photos. Utilize these features to organize and showcase your images in a more personalized and artistic manner.
Remember to explore the settings and options available within the photo viewing app on your specific LG Smart TV. Experiment with different customization features to create a visually appealing and engaging photo viewing experience.
Now that you have customized your photo viewing experience, you can sit back and enjoy the beautiful memories captured in your uploaded photos.
Conclusion
Congratulations! You have successfully learned how to upload photos to your LG Smart TV and customize your photo viewing experience. With a few simple steps, you can now enjoy your favorite memories on the big screen, creating a captivating visual display for yourself, your family, and your friends.
By connecting your device to the TV and enabling file sharing, you gain the ability to effortlessly transfer your photos. Accessing the Smart Share app on your LG Smart TV allows you to browse through your media files and select the specific photos you want to upload. Once uploaded, you can further enhance your photo viewing experience by customizing slideshows, adjusting zoom and pan features, sorting and filtering, and even editing your photos directly on the TV.
Remember to explore the various features and options available on your specific LG Smart TV model. Each TV may have unique settings and functionalities that can further optimize your photo viewing experience. Consult your user manual or online support resources provided by LG for more detailed instructions and information.
Now, it’s time to let your photos shine and create lasting memories. Share your favorite moments with loved ones, reminisce about past adventures, or simply enjoy the beauty captured in your photos. Your LG Smart TV offers a convenient and immersive platform to showcase and relive those precious moments.
Thank you for joining us on this journey of uploading photos to your LG Smart TV. We hope this guide has been helpful and that you enjoy your photo viewing experience to the fullest.