Introduction
Welcome to this tutorial on how to upload files to Asana! Asana is a powerful project management tool that allows teams to collaborate and stay organized. With the ability to attach files directly to your tasks and projects, Asana makes it easy to keep all relevant documents and resources in one place.
Whether you need to share files with your team, collaborate on important documents, or simply keep track of project-related materials, uploading files to Asana is a straightforward process.
In this guide, we will walk you through the steps required to upload files to Asana and show you some handy tips for organizing and managing your files within the platform.
No matter if you are new to Asana or an experienced user, this tutorial will help you make the most out of the file-sharing capabilities in Asana.
So, let’s dive in and get started with uploading files to Asana!
Step 1: Open Asana
To begin, make sure you have Asana open and logged into your account. You can access Asana via your preferred web browser or by using the Asana mobile app on your smartphone or tablet.
If you’re using a web browser, simply navigate to the Asana homepage and enter your login credentials to access your account. If you’re using the mobile app, open the app and enter your login information to sign in.
Once you’re logged in, you’ll be brought to your Asana dashboard, where you can view your projects, tasks, and team members.
Being familiar with the Asana interface will make the file-upload process even smoother, so take a moment to explore the different sections and features available to you.
Now that you’re logged in and acquainted with the Asana interface, you’re ready to proceed to the next step: selecting the project to which you want to upload files.
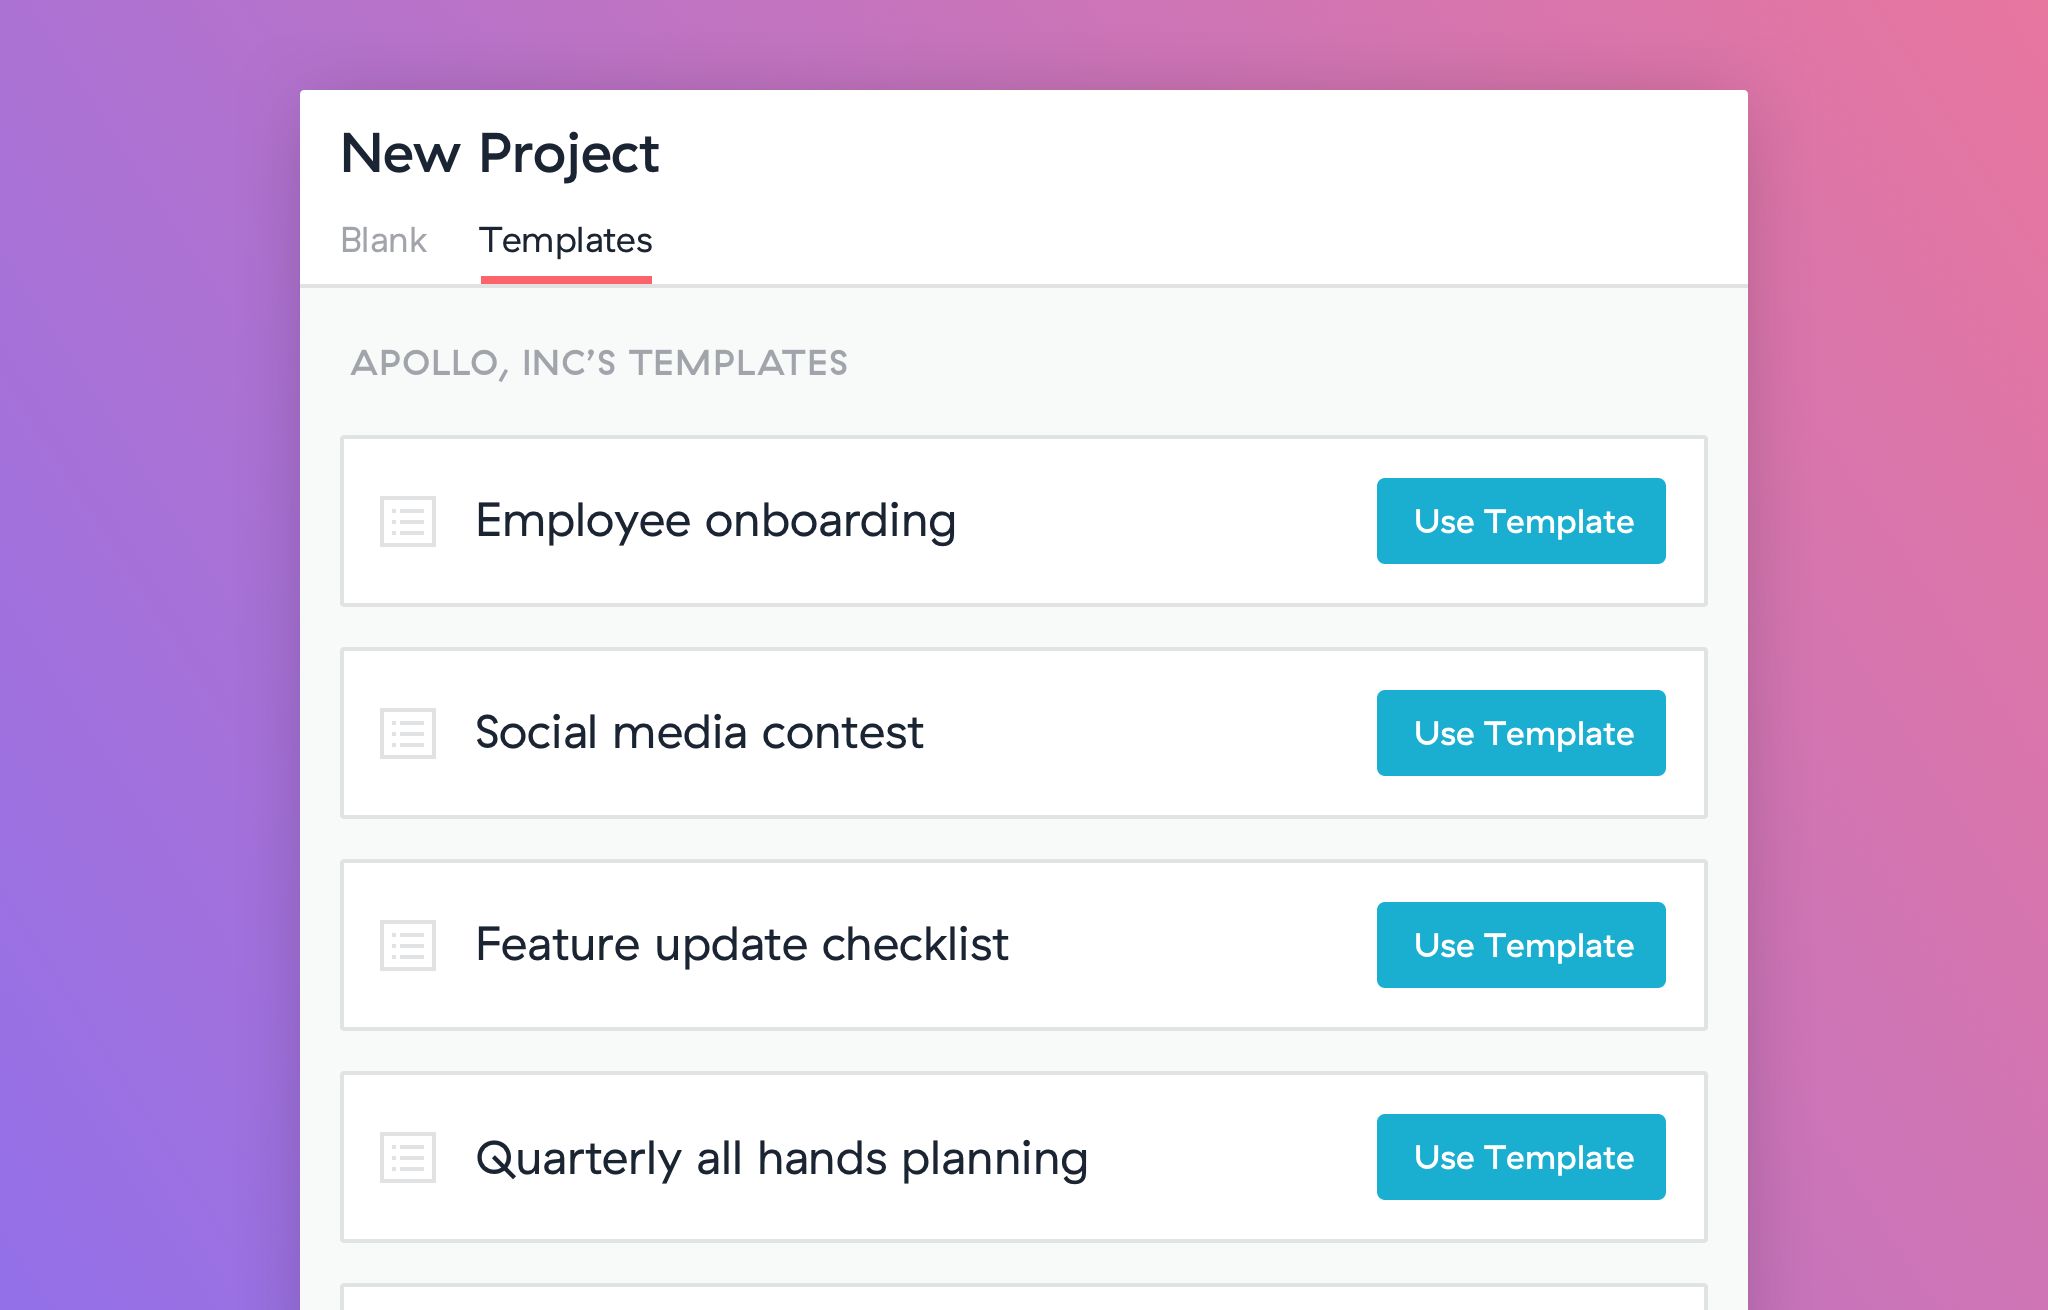
Step 2: Select the Project
After opening Asana, the next step is to select the specific project where you want to upload files. Projects in Asana serve as containers for tasks and serve as a central hub for collaboration.
To select the project, navigate to your Asana dashboard. On the left-hand side of the screen, you will find a panel that displays your different projects and teams. Look for the project you want to upload files to and click on it.
Once you click on the project, you’ll be taken to the project’s main page. Here, you’ll find an overview of all the tasks associated with the project, as well as other relevant information and features.
By selecting the correct project, you ensure that the files you upload are easily accessible to the project team members and remain organized within the specific project context.
If you haven’t created a project yet, you can easily do so by clicking on the “+” icon in the left-hand panel and selecting “New Project”. Give your project a name and customize it according to your needs. Then, you can proceed with selecting the newly created project for uploading files.
Now that you have selected the project, you’re one step closer to uploading your files to Asana. The next step is to click on the “Attachments” button.
Step 3: Click on the “Attachments” Button
With the project selected, it’s time to click on the “Attachments” button to initiate the file-upload process in Asana.
On the project’s main page, look for the toolbar located at the top of the screen. Among the various buttons and options available, you will find the “Attachments” button. It is usually represented by a paperclip icon or the word “Attachments”. Click on this button to proceed.
Clicking on the “Attachments” button will open a file upload dialog box or a file selection prompt, depending on your operating system and browser. This dialog box allows you to choose the files you want to upload from your computer or any connected external storage devices.
You can either click on the “Choose Files” or “Browse” button, depending on the wording used in your file upload dialog box. This will open your computer’s file explorer, where you can navigate to the location of the files you want to upload.
Select one or multiple files by holding the Ctrl (or Command) key while clicking on each file. Once you have selected the files, click on the “Open” button to confirm your selection.
After clicking on the “Open” button, Asana will start uploading the selected files to the project. The progress of the file upload will be indicated by a loading bar or an animated icon.
Now that you have clicked on the “Attachments” button and selected the files to upload, it’s time to move on to the next step: actually uploading the files to Asana.
Step 4: Choose Files to Upload
Now that the file upload dialog box is open, it’s time to choose the files you want to upload to Asana. This step allows you to navigate through your computer’s file system and select the desired files.
Depending on the file upload dialog box design, you may see a list view or a thumbnail view of your files. Browse through your computer’s folders to locate the files you want to upload.
To select a single file, simply click on it once. If you want to select multiple files, hold down the Ctrl (or Command) key on your keyboard while clicking on each file.
As you choose the files, you will typically see a preview or thumbnail of the selected file(s) in the file upload dialog box. This can help you confirm that you have selected the correct files before proceeding with the upload.
Remember, you can choose files of different types and formats, such as documents, images, spreadsheets, or even audio or video files. Asana supports a wide range of file types, making it versatile for different project needs.
Take a moment to review your file selections and ensure that you have selected all the files you need to upload. If you missed any files, simply navigate to the appropriate folder on your computer and select them now.
Once you are satisfied with your file selections, it’s time to proceed to the next step: uploading the chosen files to Asana.
Step 5: Upload Files to Asana
With the files selected, it’s time to upload them to Asana. Once you have chosen the files you want to upload from your computer, the upload process in Asana is quick and easy.
In the file upload dialog box, look for the “Upload” or “Add” button. This button may be labeled differently based on your operating system and file upload design. Click on this button to start the upload process.
Asana will then begin uploading the selected files to the project. The upload progress will be displayed, allowing you to track how much time is remaining until the files are successfully uploaded.
Depending on the size and quantity of the files, the upload process may take a few seconds or a few minutes. As the files are being uploaded, you can continue working on other tasks in Asana or wait for the upload to complete.
Once the files have finished uploading, you’ll see a notification indicating that the upload was successful. At this point, the files are now accessible within the project in Asana, and team members can view, download, and collaborate on them as needed.
It’s important to note that the maximum file size allowed for upload can vary depending on your Asana plan. If you encounter any issues with large files, be sure to check your plan’s file size limit.
Now that you have successfully uploaded the files to Asana, it’s time to move on to the next step: adding descriptions or comments to the files (optional).
Step 6: Add Descriptions or Comments (Optional)
After uploading files to Asana, you have the option to add descriptions or comments to provide additional context or instructions. This step is optional but can be valuable for enhancing collaboration and clarity among team members.
To add a description or comment, locate the file(s) within the project in Asana. Depending on the view you are using, you may see the file(s) listed in a grid or a list format.
Click on the file you want to add a description or comment to. This will open a file preview window or a detailed view of the file within Asana.
In the file preview or detailed view, look for the option to add a description or comment. This may be labeled as “Add description,” “Add comment,” or similar wording.
If you choose to add a description, you can provide additional information about the file, such as a brief summary, context, or instructions for how others should use the file. This can be particularly helpful for providing guidance to team members who may be accessing the file for the first time.
If you opt to add a comment, you can engage in a conversation or provide specific feedback related to the file. This can be useful for discussing changes, updates, or asking questions directly within the context of the file.
Take advantage of the formatting options available in Asana to make your descriptions or comments more organized and visually appealing. You can use bold or italic text, bullet points, numbered lists, and even mentions to alert specific team members to the file or comment.
Once you have added the desired description or comment, click on the “Save” button or a similar function to save your changes. Your description or comment will be visible to everyone who has access to the project or the specific file.
Adding descriptions or comments to your uploaded files can significantly improve collaboration and communication within your team. It provides a central space for discussions, questions, and important information related to the file, ensuring that everyone is on the same page.
Now that you have the option to add descriptions or comments to your files, let’s move on to the final step: organizing your files in Asana.
Step 7: Organize Files in Asana
Once you have uploaded files to Asana, it’s important to keep them organized to ensure easy access and efficient collaboration. Asana offers several features and options that can help you effectively organize your files within projects.
Here are some tips to help you organize your files in Asana:
- Create folders: Consider creating folders within your project to group related files together. This can be done by clicking on the “+” icon in the file section of the project and selecting “New Folder”. Give the folder a name and drag and drop relevant files into it.
- Use tags: Tags are a powerful tool in Asana that can help you categorize and filter files. Consider applying relevant tags to your files to make searching and organizing easier. For example, you can create tags for different file types, project stages, or specific team members.
- Utilize custom fields: Custom fields enable you to add additional data to your files. Consider using custom fields to specify attributes like file status, priority, or associated tasks. This can provide more context and flexibility in organizing your files.
- Sort and filter: Asana allows you to sort and filter your files based on various criteria. Take advantage of these options to arrange your files by name, date, or assigned owner. Filtering options can help you find specific files based on tags, custom fields, or other attributes.
- Create subtasks: If your files are associated with specific tasks, consider creating subtasks within the Asana project. Link the related files to these subtasks to keep everything organized and easily accessible from the task itself.
- Regularly review and clean up: Periodically assess your files in Asana and remove any outdated or unnecessary files. This helps keep your project clutter-free and ensures that everyone is working with the most up-to-date resources.
By implementing these organizational strategies, you can make it easier for team members to find and utilize the files they need. Additionally, maintaining a structured file system in Asana promotes productivity and collaboration within your projects.
Congratulations! You have successfully organized your files in Asana.
Remember to consistently follow these organization practices as you continue working on your projects and uploading new files to Asana. This will ensure that your files remain well-structured and accessible throughout the project’s lifecycle.
Conclusion
Congratulations! You have now learned how to upload files to Asana and organize them within your projects. Asana’s file-sharing capabilities provide a seamless way to collaborate and keep all relevant documents and resources in one place.
Throughout this tutorial, we covered the following steps:
- Open Asana
- Select the Project
- Click on the “Attachments” Button
- Choose Files to Upload
- Upload Files to Asana
- Add Descriptions or Comments (Optional)
- Organize Files in Asana
By following these steps, you can easily upload files to Asana, provide important context with descriptions or comments, and keep your files organized using folders, tags, custom fields, and filtering options.
Remember to leverage Asana’s features and functionality to optimize your collaboration and ensure that team members can access and work on the files efficiently. Regularly review and clean up your files to keep your projects organized and clutter-free.
Now that you possess this valuable knowledge, put it into practice and make the most out of Asana’s file-sharing capabilities. Streamline your collaboration, enhance your project management, and stay organized with ease.
So what are you waiting for? Get started with uploading your files to Asana and experience a more efficient and organized way of working!


![20 Best Productivity Apps to Get Things Done [PC & Mac]](https://robots.net/wp-content/uploads/2020/05/write-593333_1920-300x177.jpg)