Introduction
Welcome to this step-by-step guide on how to upload bank statements to QuickBooks. As a business owner or accountant, keeping accurate financial records is crucial for maintaining the financial health of your company. QuickBooks is a widely-used accounting software that simplifies bookkeeping tasks and helps you stay organized. By uploading your bank statements directly into QuickBooks, you can save time and reduce the risk of manual data entry errors.
In this guide, we will walk you through the process of uploading bank statements to QuickBooks, providing you with a clear understanding of each step. Whether you are a seasoned QuickBooks user or new to the platform, this guide will help you streamline your financial management and ensure the accuracy of your records.
Before we dive into the steps, it’s important to note that QuickBooks supports a variety of file formats for bank statement uploads, including .QBO (QuickBooks Online), .QFX (Quicken), .CSV (comma-separated values), and .OFX (Open Financial Exchange). Depending on your bank, you may be able to download your statements in one of these compatible formats. Let’s get started!
Step 1: Gathering the Bank Statements
The first step in uploading bank statements to QuickBooks is to gather the required bank statements. These statements contain a record of all your banking transactions during a specific period, usually a month. Here’s what you need to do:
- Log in to your online banking account or contact your bank to obtain the electronic copy of your bank statement. Most banks provide the option to download statements in various formats such as PDF, CSV, or OFX.
- Choose the appropriate format that is compatible with QuickBooks. If you are unsure about the format, consult QuickBooks’ documentation or reach out to their support team for guidance.
- Save the bank statement file to a location on your computer where you can easily locate it later. It’s a good practice to create a specific folder or directory to store your bank statements for easy access and organization.
- Ensure that the bank statement file is named in a meaningful way, such as including the account name and the statement period. This will make it easier to identify the correct file when importing into QuickBooks.
By organizing and naming your bank statement files properly, you can save time and avoid any confusion when uploading them to QuickBooks. Remember to gather the bank statements for all the accounts that you want to import transactions for. With your bank statements ready, we can move on to the next step.
Step 2: Logging In to QuickBooks
Now that you have your bank statements ready, the next step is to log in to your QuickBooks account. Follow these instructions to access your QuickBooks account:
- Open your preferred web browser and navigate to the QuickBooks website.
- Click on the “Sign In” button located at the top-right corner of the page.
- Enter your QuickBooks login credentials, including your username and password.
- Click on the “Sign In” button to access your QuickBooks account.
- If you have enabled multi-factor authentication, you may need to complete an additional step to verify your identity.
Once you successfully log in to your QuickBooks account, you will be directed to the QuickBooks dashboard, where you can manage your company’s financial data and perform various accounting tasks.
If you do not have a QuickBooks account, you will need to sign up for one before proceeding with the bank statement upload process. QuickBooks offers different plans and pricing options, so choose the one that best suits your needs. Once you have created your QuickBooks account, follow the login process outlined above.
Logging in to QuickBooks is an essential step as it grants you access to the tools and features necessary to import your bank statements and manage your financial transactions effectively. With your QuickBooks account up and running, let’s move on to the next step.
Step 3: Accessing the Banking Tab
After logging in to your QuickBooks account, the next step is to navigate to the Banking tab. The Banking tab is where you can connect your bank accounts, import transactions, and reconcile your bank statements. Here’s how you can access the Banking tab:
- From your QuickBooks dashboard, look for the navigation menu located on the left-hand side of the page.
- Scroll down the menu and locate the “Banking” option. It is usually represented by an icon of a banknote or a bank building.
- Click on the “Banking” option to access the Banking tab.
By clicking on the Banking option, you will be redirected to the Banking tab, where you can manage all your bank transactions within QuickBooks.
It’s important to note that the location and appearance of the Banking tab may vary depending on the version of QuickBooks you are using. However, in most cases, it is easily accessible from the navigation menu.
Once you have successfully accessed the Banking tab, you are one step closer to importing your bank statements into QuickBooks. In the next step, we will learn how to select the account you want to import transactions for. Let’s continue!
Step 4: Selecting the Account
Now that you are in the Banking tab, it’s time to select the specific account you want to import transactions for. QuickBooks allows you to connect multiple bank accounts, such as checking accounts, savings accounts, credit card accounts, and more. Follow these steps to select the account:
- On the Banking tab, you will see a list of all the accounts you have connected to your QuickBooks account. This list typically includes the account name, type, and balance.
- Scan through the list and locate the account you want to import transactions for. Click on the name of the account to proceed.
- If you have not yet connected the desired account to QuickBooks, you can click on the “Add Account” button to initiate the connection process. Follow the prompts to link your bank account to QuickBooks.
Once you have selected the account or added a new account, you will be directed to the Account Overview page. Here, you can review the current balance, recent transactions, and other details related to the selected account.
QuickBooks allows you to import transactions from multiple accounts, so make sure you repeat the steps for each account you want to import statements for. This ensures that your financial records are complete and accurate.
With the account selected, we can now move on to the next step, which is importing the bank statement into QuickBooks. Let’s proceed!
Step 5: Importing the Bank Statement
Now that you have selected the account, it’s time to import your bank statement into QuickBooks. The import process allows QuickBooks to analyze and extract the transactions from your statement, making it easier for you to reconcile your accounts. Follow these steps to import the bank statement:
- In the Account Overview page, locate and click on the “Import transactions” button. This button is usually located near the top-right corner of the page.
- A new window or dialog box will appear, prompting you to choose the file to import. Click on the “Browse” or “Choose File” button.
- Select the bank statement file you saved earlier on your computer. Once selected, click “Open” to proceed.
- QuickBooks will start processing the file and extracting the transactions. This may take a few moments depending on the size of the file.
During the import process, QuickBooks will analyze the bank statement file and map the columns from the file to the corresponding fields in QuickBooks. This mapping ensures that the transactions are correctly classified and recorded in your accounts.
Once the import is complete, QuickBooks will display a summary of the imported transactions, including the number of transactions successfully imported, any errors encountered, and the total amount of transactions.
It’s important to review this summary carefully to ensure the accuracy of the imported transactions. If there are any errors or discrepancies, you can proceed to the next step to map the columns and make necessary adjustments.
With the bank statement successfully imported, we can move on to the next step, which is mapping the columns. Let’s continue!
Step 6: Mapping the Columns
After importing the bank statement, the next step is to map the columns from the imported file to the corresponding fields in QuickBooks. This mapping process ensures that the transaction details are correctly aligned with the appropriate accounts and categories in your QuickBooks chart of accounts. Follow these steps to map the columns:
- Review the imported transactions summary shown by QuickBooks after the import process. Pay attention to the column headers and ensure they match the fields you want to map in QuickBooks.
- Click on the “Match” or “Map” button next to each column header to select the appropriate QuickBooks field.
- In the dropdown menu, choose the appropriate field from QuickBooks that matches the information in the column. For example, map the “Date” column to the “Date” field, “Description” column to the “Description” field, and so on.
- Repeat this process for each column header until all the necessary fields are mapped.
- If there are any columns that do not have a corresponding field in QuickBooks, you can choose to either skip those columns or create a new custom field in QuickBooks to accommodate the information.
Mapping the columns correctly is essential to ensure the accuracy and proper organization of your transactions within QuickBooks. Take your time to carefully review and make any necessary adjustments during the mapping process.
Once you have finished mapping the columns, you can proceed to the next step, which is confirming the upload. Let’s move forward!
Step 7: Confirming the Upload
After mapping the columns, it’s important to confirm and review the bank statement upload in QuickBooks. This step allows you to ensure the accuracy of the imported transactions and make any final adjustments if necessary. Follow these steps to confirm the upload:
- Review the transaction list displayed in QuickBooks after the column mapping process. Check if all the transactions are correctly mapped to the appropriate fields and accounts.
- If you notice any errors or discrepancies in the transaction details, you can edit them directly within QuickBooks by clicking on the respective transaction and making the necessary changes.
- Take the time to carefully review the transaction amounts, account classifications, and any additional details for each transaction. This will help you identify any inconsistencies or errors that need to be corrected.
- If you are satisfied with the imported transactions and everything looks accurate, you can proceed to the next step. However, if you need to make further adjustments, take the necessary time to modify the transactions until you are confident they reflect the correct information.
Confirming the upload is a crucial step to ensure the integrity of your financial data in QuickBooks. By diligently reviewing and verifying the imported transactions, you can identify and resolve any issues before proceeding with the reconciliation process.
Once you have confirmed the upload, you are now ready to move on to the next step, which involves reviewing the imported transactions in more detail. Let’s continue!
Step 8: Reviewing the Imported Transactions
After confirming the upload, it’s essential to review the imported transactions in more detail. This step allows you to ensure the accuracy and completeness of the transaction data in your QuickBooks account. Follow these steps to review the imported transactions:
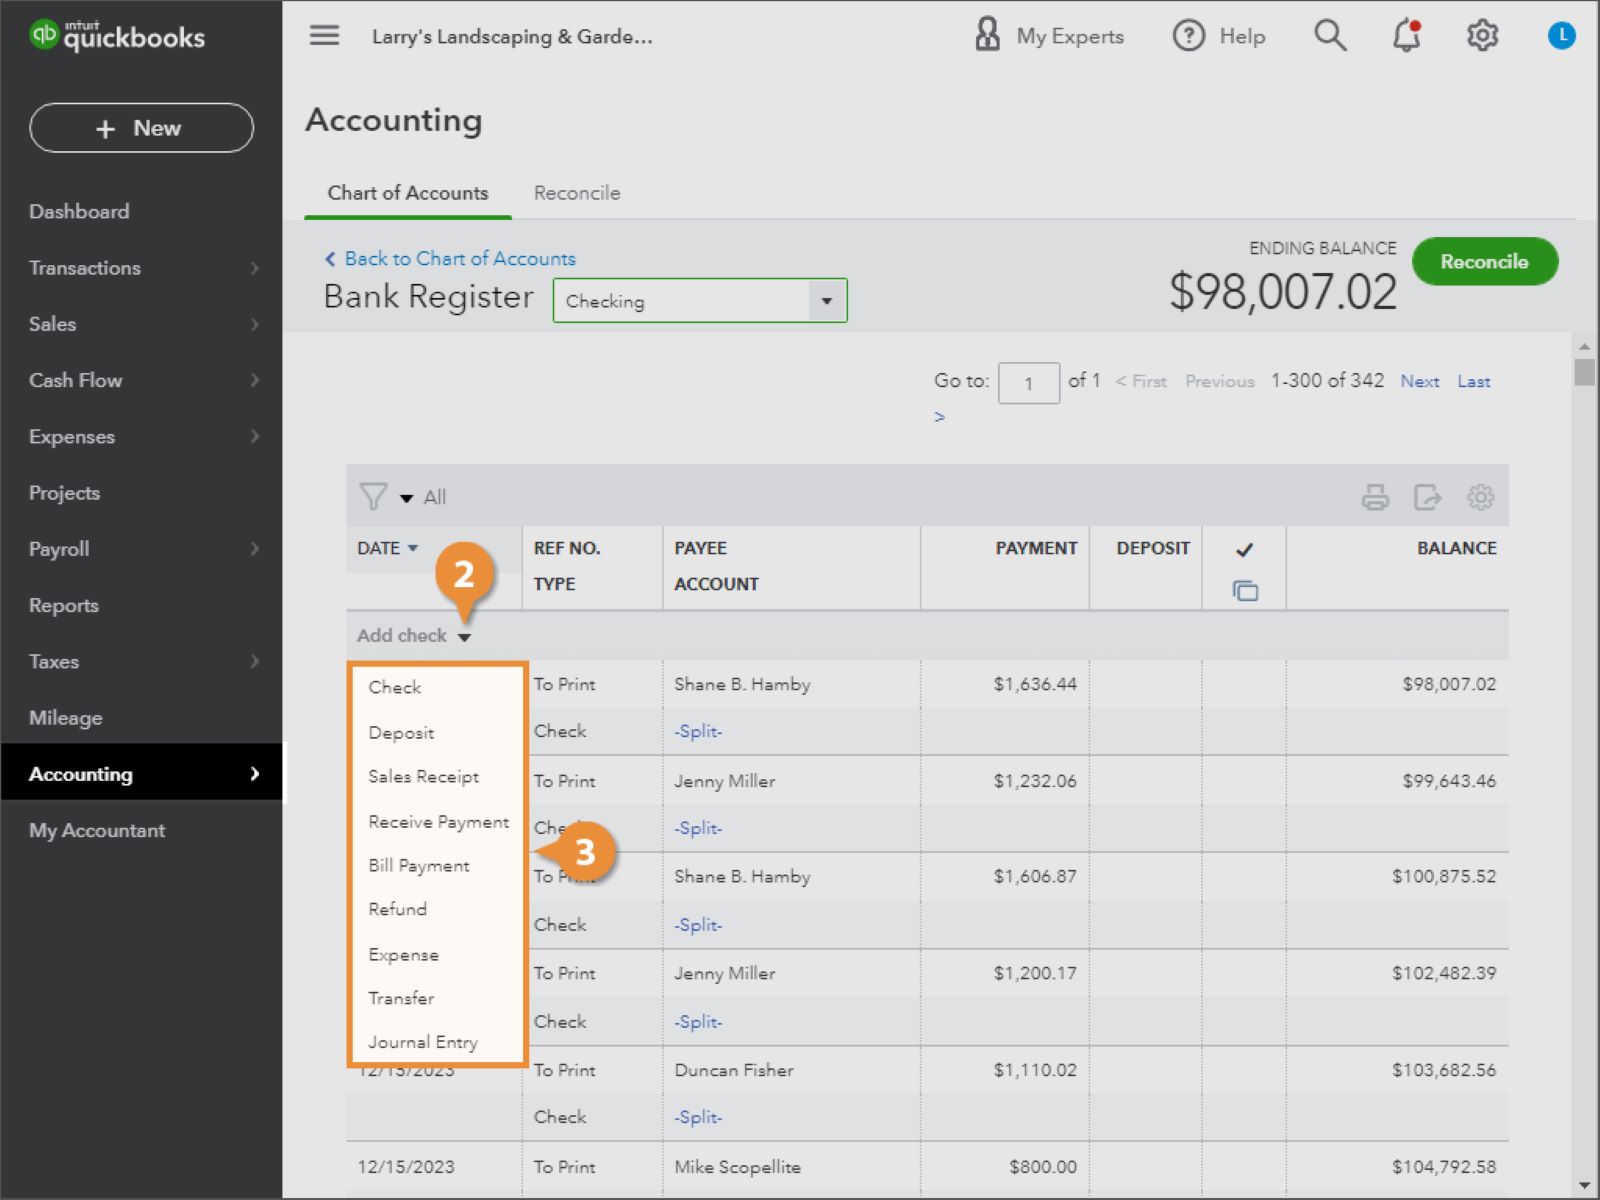
- Access the transaction list in QuickBooks, which should display all the imported transactions for the selected account.
- Take the time to carefully review each transaction, paying attention to the transaction date, description, amount, and associated account or category.
- If you notice any discrepancies or errors, you can edit the transactions directly in QuickBooks by clicking on them and making the necessary adjustments.
- Double-check the transaction amounts to ensure they match the corresponding bank statement. This helps identify any potential data entry errors or missing transactions.
- If needed, you can also add additional details to the transactions, such as memos or tags, to provide further clarity or categorization.
During the review process, it’s important to reconcile the imported transactions with your bank statement to ensure that all transactions are accurately reflected in QuickBooks. This helps maintain the transparency and accuracy of your financial records.
If you come across any discrepancies or unclear transactions, it’s recommended to investigate them further and make the necessary adjustments. This ensures that your accounts are properly reconciled and your financial reporting is accurate.
Once you have reviewed and verified the imported transactions, you can proceed to the final step, which involves reconciling the bank statement in QuickBooks. Let’s move forward!
Step 9: Reconciling the Bank Statement
The final step in uploading bank statements to QuickBooks is reconciling the imported transactions with your actual bank statement. Reconciliation ensures that the transactions in QuickBooks match the transactions recorded by your bank, providing an accurate representation of your financial records. Follow these steps to reconcile the bank statement:
- Start by obtaining your current bank statement from your financial institution. This statement should include all the transactions for the corresponding period.
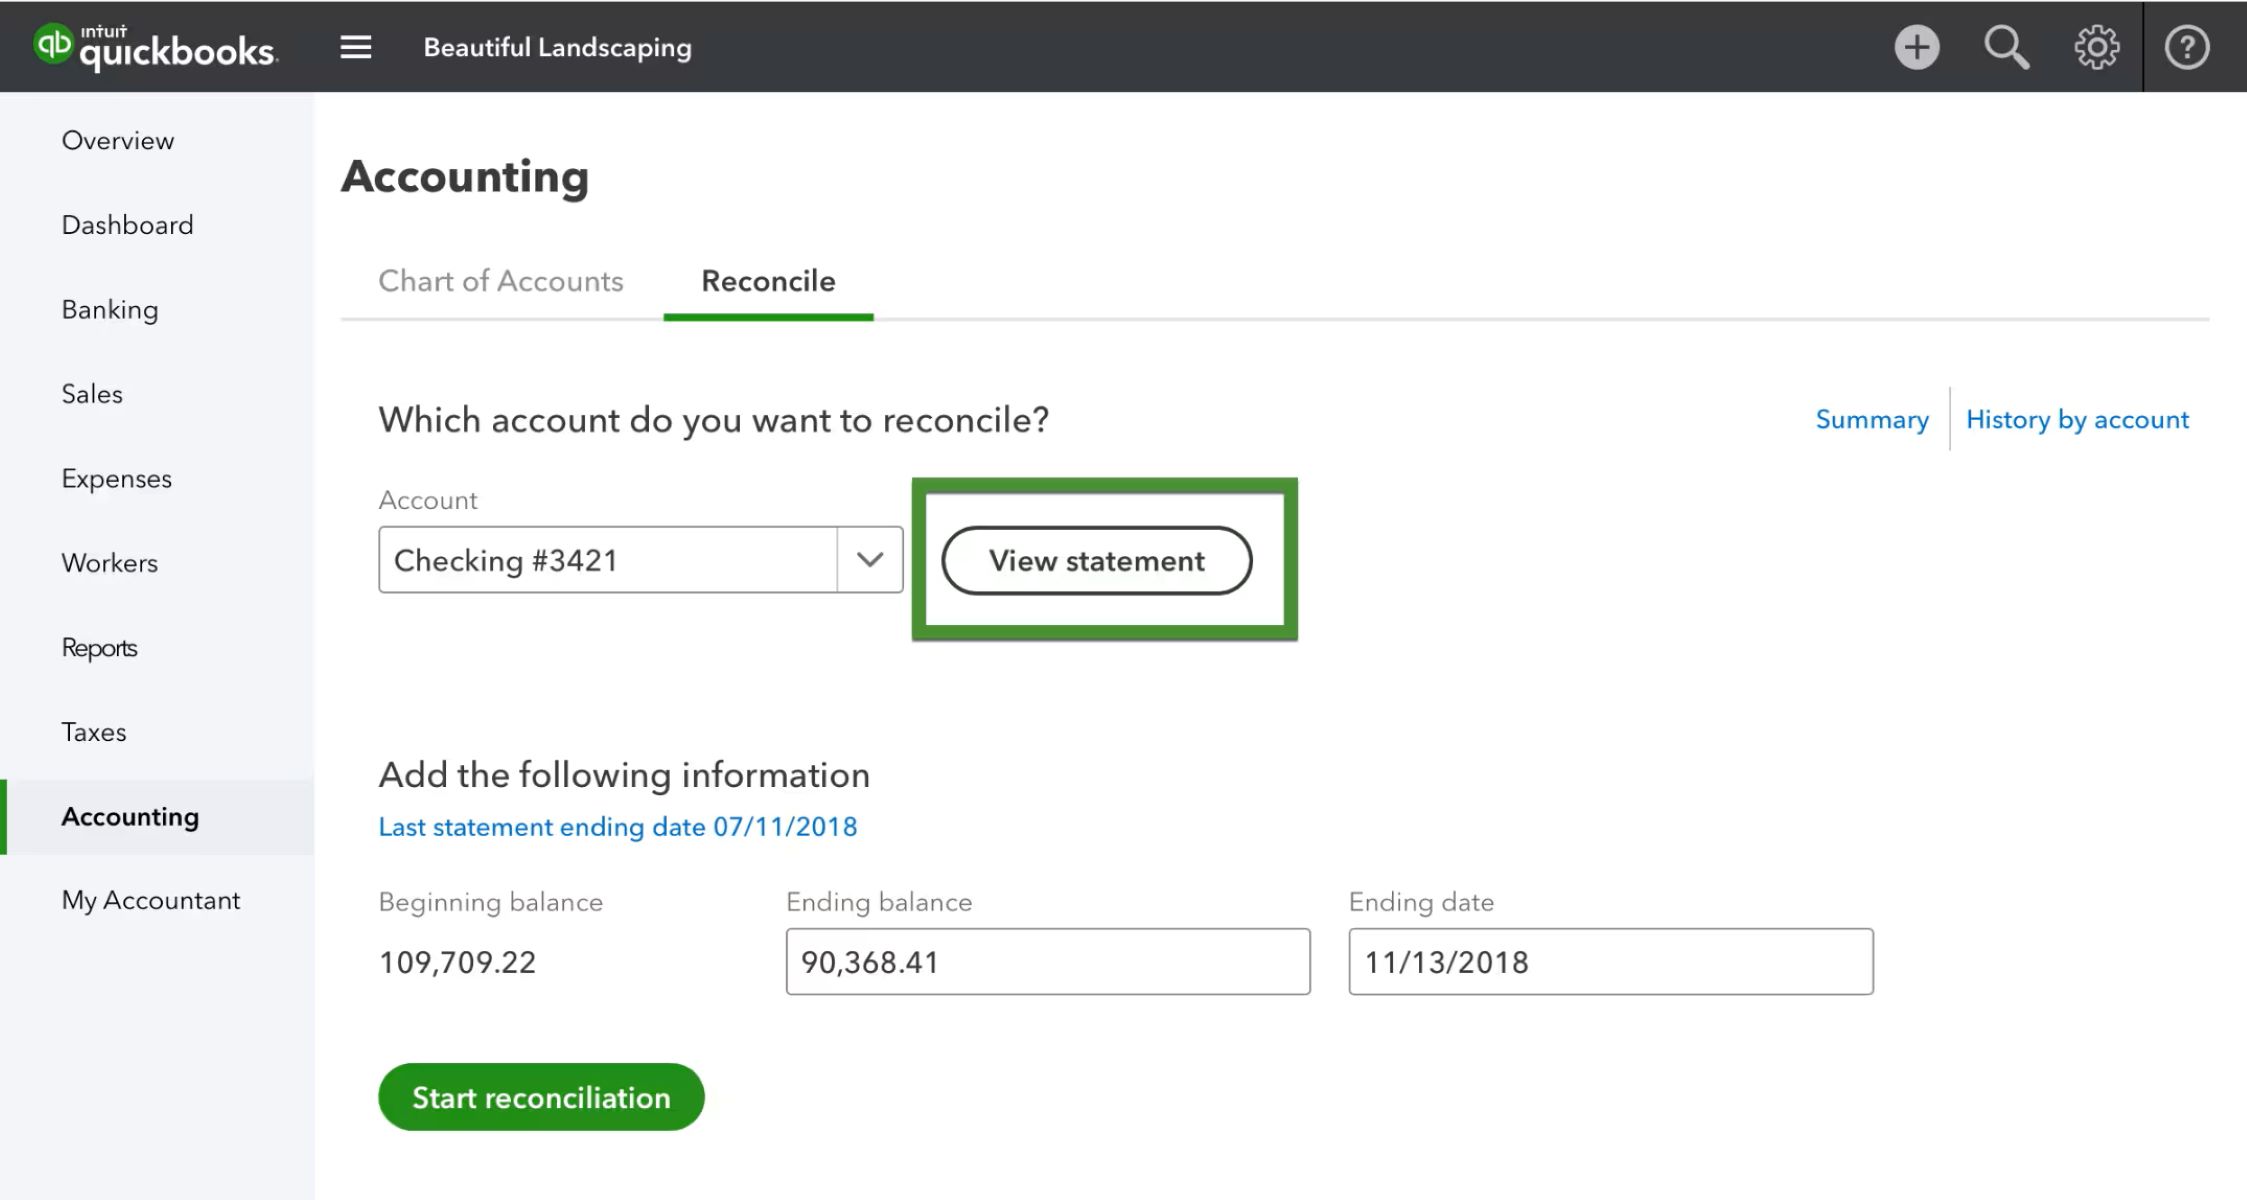
- In QuickBooks, navigate to the Banking tab and select the account you want to reconcile.
- Click on the “Reconcile” button, which is typically located near the top-right corner of the page.
- Enter the statement date and ending balance from your bank statement into the reconciliation window in QuickBooks.
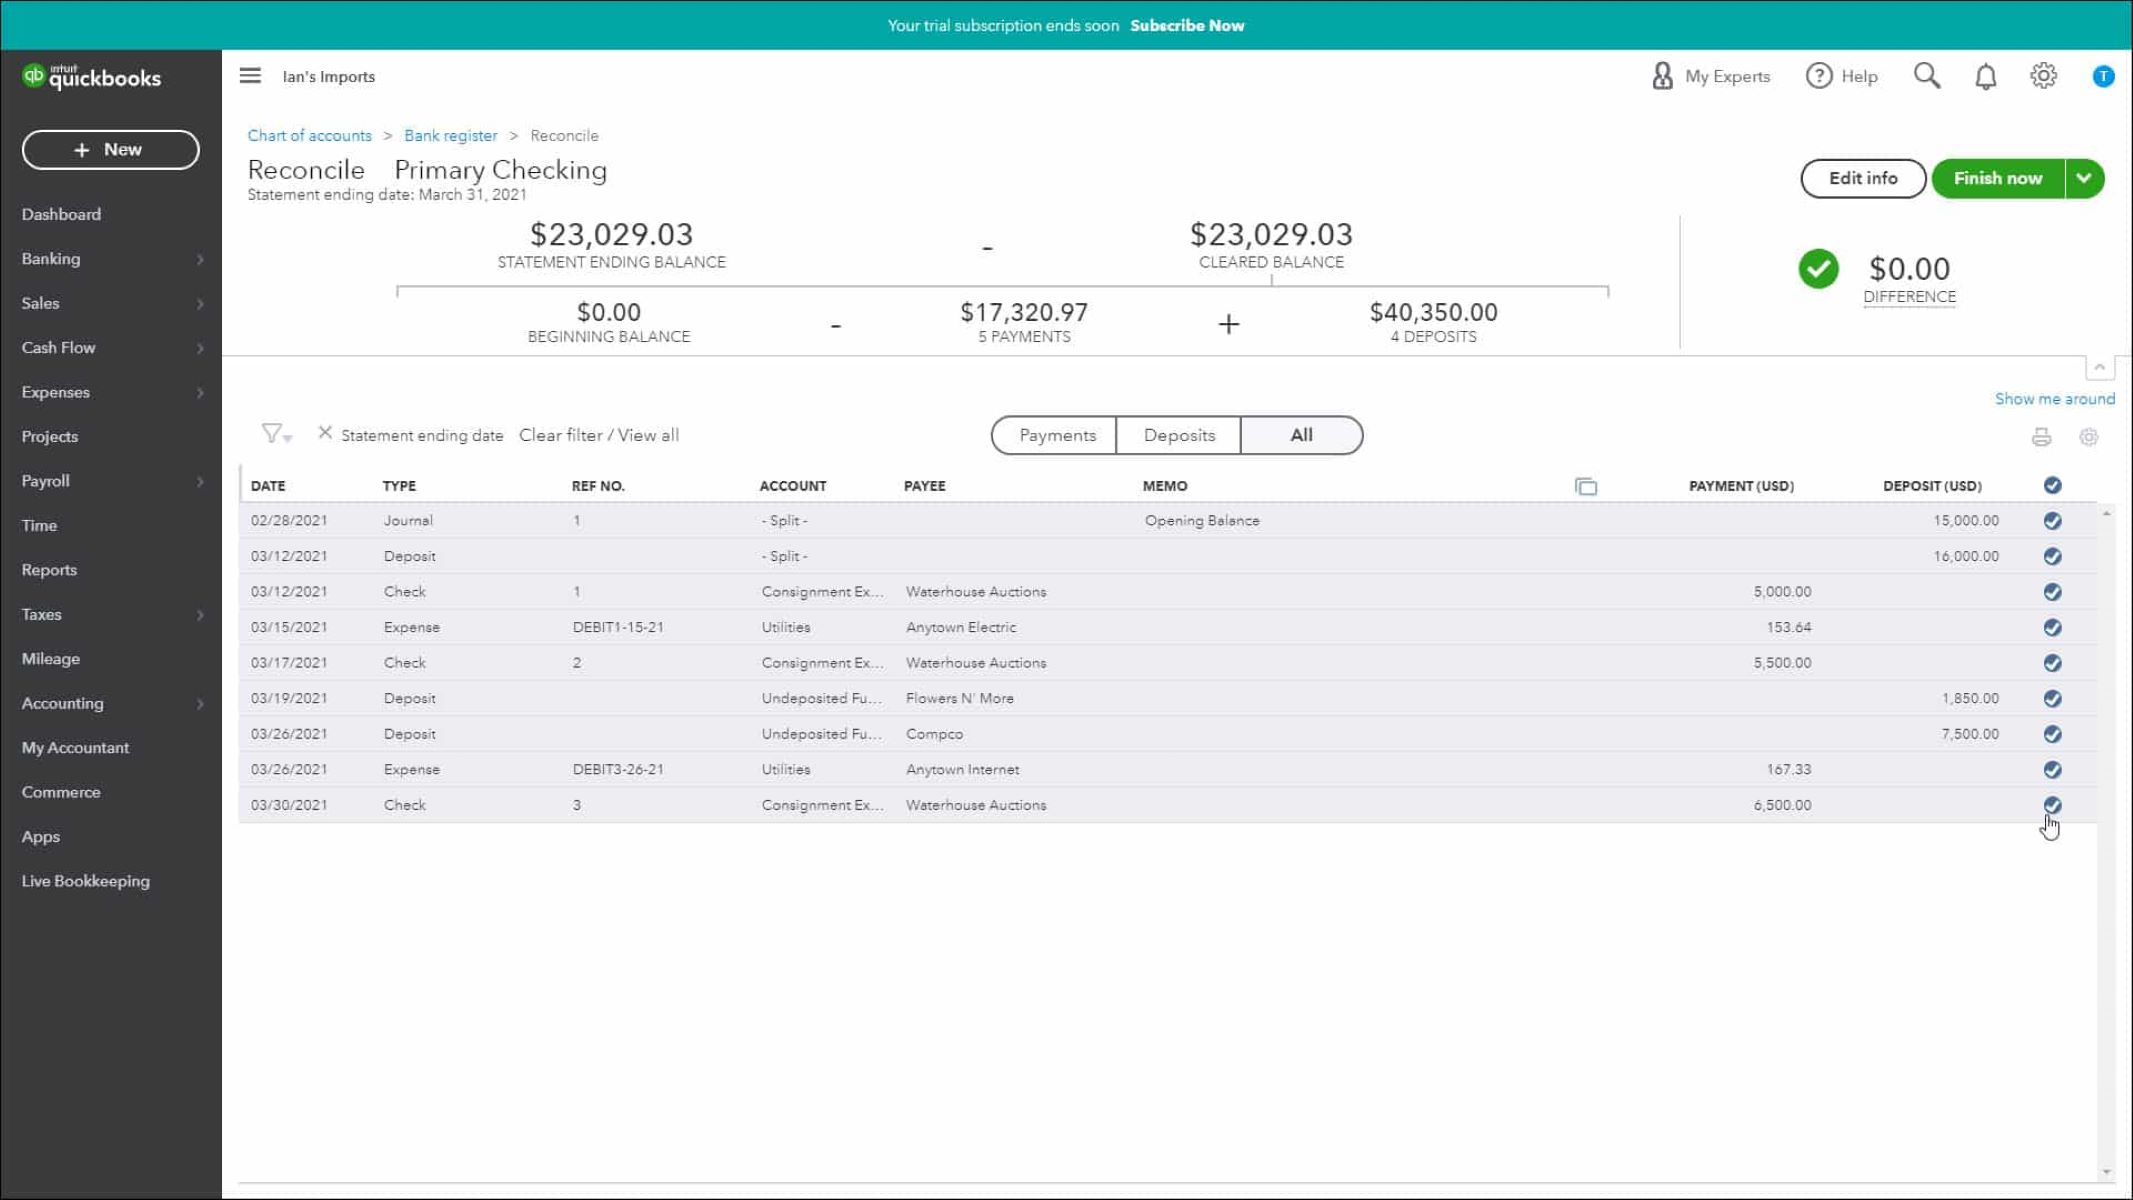
- Review the list of transactions in QuickBooks and mark them as “cleared” if they match the transactions listed on your bank statement.
- If there are any discrepancies or missing transactions, investigate them further and take appropriate action, such as recording missing transactions or correcting errors.
- Once you have matched and cleared all the transactions, ensure that the difference between the bank statement balance and QuickBooks balance is zero. If there is a discrepancy, you may need to double-check your transactions or consult with your accountant.
- Once the reconciliation is complete and balanced, click on the “Finish Now” or “Reconcile Now” button to finalize the reconciliation process.
Reconciling your bank statement in QuickBooks is a critical step to ensure the accuracy of your financial records. It helps identify any discrepancies, errors, or fraudulent activity, allowing you to make necessary adjustments and maintain the integrity of your accounts.
By completing the reconciliation process, you can have confidence in the accuracy of your financial records and make informed decisions based on reliable and up-to-date information.
Congratulations! You have successfully completed the process of uploading and reconciling your bank statement in QuickBooks. With your accounts reconciled, you can now rely on QuickBooks to provide accurate financial insights and help you manage your business more effectively.
Conclusion
Uploading bank statements to QuickBooks is a valuable process that can save time, reduce errors, and provide you with accurate financial records. By following the step-by-step guide outlined in this article, you can efficiently import your bank statements into QuickBooks, ensuring that your transactions are properly recorded and categorized.
Starting with gathering your bank statements and logging in to your QuickBooks account, each step plays a crucial role in the overall process. From accessing the Banking tab and selecting the account, to importing the bank statement and mapping the columns, you have learned how to accurately transfer your financial data into QuickBooks.
By confirming the upload, reviewing the imported transactions in detail, and finally reconciling the bank statement, you ensure the accuracy and reliability of your financial records. This allows you to make informed business decisions and maintain a clear picture of your company’s financial health.
Remember, it’s essential to review and reconcile your bank statements regularly to keep your records up to date. This process, when performed consistently and accurately, will help you identify any discrepancies, errors, or fraudulent activity that may occur.
By incorporating these practices into your financial management routine, you can leverage the power of QuickBooks to streamline your bookkeeping tasks and maintain accurate financial records. It’s crucial to stay organized, keep your accounts up to date, and consult with professionals if you have any questions or need assistance with more complex accounting tasks.
Now that you have completed this step-by-step guide, you are equipped with the knowledge and skills to successfully upload your bank statements to QuickBooks. Take advantage of this powerful tool to optimize your financial management and focus on growing your business with confidence.


