Introduction
Are you looking to transform your Nook Color into a fully functional Android tablet? With a few simple steps, you can unlock the potential of your device and open up a world of possibilities. By installing the Android operating system and Google Apps on your Nook Color, you can enjoy access to a wide range of applications, games, and multimedia content.
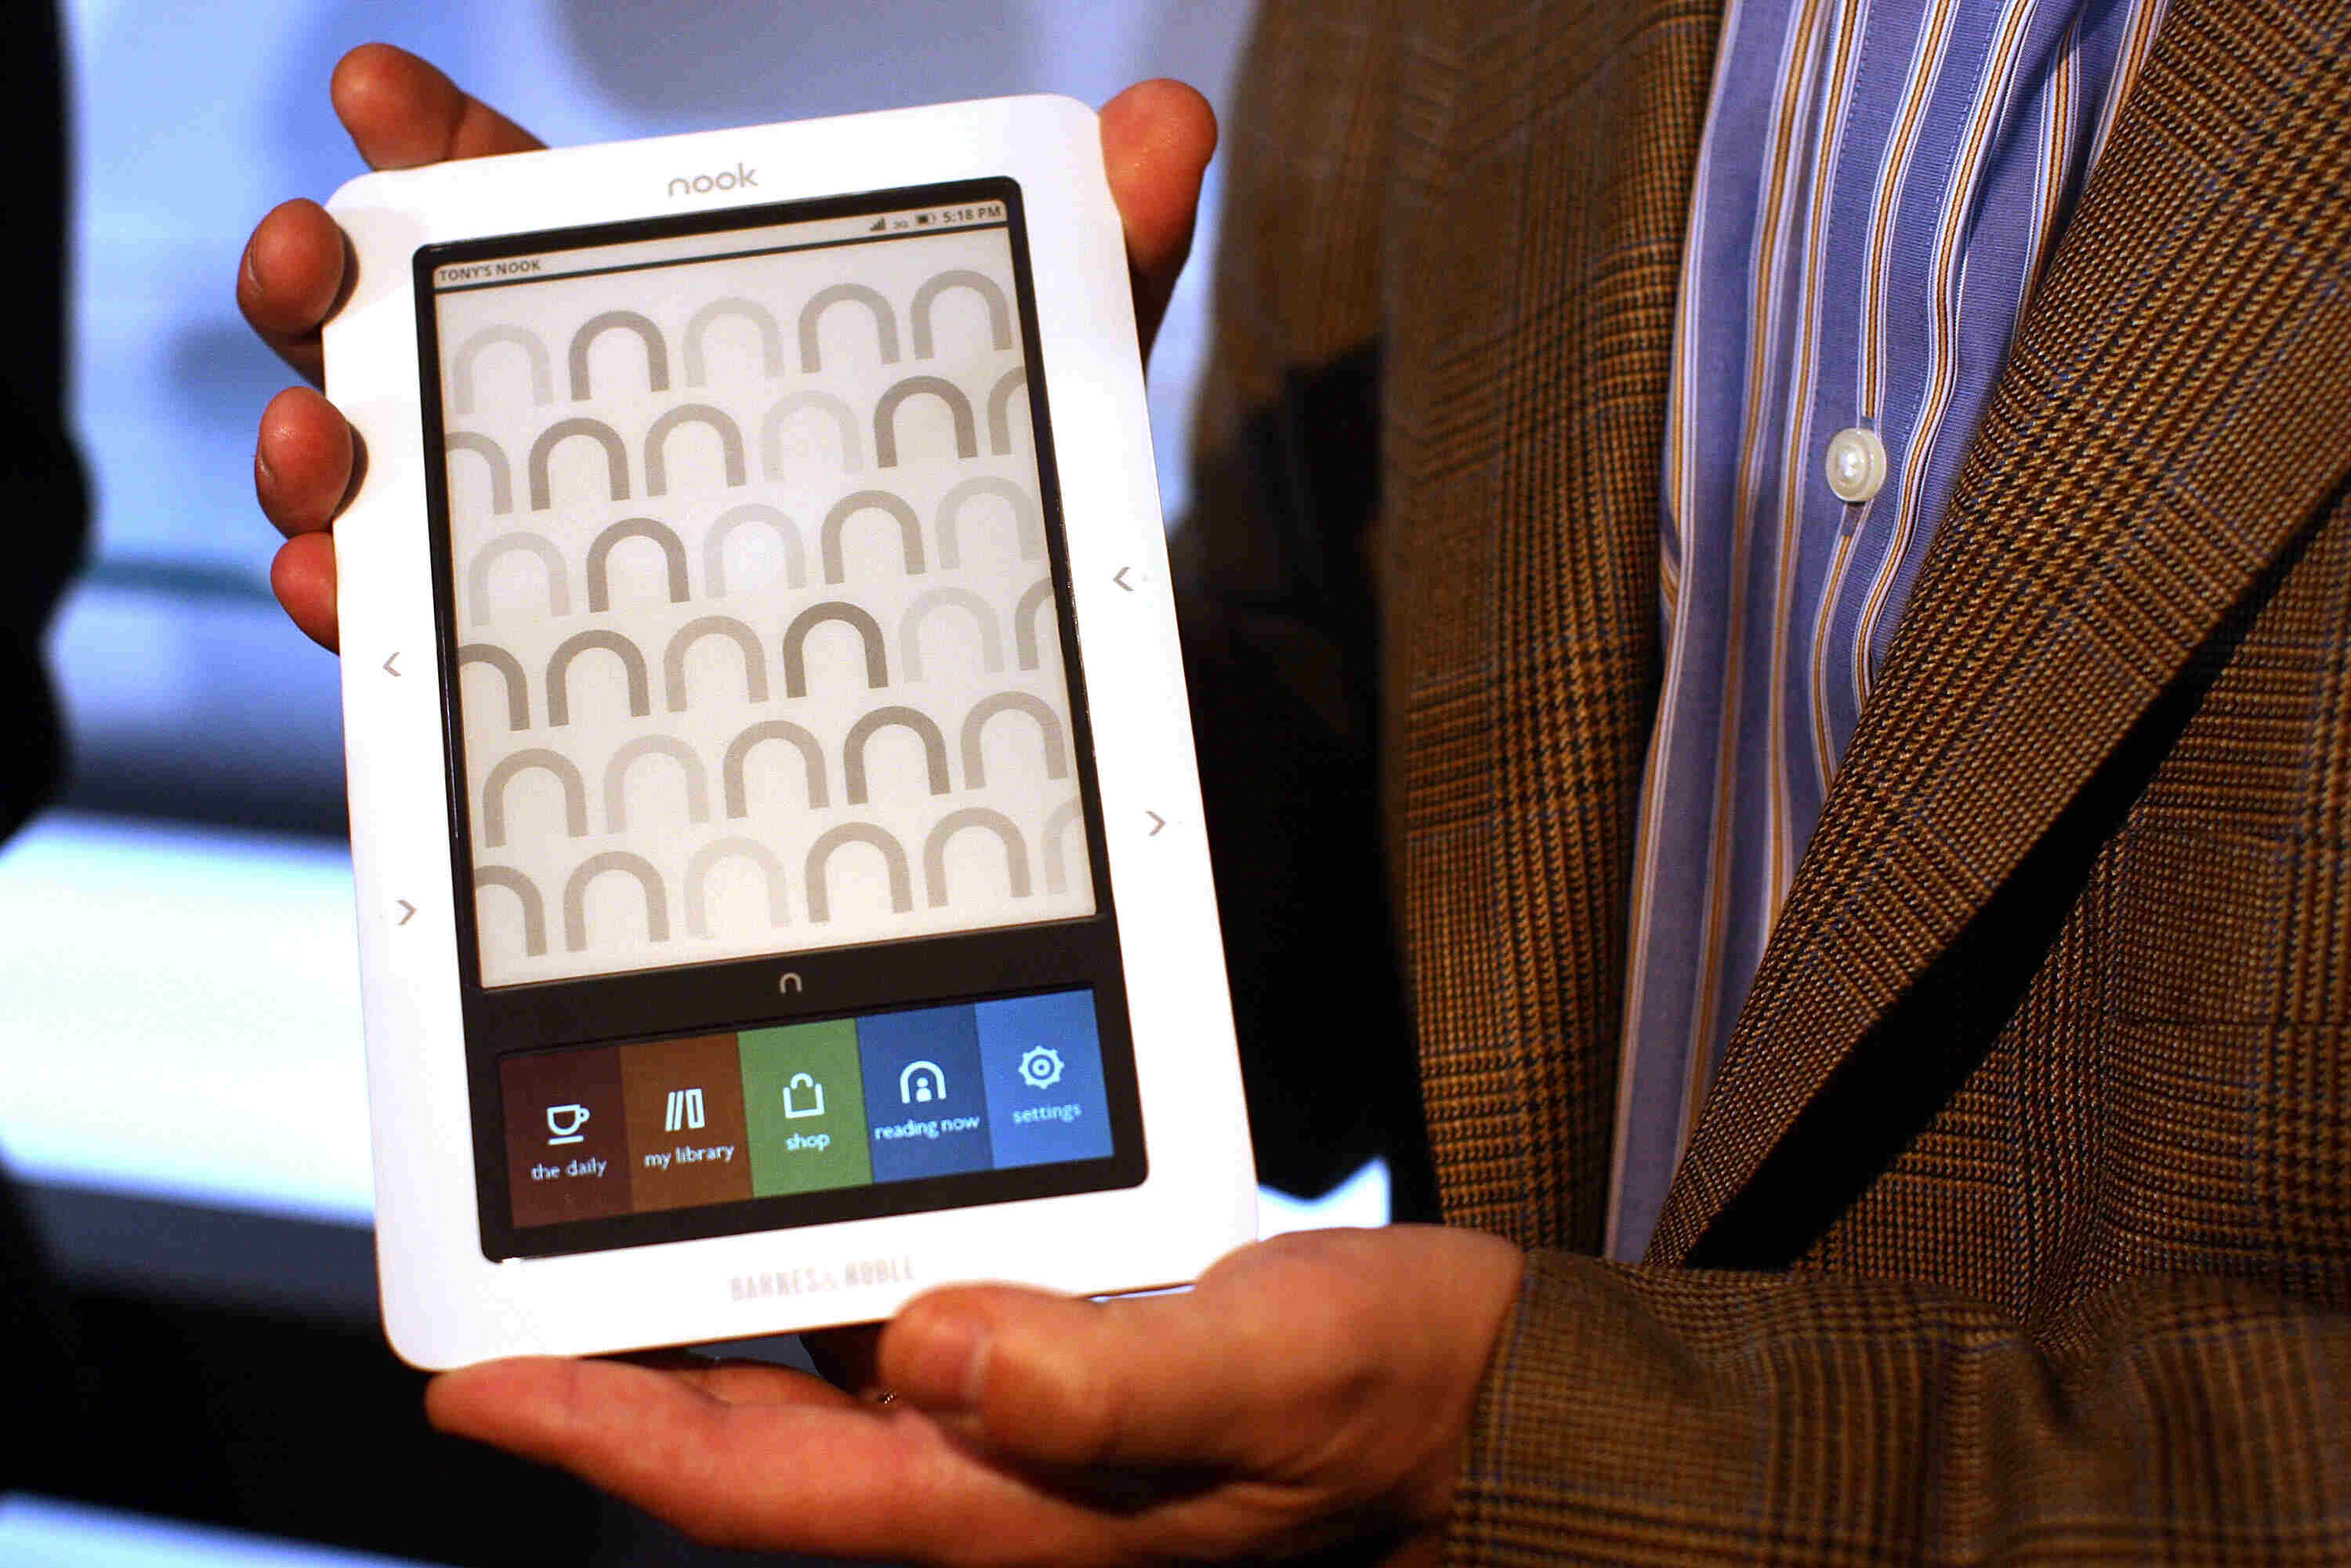
The Nook Color, originally designed as an e-reader by Barnes & Noble, can be easily modified to run Android, allowing you to browse the web, stream videos, use social media apps, and much more. This process, often referred to as “rooting,” gives you complete control over your device, enabling you to customize it to your heart’s content.
While rooting your Nook Color does involve some technical steps, don’t let that intimidate you. We will guide you through the process in a simple and straightforward manner, ensuring that you can transform your Nook Color into an Android tablet with ease.
By the end of this guide, you will have a fully functioning Android tablet that can enhance your digital experience and offer a new level of versatility.
So, if you’re ready to unlock the full potential of your Nook Color and take it to the next level, let’s dive right into the steps required to turn your Nook Color into an Android tablet!
Step 1: Prepare Your Nook Color
Before you begin the process of transforming your Nook Color into an Android tablet, there are a few things you need to do to prepare your device:
- Backup Your Nook Color: It is important to back up any important files, documents, or media on your Nook Color before proceeding. This ensures that you don’t lose any data during the rooting process. Connect your Nook Color to your computer and transfer all necessary files to a safe location.
- Charge Your Nook Color: Ensure that your Nook Color has a sufficient battery charge before initiating the rooting process. This will prevent any interruption during the installation of the Android operating system.
- Enable Developer Options: To enable the Developer Options on your Nook Color, go to the “Settings” menu, tap on “About”, and find the “Build Number.” Tap on the “Build Number” multiple times until you see a message confirming that Developer Options have been enabled.
- Enable USB Debugging: Once Developer Options have been enabled, go back to the “Settings” menu and locate “Developer Options.” Enable “USB Debugging” to allow your computer to communicate with your Nook Color during the rooting process.
- Disable Software Updates: To prevent any automatic updates from interfering with the rooting process, navigate to the “Settings” menu, tap on “Device Info”, and select “Software Updates.” Disable the option for automatic updates.
By following these preparatory steps, you are ensuring that your Nook Color is ready for the rooting process. Taking the time to back up your files, charge your device, enable developer options and USB debugging, and disable software updates will help to minimize any potential issues that could arise during the installation of the Android operating system.
Step 2: Download and Install Nook Manager
Once you have prepared your Nook Color, the next step is to download and install Nook Manager, which is a crucial tool that will facilitate the rooting process:
- Download Nook Manager: Start by visiting the Nook Manager website or a trusted third-party source that hosts the Nook Manager file. Look for the latest version of Nook Manager that is compatible with your Nook Color.
- Transfer Nook Manager to Your Device: Connect your Nook Color to your computer using a USB cable and transfer the downloaded Nook Manager file to the root directory of your device’s internal storage. Ensure that you place it directly in the main folder, not in any subfolders.
- Enter Recovery Mode: With your Nook Color still connected to the computer through the USB cable, power it off completely. Then, press and hold the “N” button on the front of your device, and simultaneously press the power button. Keep holding both buttons until your Nook Color enters the recovery mode menu.
- Select “Install Zip from SD Card”: In the recovery mode menu, use the volume up and down buttons to navigate and the “N” button to select options. Scroll down to the “Install Zip from SD Card” option and press the “N” button to select it.
- Select the Nook Manager File: Locate the Nook Manager file that you transferred to your device in step 2. Use the volume buttons to navigate to the file and the “N” button to select it. Confirm the installation process when prompted.
- Reboot Your Nook Color: After the installation process is complete, select the option to reboot your device from the recovery mode menu. Your Nook Color will restart and load the newly installed Nook Manager.
By downloading and installing Nook Manager, you are preparing your Nook Color for the subsequent steps in the rooting process. This powerful tool will provide you with the necessary functions and features to successfully transform your Nook Color into an Android tablet.
Now that you have Nook Manager installed on your device, you are ready to move on to the next steps in the process of turning your Nook Color into an Android tablet!
Step 3: Set Up an SD Card for Your Nook Color
In this step, we will guide you through the process of setting up an SD card for your Nook Color. This is a necessary step that will allow you to install the Android operating system and other essential files:
- Select the Right SD Card: Ensure that you have a compatible SD card for your Nook Color. Look for a microSD card with a sufficient storage capacity (at least 8GB) and a reliable brand. The SD card will serve as the “bootable” card that contains the Android operating system and other necessary files.
- Format the SD Card: Connect the SD card to your computer using an SD card reader. Open the file explorer and locate the SD card. Right-click on it and select the option to format the card. Make sure to format it using the FAT32 file system.
- Download the Necessary Files: Visit the Nook Manager website or trusted third-party sources to download the necessary files for setting up the SD card. These files typically include the Android operating system, Google Apps, and other essential components. Ensure that you download the files compatible with your Nook Color model.
- Transfer Files to the SD Card: Once the files are downloaded, transfer them to the root directory of the formatted SD card. Ensure that you place them directly in the main folder without creating any subfolders.
- Eject the SD Card: Safely eject the SD card from your computer to ensure that all files are properly saved. Remove the SD card from the card reader.
By setting up an SD card for your Nook Color, you are creating a bootable card that will allow you to install the Android operating system and other essential files. This step ensures that your Nook Color is ready to transition into an Android tablet with ease.
With the SD card properly prepared, you can now proceed to the next step, where we will guide you through accessing the Nook Color recovery menu.
Step 4: Accessing the Nook Color Recovery Menu
In order to continue the process of turning your Nook Color into an Android tablet, you will need to access the Nook Color Recovery Menu. This menu allows you to install the necessary files from the SD card and initiate the rooting process:
- Power Off Your Nook Color: Start by powering off your Nook Color completely. Press and hold the power button until the device shuts down.
- Enter Recovery Mode: With your Nook Color powered off, press and hold both the volume up and volume down buttons simultaneously. While holding these buttons, press the power button once to turn on the device.
- Navigate the Recovery Menu: Once your Nook Color enters the recovery mode, you will see a menu with several options. Use the volume up and down buttons to navigate through the options, and use the power button to select the desired option.
- Wipe Data/Factory Reset: In the recovery menu, locate the option for “Wipe Data/Factory Reset” and select it. This will delete all existing data on your Nook Color, so make sure you have a proper backup of any important files.
- Wipe Cache Partition: After performing the factory reset, navigate to the “Wipe Cache Partition” option in the recovery menu and select it. This will clear any cached data on your device.
- Install the Android Operating System and Google Apps: In the recovery menu, find the option to “Install Zip from SD Card”. Select it, and then choose the file that contains the Android operating system and Google Apps. Confirm the installation process when prompted.
- Reboot Your Nook Color: Once the installation is complete, go back to the recovery menu and select the option to reboot your Nook Color. Your device will restart, and you will now have an Android tablet at your disposal.
By successfully accessing the Nook Color Recovery Menu and installing the Android operating system and Google Apps, you are one step closer to fully transforming your Nook Color into an Android tablet. Stay tuned for the next step, where we will guide you through installing Google Apps on your device to unlock its full potential.
Step 5: Installing Google Apps on Your Nook Color
Now that you have successfully installed the Android operating system on your Nook Color, it’s time to add the essential Google Apps to enhance its functionality. By following these steps, you can access the Google Play Store, Gmail, Google Maps, and more:
- Download the Google Apps Package: Visit a trusted source or the Open GApps website to download the compatible Google Apps package for your Nook Color. Make sure to select the package that matches your Android version and device architecture.
- Transfer the Google Apps Package to Your Nook Color: Connect your Nook Color to your computer using a USB cable. Transfer the downloaded Google Apps package to the root directory of your device’s internal storage or the SD card if you prefer.
- Access the Nook Color Recovery Menu: Power off your Nook Color and enter the recovery menu following the steps outlined in the previous section. Choose the option to “Install Zip from SD Card” and select the Google Apps package zip file that you transferred in step 2.
- Confirm Installation: Once you have selected the Google Apps package, confirm the installation process by following the prompts. The recovery menu will display the installation progress, and once it is complete, you can proceed to the next step.
- Reboot Your Nook Color: After the installation is finished, go back to the recovery menu and select the option to reboot your Nook Color. This will restart your device, and you will have access to the full suite of Google Apps.
- Set Up Your Google Account: When your Nook Color restarts, you will be prompted to set up your Google account. Follow the on-screen instructions to log in or create a new account. Once you sign in, you can start using Google Play Store, Gmail, and other Google Apps.
By installing Google Apps on your Nook Color, you are expanding its functionality and gaining access to a multitude of applications and services offered by Google. From productivity tools to games and entertainment, these apps will greatly enhance your Android tablet experience.
Congratulations, you have successfully installed Google Apps on your Nook Color! In the next step, we will provide some additional tips and tricks to optimize your device and make the most out of its newfound Android capabilities.
Step 6: Enjoy Your Nook Color as an Android Tablet
Congratulations, you have successfully transformed your Nook Color into a fully functional Android tablet! Now, it’s time to explore and make the most of your device’s newfound capabilities. Here are some tips and tricks to help you get started:
- Explore the Google Play Store: Open the Google Play Store on your Nook Color and browse through the vast collection of apps, games, and digital content. Download your favorite applications and customize your tablet to suit your needs and interests.
- Sync Your Accounts: Connect your social media accounts, email accounts, and cloud storage services to your Nook Color. This will enable you to stay connected, receive notifications, and access your files from your Android tablet.
- Customize Your Home Screen: Personalize your Nook Color by customizing the home screen and adding widgets, shortcuts, and wallpapers. You can rearrange the icons and create folders to keep your apps organized and easily accessible.
- Install Productivity Apps: Download productivity apps like Microsoft Office, note-taking apps, and calendar apps to transform your Nook Color into a productivity powerhouse. This will allow you to work on documents, stay organized, and manage your tasks efficiently.
- Stream Movies and TV Shows: Install streaming apps like Netflix or Hulu to enjoy your favorite movies and TV shows on your Android tablet. With a larger screen compared to a traditional e-reader, your Nook Color will provide an enhanced entertainment experience.
- Connect Bluetooth Devices: Pair your Nook Color with Bluetooth-enabled devices such as speakers, headphones, or keyboards to enhance your audio experience or improve typing efficiency.
- Stay Updated: Regularly check for system and app updates to ensure that your Nook Color is running smoothly and benefiting from the latest features, bug fixes, and security enhancements.
With these tips in mind, you are ready to fully enjoy your Nook Color as an Android tablet. From entertainment and productivity to staying connected and organized, your Nook Color will now serve as a versatile device that caters to your personal and professional needs.
Remember to explore and experiment with different apps and features to make the most of your Android tablet experience. Have fun customizing, discovering new apps, and getting the most out of your Nook Color!
Conclusion
Congratulations on successfully transforming your Nook Color into a powerful Android tablet! By following the steps outlined in this guide, you have unlocked the full potential of your device and opened up a world of possibilities.
From the initial preparation and installation of Nook Manager to the setup of an SD card and the installation of the Android operating system and Google Apps, each step has brought you closer to a fully functional Android tablet experience. With access to the Google Play Store, you can now explore and download a wide range of apps, games, and digital content to personalize your device and make it truly yours.
Using your new Android tablet, you can now enjoy features such as web browsing, social media, streaming media, productivity tools, and much more. The larger screen and enhanced capabilities of your Nook Color enrich your entertainment and productivity experience, making it a versatile device for both work and play.
Remember to stay updated with the latest system and app updates to ensure optimal performance and security. Additionally, feel free to explore and discover new apps and features that cater to your specific interests and needs.
Now that you have successfully transformed your Nook Color into an Android tablet, it’s time to make the most of this new digital experience. Enjoy your device, experiment with its capabilities, and embrace the world of possibilities that lie at your fingertips.