Introduction
Welcome to Weverse Live, the exciting platform where fans and artists can connect in real-time. Whether you’re a dedicated fan or just discovering the magic of Weverse, you may have wondered how to turn on subtitles during a Weverse Live stream. Subtitles are a fantastic feature that allow you to enjoy live content with translations or captions in your preferred language.
In this article, we will guide you through the simple steps to enable subtitles on Weverse Live. Whether you’re tuning in to watch your favorite artist perform or joining a live Q&A session, having subtitles can greatly enrich your viewing experience and ensure you don’t miss out on any important details.
Don’t worry if you’re new to Weverse or unsure about navigating the app – we’ve got you covered. By following our step-by-step instructions, you’ll be able to activate subtitles in no time and fully immerse yourself in the captivating world of Weverse Live. So, let’s get started and discover how to make the most of this amazing feature!
Step 1: Open the Weverse app
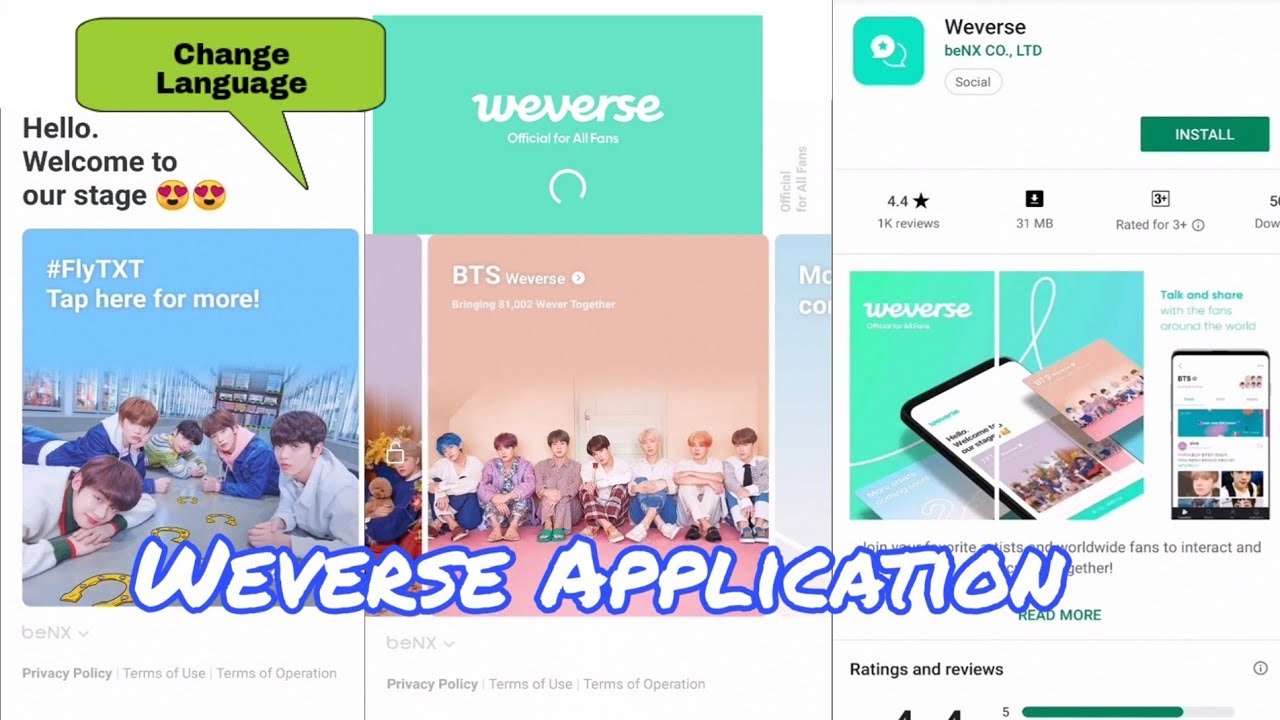
The first step in turning on subtitles during a Weverse Live stream is to open the Weverse app on your mobile device. If you haven’t already installed the app, go to your device’s app store and search for “Weverse”. Once you find the app, download and install it.
After the installation is complete, locate the Weverse app icon on your device’s home screen and tap on it to open the app. The app’s logo features a purple background with a white “W” in the center, making it easy to identify.
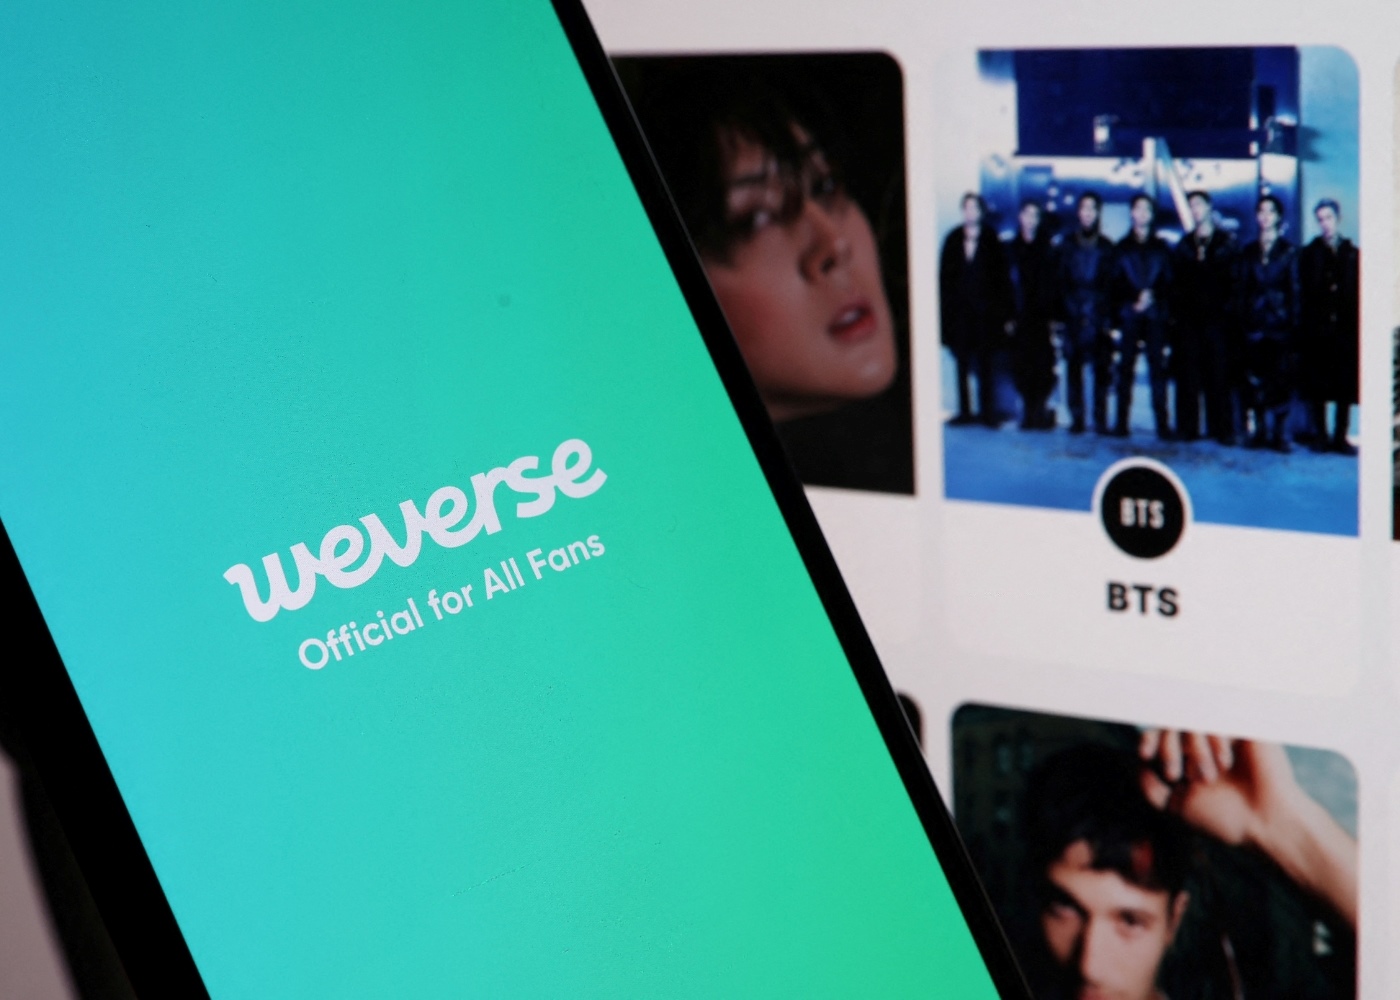
Once you open the Weverse app, you will be greeted by a captivating interface that showcases various artists and their latest updates. Take a moment to explore the app and familiarize yourself with its layout. You will find a range of features, including music, videos, community interactions, and of course, Weverse Live.
If you already have an account, log in using your credentials. If you’re new to Weverse, you can create an account by tapping on the “Sign Up” or “Join” button and following the on-screen instructions. Having an account will allow you to fully access and enjoy all the features Weverse has to offer, including subtitles during live streams.
Once you have successfully logged in or created your account, you’re ready to proceed to the next step and explore the Live section of the Weverse app. So let’s dive in and discover how to find the live streams you’re interested in!
Step 2: Go to the Live section
After opening the Weverse app and logging in, the next step to turning on subtitles during a Weverse Live stream is to navigate to the Live section. This section is where you’ll find all the ongoing and upcoming live streams.
To reach the Live section, look for the navigation menu located either at the bottom or top of the Weverse app interface. The menu typically consists of several icons or labels representing different sections of the app, such as Home, Music, Videos, and more.
Look for the icon or label that represents the Live section – it is usually identified with a small image of a video camera or a live broadcast symbol. Tap on this icon to access the Live section of the Weverse app.
Once you’re in the Live section, you’ll discover a dynamic and engaging display showcasing the ongoing and featured live streams. You may see thumbnails of artists or groups who are currently hosting a live event. Take your time to explore and choose the live stream you wish to watch.
You can scroll through the available live streams or use the search function, typically located at the top of the Live section, to find specific artists or events. Weverse often categorizes live streams by artist, so you can easily filter your search based on your preferences.
Additionally, the Live section may also display upcoming live streams, allowing you to schedule your time and prepare to watch your favorite artists in action. Keep an eye out for notifications or reminders about upcoming live streams, as these will also appear in this section.
Now that you know how to access the Live section and locate the live streams, let’s move on to the next step and learn how to select and start watching the live stream you’re interested in.
Step 3: Select the live stream you want to watch
Once you’re in the Live section of the Weverse app, it’s time to choose the live stream you want to watch. The Live section displays a variety of ongoing and featured live streams, making it easy for you to find an artist or event that piques your interest.
Take a moment to browse through the available live streams. You may see thumbnails or titles of artists or groups who are currently hosting a live event. Scan through the options and look for the stream that you’re eager to watch.
If you have a specific artist or event in mind, you can make use of the search function located at the top of the Live section. Simply type the name of the artist or event into the search bar, and the app will display relevant live streams related to your query.
Once you’ve found the live stream you want to watch, tap on its thumbnail or title to select it. This will take you to the stream’s dedicated page, where you can access additional information and prepare for the streaming experience.
On the dedicated live stream page, you’ll often find details about the artist or group, the event title, and any additional information or announcements related to the stream. This page serves as your gateway to the live stream, allowing you to engage with the content and connect with fellow fans.
Before moving on to the next step of enabling subtitles, double-check if the live stream you’ve selected offers subtitles. In some cases, not all live streams may have subtitles available, depending on various factors such as the language or nature of the event. However, many live streams on Weverse do provide subtitle options, ensuring that language barriers are overcome.
Now that you’ve selected the live stream you want to watch, it’s time to tap into the immersive experience of Weverse Live. In the next step, we will guide you on how to access the video player and enable subtitles for your viewing pleasure.
Step 4: Tap the video player
Once you have selected the live stream you want to watch on the Weverse app, the next step is to tap the video player to access the streaming interface. The video player is where you can view the live stream and interact with the content.
On the dedicated page of the selected live stream, you will find the video player prominently displayed. The video player typically features a large viewing screen with controls and interactive elements that enhance your streaming experience.
To access the video player, simply tap on the screen. This action will activate the player and expand it to full screen, providing you with an optimal view of the live stream. The player may also offer additional options and controls for you to explore.
Once you have tapped the video player, you’ll have a clear view of the live stream and can start immersing yourself in the performance or event. The player interface may include features such as play/pause buttons, volume controls, and timeline indicators, allowing you to customize your viewing experience.
Before we proceed to the next step of enabling subtitles, remember to ensure that you have a stable internet connection. A reliable internet connection will ensure smooth streaming without interruptions, enhancing your overall experience on Weverse Live.
Now that you are ready and have tapped the video player to access the live stream, let’s move on to the exciting part—enabling subtitles to fully understand and enjoy the content being shared by your favorite artists!
Step 5: Enable the subtitles
Now that you have tapped the video player to access the live stream on the Weverse app, it’s time to enable subtitles to enhance your viewing experience. Subtitles provide translations or captions in your preferred language, ensuring that you understand and enjoy the content being shared.
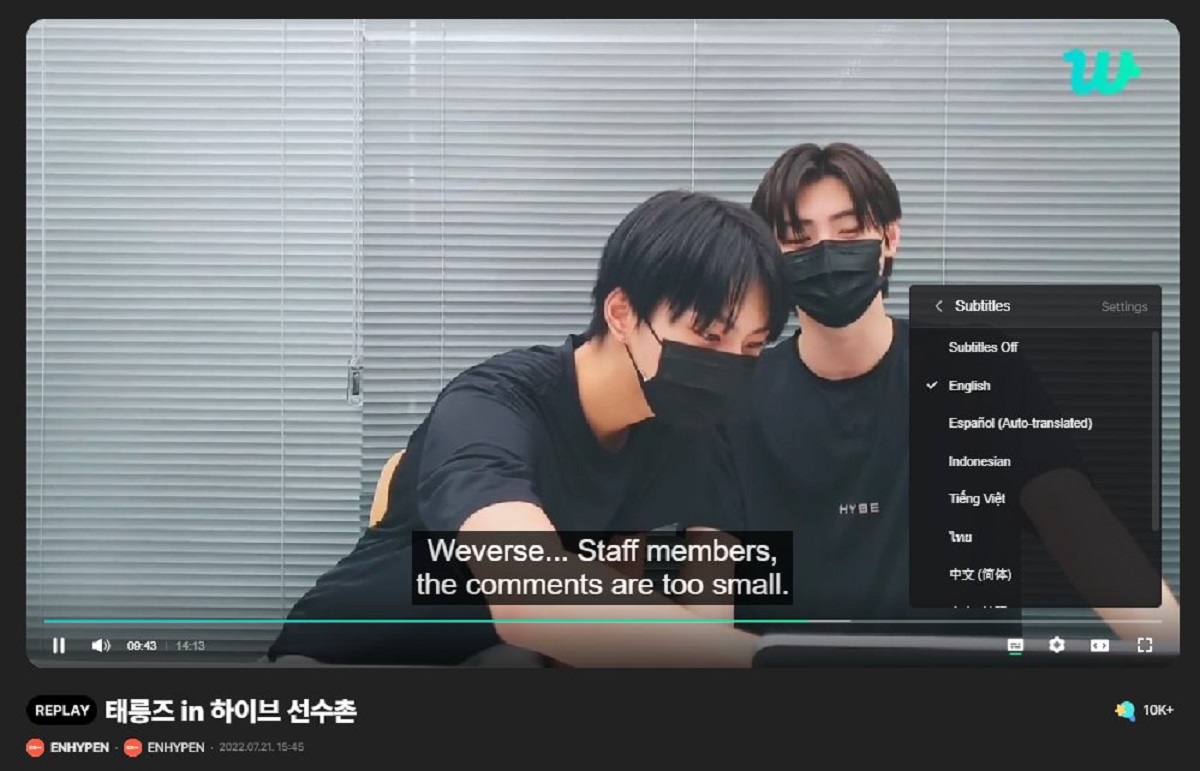
To enable subtitles, look for the subtitle icon or settings within the video player interface. The exact location may vary depending on the Weverse app version or any recent updates.
Once you have located the subtitle option, tap on it to open the subtitle settings. In this menu, you will have various subtitle language options to choose from. Weverse strives to offer a wide range of languages to accommodate fans from all over the world.
Select your preferred subtitle language from the available options. If you don’t see your desired language listed, it may mean that subtitles in that specific language are not available for the particular live stream you are watching.
After selecting the subtitle language, the video player will automatically display the subtitles on the screen, synchronized with the live stream. You can adjust the subtitle display settings, such as font size or style, within the subtitle settings menu, if available.
Now, as the live stream progresses, you will be able to read the subtitles and understand the content being shared by the artists. Subtitles enable you to follow along with their conversations, performances, or any other interactive segments of the live stream.
Having subtitles on Weverse Live ensures that language barriers don’t hinder your enjoyment. It allows you to feel connected to the artist and the community, even if you don’t understand the language being spoken.
Remember, not all live streams on Weverse may have subtitles available, as it can depend on various factors. However, the platform strives to provide subtitles for many of its live streams to cater to a global audience.
With subtitles enabled and the live stream in progress, you can fully immerse yourself in the Weverse Live experience and enjoy the content being shared by your favorite artists.
That brings us to the end of our step-by-step guide on how to turn on subtitles during a Weverse Live stream. By following these simple instructions, you can enhance your viewing experience and connect with the artists and the community on a deeper level.
Now, it’s time to grab some popcorn, sit back, and enjoy the exhilarating performances and engaging interactions on Weverse Live. Happy streaming!
Conclusion
Congratulations! You’ve reached the end of our guide on how to turn on subtitles during a Weverse Live stream. We hope that this step-by-step tutorial has helped you navigate the Weverse app and enhance your viewing experience on Weverse Live.
By opening the Weverse app, exploring the Live section, selecting the live stream you want to watch, tapping the video player, and enabling the subtitles, you’ve unlocked a world of exciting content and interactions with your favorite artists.
Subtitles are a valuable feature that allows you to overcome language barriers and fully understand and appreciate the performances, conversations, and interactions taking place during live streams. Whether you’re a long-time fan or a newcomer to the Weverse community, subtitles ensure that you don’t miss out on any important details.
Remember, not all live streams may have subtitles available, depending on the language or nature of the event. However, Weverse strives to provide subtitles for many of its live streams, catering to fans from around the world.
Now that you know how to enable subtitles on Weverse Live, you can enjoy a more immersive and inclusive experience. So, sit back, relax, and immerse yourself in the captivating world of Weverse Live as you connect with your favorite artists and fellow fans.
We hope you have a fantastic time exploring the diverse range of live streams on Weverse and enjoy the performances, Q&A sessions, and other interactive events. Here’s to many memorable moments on Weverse Live!