Introduction
AirPods, the wireless earbuds by Apple, have gained immense popularity for their seamless connectivity and excellent sound quality. While AirPods are primarily designed for use with Apple devices, they can also be used with Android smartphones. One of the most sought-after features of AirPods is the noise cancellation functionality, which allows users to block out unwanted background noise and immerse themselves in their favorite tunes or podcasts.
If you’re an Android user and want to experience the noise cancellation feature on your AirPods, you may be wondering how to enable it. Fortunately, there is a way to activate noise cancellation on AirPods when using them with an Android device. In this guide, we will walk you through the steps to turn on noise cancellation on AirPods while connected to an Android smartphone.
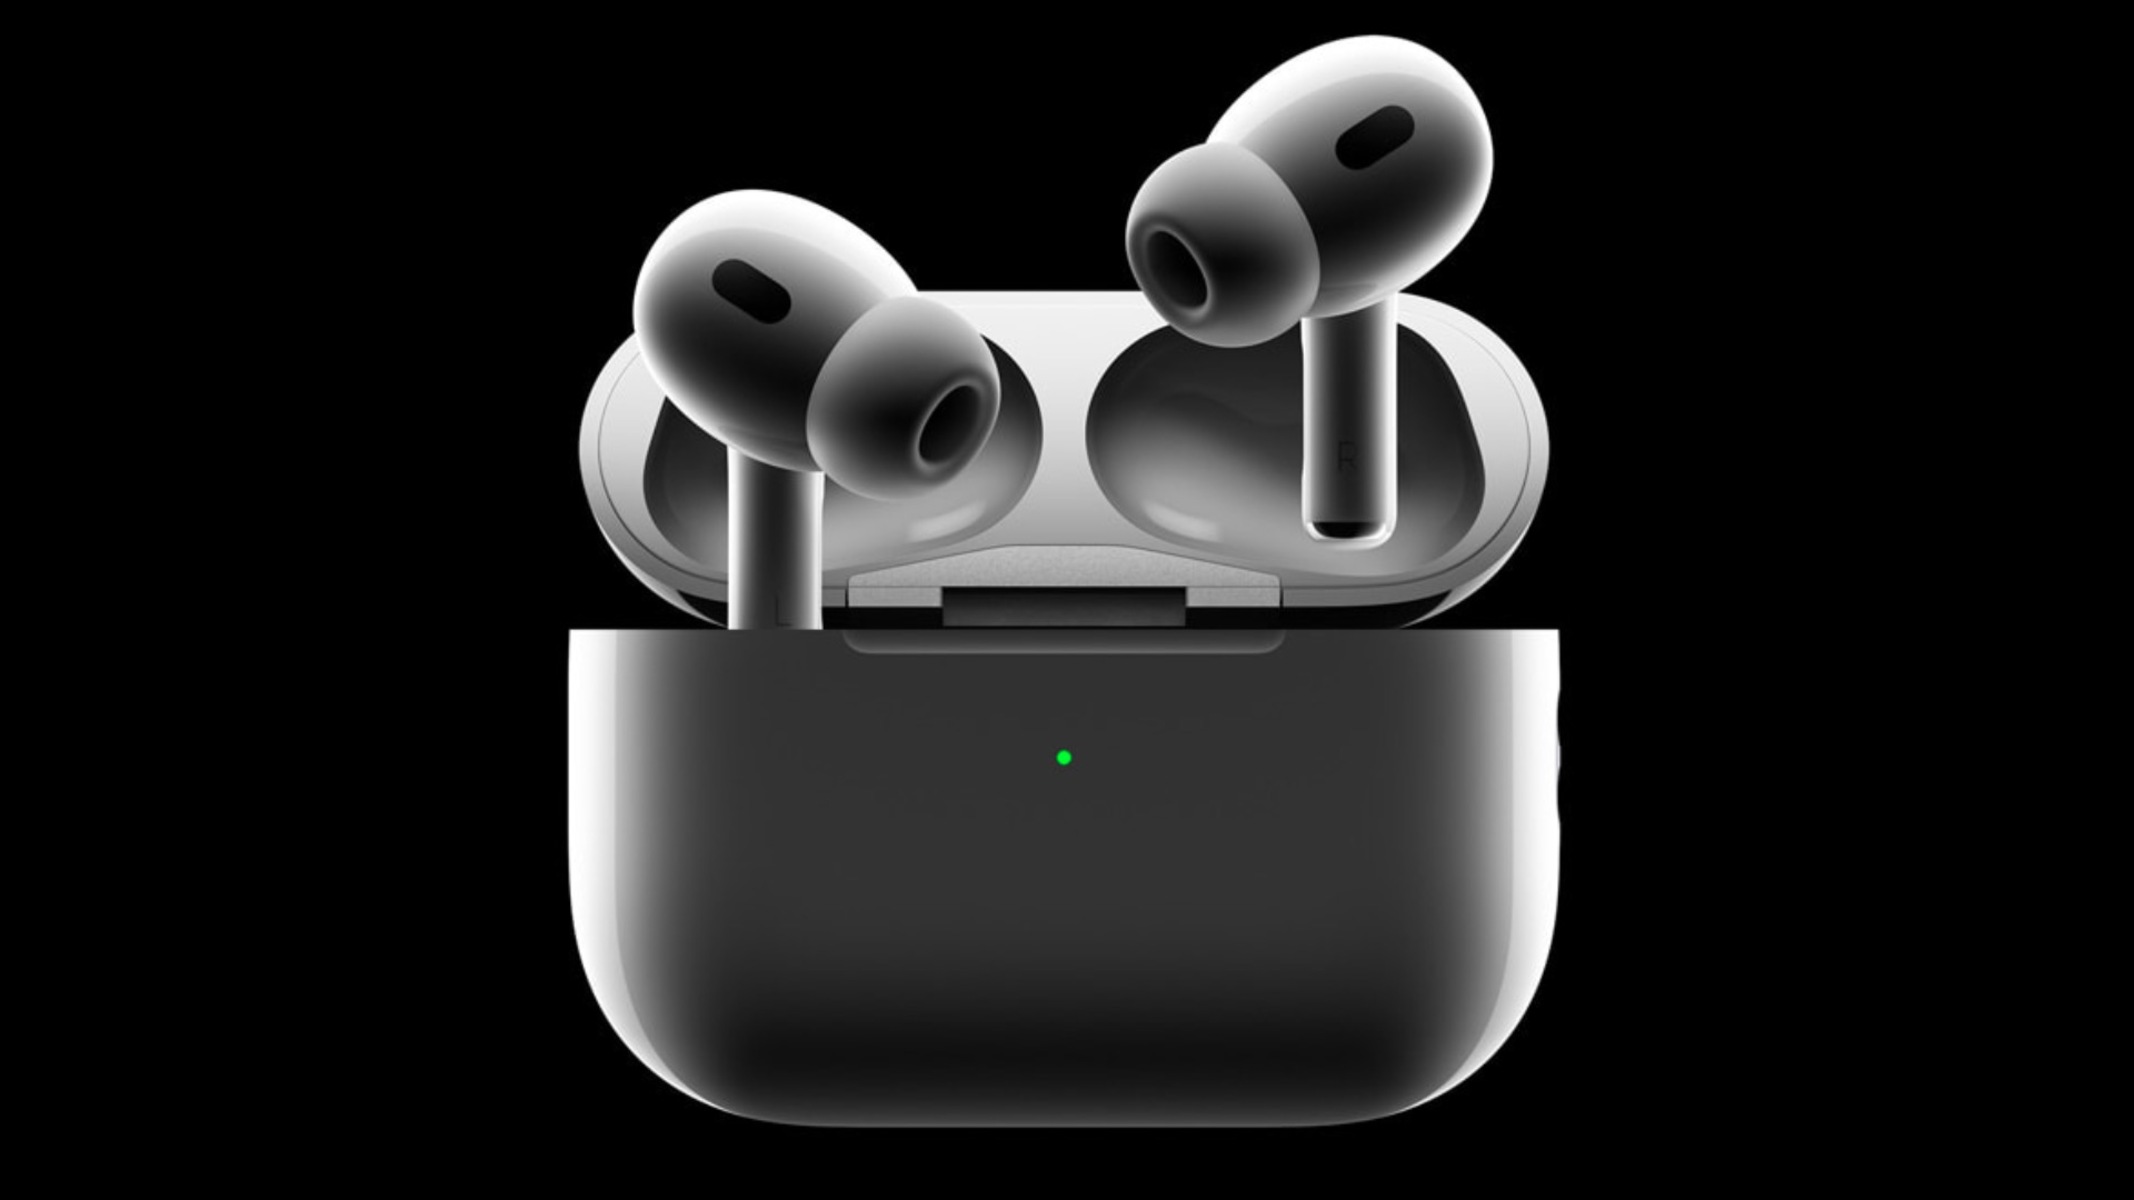
Please note that while AirPods Pro offer active noise cancellation out of the box, the regular AirPods do not have this feature. However, with the help of third-party apps, Android users can still get a similar noise cancellation experience.
Step 1: Check Compatibility
Before proceeding, it’s important to ensure that your AirPods are compatible with your Android device. While AirPods can connect to Android devices via Bluetooth, certain features, such as easy pairing and automatic switching between devices, may be limited or unavailable.
To check compatibility, make sure your Android device supports Bluetooth connectivity. Most Android smartphones and tablets come with built-in Bluetooth capabilities, but it’s always a good idea to double-check your device’s specifications or consult the manufacturer’s website for confirmation.
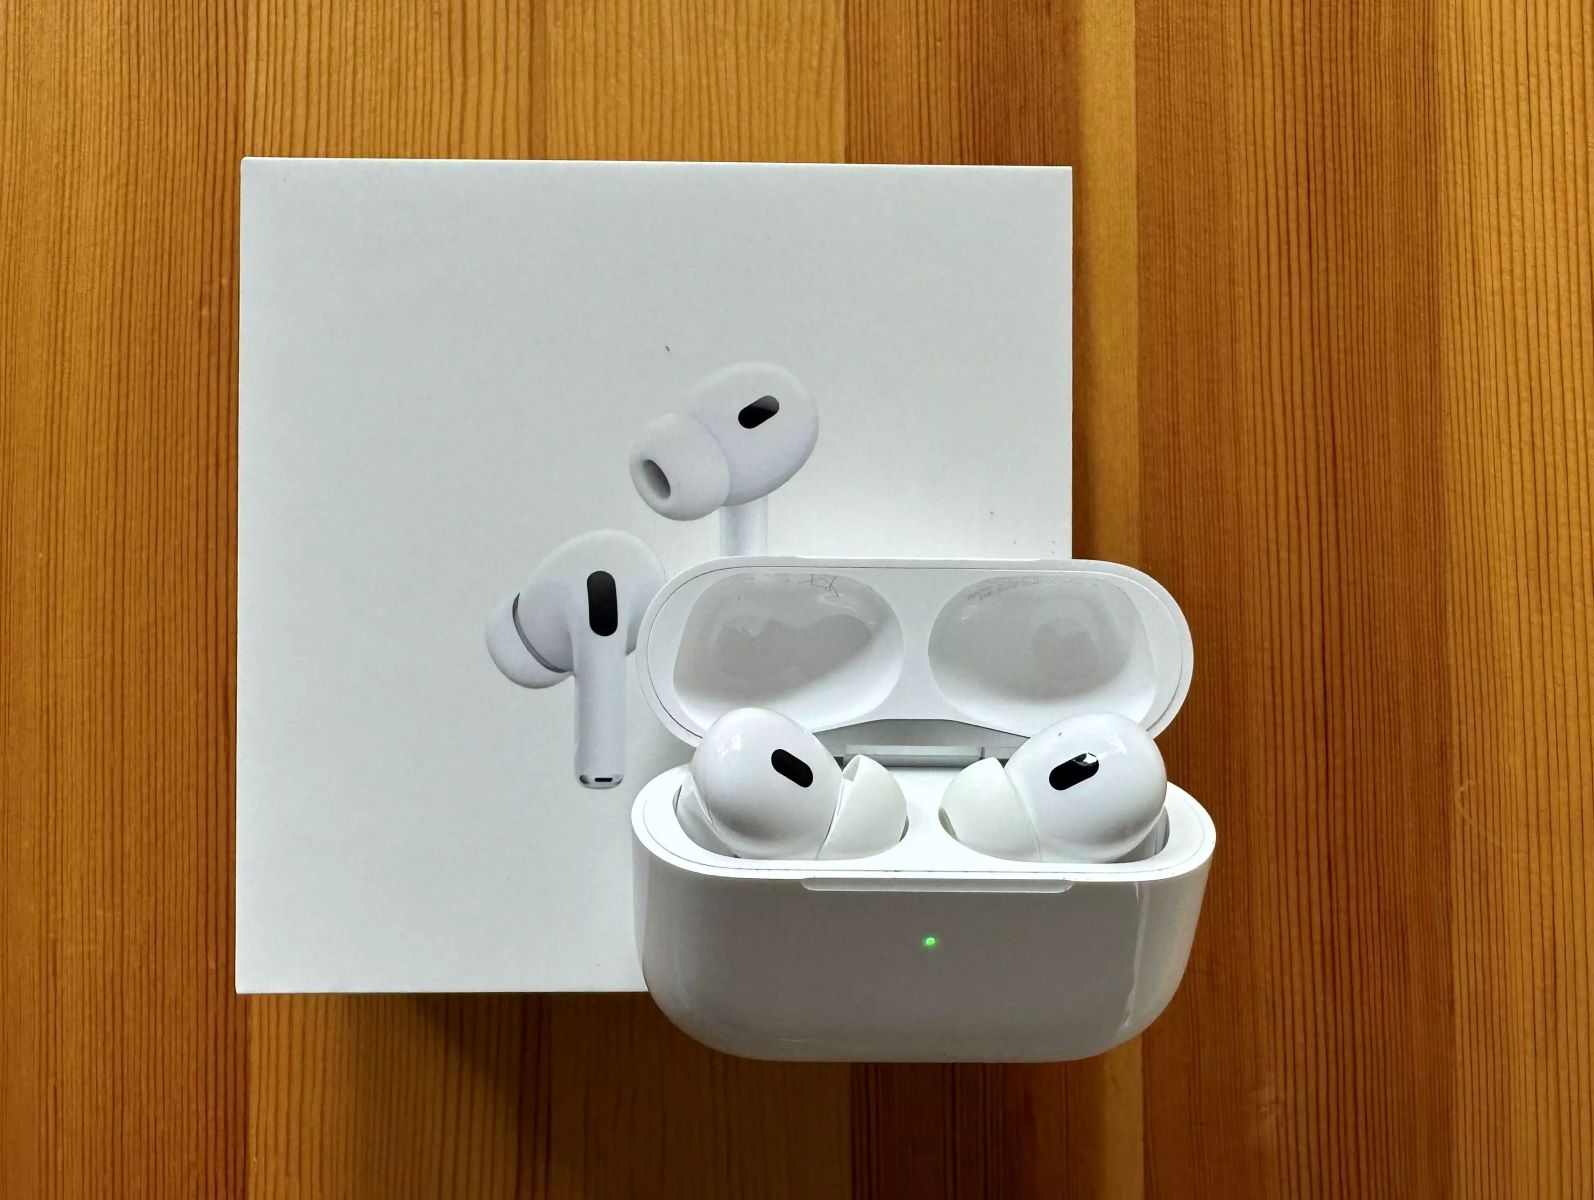
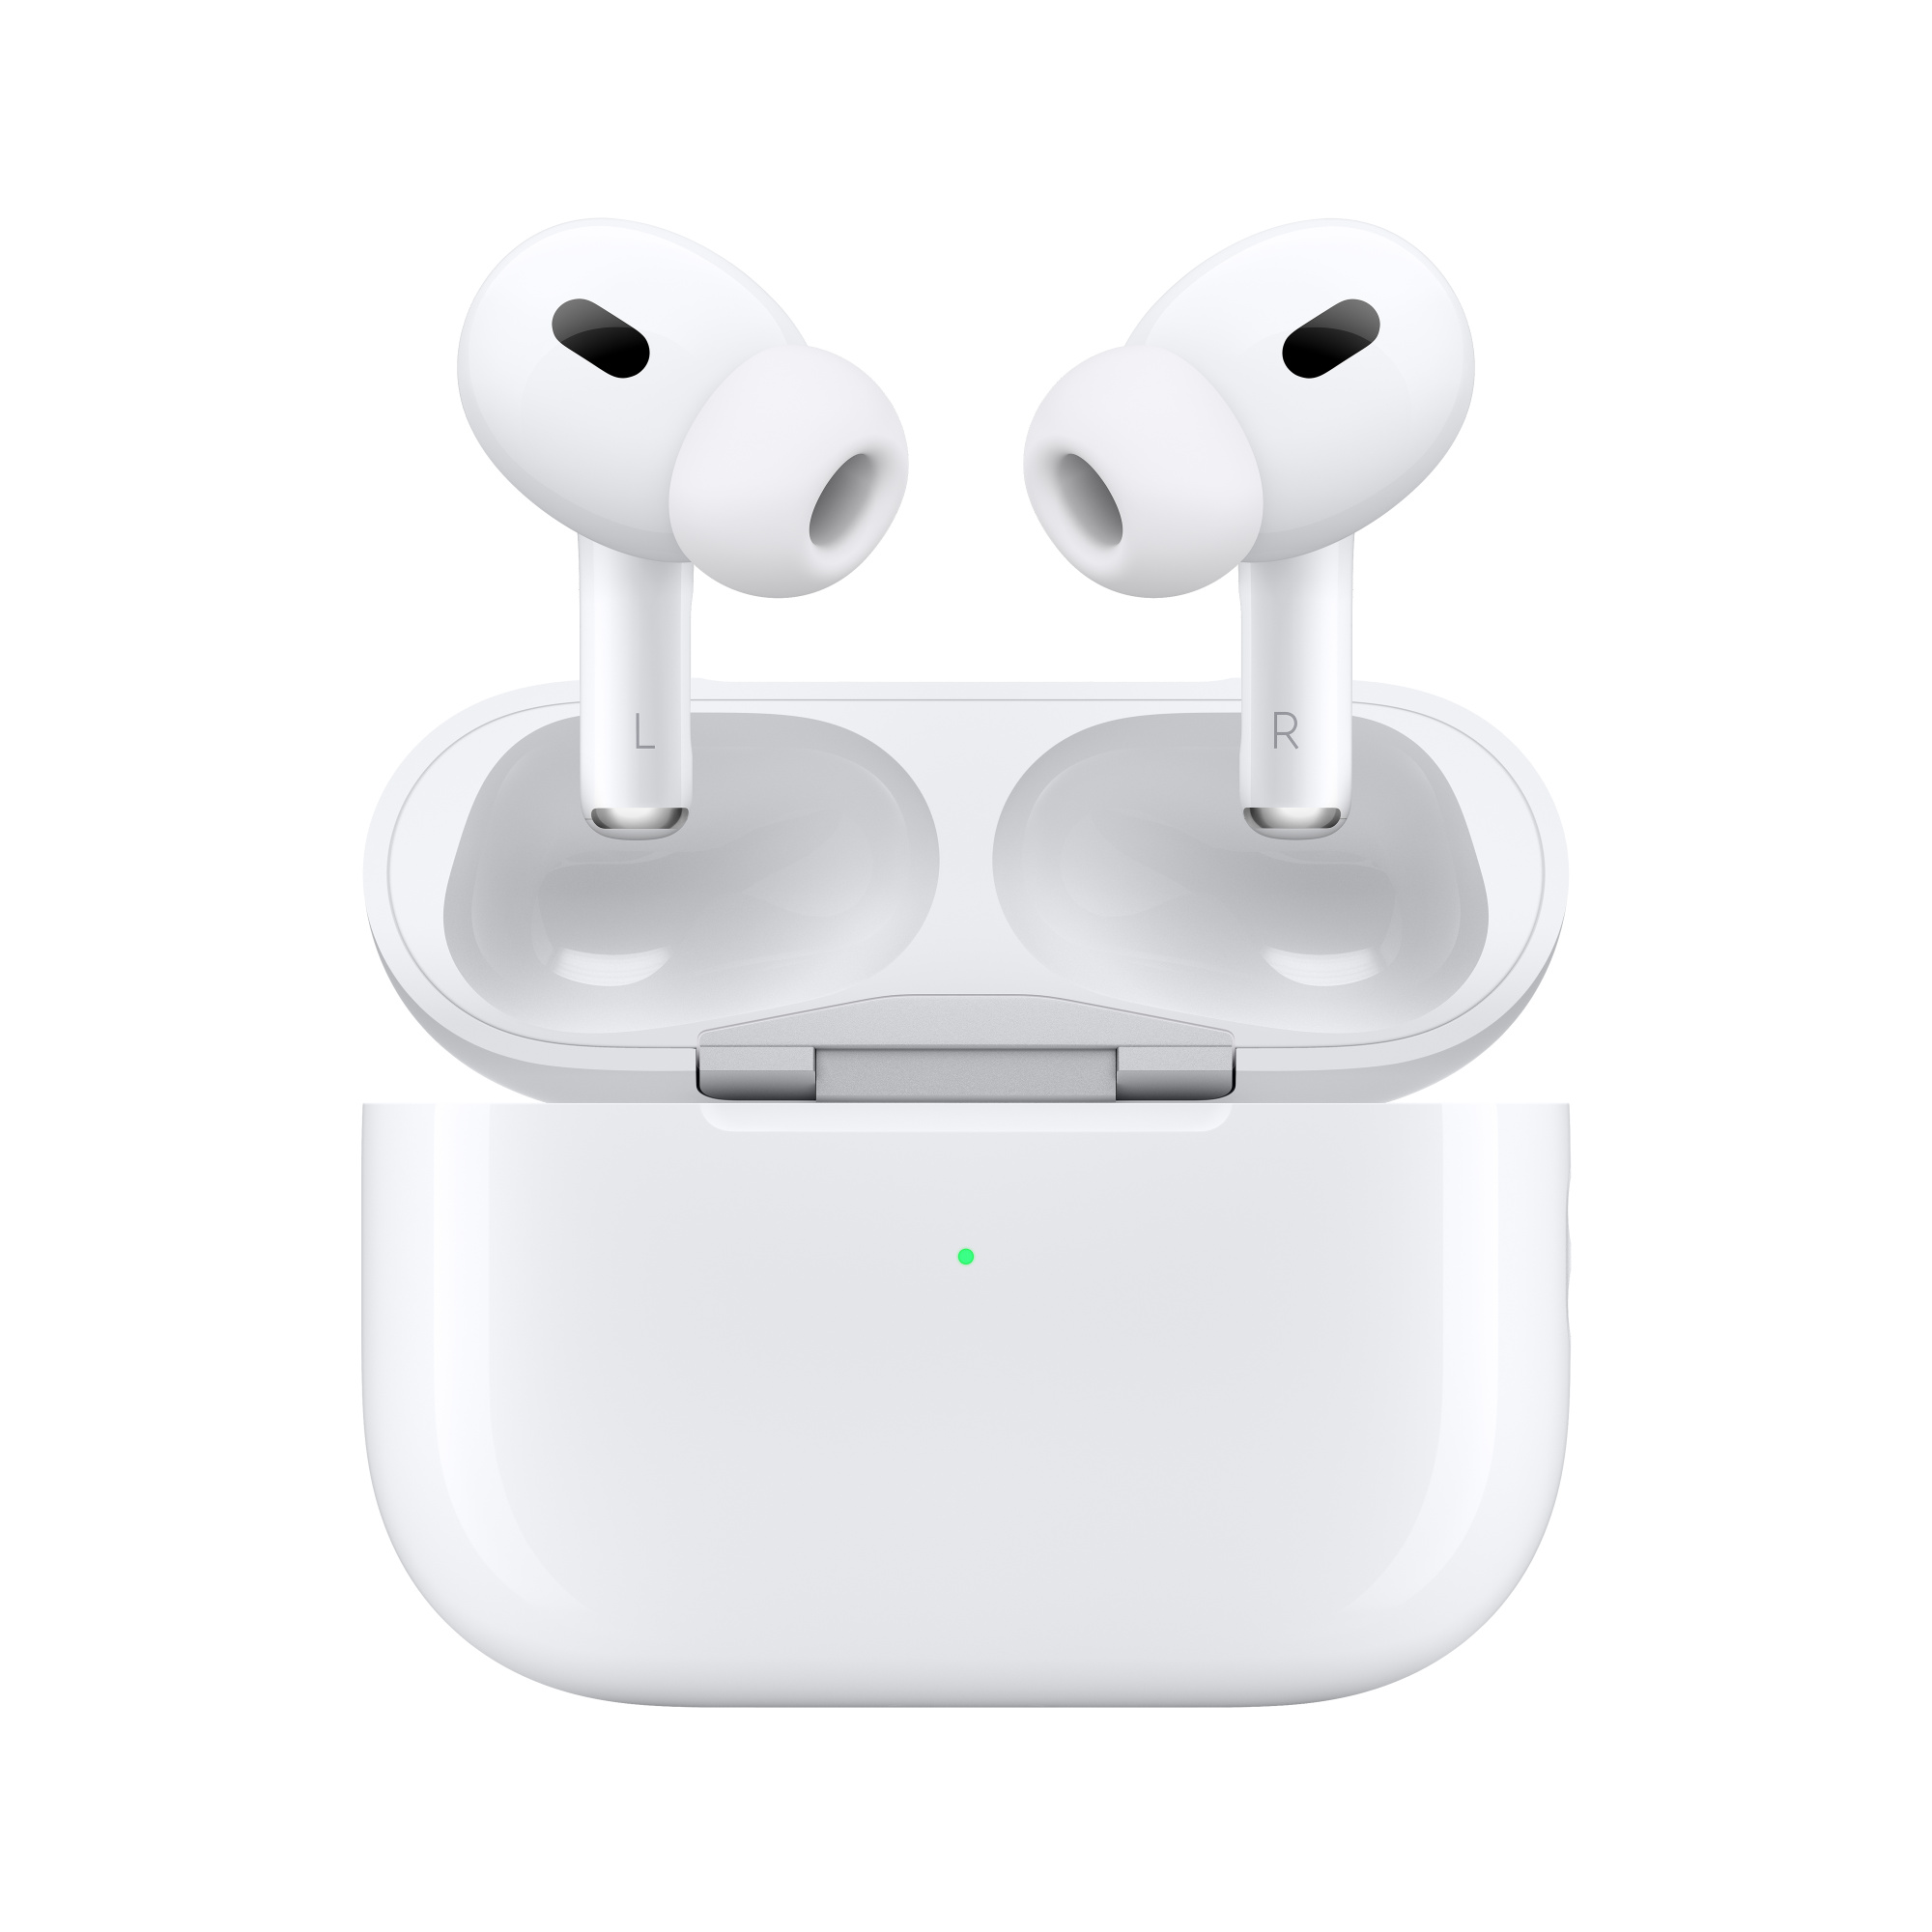
Next, ensure that your AirPods are fully charged. You can do this by placing them in the charging case and confirming that the LED indicator light turns green. If the light is amber or blinking, charge your AirPods until the light turns green.
It’s also worth noting that connecting AirPods to an Android device may differ slightly from connecting them to an Apple device. While the basic pairing process remains the same, some advanced features may not be available. However, you can still enjoy the convenience and quality sound of your AirPods with Android.
Once you have confirmed compatibility and charged your AirPods, you can proceed to the next step of enabling noise cancellation on your AirPods while using them with your Android device.
Step 2: Update AirPods Firmware
To ensure optimal performance and compatibility, it’s recommended to keep your AirPods firmware up to date. Apple periodically releases firmware updates for AirPods, which can introduce new features, improvements, and bug fixes. Updating the firmware may also enhance the functionality of noise cancellation when using AirPods with Android devices.
To update the firmware on your AirPods, follow these steps:
- Ensure your AirPods are connected to your Apple device (iPhone, iPad, iPod Touch, or Mac).
- Place your AirPods in the charging case and keep the lid open.
- Make sure your Apple device is connected to the internet.
- On your Apple device, go to the “Settings” app.
- Tap on your Apple ID at the top, then select “iCloud.”
- Scroll down and tap on “Find My iPhone.”
- Under the “Find My” section, tap on “Find My AirPods.
- Wait for your AirPods to appear on the map.
- If an update is available, you will see an “Update” button next to your AirPods.
- Tap on “Update” to download and install the firmware update.
- Keep your AirPods in the charging case and keep it open until the update is complete.
It’s important to note that the firmware update process may take some time, so make sure you have a stable internet connection and sufficient battery on your Apple device. Once the update is complete, you can proceed to the next step of enabling noise cancellation on AirPods while using them with your Android device.
Step 3: Install AirBattery App
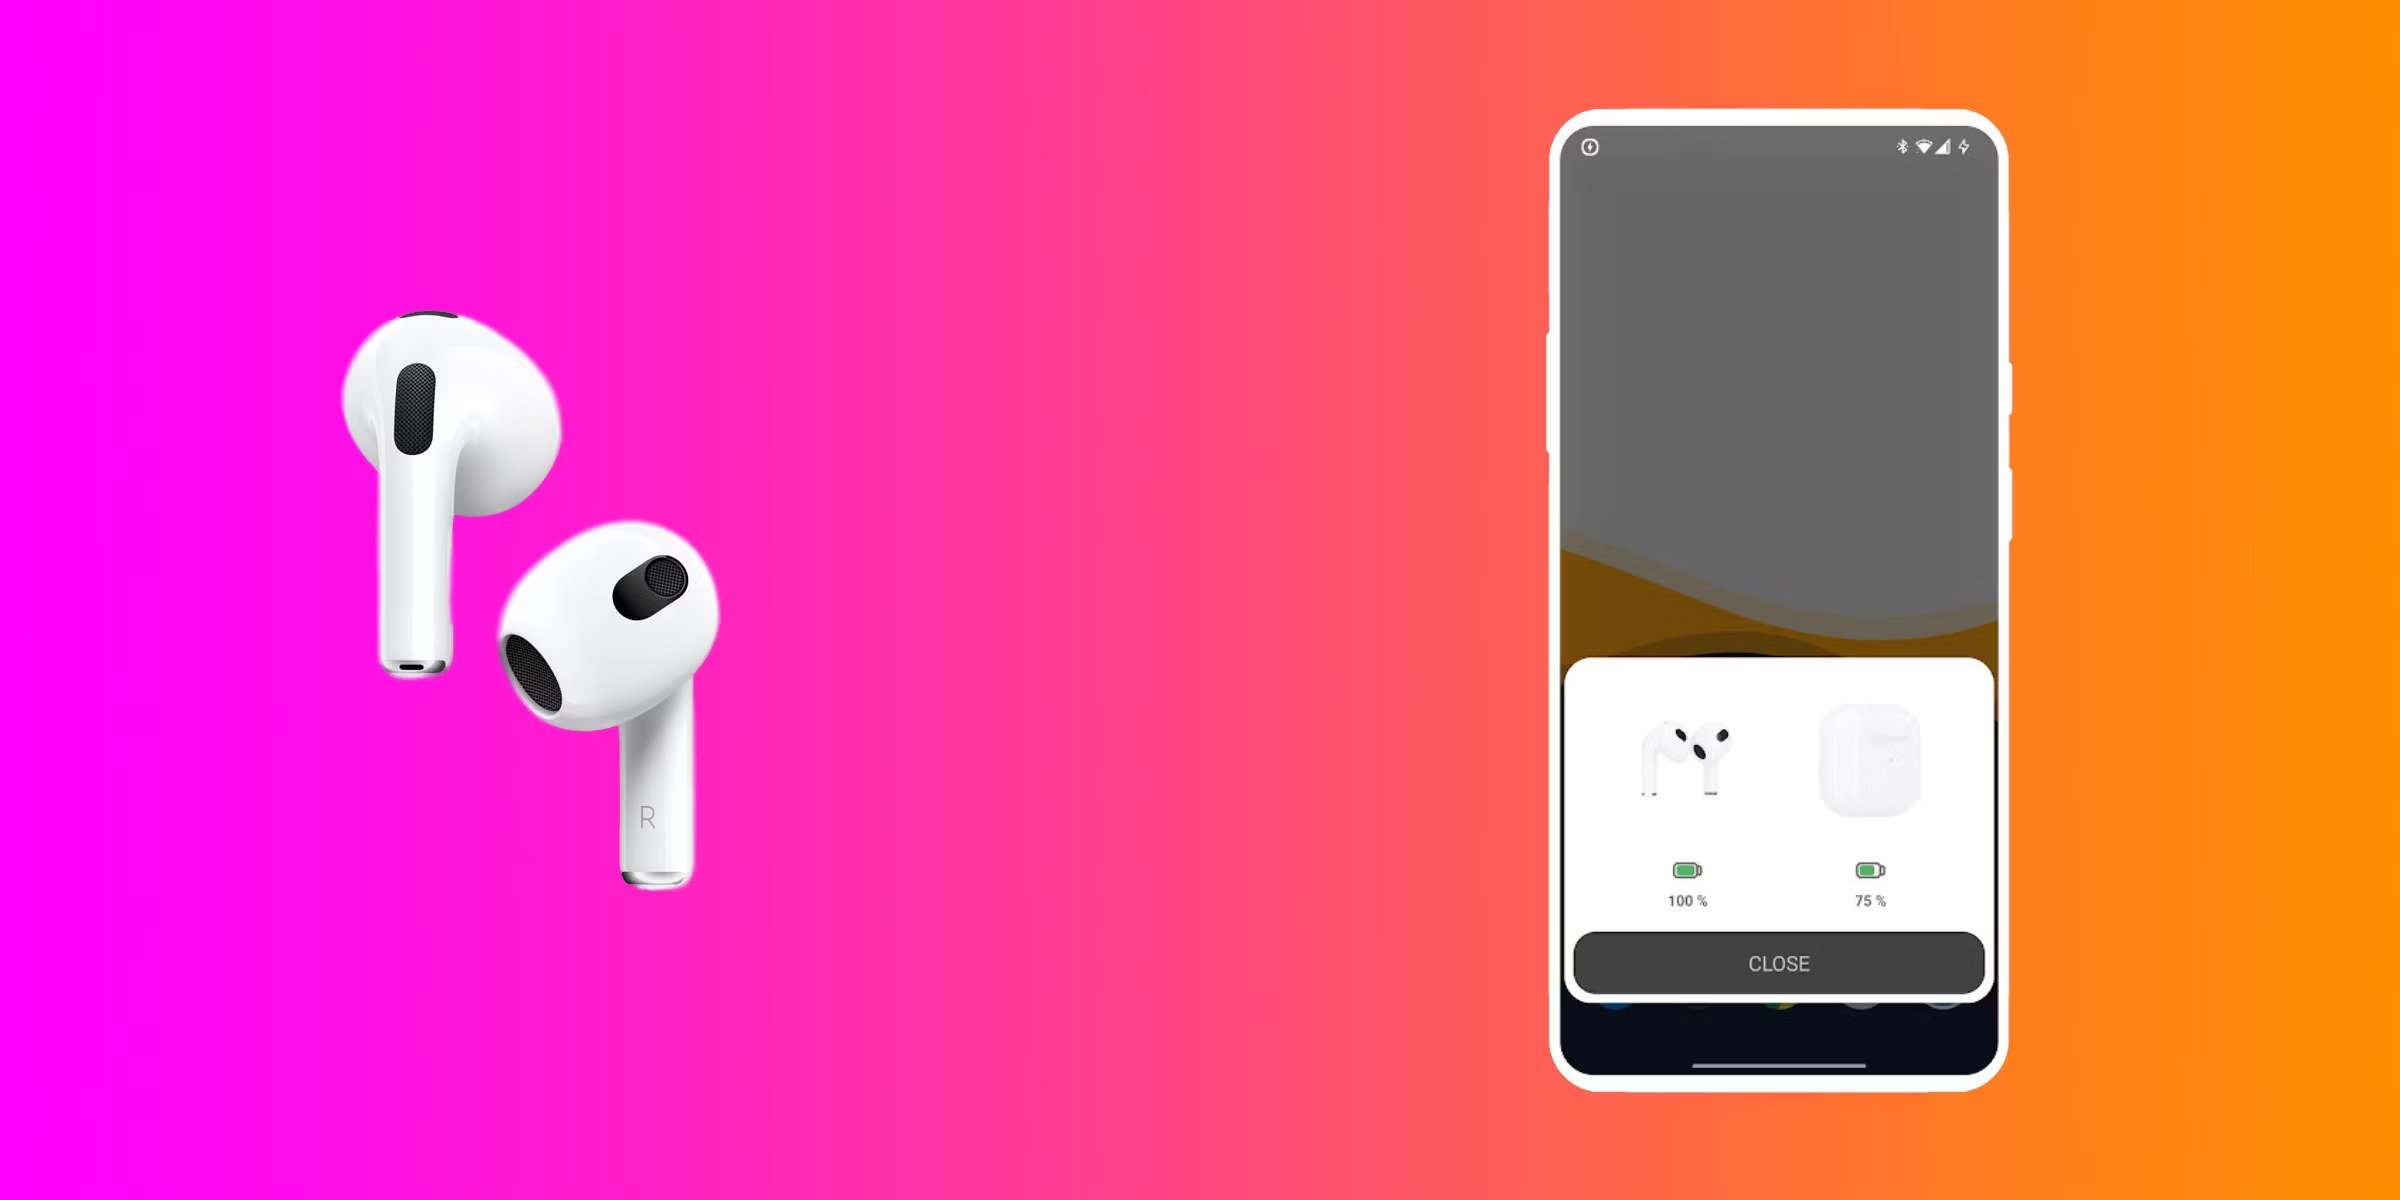
To enable noise cancellation on AirPods when using them with an Android device, you will need to install a third-party app called AirBattery. This app allows you to access and control certain features of your AirPods that are typically only available on Apple devices.
Here’s how to install the AirBattery app on your Android device:
- Open the Google Play Store on your Android device.
- In the search bar, type “AirBattery” and tap on the app when it appears in the search results.
- Tap on the “Install” button to download and install the app on your Android device.
- Once the installation is complete, you can find the AirBattery app on your home screen or in the app drawer.
AirBattery provides valuable information about your AirPods, such as battery status and connection quality. It also allows you to enable and control noise cancellation on your AirPods while connected to your Android device.
Keep in mind that AirBattery may not provide the exact same noise cancellation experience as on an Apple device, but it offers an alternative solution for Android users to enjoy a similar functionality. Once you have installed AirBattery, you are ready to move on to the next step of connecting your AirPods to your Android device.
Step 4: Connect AirPods to Android
Now that you have the AirBattery app installed on your Android device, it’s time to connect your AirPods and establish a Bluetooth connection. Follow these steps to connect your AirPods to your Android device:
- Open the AirBattery app on your Android device.
- Make sure your AirPods are in the charging case and the lid is open.
- On your Android device, go to the Bluetooth settings. The location of the Bluetooth settings may vary depending on your device, but it is usually found in the “Settings” app.
- In the Bluetooth settings, enable Bluetooth if it is not already activated.
- Wait for your AirPods to appear in the list of available devices. They may show up as “AirPods” or with a name you have assigned to them.
- Tap on your AirPods in the list to initiate the pairing process.
- Follow any on-screen prompts or instructions to complete the pairing process.
Once the pairing process is complete, your AirPods will be connected to your Android device via Bluetooth. The AirBattery app will also display the battery status of your AirPods and provide access to additional features, including noise cancellation controls.
It’s worth noting that the connection and functionality of AirPods with Android devices may vary depending on the device model and Android version. However, with the AirBattery app, you can enhance your AirPods experience on Android and enjoy noise cancellation capabilities.
Now that your AirPods are connected to your Android device, you can move on to the next step of enabling noise cancellation on your AirPods using the AirBattery app.
Step 5: Enable Noise Cancelling
With the AirBattery app installed and your AirPods successfully connected to your Android device, it’s time to enable noise cancelling. Follow these steps to activate noise cancellation on your AirPods:
- Launch the AirBattery app on your Android device.
- Make sure your AirPods are connected to your Android device.
- In the AirBattery app, you should see the battery status and other information about your AirPods.
- Look for the option to enable noise cancellation or ANC (Active Noise Cancellation) within the app’s interface.
- Tap on the noise cancellation option to turn it on.
By enabling noise cancellation on your AirPods, you can effectively reduce background noise and enjoy a more immersive audio experience. The AirBattery app acts as a bridge to access this feature on your AirPods when connected to an Android device.
Keep in mind that the noise cancellation experience may vary compared to using AirPods with an Apple device. However, the AirBattery app provides Android users with the ability to enjoy a similar level of noise cancellation on their AirPods.
Once you have enabled noise cancellation, you can fine-tune and adjust the settings according to your preferences. This includes adjusting the intensity of noise cancellation or switching between different noise cancellation modes, if available.
Now that noise cancellation is enabled, you are ready to experience a more immersive and uninterrupted audio experience with your AirPods on your Android device.
Step 6: Adjust Noise Cancellation Mode
After enabling noise cancellation on your AirPods using the AirBattery app, you have the option to adjust the noise cancellation mode to suit your preferences and environment. Different noise cancellation modes offer varying levels of intensity to effectively block out background noise. Here’s how you can adjust the noise cancellation mode:
- Launch the AirBattery app on your Android device.
- Ensure that your AirPods are connected to your Android device.
- Navigate to the noise cancellation settings within the AirBattery app’s interface.
- Look for the available noise cancellation modes and select the one that best suits your needs.
- You may have options such as “High,” “Medium,” or “Low” for different levels of noise cancellation intensity.
- Toggle between the available modes to find the setting that provides the right balance between eliminating background noise and maintaining audio clarity.
Experimenting with different noise cancellation modes will allow you to customize your AirPods’ noise cancellation experience according to your specific preferences and the noise level of your surroundings.
It’s important to note that not all third-party apps may offer the ability to adjust noise cancellation settings. The availability of this feature depends on the capabilities of the app and the compatibility with your AirPods model. In such cases, the default noise cancellation mode set by the app will be applied.
Once you have selected the desired noise cancellation mode, you can enjoy a more immersive audio experience with minimal interference from external noise while using your AirPods with your Android device.
Now that you have adjusted the noise cancellation mode, you are ready to immerse yourself in your favorite music, podcasts, or audio content without disturbances from the surrounding environment.
Step 7: Enjoy Noise Cancellation on AirPods with Android
Congratulations, you have successfully enabled and adjusted noise cancellation on your AirPods while using them with your Android device! Now it’s time to sit back, relax, and enjoy the enhanced audio experience.
With noise cancellation activated, you will be able to immerse yourself in your favorite music, podcasts, or audio content without the distractions of background noise. Whether you’re traveling, working in a noisy environment, or simply trying to create a serene atmosphere, the noise cancellation feature on your AirPods will significantly enhance your listening enjoyment.
Take advantage of the clean and crisp sound quality, with the unwanted surrounding noise effectively blocked out. This will allow you to focus more on the details of the audio and truly immerse yourself in the content you’re consuming.
Additionally, noise cancellation is not limited to music and audio playback. It can also be extremely beneficial during phone calls, providing clearer and less distorted conversations by minimizing ambient noise around you.
Remember, the AirBattery app acts as a valuable companion to your AirPods on your Android device, providing you with information about battery status, connection quality, and intuitive controls for noise cancellation. Be sure to explore and utilize all the features available in the app to make the most out of your AirPods experience.
Lastly, keep in mind that updates to the AirBattery app and AirPods firmware may introduce new features or enhancements over time. Stay proactive in updating both the app and firmware to ensure you have access to the latest improvements and functionalities for noise cancellation and overall performance.
Now that you have full control over noise cancellation on your AirPods while using them with your Android device, sit back, relax, and enjoy your audio experience in a world of your own!
Conclusion
In this guide, we have explored the steps to enable noise cancellation on AirPods when using them with an Android device. While AirPods are primarily designed for use with Apple devices, Android users can still enjoy the noise cancellation functionality with the help of the AirBattery app and some basic settings adjustments. By following the steps outlined in this guide, you can enhance your audio experience and enjoy a more immersive sound environment on your AirPods while using them with your Android smartphone or tablet.
We started by checking the compatibility between AirPods and Android devices to ensure a seamless connection. Then, we emphasized the importance of keeping your AirPods firmware up to date, which can improve compatibility and optimize performance. Next, we discussed the installation of the AirBattery app, which serves as a bridge to access and control noise cancellation features on AirPods while using them with Android. We proceeded to connect AirPods to an Android device through Bluetooth settings and covered the process step by step. We then enabled noise cancellation using the AirBattery app and provided instructions for adjusting the noise cancellation mode to suit personal preferences. Finally, we encouraged readers to embrace and enjoy the enhanced audio experience that noise cancellation brings to their AirPods and Android combination.
Remember, while the noise cancellation experience on AirPods with Android may differ from that on Apple devices, the steps outlined in this guide empower Android users to make the most of their AirPods and enjoy a similar level of noise cancellation. With a few simple configurations and the right app, Android users can block out distracting background noise and fully immerse themselves in their audio content.
We hope that this guide has been helpful in enabling noise cancellation on your AirPods with Android and enhancing your overall audio experience. Now, sit back, relax, and enjoy the clarity and immersive sound that noise cancellation brings to your AirPods on your Android device.