Introduction
The Sony WH-1000XM5 headphones are renowned for their exceptional sound quality and innovative features. One of the standout features of these headphones is their noise cancelling capability, which allows you to enjoy your audio without any disruptive background noise. Whether you’re traveling, working in a noisy environment, or simply want to immerse yourself in your favorite music, turning on the noise cancelling function can significantly enhance your audio experience.
In this article, we will guide you through the simple steps to turn on noise cancelling in the Sony WH-1000XM5 headphones. By following these instructions, you can easily switch on this impressive feature and enjoy crystal-clear audio in any environment.
Before diving into the steps, it’s important to note that the process may vary slightly depending on the version of the headphone and the device you’re using. However, the basic steps outlined below should be applicable to most scenarios.
So, let’s get started and discover how to activate noise cancelling in your Sony WH-1000XM5 headphones!
Step 1: Locate the power button
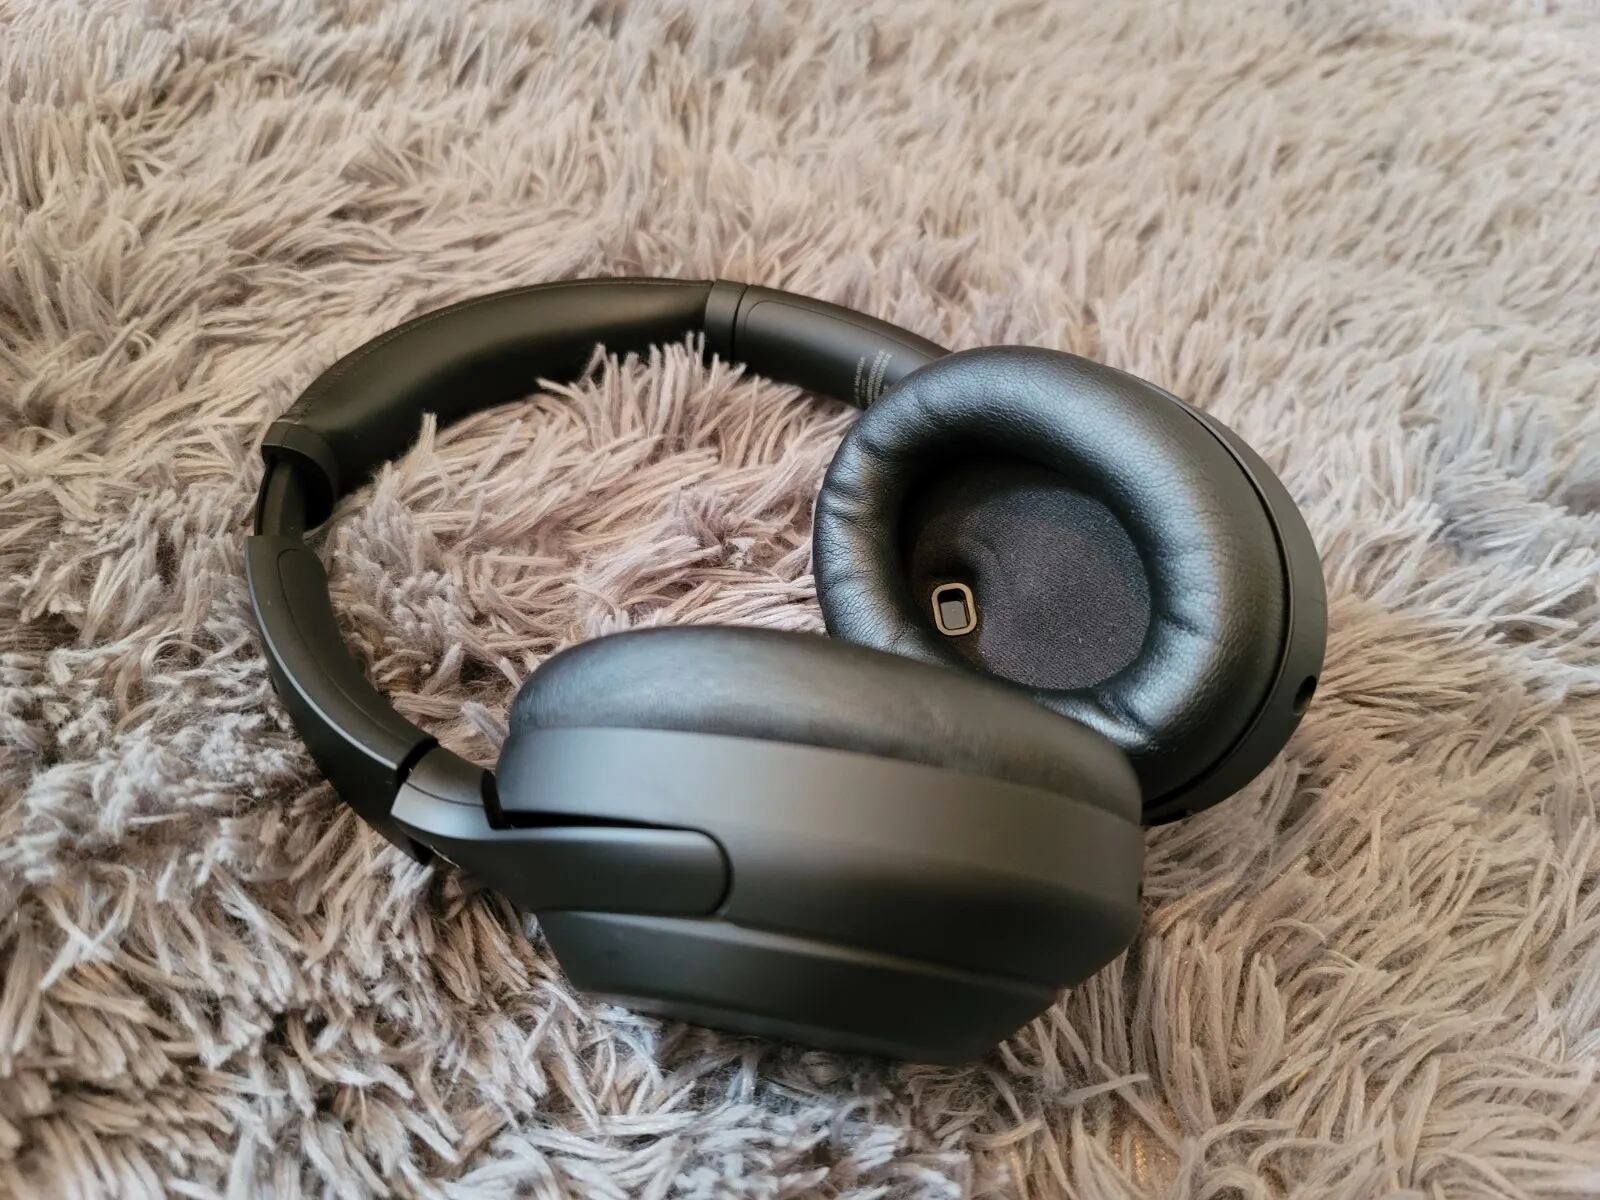
The first step in turning on the noise cancelling feature on your Sony WH-1000XM5 headphones is to locate the power button. The exact location of the power button may vary depending on the model of your headphones, but it is typically located on one of the ear cups.
Take a moment to familiarize yourself with the physical buttons on your headphones. Look for a button that is labeled with a power symbol or has a distinct power icon. This button is usually positioned on the bottom edge of the ear cup or along the side of the headphone.
Once you have identified the power button, make sure your headphones are not already powered on. If they are, switch them off by pressing and holding the power button until the LED indicator light turns off or you hear a power-off chime.
By locating the power button, you are now ready to proceed to the next step in activating the noise cancelling feature on your Sony WH-1000XM5 headphones.
Step 2: Press and hold the power button
Now that you have located the power button on your Sony WH-1000XM5 headphones, it’s time to activate the noise cancelling feature. To do this, simply press and hold the power button for a few seconds.
When you press and hold the power button, you will notice that the LED indicator light on the headphones starts to flash or change color. This indicates that the headphones are powering on and entering the pairing mode.
Continue holding the power button until you hear a voice prompt or see the LED indicator light change to a solid color, indicating that the headphones are now turned on. The exact indicators may vary depending on the model, but you can refer to the user manual for your specific headphones for more detailed instructions.
By pressing and holding the power button, you have successfully powered on your Sony WH-1000XM5 headphones and are ready to proceed to the next step of selecting the noise cancelling mode.
Step 3: Select noise cancelling mode
With your Sony WH-1000XM5 headphones powered on, it’s time to choose the noise cancelling mode that suits your preferences and environment. These headphones offer various noise cancelling modes, allowing you to customize your listening experience.
To select the noise cancelling mode, you can use the touch-sensitive panel located on the ear cup of your headphones. Lightly swipe your finger up or down on the panel to cycle through the available modes. Each swipe will prompt a voice prompt or a tone to indicate the current mode.
Typically, the noise cancelling modes available on the Sony WH-1000XM5 headphones include:
- Noise Cancelling: This mode actively reduces external noise, allowing you to focus on your audio without interference.
- Ambient Sound: This mode allows you to hear ambient sounds, which can be useful in situations where you need to be aware of your surroundings, such as when walking on busy streets or waiting for an announcement at the airport.
- Ambient Sound Control: This mode gives you even more control over the level of ambient sound you want to hear. You can adjust the level of noise cancellation manually to find the perfect balance.
Experiment with the different noise cancelling modes to determine which one works best for you in different situations. You can easily switch between modes depending on your environment and personal preferences.
By selecting the noise cancelling mode that suits your needs, you are now one step closer to enjoying an immersive audio experience with your Sony WH-1000XM5 headphones.
Step 4: Adjust noise cancelling settings
Now that you have selected the desired noise cancelling mode on your Sony WH-1000XM5 headphones, you can further customize your audio experience by adjusting the noise cancelling settings. These settings allow you to fine-tune the level of noise cancellation to best suit your preferences.
To access the noise cancelling settings, you will need to use the Sony Headphones Connect app, which can be downloaded and installed on your smartphone or tablet. Once you have installed the app, follow these steps:
- Open the Sony Headphones Connect app on your device.
- Ensure that your headphones are connected to your device via Bluetooth.
- Navigate to the noise cancelling settings within the app.
- Here, you will find options to adjust the level of noise cancellation, optimize the sound for different environments, and even customize the equalizer settings.
- Take your time to explore the available settings and make adjustments according to your preferences.
With the Sony Headphones Connect app, you can create personalized sound profiles and save your preferred settings for different activities or environments. This allows you to easily switch between settings with just a few taps on your device.
Remember to regularly update the firmware of your Sony WH-1000XM5 headphones through the Sony Headphones Connect app to ensure that you have the latest features and improvements.
By adjusting the noise cancelling settings to your liking, you can truly optimize your audio experience and enjoy the highest level of sound quality with your Sony WH-1000XM5 headphones.
Step 5: Enjoy the enhanced audio experience
Now that you have successfully turned on the noise cancelling feature and adjusted the settings on your Sony WH-1000XM5 headphones, it’s time to sit back, relax, and enjoy the enhanced audio experience that these headphones offer.
Put on your headphones and play your favorite music, watch a movie, or simply enjoy the tranquility of silence without any distracting background noise. With the noise cancelling feature activated, you will be able to hear every detail and nuance of your audio with exceptional clarity.
Whether you’re on a long flight, working in a busy coffee shop, or just want to escape from the hustle and bustle of daily life, the noise cancelling function on the Sony WH-1000XM5 headphones will provide you with a truly immersive and enjoyable listening experience.
Remember to listen at a comfortable volume to protect your hearing and take breaks if you’re using the headphones for an extended period of time. Additionally, be aware of your surroundings when using noise cancelling headphones in public places to ensure your safety.
By following the steps outlined in this guide, you can easily activate and utilize the noise cancelling feature on your Sony WH-1000XM5 headphones, unlocking the full potential of these remarkable audio devices.
So go ahead, put on your headphones, and immerse yourself in the world of superior sound quality and unparalleled noise reduction with your Sony WH-1000XM5 headphones!
Conclusion
Turning on the noise cancelling feature on your Sony WH-1000XM5 headphones is a simple process that can greatly enhance your audio experience. By following the steps outlined in this article, you can easily activate this feature and enjoy crystal-clear sound without any distracting background noise.
We started by locating the power button on the headphones and then proceeded to press and hold it to power on the device. Next, we explored how to select the noise cancelling mode that suits your preferences and environment. After that, we discussed the process of adjusting the noise cancelling settings using the Sony Headphones Connect app. Finally, we encouraged you to sit back, relax, and enjoy the enhanced audio experience that the Sony WH-1000XM5 headphones provide.
Remember, the specific steps may vary slightly depending on the model and device you’re using, so it’s always a good idea to refer to the user manual for your headphones for further guidance.
By taking advantage of the noise cancelling feature on your Sony WH-1000XM5 headphones, you can immerse yourself in your audio and enjoy it with unparalleled clarity and without any distractions. Whether you’re on the go or simply want to create a peaceful environment, these headphones will elevate your listening experience to new heights.
So go ahead, power on your Sony WH-1000XM5 headphones, activate the noise cancelling feature, and enter a world of immersive sound. Get ready to enjoy your music, movies, and more with exceptional audio quality, all thanks to the power of noise cancellation.