Introduction
When it comes to managing apps on your Android tablet, there may be times when you need to turn off or disable certain apps to improve performance, conserve battery life, or simply declutter your device. Knowing how to navigate through the app settings and make the necessary changes can be a useful skill.
In this article, we will guide you on how to turn off apps on your Android tablet. We will provide step-by-step instructions on force stopping, disabling, and uninstalling apps. Additionally, we will explore how to manage default app settings, clear app cache and data, use third-party task managers, and manage background data usage.
By following these guidelines, you can regain control over your tablet’s app usage and optimize its performance according to your preferences.
It’s important to note that the specific steps and options may vary slightly depending on the Android version and device manufacturer. However, the general principles discussed here should apply to most Android tablets.
So, let’s dive in and learn how to efficiently turn off apps on your Android tablet!
Accessing the App Settings
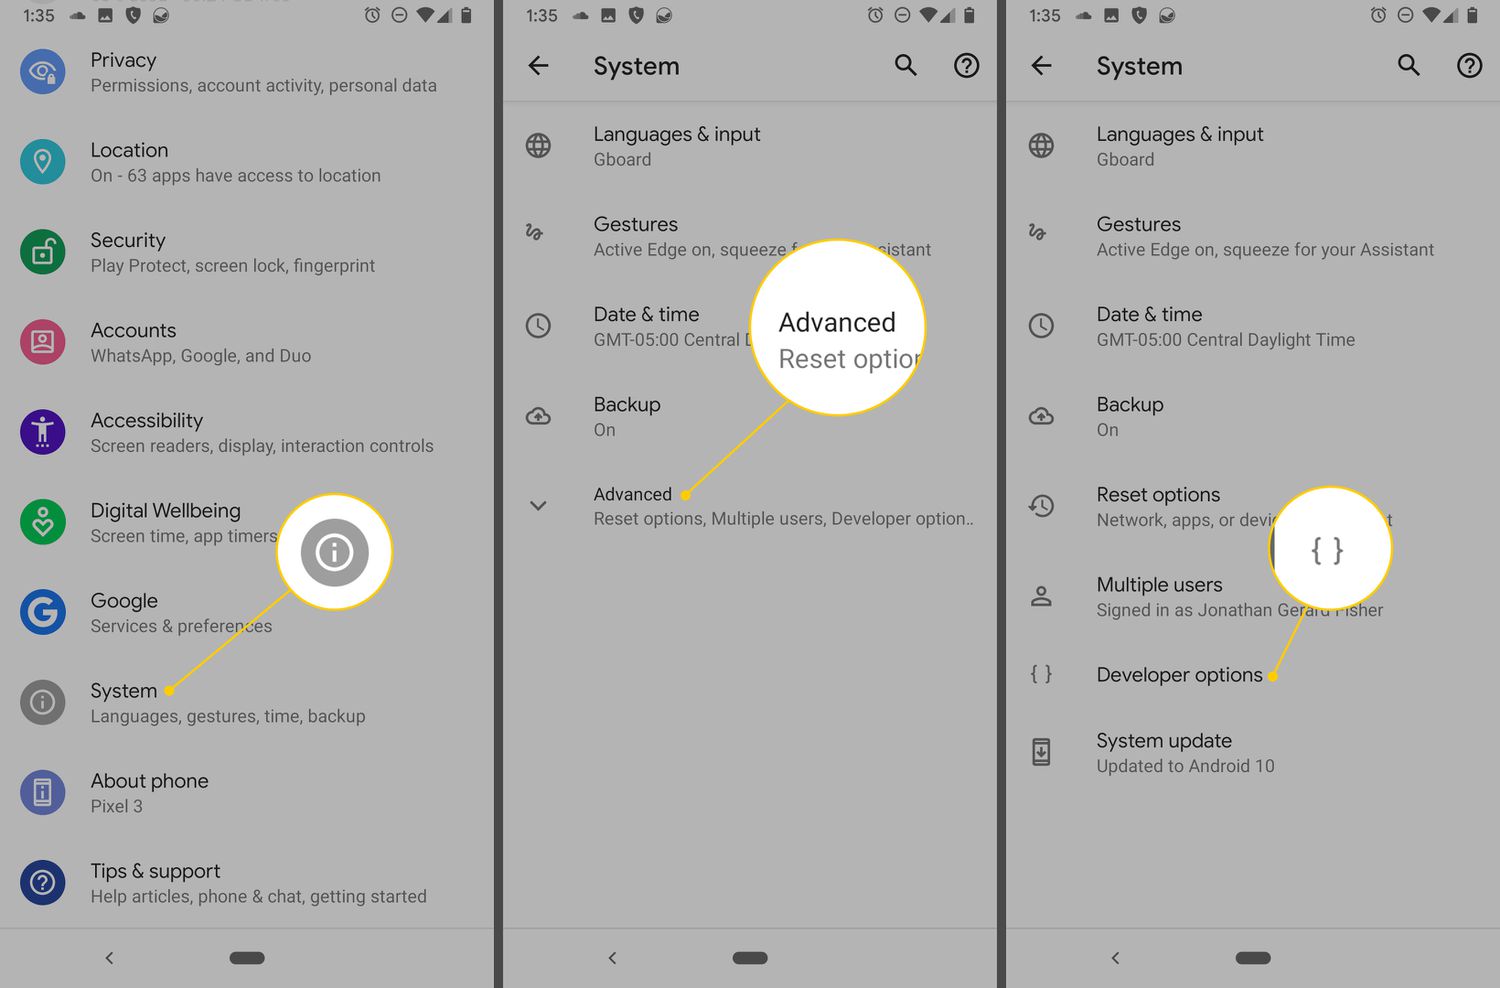
To begin managing your Android tablet’s apps, you need to access the app settings. Here’s how you can do it:
- Tap on the “Settings” app on your tablet. The app icon usually resembles a gear or a cogwheel, and it can typically be found on your home screen or in the app drawer.
- Scroll down the Settings menu and locate the “Apps” or “Applications” option. It may be listed under a different name depending on your device.
- Tap on the “Apps” or “Applications” option to open the application manager.
- Depending on your Android version, you may see different tabs at the top of the application manager, such as “Downloaded,” “Running,” or “All.” If you want to manage all installed apps, select the “All” option. Otherwise, choose the relevant tab to view specific categories of apps.
- Scroll through the list of apps to find the one you want to turn off. You can navigate alphabetically or use the search bar at the top to quickly locate a specific app.
- Once you’ve found the app, tap on it to access its individual settings.
By following these steps, you’ll be able to access the app settings and make the necessary changes to turn off or manage specific apps on your Android tablet. Now, let’s move on to the next section to learn about force stopping an app.
Force Stopping an App
Force stopping an app can be helpful when you want to immediately stop its running processes and free up system resources. Here’s how you can force stop an app on your Android tablet:
- Access the app settings following the steps outlined in the previous section.
- Once you’re in the app’s settings, you’ll see various options related to that specific app.
- Look for the “Force Stop” button and tap on it.
- A confirmation dialog may appear, explaining that force stopping an app may cause it to misbehave or result in data loss. If you’re sure you want to proceed, click on “OK” or “Force Stop.”
- The app will be immediately stopped, and all its background processes will be terminated.
Force stopping an app can be useful if an app is misbehaving, freezing, or consuming excessive system resources. However, keep in mind that force stopping an app may cause it to lose any unsaved data or progress, so use this option with caution.
If you want to use the app again, you can simply relaunch it from your app drawer or home screen, and it will start fresh.
Now that you know how to force stop an app, let’s explore how to disable an app in the next section.
Disabling an App
Disabling an app allows you to prevent it from running in the background, taking up storage space, and using system resources. While system apps may not be completely removable, you can still disable them to hide their presence and reduce their impact on your Android tablet. Here’s how you can disable an app:
- Access the app settings as described earlier.
- Find the app you want to disable from the list of installed apps.
- Tap on the app to open its settings.
- If the app can be disabled, you will see an option called “Disable” or “Turn off.”
- Tap on the “Disable” or “Turn off” button.
- A confirmation message will appear, informing you about the consequences of disabling the app. Click “OK” or “Disable” to proceed.
- The app will be disabled, and you will no longer see it in your app drawer or home screen. However, it will still be listed in the application manager’s “Disabled” or “Turned off” section.
- If you ever want to enable the app again, you can revisit the app settings and tap on the “Enable” or “Turn on” button.
Disabling unnecessary or unwanted apps can help improve device performance and free up storage space. However, keep in mind that some critical system apps should not be disabled, as it may lead to stability or functionality issues. Exercise caution when disabling apps, especially if you’re unsure of their importance.
In the next section, we’ll discuss how you can uninstall an app entirely from your Android tablet.
Uninstalling an App
If you want to completely remove an app from your Android tablet, you can uninstall it. Uninstalling an app will delete its data, settings, and any associated files from your device. Here’s how you can uninstall an app:
- Access the app settings by following the steps mentioned earlier.
- Scroll through the list of installed apps and locate the app you want to uninstall.
- Tap on the app to open its settings.
- Look for the “Uninstall” button and tap on it.
- A confirmation dialog will appear, asking if you’re sure you want to uninstall the app and delete its data. Click on “OK” or “Uninstall” to proceed.
- The app will be uninstalled from your Android tablet, and you will no longer see it in your app drawer or home screen.
Uninstalling unnecessary apps can help free up storage space, improve performance, and reduce clutter on your device. It’s a good practice to periodically review your installed apps and remove those that you no longer use or need.
Keep in mind that some system apps or pre-installed apps may not have the option to uninstall. In such cases, you can check if they can be disabled, as discussed in the previous section.
Now that you know how to uninstall an app, let’s move on to the next section, where we will explore how to manage default app settings on your Android tablet.
Managing Default App Settings
Default app settings determine which app will be used to perform certain actions or handle specific file types. For instance, when you click on a web link, your tablet may open it in the default web browser app. Here’s how you can manage default app settings on your Android tablet:
- Access the app settings as described earlier.
- Look for the “Default Apps” or “Default Applications” option. It may be located within the settings menu or in the app manager.
- Tap on “Default Apps” or “Default Applications” to access the default app settings.
- You will see various categories of actions or file types, such as “Browser App,” “Phone App,” “Messaging App,” and more.
- Tap on the category you want to manage. For example, if you want to change the default web browser, tap on “Browser App.”
- A list of installed apps that can handle the selected action or file type will appear. Choose the app you want to set as the default.
- Repeat these steps for other categories or file types if necessary.
By managing default app settings, you can ensure that your preferred apps are always used when performing specific actions. It allows for a more customized and tailored user experience on your Android tablet.
Remember that the procedure for managing default app settings may vary slightly depending on your device and Android version. Some devices may have specific default app settings options under their own settings menus.
In the next section, we will discuss how to clear app cache and data, which can help resolve app issues and free up storage space on your Android tablet.
Clearing App Cache and Data
Over time, apps on your Android tablet may accumulate temporary files and data that can take up valuable storage space. Clearing app cache and data can help resolve app issues, improve performance, and free up storage space. Here’s how you can clear app cache and data:
- Access the app settings by following the steps mentioned earlier.
- Scroll through the list of installed apps and select the app you want to clear cache and data for.
- Tap on the app to open its settings.
- Within the app settings, you may find options such as “Storage,” “Storage Usage,” or “Clear Cache” and “Clear Data.”
- Tap on “Clear Cache” first to remove temporary files and data associated with the app.
- If you’re experiencing persistent issues with the app, you can also choose to tap on “Clear Data.” Keep in mind that clearing data will delete any personalized settings, accounts, or saved information within the app.
- Confirm the action by clicking on “OK” or “Delete” when prompted.
- Repeat these steps for other apps if desired.
By clearing app cache and data, you can ensure that apps start fresh, eliminating any potential performance issues or data conflicts. It is a useful technique, especially when troubleshooting app-related problems.
However, note that clearing app data will remove any app-specific settings and personalization. It’s a good practice to back up any important data before clearing app data.
Now that you know how to clear app cache and data, let’s move on to the next section, where we will explore the use of third-party task managers for app management on your Android tablet.
Using Third-Party Task Managers
Third-party task managers offer additional features and capabilities for managing apps on your Android tablet. These apps provide an intuitive interface to view and control various processes, tasks, and running apps on your device. Here’s how you can use third-party task managers:
- Open the Google Play Store on your Android tablet and search for “task manager” or “task killer.”
- Choose a third-party task manager app that has good ratings and positive reviews.
- Install the app on your tablet by following the on-screen instructions.
- Once installed, open the task manager app.
- You will typically see a list of running processes and apps that are currently active on your device.
- From this list, you can select individual apps or processes and choose options such as “End Task,” “End Process,” or “Force Stop.”
- Some task manager apps may also provide additional features, such as app hibernation, battery optimization, or RAM boosting.
- Explore the features and options available in the task manager app to customize the app management according to your preferences.
Third-party task managers can be useful if you want more control and insight into the apps running on your Android tablet. They can provide you with detailed information about CPU and RAM usage, help identify resource-intensive apps, and offer additional tools for optimizing performance.
However, it’s important to note that Android devices already have built-in mechanisms to manage apps and system resources. Misusing or conflicting with these built-in features can potentially cause instability or performance issues.
Now that you’re familiar with using third-party task managers, let’s move on to the final section, where we will discuss managing background data usage on your Android tablet.
Managing Background Data Usage
Background data usage refers to the data consumed by apps running in the background on your Android tablet. These apps may be performing tasks, syncing data, or fetching updates, even when you’re not actively using them. Managing background data usage can help reduce data consumption and conserve battery life. Here’s how you can do it:
- Access the app settings as outlined earlier.
- Scroll through the list of installed apps and select the app for which you want to manage background data.
- Tap on the app to open its settings.
- Look for an option called “Restrict Background Data,” “Data Usage,” or something similar.
- Toggle the switch to enable the restriction of background data for that particular app.
- Repeat these steps for other apps if needed.
By restricting background data usage for selected apps, you can have more control over your data consumption. This can be especially beneficial if you have a limited data plan or want to minimize app activity when you’re not actively using them.
However, it’s important to keep in mind that some apps may require background data access to function properly. Restricting background data for certain apps may affect their functionality or prevent them from providing timely updates.
It’s a good practice to periodically review the background data usage of your apps and make adjustments based on your needs and preferences.
Now that you know how to manage background data usage, you have learned various techniques for turning off apps on your Android tablet. By implementing these methods, you can optimize performance, conserve battery life, and declutter your device according to your preferences.
Let’s wrap up this article with a brief summary of what we’ve covered.
Conclusion
Managing apps on your Android tablet is essential for maintaining optimal performance, conserving battery life, and keeping your device organized. In this article, we explored various methods for turning off apps on your Android tablet.
We started by learning how to access the app settings, where you can find all the installed apps on your device. Then, we delved into force stopping apps, which can be useful for immediately halting an app’s processes and freeing up system resources.
Disabling apps was the next topic we covered, enabling you to prevent certain apps from running in the background and using up valuable storage space. We also discussed the process of completely uninstalling apps from your Android tablet, including how to remove their data and settings.
Managing default app settings allows you to customize your device by choosing which app should handle specific actions or file types. Clearing app cache and data can help resolve issues and free up storage space.
We then explored the use of third-party task managers, which offer additional features for managing apps and optimizing performance. Finally, we discussed how to manage background data usage to reduce data consumption and conserve battery life.
With all these techniques at your disposal, you can now effectively turn off apps on your Android tablet, tailor your device to your preferences, and ensure optimal performance.
Remember to exercise caution when turning off or disabling apps, especially when dealing with critical system apps or apps you’re unsure about. Regularly review your app usage and make adjustments based on your needs.
We hope that this article has provided you with the knowledge and confidence to manage apps on your Android tablet effectively. Enjoy the benefits of a streamlined and optimized device!


