Introduction
Transferring pictures from your Android phone to your computer is a common task that many people need to do. Whether you want to free up space on your phone, backup your precious memories, or simply edit your photos on a larger screen, knowing how to transfer pictures efficiently is essential.
Luckily, there are several methods available to transfer pictures from your Android phone to your computer. In this article, we will explore a few different options that cater to varying preferences and circumstances.
Before we dive into the methods, it’s important to note that the specific steps and options may vary slightly depending on the make and model of your Android phone, as well as the operating system version it is running. However, the general principles and methods remain the same, so you should be able to adapt the instructions to suit your device.
Now, let’s explore the various methods you can use to transfer pictures from your Android phone to your computer!
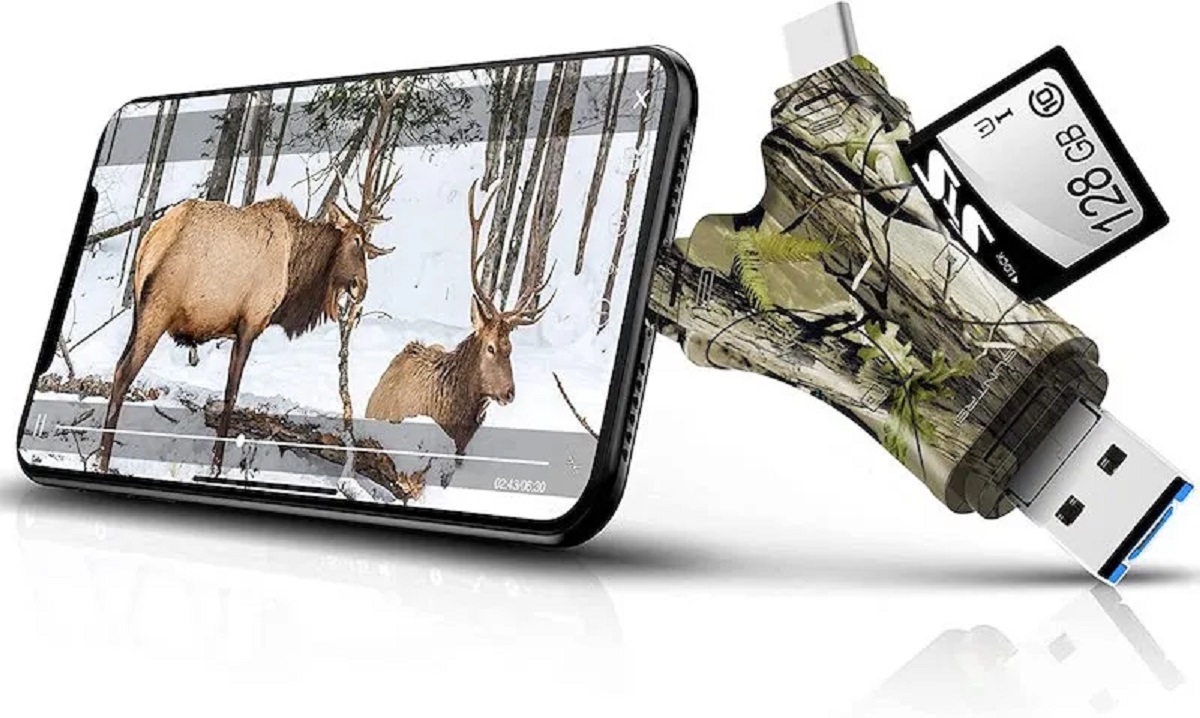
Using a USB Cable
One of the simplest and most straightforward methods to transfer pictures from your Android phone to your computer is by using a USB cable. This method allows for a direct connection between your phone and computer, enabling fast and reliable file transfer.
Here’s how you can transfer pictures using a USB cable:
- Connect your Android phone to your computer using a compatible USB cable.
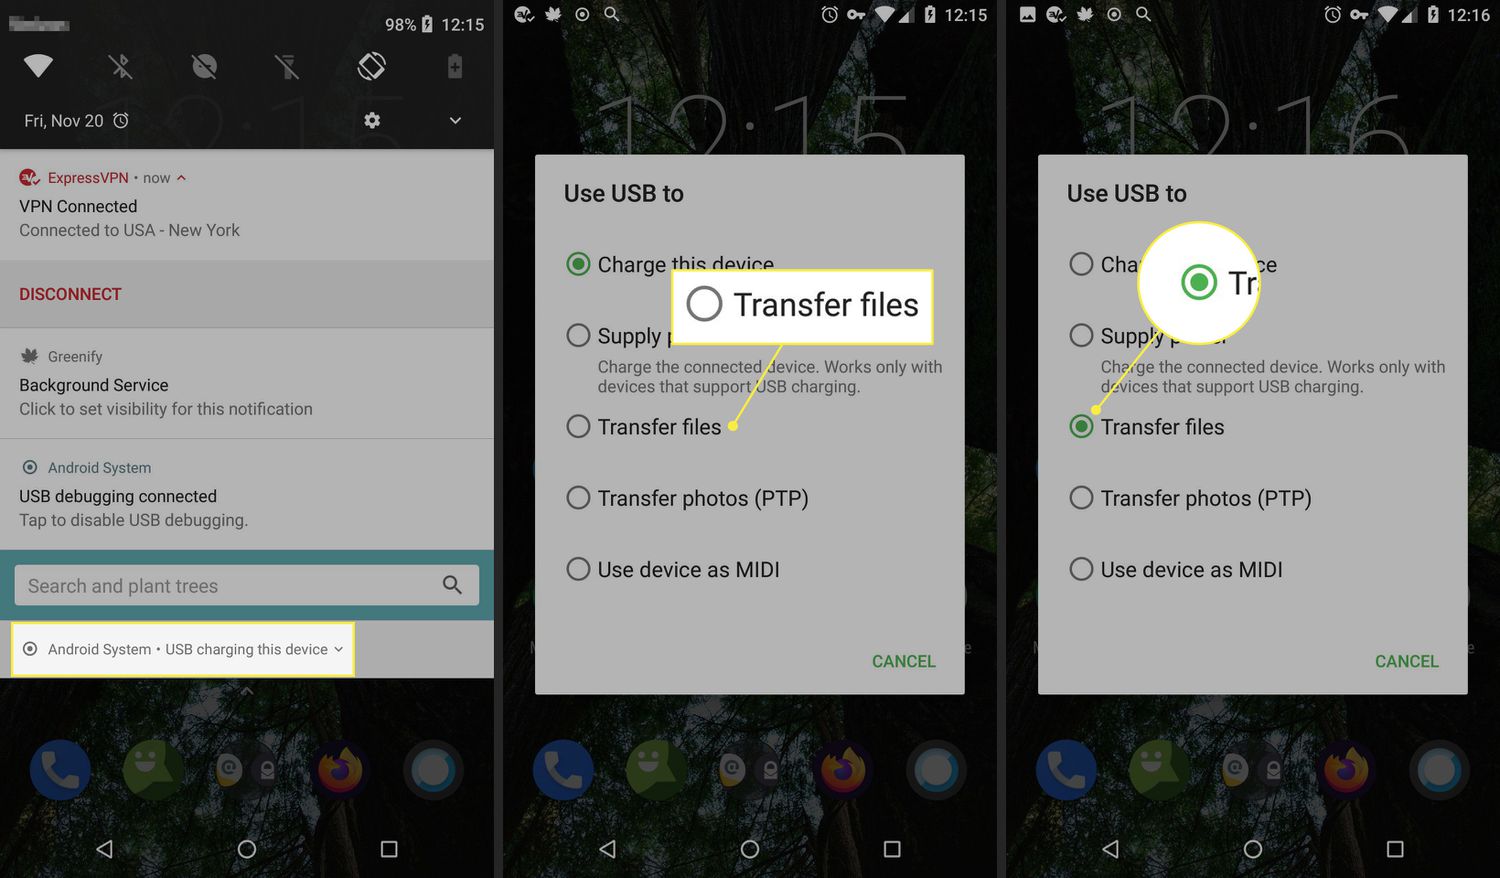
- On your Android phone, pull down the notification shade and tap on the “USB connected” notification.
- Select the “Transfer files” or “File transfer” option on your phone.
- On your computer, open the File Explorer (Windows) or Finder (Mac) and locate your phone under the “Devices” or “This PC” section.
- Double-click on your phone to access its internal storage or SD card, depending on where your pictures are stored.
- Navigate to the folder or directory containing the pictures you want to transfer.
- Select the pictures you want to transfer by either dragging and dropping them onto your computer’s desktop or using the copy and paste functions.
- Wait for the transfer process to complete, and then safely disconnect your phone from the computer by ejecting it.
It’s worth mentioning that the specific steps may vary slightly depending on your operating system and file management software. However, the general process remains the same.
Using a USB cable provides a secure and stable connection for transferring pictures, making it a popular choice for many users. However, keep in mind that it requires physically connecting your phone to your computer, so make sure you have a compatible USB cable on hand.
Now that we’ve covered the USB cable method, let’s explore another convenient way to transfer pictures from your Android phone to your computer.
Using Google Photos app
If you’re looking for a hassle-free and cloud-based solution to transfer pictures from your Android phone to your computer, using the Google Photos app is a great option. It not only provides a convenient way to organize and store your photos but also allows for seamless synchronization between your phone and computer.
To transfer pictures using the Google Photos app, follow these steps:
- Open the Google Photos app on your Android phone. If you don’t have it installed, you can download it from the Google Play Store.
- Sign in to your Google account or create a new one if you don’t have an account.
- Tap on the menu icon (three horizontal lines) located at the top-left corner of the screen.
- Select “Settings” from the menu options.
- Under the “Back up & sync” section, ensure that the toggle switch is turned on.
- Wait for the app to upload your photos to your Google account. This process may take some time depending on the size and number of pictures.
- On your computer, open a web browser and visit the Google Photos website (photos.google.com).
- Sign in to your Google account if prompted.
- Navigate to the “Photos” tab to access all the pictures synced from your Android phone.
- Select the pictures you want to download to your computer by either selecting individual photos or using the “Select All” option.
- Click on the three-dot icon (more options) and choose the “Download” option.
- Specify the location on your computer where you want to save the pictures and click “Save” or “Download”.
By using the Google Photos app, you can easily access and transfer your pictures from any device with an internet connection. Additionally, it serves as a convenient backup solution, ensuring that your photos are securely stored and accessible from anywhere.
Now that you’re familiar with the Google Photos app method, let’s explore an alternative approach using file transfer software.
Using File Transfer Software
If you prefer a more customizable and feature-rich method to transfer pictures from your Android phone to your computer, using file transfer software can be a great option. These software applications offer additional functionalities and flexibility compared to the built-in methods.
Here is a step-by-step guide on how to transfer pictures using file transfer software:
- Download and install a reliable file transfer software on your computer. There are various options available, such as Android File Transfer (for Mac) or AirDroid (for Windows and Mac).
- Connect your Android phone to your computer using a USB cable.
- On your Android phone, enable USB debugging mode by going to “Settings” > “Developer options”. If you don’t see the Developer options, go to “Settings” > “About phone” and tap on the “Build number” multiple times until it unlocks.
- Launch the file transfer software on your computer.
- Follow the software’s instructions to establish a connection between your phone and computer.
- Once connected, you should be able to browse the files and folders on your Android phone using the software’s interface.
- Navigate to the folder or directory where your pictures are stored on your phone.
- Select the pictures you want to transfer, either individually or by using the select all option.
- Click on the “Transfer” or “Download” button within the software to initiate the transfer process.
- Choose the destination folder on your computer where you want to save the pictures.
- Wait for the transfer to complete, and then safely disconnect your phone from the computer.
Using file transfer software provides more control and flexibility over the transfer process, allowing you to selectively choose the pictures you want to transfer and organize them on your computer. It also offers additional features such as managing contacts, messages, and media files.
Now that you know how to transfer pictures using file transfer software let’s explore another convenient option, using cloud storage services.
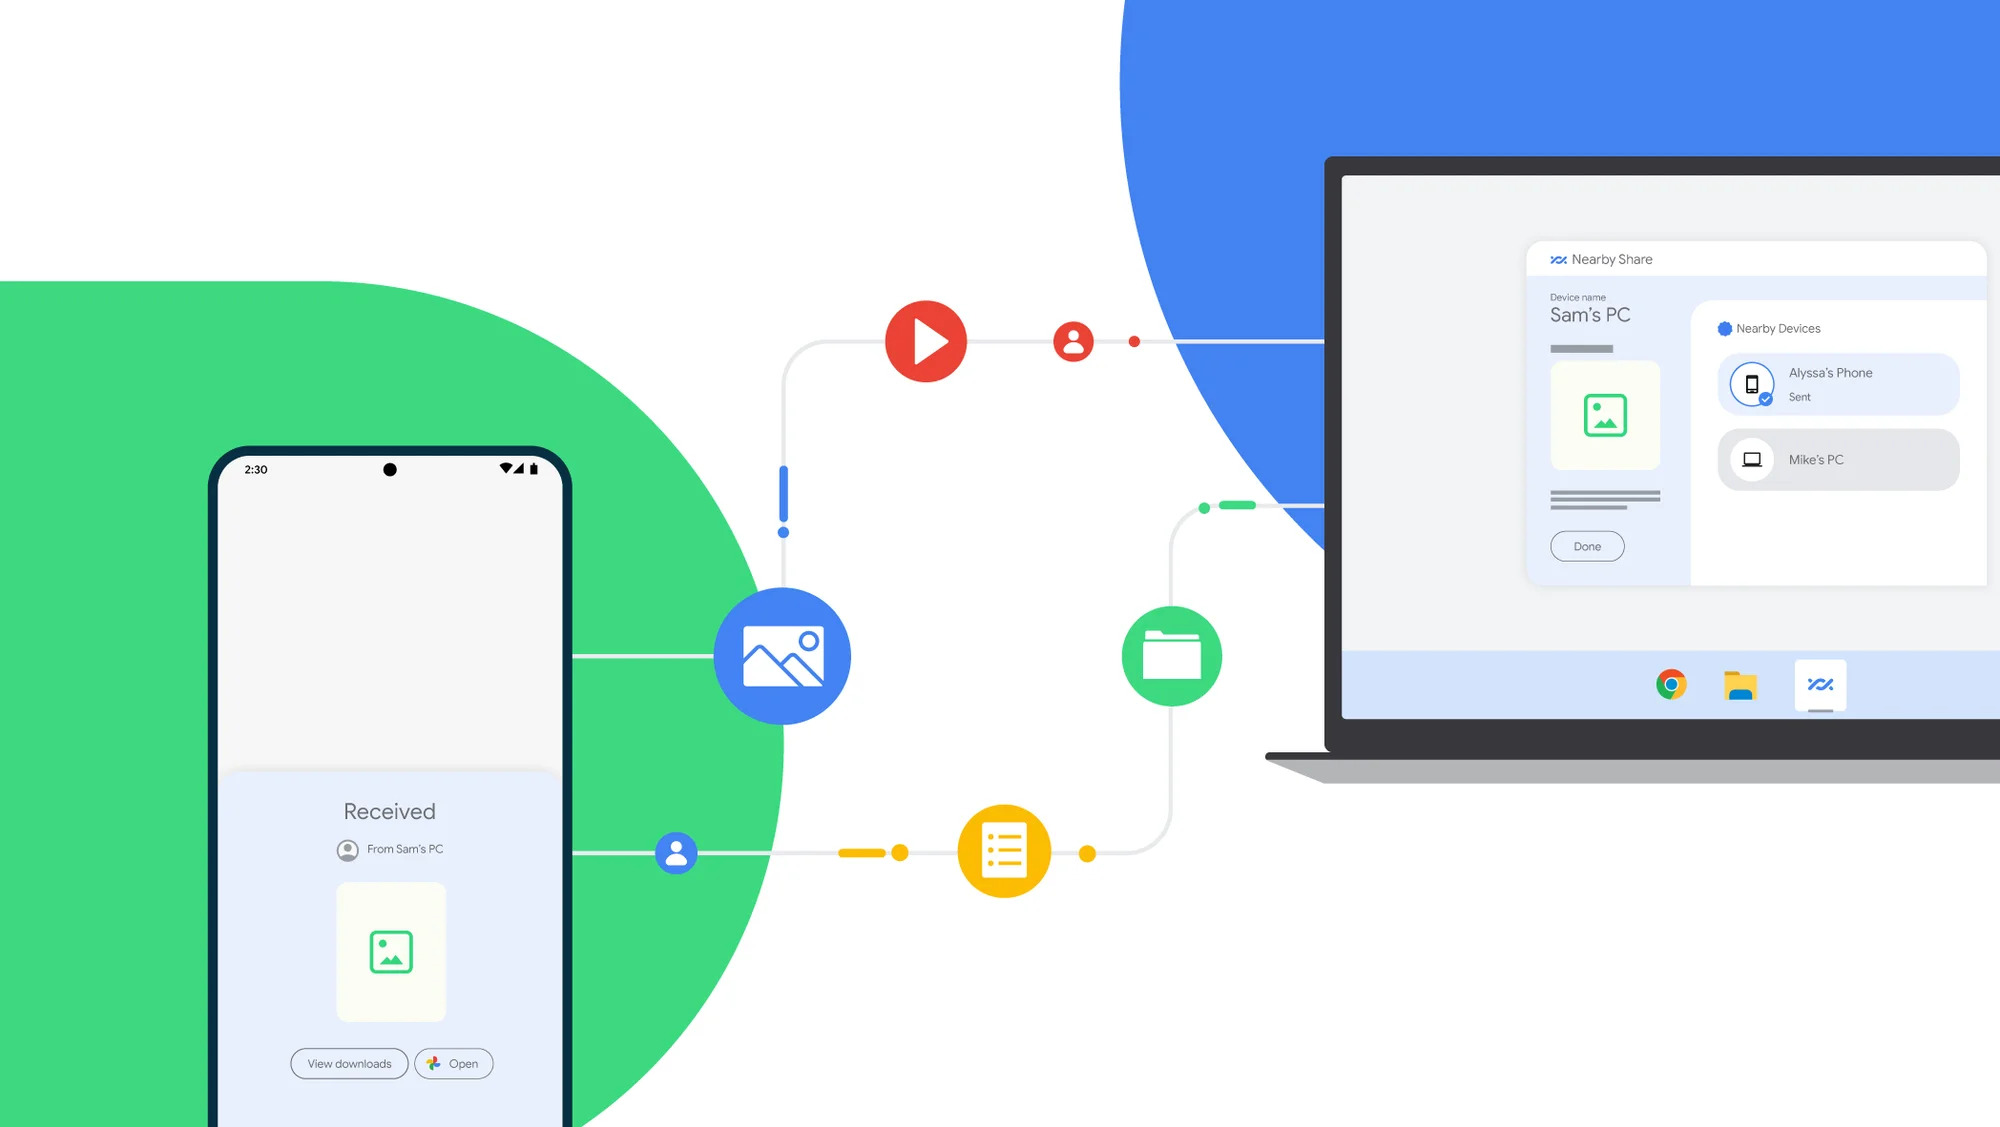
Using Cloud Storage Services
Cloud storage services offer a convenient and accessible way to transfer pictures from your Android phone to your computer. With cloud storage, you can upload your photos to a remote server and access them from any device with an internet connection. This method is particularly useful if you want to sync your pictures across multiple devices or share them with others.
Here’s how you can transfer pictures using cloud storage services:
- Install a cloud storage app on your Android phone, such as Google Drive, Dropbox, or OneDrive.
- Sign in to your account or create a new one if you don’t have an account.
- Open the cloud storage app on your phone and navigate to the “Upload” or “Add” option.
- Select the pictures you want to upload from your phone’s gallery or file manager.
- Wait for the uploading process to complete. Depending on the size of the pictures and your internet connection speed, this may take some time.
- On your computer, open a web browser and visit the website of the cloud storage service you are using.
- Sign in to your account if prompted.
- Navigate to the folder or directory where your pictures are stored.
- Select the pictures you want to download to your computer.
- Click on the “Download” or “Save” option to initiate the download process.
- Specify the location on your computer where you want to save the pictures and click “Save” or “Download”.
Using cloud storage services not only provides a way to transfer pictures between devices but also offers the convenience of automatic backup and synchronization. This means that any changes you make to your pictures on one device will be reflected on all connected devices.
Now that you’re familiar with using cloud storage services let’s explore one more method – using Bluetooth.
Using Bluetooth
If you don’t have a USB cable or prefer a wireless method to transfer pictures from your Android phone to your computer, using Bluetooth can be a viable option. Bluetooth technology allows for the transfer of files between devices without the need for an internet connection or additional cables.
Follow these steps to transfer pictures using Bluetooth:
- Enable Bluetooth on both your Android phone and your computer. On your Android phone, go to “Settings” > “Bluetooth” and slide the toggle switch to turn it on. On your computer, access the Bluetooth settings either through the system preferences or notification center.
- Pair your Android phone with your computer by selecting the respective device from the list of available Bluetooth devices.
- On your phone, open the gallery or file manager and locate the pictures you want to transfer.
- Select the pictures you want to transfer and tap on the share or send button.
- Choose the Bluetooth option from the sharing menu.
- Select your computer from the list of available devices to initiate the file transfer.
- Accept the incoming transfer notification on your computer.
- Wait for the transfer to complete, and the pictures will be saved to a designated folder on your computer.
Using Bluetooth to transfer pictures provides a wireless and convenient solution, especially when a USB cable is not readily available. However, keep in mind that Bluetooth transfer speeds may be slower compared to other methods, especially for larger files.
Now that we’ve covered the various methods to transfer pictures from your Android phone to your computer let’s review the options we discussed.
Conclusion
Transferring pictures from your Android phone to your computer doesn’t have to be a complicated process. We have explored several methods that cater to different preferences and circumstances, allowing you to choose the one that best suits your needs.
Using a USB cable provides a direct and reliable connection, making it a popular choice for many users. The Google Photos app offers a seamless cloud-based solution, ensuring that your pictures are accessible from any device. File transfer software provides additional features and flexibility for a customized transfer experience. Cloud storage services allow for easy synchronization and sharing of pictures across multiple devices. Lastly, Bluetooth offers a wireless option for those who prefer to go cable-free.
While each method has its advantages, it’s important to consider factors such as transfer speed, convenience, and the availability of the necessary hardware or software. Choose the method that best aligns with your specific requirements.
Remember, the specific steps and options may vary slightly depending on your Android device and operating system version. However, the general principles remain the same, and with a little adaptation, you should be able to transfer pictures successfully.
Whether you’re looking to free up space on your Android phone, create backups of your precious memories, or simply edit your photos on a larger screen, you now have the knowledge to transfer your pictures to your computer effortlessly.
Embrace the convenience of these methods and enjoy the flexibility they offer in managing and organizing your treasured photo collection.
Get started today and preserve your memories with ease!