Introduction
Welcome to the digital age, where tablets have become an essential device for many users. These sleek and portable devices offer a wide range of functionalities, including the ability to store and access files on the go. However, transferring files from a USB to a tablet can sometimes be a challenge for users who are not familiar with the process.
In this article, we’ll guide you through the step-by-step process of transferring files from a USB to your tablet. Whether you want to transfer documents, photos, videos, or any other type of file, we have you covered. By following our instructions, you’ll be able to quickly and effortlessly move your files and enjoy them on your tablet.
Before we dive into the steps, it’s important to note that the ability to transfer files from a USB to a tablet may depend on the specific make and model of your tablet. Additionally, some tablets may require additional accessories or software to facilitate the transfer process. Therefore, we recommend checking the user manual or the manufacturer’s website for specific instructions related to your tablet.
Now, let’s get started with the first step – checking the compatibility of your tablet.
Step 1: Check the compatibility of your tablet
Before attempting to transfer files from a USB to your tablet, it’s crucial to ensure that your tablet is compatible with external storage devices. Not all tablets have built-in support for USB connections, so it’s essential to confirm this compatibility.
Start by checking your tablet’s specifications, either through the user manual or the manufacturer’s website. Look for information about USB connectivity and the types of external storage devices supported. Some tablets may only support specific USB formats, such as USB 2.0 or USB 3.0, while others may offer support for USB type-C connections.
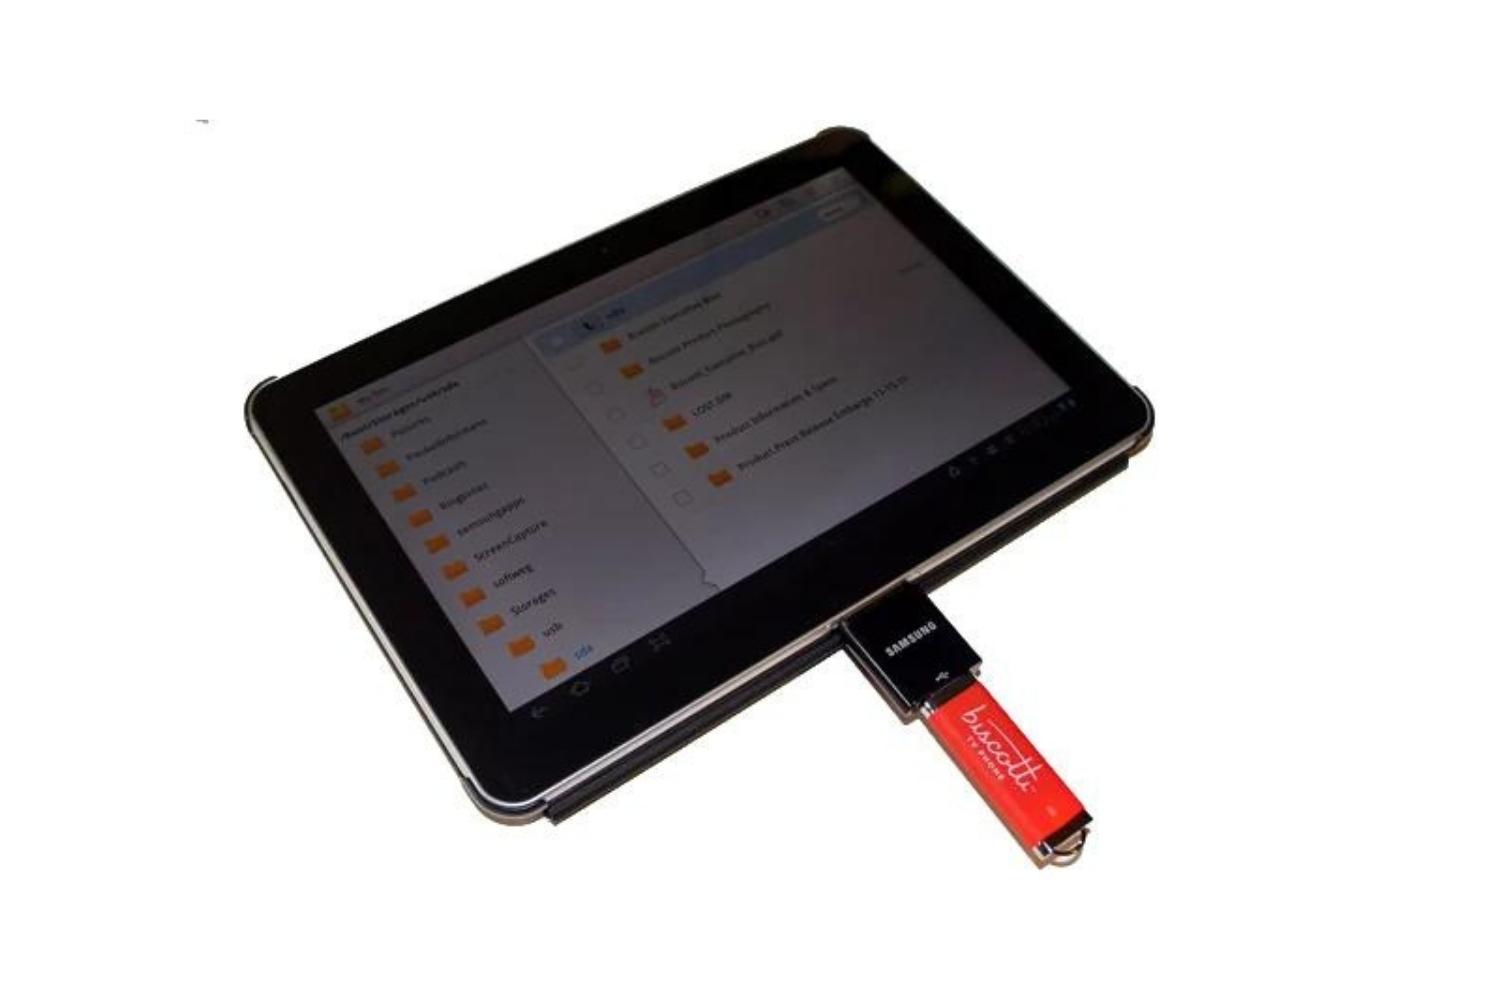
If your tablet does not have built-in USB support, there are still options available to transfer files using external accessories. For example, you can utilize an OTG (On-The-Go) adapter or cable, which allows you to connect a USB device to your tablet via the charging port. These adapters are relatively inexpensive and can be purchased online or at electronics stores.
Once you have confirmed the compatibility of your tablet with USB devices, you can proceed to the next step – connecting the USB to your tablet.
Step 2: Connect the USB to your tablet
Now that you have confirmed the compatibility of your tablet with USB devices, it’s time to connect the USB to your tablet and prepare for the file transfer process. Follow the steps below:
- Locate the USB port on your tablet. The USB port may be located at the bottom, sides, or top of the device, depending on the make and model.
- If you are using a USB-C device, make sure you have the appropriate USB-C to USB-A adapter if needed. This will allow you to connect the standard USB cable to your tablet.
- Insert the USB cable into the USB port on your tablet. Ensure that the connection is secure and fully inserted.
- If you are using an OTG (On-The-Go) adapter or cable, connect one end of the cable to your tablet’s charging port, and the other end to the USB device.
- With the USB connected to your tablet, you are now ready to access the files stored on the USB and begin the file transfer process.
Once the USB is securely connected to your tablet, it’s time to move on to the next step – accessing the USB files on your tablet.
Step 3: Access the USB files on your tablet
After successfully connecting the USB to your tablet, the next step is to access the files stored on the USB device. Here’s how you can do it:
- Unlock your tablet if it is password-protected or requires a PIN or pattern to access.
- Swipe down from the top of the screen to open the notification shade and look for an option related to USB or storage. Tap on it to access the USB settings.
- If you don’t see the USB option in the notification shade, go to the Settings menu of your tablet. Look for the “Storage” or “File Manager” option and tap on it to access the storage settings.
- In the storage settings, you should see the connected USB device listed. Tap on it to open the USB storage folder.
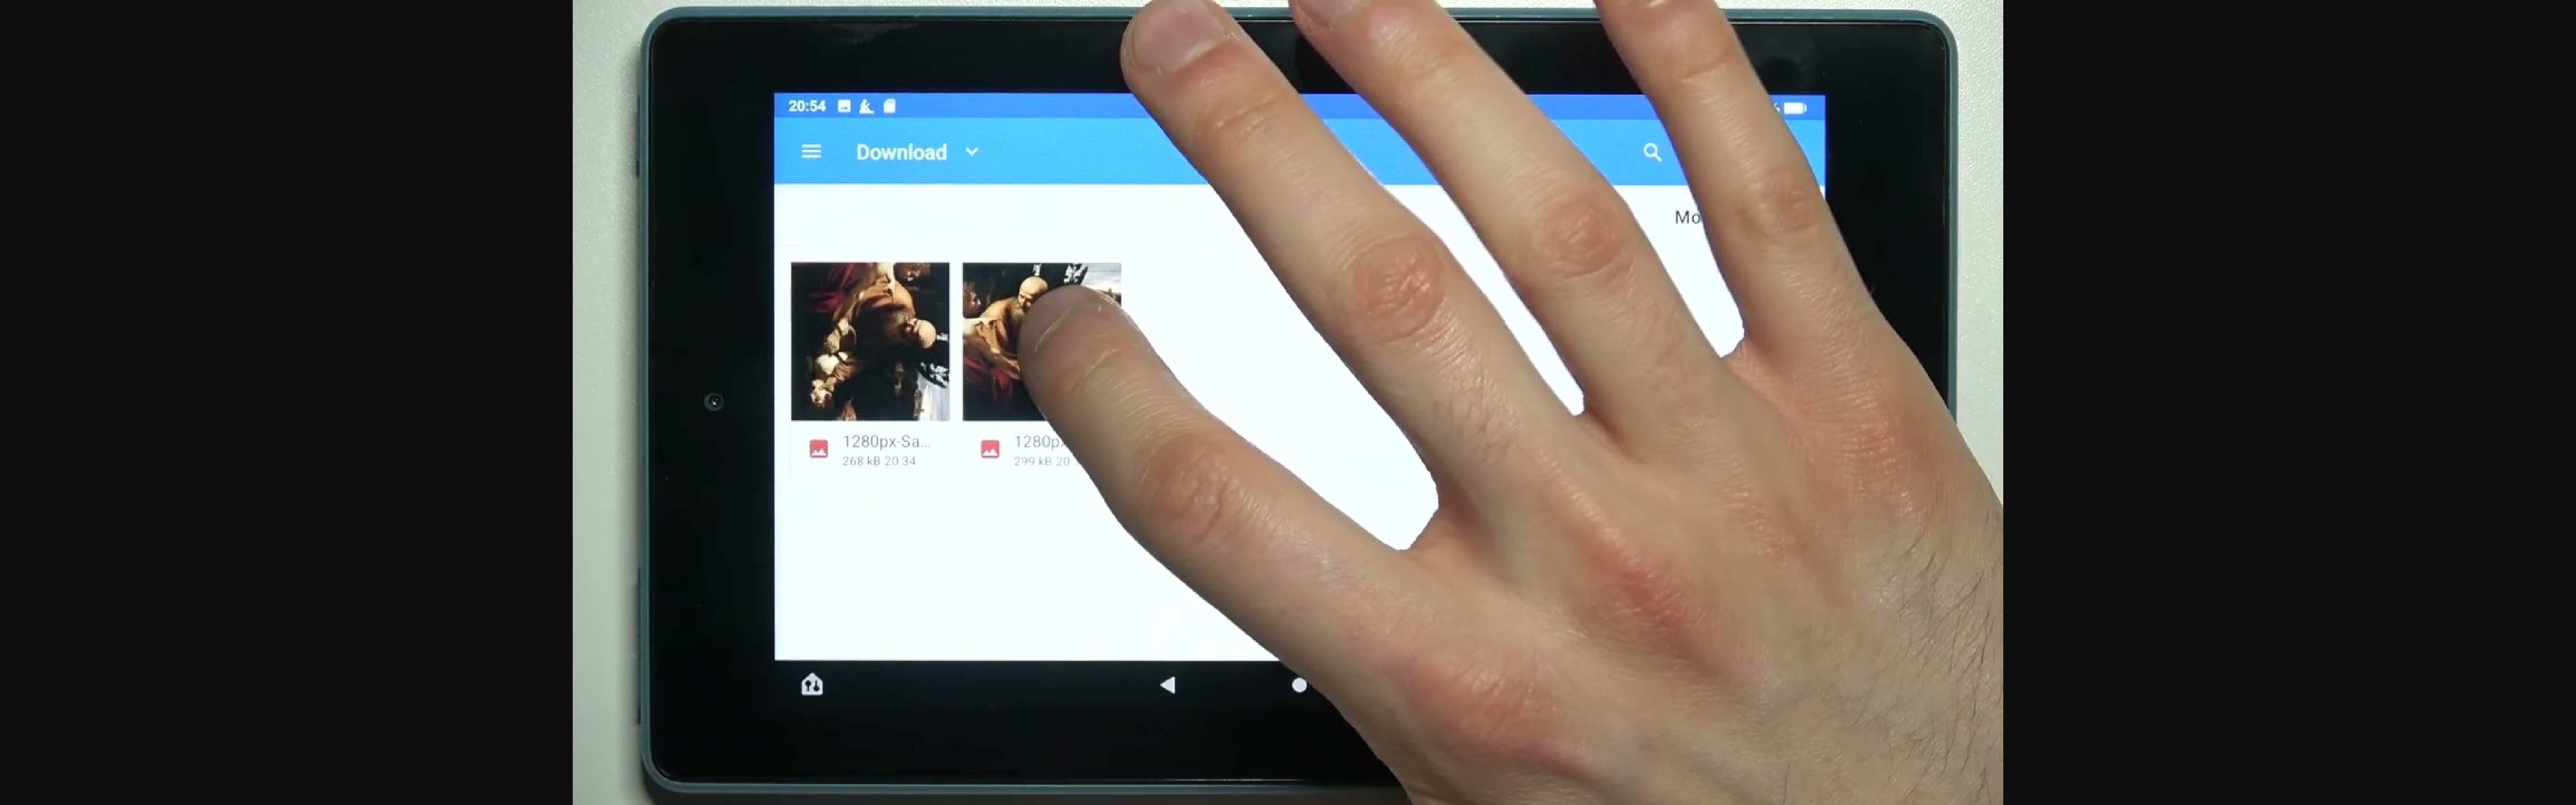
- Once you’ve accessed the USB storage folder, you will be able to view all the files and folders stored on the USB device. Browse through the folders to locate the specific files you want to transfer to your tablet.
It’s important to note that the exact steps to access USB files may vary depending on the make and model of your tablet and the operating system it runs on. If you’re having trouble finding the USB settings or accessing the USB storage folder, refer to your tablet’s user manual or the manufacturer’s website for specific instructions.
With the USB files now accessible on your tablet, it’s time to move on to the next step – transferring files from the USB to your tablet.
Step 4: Transfer files from USB to tablet
Now that you have accessed the files on the USB device from your tablet, it’s time to transfer them to your tablet’s internal storage. Follow these steps to complete the file transfer:
- Navigate to the folder on your tablet’s internal storage where you want to transfer the files. This could be the “Documents,” “Pictures,” or any other folder of your choice.
- Long-press on the file or folder you want to transfer. This will select it and reveal additional options.
- Tap on the “Copy” or “Move” option from the available options. The wording may vary depending on your tablet’s operating system.
- Navigate back to the USB storage folder and open the file or folder where the files you want to transfer are located.
- Long-press on the file or folder that you want to transfer, then select the “Paste” option. This will initiate the file transfer process.
- Wait for the transfer process to complete. The time it takes will depend on the size and number of files being transferred.
Repeat these steps for each file or folder you want to transfer from the USB device to your tablet.
It’s important to note that some tablets may offer additional features, such as the ability to drag and drop files from the USB storage folder directly to the desired location on your tablet’s internal storage. If this feature is available on your tablet, you can utilize it as an alternative method for transferring files.
With the files successfully transferred to your tablet, it’s now time to proceed to the final step – safely removing the USB device.
Step 5: Safely remove the USB device
After transferring the files from the USB device to your tablet, it’s important to safely remove the USB device to avoid any potential data loss or damage. Follow these steps to safely eject the USB device from your tablet:
- Find the notification shade on your tablet and look for an option related to USB or storage.
- Tap on the USB option to open the USB storage settings.
- Look for the option to safely remove or eject the USB device. Tap on it to initiate the removal process.
- Wait for your tablet to indicate that it’s safe to remove the USB device. This may be in the form of a notification or a message on the screen.
- Once it’s safe to do so, carefully remove the USB device from the USB port of your tablet.
It’s essential to follow this procedure to prevent any data loss or potential damage to the files and the USB device itself. By safely ejecting the USB device, you ensure that all data has been transferred and that the device is ready for safe removal.
By completing this final step, you have successfully transferred files from the USB device to your tablet and safely removed the USB device.
Now that you know how to transfer files from a USB to your tablet, you can enjoy the convenience of having your files readily accessible on your portable device. Whether it’s work documents, photos, or videos, you can now easily view and share them wherever you go.
Remember to consult your tablet’s user manual or the manufacturer’s website for specific instructions related to your tablet model, as the steps and terminology may vary. With this newfound knowledge, you can confidently manage your files and make the most of your tablet’s capabilities.
Conclusion
Transferring files from a USB to your tablet can be a straightforward process once you understand the steps involved. By following the step-by-step guide outlined in this article, you can easily transfer your files and enjoy them on your tablet wherever you go.
Throughout this guide, we discussed the importance of checking the compatibility of your tablet with external storage devices. It’s crucial to ensure that your tablet supports USB connections or to utilize appropriate adapters to establish a connection.
We also walked you through the process of connecting the USB device to your tablet, accessing the USB files, transferring the files to your tablet’s internal storage, and safely removing the USB device. Following these steps will help you avoid any data loss or damage to your files and devices.
Remember that the specific steps and terminology may vary depending on your tablet’s make and model, so it’s always a good idea to consult your tablet’s user manual or the manufacturer’s website for detailed instructions.
With the ability to transfer files from a USB to your tablet, you can easily access and enjoy your documents, photos, videos, and other files while on the go.
We hope that this guide has been helpful in demystifying the process of transferring files from a USB to your tablet. Embrace the convenience and versatility of your tablet, and make the most out of its capabilities.
Now, go ahead and start transferring those files and enjoy the seamless integration between your USB device and tablet!