Introduction:
Welcome to our guide on how to transfer data from a laptop to an external hard drive. Whether you need to backup important files, free up storage space, or simply want to have your data accessible on multiple devices, transferring files to an external hard drive is a simple and efficient solution. With just a few steps, you can safely and securely copy your files and folders to an external storage device.
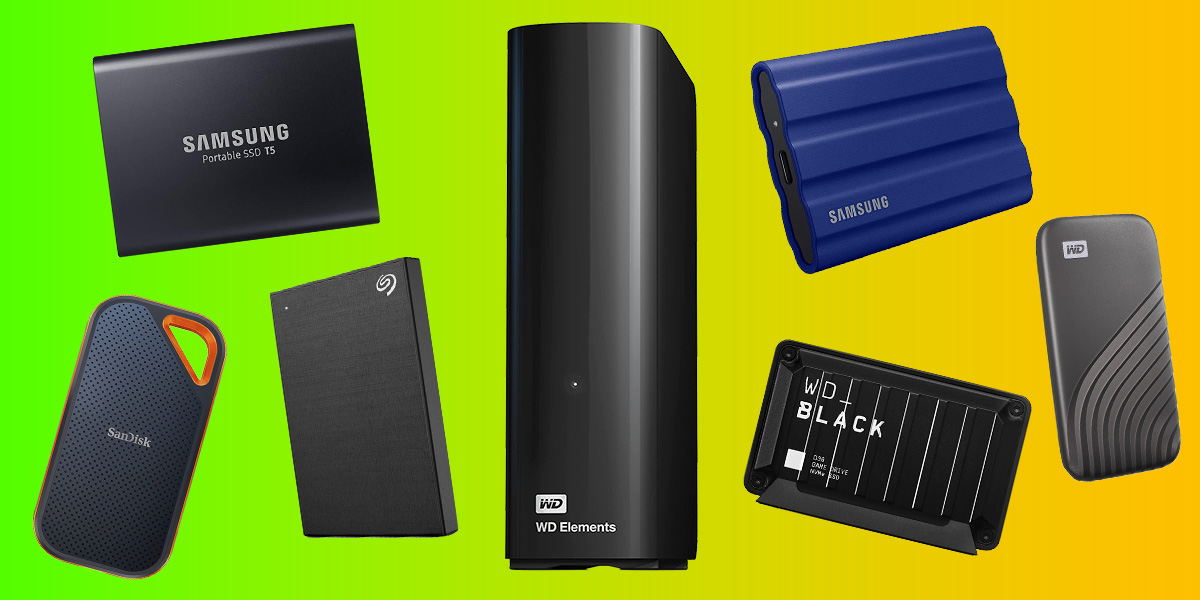
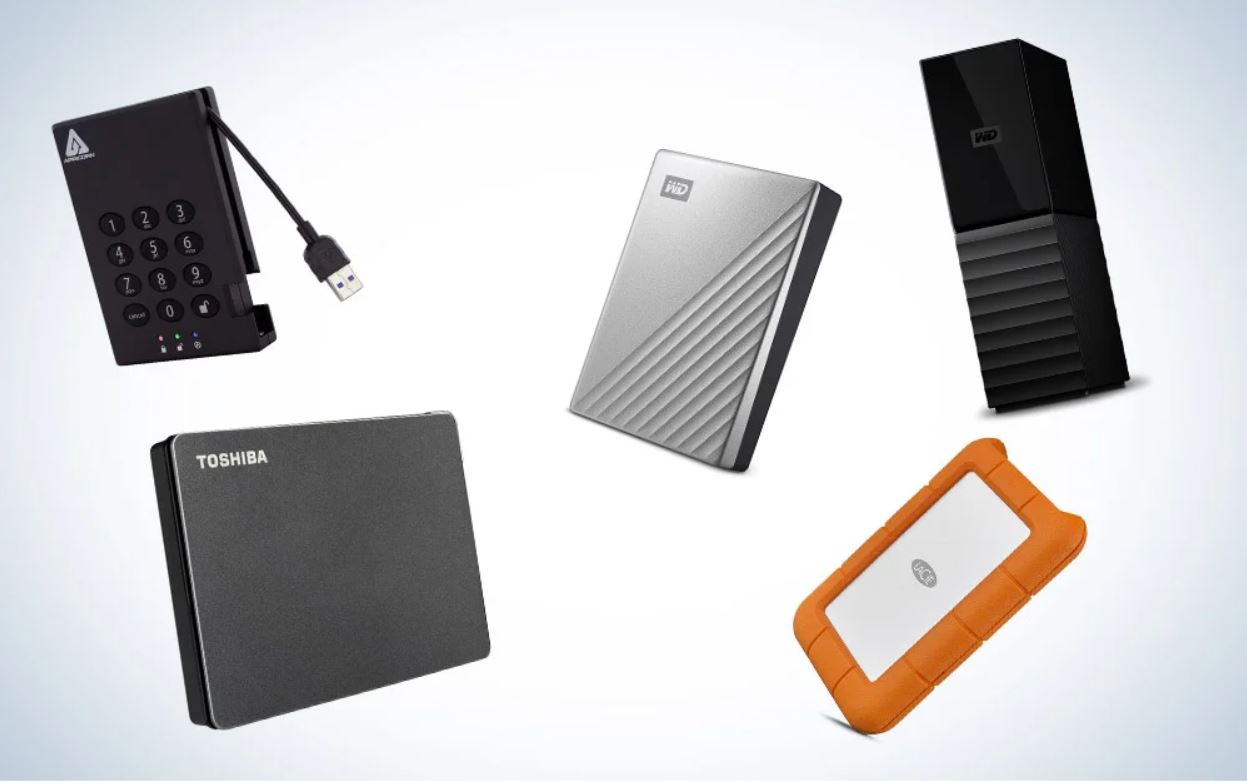
An external hard drive provides a convenient way to store large amounts of data, such as documents, photos, videos, and music. It offers greater storage capacity than a laptop’s internal hard drive and can be easily connected to any computer via USB or other compatible ports. This makes it a versatile solution for transferring data between different devices or for creating backups.
In this article, we will walk you through the step-by-step process of transferring data from a laptop to an external hard drive. We will explain how to connect the external hard drive, select the files or folders you want to transfer, copy and paste the data, and safely disconnect the device when you’re done. No technical expertise is required – just a basic understanding of how to navigate your laptop’s file system and use a USB cable.
Before we begin, it is important to note that the specific steps may vary slightly depending on the operating system and laptop model you are using. However, the core principles of transferring data to an external hard drive remain the same across different devices and platforms.
Now, let’s dive into the process and learn how to effortlessly transfer your valuable data from your laptop to an external hard drive.
Step 1: Connecting the External Hard Drive
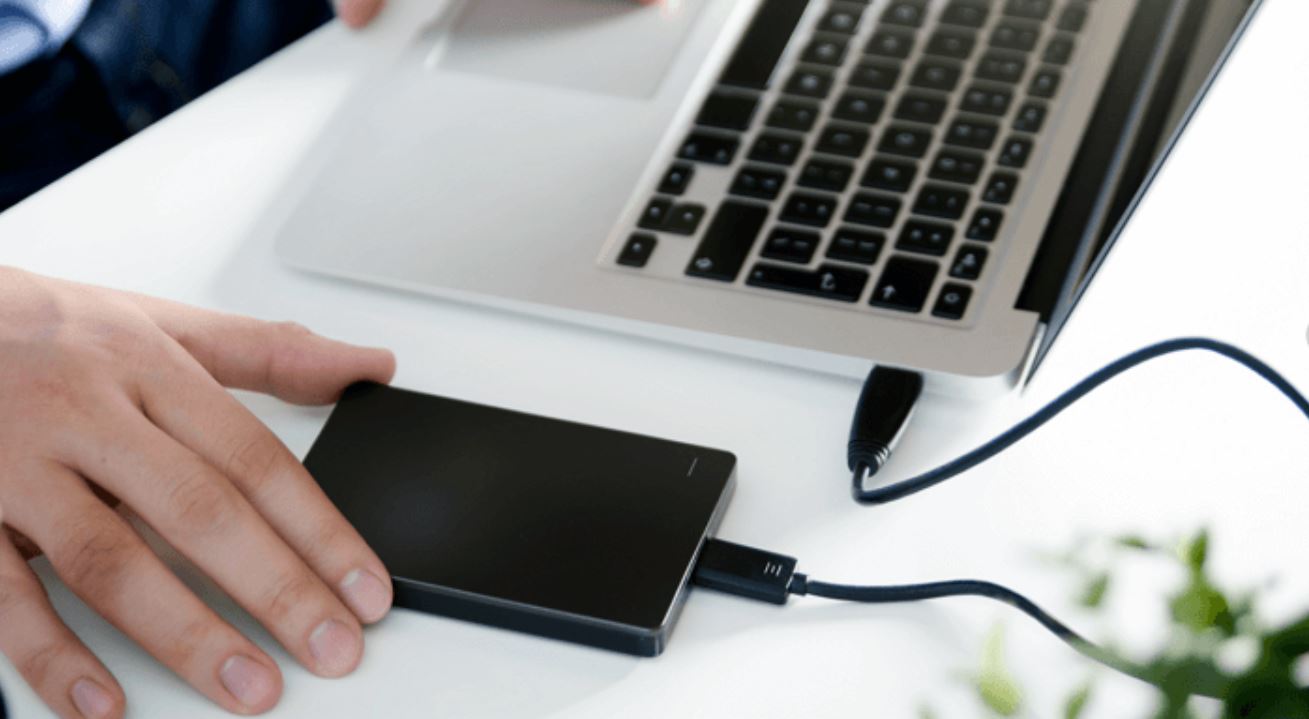
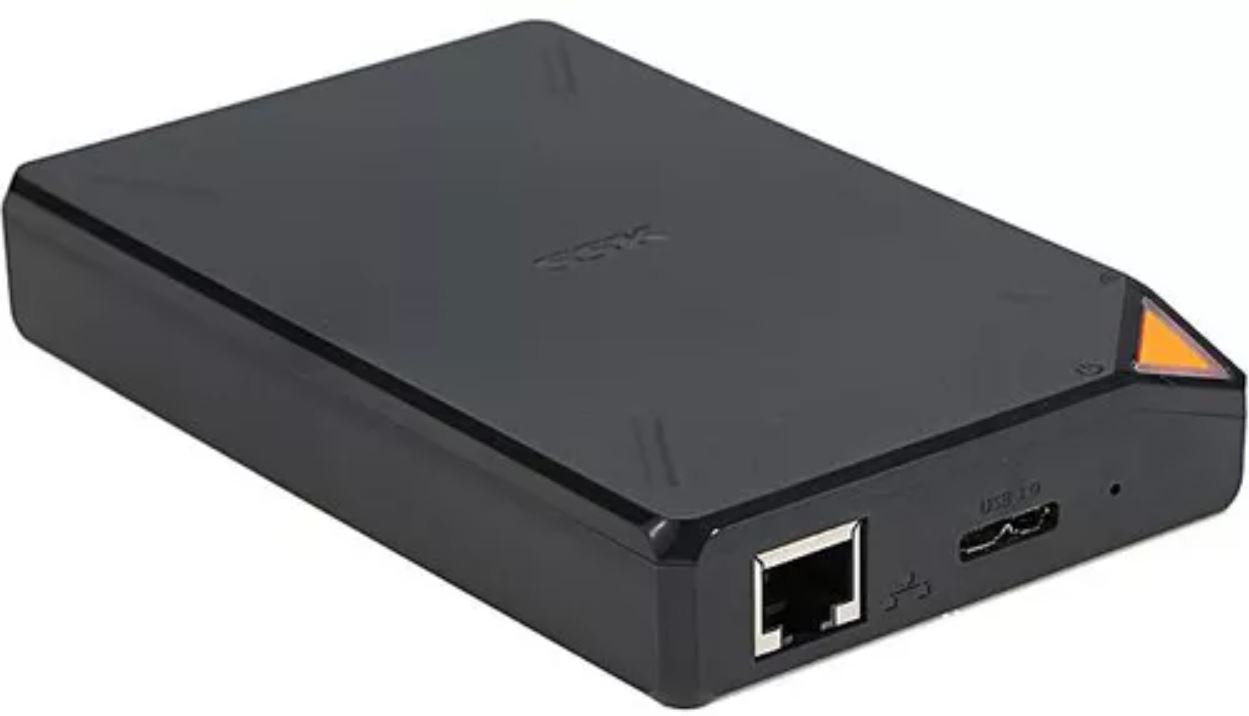
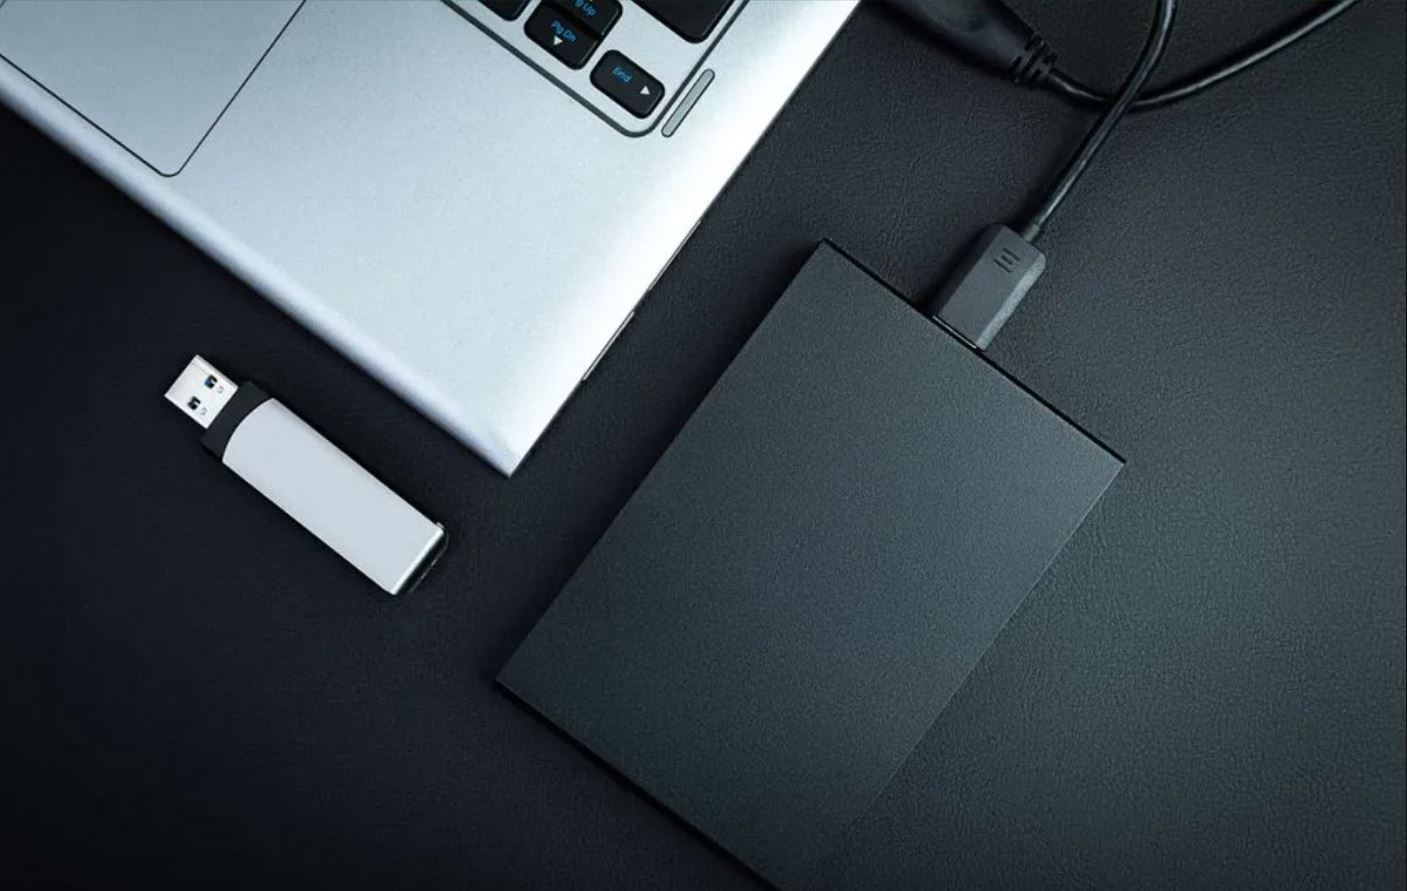
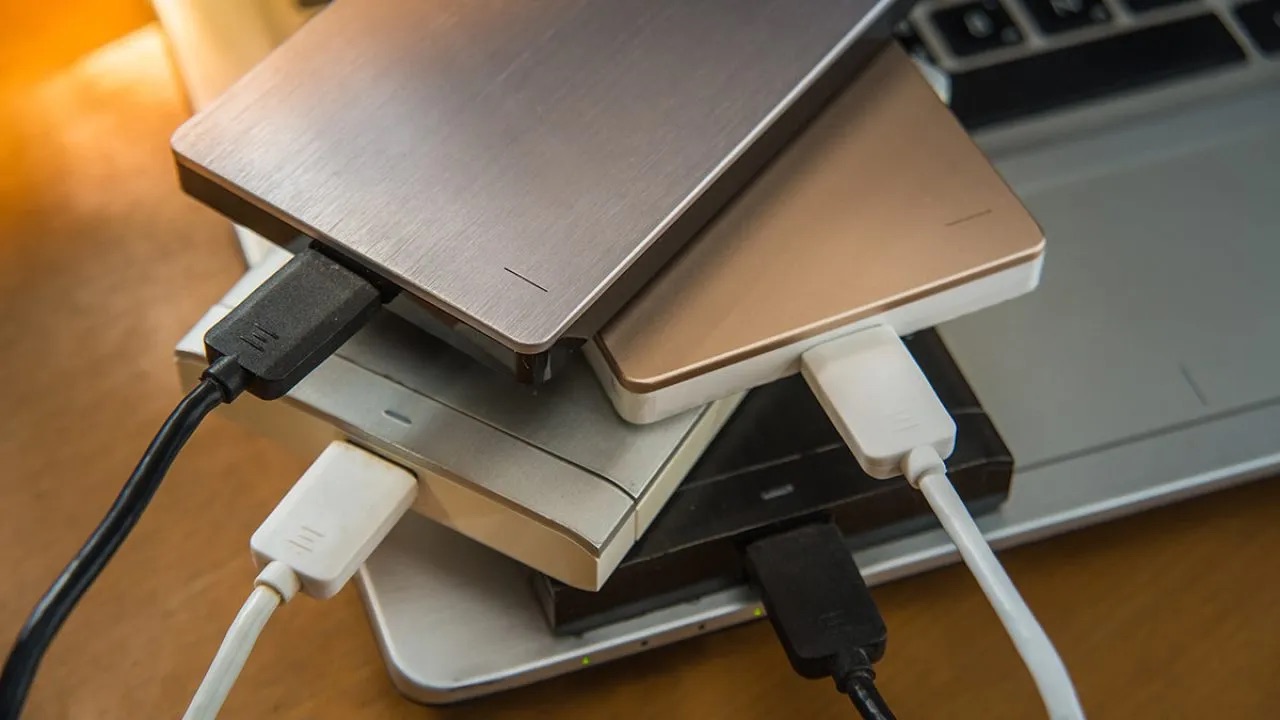
The first step in transferring data from your laptop to an external hard drive is to connect the device. Depending on the type of external hard drive you have, you may need to connect it using a USB cable, Thunderbolt cable, or other compatible connection.
Start by locating the appropriate port on your laptop for connecting the external hard drive. Most laptops have USB ports on the sides or rear of the device. Once you have identified the port, take the USB cable (or the appropriate cable for your external hard drive) and insert one end into the port on your laptop.
Next, take the other end of the cable and connect it to the corresponding port on the external hard drive. Make sure the connection is secure and that the cable is firmly inserted into both the laptop and the external hard drive.
If your external hard drive requires a power source, such as an AC adapter, make sure it is plugged into a power outlet and turned on. This will ensure that the device has enough power to operate and transfer data.
Once you have successfully connected the external hard drive to your laptop, the device should be recognized by your operating system and appear as a new drive or device in your computer’s file system.
Now that you have your external hard drive connected, we can move on to the next step of the data transfer process.
Step 2: Opening the File Explorer
To begin the process of transferring data from your laptop to an external hard drive, you’ll need to open the File Explorer (Windows) or Finder (Mac). These file management tools will allow you to navigate through your laptop’s file system and select the files or folders you want to transfer.
If you’re using a Windows laptop, you can easily access the File Explorer by clicking on the folder icon located on your taskbar or pressing the Windows key + E on your keyboard. This will open a new window displaying the various drives and folders on your laptop.
For Mac users, you can open Finder by clicking on the smiley face icon located on your dock, or by selecting the Finder application from the Applications folder in your Launchpad. Once opened, Finder will display your laptop’s file system, including any connected external devices.
Once you have opened the File Explorer or Finder, take a moment to familiarize yourself with the interface. You will see a list of folders on the left-hand side or in the sidebar, and the contents of the selected folder will be displayed in the main window. You can navigate through your laptop’s file system by clicking on the folders to access their contents.
Now that you have the File Explorer (Windows) or Finder (Mac) open and ready, you can proceed to the next step of selecting the files or folders you want to transfer.
Step 3: Selecting the Files or Folders to Transfer
Once you have opened the File Explorer (Windows) or Finder (Mac), it’s time to select the files or folders that you want to transfer from your laptop to the external hard drive. This step allows you to choose the specific data that you want to back up or move.
In the File Explorer or Finder window, navigate to the location of the files or folders that you wish to transfer. This could be your Documents folder, Pictures folder, or any other directory where you have stored your data.
To select multiple files or folders, you can use one of the following methods:
- Single Selection: Click on a file or folder to highlight it. To select additional files or folders individually, hold down the Ctrl (Windows) or Command (Mac) key while clicking on each item.
- Range Selection: To select a consecutive range of files or folders, click on the first item, hold down the Shift key, and then click on the last item in the range. This will select all items between the first and last selection.
- Select All: If you want to select all the files and folders in a particular location, you can use the Ctrl+A (Windows) or Command+A (Mac) keyboard shortcut. This will highlight all items in the current directory.
As you make your selections, you will notice that the selected files or folders are highlighted or appear with a checkmark, depending on your operating system and file explorer settings.
Take your time to carefully choose the files or folders that you want to transfer. It’s a good idea to create a new folder on your external hard drive to keep things organized, especially if you’re transferring multiple items. You can do this by right-clicking in the external hard drive window and selecting “New Folder”. Give the folder a name that represents the content you’re transferring.
Now that you have selected the files or folders you want to transfer, let’s move on to the next step.
Step 4: Copying the Files or Folders
After selecting the files or folders you want to transfer from your laptop to the external hard drive, it’s time to make copies of them. This step involves the process of copying the selected data to be able to transfer it to the external hard drive.
In the File Explorer (Windows) or Finder (Mac), right-click on one of the selected files or folders and a context menu will appear. From the context menu, choose the “Copy” option. Alternatively, you can use the keyboard shortcut Ctrl+C (Windows) or Command+C (Mac) to copy the selected files or folders.
Next, navigate to the location on the external hard drive where you want to transfer the data. This could be the new folder you created or any other desired location. You can do this by clicking on the appropriate drive or folder in the File Explorer (Windows) or Finder (Mac).
Once you are in the desired location, right-click and choose the “Paste” option from the context menu that appears. Alternatively, you can use the keyboard shortcut Ctrl+V (Windows) or Command+V (Mac) to paste the copied files or folders.
The file transfer process will begin, and you will see the progress in the form of a transfer bar or status indicator. The time it takes to complete the transfer will depend on the size and number of files being copied.
It’s important not to disconnect the external hard drive or interrupt the transfer process while the files are being copied. Doing so may result in incomplete or corrupted data transfer.
Once the transfer is complete, you will have successfully copied the selected files or folders from your laptop to the external hard drive. Congratulations! You’re one step closer to safely storing and backup your data.
Step 5: Navigating to the External Hard Drive
Now that you have copied the files or folders from your laptop, it’s time to navigate to the external hard drive to ensure that the data has been successfully transferred. Navigating to the external hard drive will allow you to confirm the presence of the copied files and ensure their accessibility.
In the File Explorer (Windows) or Finder (Mac), locate the list of drives and devices on the left-hand side or in the sidebar. Look for the external hard drive that you connected in the previous steps. It may be labeled with the drive name or the manufacturer’s name.
Click on the external hard drive to select it. The contents of the drive will be displayed in the main window of the File Explorer (Windows) or Finder (Mac).
Take a moment to browse through the folders and files on the external hard drive to make sure that the copied data is present and arranged as expected. You should be able to see the new folder you created (if applicable) and the transferred files or folders.
This step is essential to ensure that the data transfer was successful and that there are no errors or missing files. It provides peace of mind knowing that your important data is now stored on the external hard drive and can be accessed whenever needed.
If you encounter any issues or if the copied files are not visible on the external hard drive, double-check the previous steps to ensure that you correctly selected and copied the files or folders. It’s also possible that the files may be hidden or located in a different folder on the external hard drive.
Once you have confirmed that the files are indeed present on the external hard drive, you can proceed to the next step of the transfer process.
Step 6: Pasting the Files or Folders
Having successfully navigated to the external hard drive and ensuring that the transferred files are present, it’s time to paste the files or folders from your laptop onto the external hard drive. This step will complete the data transfer process and securely store your files on the external storage device.
In the File Explorer (Windows) or Finder (Mac), navigate to the location on the external hard drive where you want to paste the files or folders. This could be the root of the drive or any specific folder you desire.
Once you have reached the desired location on the external hard drive, right-click and choose the “Paste” option from the context menu. Alternatively, you can use the keyboard shortcut Ctrl+V (Windows) or Command+V (Mac) to paste the copied files or folders onto the external hard drive.
The files or folders will begin to paste onto the external hard drive, and a progress bar or status indicator will show the transfer process. The time taken for the paste operation will depend on the size and number of files being copied.
It’s important to avoid interrupting or disconnecting the external hard drive while the files are being pasted. Doing so may cause incomplete or corrupted data transfer.
Once the paste operation is complete, you can verify that the files or folders have been successfully transferred by checking the external hard drive’s location again. The newly pasted files or folders should be visible in the selected destination folder on the external hard drive.
Congratulations! You have now completed the process of pasting the files or folders from your laptop onto the external hard drive. Your data is now safely stored on the external storage device, allowing for easy access and backup.
In the next step, we will cover what to do once the transfer is complete and how to safely disconnect the external hard drive from your laptop.
Step 7: Waiting for the Transfer to Complete
After pasting the files or folders onto the external hard drive, it is important to wait for the transfer process to complete before proceeding with any further actions. This step ensures that all data has been successfully transferred and avoids any potential data loss or corruption.
The time taken for the transfer to complete will depend on the size and number of files being transferred, as well as the speed of the connection between your laptop and the external hard drive. It is normal for larger transfers to take more time.
During the transfer process, it is important to avoid disconnecting the external hard drive or interrupting the data transfer. Doing so can result in incomplete or corrupted files, potentially leading to data loss or data integrity issues.
While waiting for the transfer to complete, you can monitor the progress bar or status indicator in the File Explorer (Windows) or Finder (Mac) to see how much longer the process will take. It is recommended to remain patient and let the transfer finish undisturbed to ensure a successful and error-free transfer.
If you need to step away from your laptop during the transfer, make sure to leave it powered on and connected to a power source to prevent any interruptions or system hibernation that may occur when running on battery power.
Once the transfer process is complete, you can move on to the next step of ejecting the external hard drive from your laptop to ensure a safe disconnection.
Step 8: Ejecting the External Hard Drive
After the transfer process is complete, it is important to safely eject the external hard drive from your laptop before physically disconnecting it. Ejecting the external hard drive ensures that any ongoing read or write operations are completed and that all files and data are safely written to the device.
In the File Explorer (Windows) or Finder (Mac), locate the icon or name of the external hard drive in the list of drives or devices.
Right-click on the external hard drive and select the “Eject” option from the context menu. This action will inform the operating system that you want to disconnect the external hard drive.
Alternatively, if you’re using a Mac, you can also click on the eject symbol (an upward-pointing arrow) next to the external hard drive’s name in the Finder’s sidebar.
After selecting the eject option, you may see a notification or message indicating that it is safe to disconnect the external hard drive. This step ensures that any pending read or write processes are completed before physically removing the device.
Once you receive confirmation or the notification disappears, it is safe to physically disconnect the external hard drive from your laptop. Take care to gently remove the USB or other compatible connection cable from both the laptop and the external hard drive.
Properly ejecting the external hard drive reduces the risk of data corruption or loss and helps to maintain the overall health and longevity of the device.
Now that you have safely ejected the external hard drive, it is time to move on to the final step: safely disconnecting the external hard drive from your laptop.
Step 9: Safely Disconnecting the External Hard Drive
Once you have safely ejected the external hard drive, you can now proceed with the final step of safely disconnecting it from your laptop. Safely disconnecting the external hard drive ensures that all data transfers, read and write operations, and power connections are properly closed and disconnected, preventing any potential data loss or damage to the device.
Before physically removing the external hard drive, double-check that there are no ongoing data transfers or activity related to the device. This can be done by ensuring that the progress bar or status indicator for the transfer process is complete, and there are no notifications or indications of any ongoing operations related to the external hard drive.
Once you have confirmed that it is safe to disconnect the external hard drive, gently remove the USB or other compatible connection cable from both the laptop and the external hard drive. It is important to disconnect the cable carefully to avoid any damage to the ports or the cable itself.
After disconnecting the cable, you can now safely store or move the external hard drive if desired. Ensure that you place it in a secure location where it is protected from physical damage and environmental hazards.
It is also recommended to store the external hard drive in an upright position to prevent any potential damage to the internal components. Avoid exposing the device to extreme temperatures, moisture, or excessive vibration, as these can negatively impact its performance and longevity.
By safely disconnecting the external hard drive, you have completed the entire process of transferring data from your laptop to the external storage device. Your files and folders are now securely stored on the external hard drive, providing you with peace of mind and easy access to your data whenever needed.
Remember, if you need to use the external hard drive again in the future, always connect it properly and follow the steps outlined in this guide to ensure a safe and successful data transfer process.
Conclusion
Transferring data from a laptop to an external hard drive is a straightforward process that offers several benefits, including backup storage, freeing up disk space, and easy accessibility of files across multiple devices. By following the step-by-step guide outlined in this article, you can confidently and safely transfer your valuable data to an external storage solution.
Starting with connecting the external hard drive to your laptop, you learned how to open the File Explorer or Finder to navigate through your laptop’s file system. You then selected the files or folders you wanted to transfer and copied them to the external hard drive. After waiting for the transfer to complete, you verified the presence of the files by navigating to the external hard drive. Next, you pasted the files or folders onto the external hard drive, ensuring the successful completion of the data transfer process.
It is crucial to remember to safely eject the external hard drive from your laptop before physically disconnecting it. This step ensures that all ongoing read or write operations are completed, reducing the risk of data corruption. Finally, safely disconnecting the external hard drive from your laptop ensures that all connections are properly closed and will preserve the device’s functionality.
By following these steps, you can confidently transfer data from your laptop to an external hard drive, securing your files and ensuring their accessibility whenever you need them. Whether you’re backing up important documents, organizing your media files, or simply looking to declutter your laptop’s storage, an external hard drive provides a reliable and convenient storage solution.
Remember, these steps may be slightly different depending on the operating system and laptop model you are using. Always refer to the user manual or the manufacturer’s instructions for specific guidance on your device.
Now that you have the knowledge and understanding of the data transfer process, you can confidently manage your files and safely store them on an external hard drive. Enjoy the peace of mind and convenience that comes with having your important data securely backed up and easily accessible on your external storage device.


