Introduction
A projector lamp is a crucial component of any projector, responsible for producing the bright and vibrant images that are displayed on the screen. However, like any other light source, projector lamps have a limited lifespan. Over time, the lamp’s brightness may degrade, and it may start showing signs of wear and tear. This can significantly impact the overall image quality and performance of the projector.
Regularly testing the projector lamp is essential to ensure optimal performance and longevity. By conducting a thorough assessment, you can identify any issues or potential problems with the lamp, allowing you to take necessary actions, such as replacing or cleaning the lamp, to maintain optimal performance.
This article will guide you through the process of testing a projector lamp. We will cover various aspects to consider, including the lamp’s life, brightness, image quality, color accuracy, cooling, noise level, power consumption, physical condition, and overall performance. By performing these tests, you can effectively evaluate the lamp’s condition and make informed decisions regarding its maintenance or replacement.
Whether you are a projector owner or responsible for maintaining the projector equipment in a professional setting, this guide will provide you with the necessary knowledge to test a projector lamp effectively. So, let’s get started and learn how to ensure the optimal performance of your projector’s lamp.
Checking the Lamp Life
The lifespan of a projector lamp is an important factor to consider when assessing its condition. Knowing the remaining lamp life helps you determine if it is approaching the end of its usable period and whether it needs to be replaced soon.
To check the lamp life, refer to the projector’s user manual or menu settings. Most modern projectors have a built-in lamp hour counter that displays the total lamp usage time. Access this feature and note down the number of hours the lamp has been in use.
Compare the recorded lamp hours with the manufacturer’s recommended lamp life. Projector lamps generally have a specified number of hours of usage before they start to experience a notable decline in brightness and performance. If the lamp has exceeded this recommended limit, it may be time to consider replacing it.
While checking the lamp life, also pay attention to any warning messages or indicators shown on the projector. Some projectors display a warning when the lamp is nearing the end of its lifespan or when it needs to be replaced. These indicators serve as useful reminders to keep track of the lamp’s usage and ensure timely replacement.
Regularly checking the lamp life is crucial for maintaining optimal image quality and projector performance. By replacing the lamp before it completely fails, you can prevent unexpected interruptions during presentations or important events.
Keep in mind that the lamp life can vary depending on several factors, including the projector model, usage conditions, and lamp type. Some projectors offer an eco mode that decreases lamp brightness but extends its life. Consider adjusting projector settings or lamp mode to maximize the lamp’s longevity if necessary.
Checking the Brightness
The brightness of a projector lamp significantly impacts the quality and visibility of the projected images. Over time, projector lamps can lose their brightness, resulting in dull and dim images. Therefore, regularly checking the brightness is essential to ensure optimal performance.
To check the brightness of the projector lamp, start by projecting a white image or screen onto a flat surface. Make sure the ambient lighting is controlled to get accurate results. Ideally, perform this test in a dark or dimly lit room.
Use a light meter or lux meter to measure the brightness of the projected image. Place the meter at the center of the screen and take multiple readings at different points to get an average value. Compare the measured brightness with the projector’s specifications or manufacturer’s recommendations.
If the brightness falls significantly below the projector’s specified range, it may indicate that the lamp is nearing the end of its life or needs cleaning. In some cases, a thorough cleaning of the projector’s lens and filters can restore the brightness to an acceptable level.
Projector lamps that have been used extensively may require replacement to restore optimal brightness. Keep in mind that the brightness of a new lamp can gradually decrease over time, even if it is not reaching the end of its recommended life. Therefore, it’s important to regularly monitor and test the brightness to ensure consistent image quality.
Additionally, check if the projector offers brightness adjustment settings. Some projectors allow you to manually adjust the brightness level to suit the specific viewing environment or reduce power consumption. Experiment with these settings to find the optimal balance between brightness and power usage.
Regularly checking the brightness of your projector lamp ensures that you can continue to deliver vibrant, high-quality presentations, and enjoy an immersive viewing experience. By addressing any brightness issues promptly, you can maintain the best possible performance from your projector.
Inspecting for Image Quality Issues
The image quality produced by a projector is a key factor in delivering a clear and visually appealing presentation. Over time, projector lamps can develop issues that affect the image quality. Therefore, regularly inspecting the image quality is essential to ensure optimal performance.
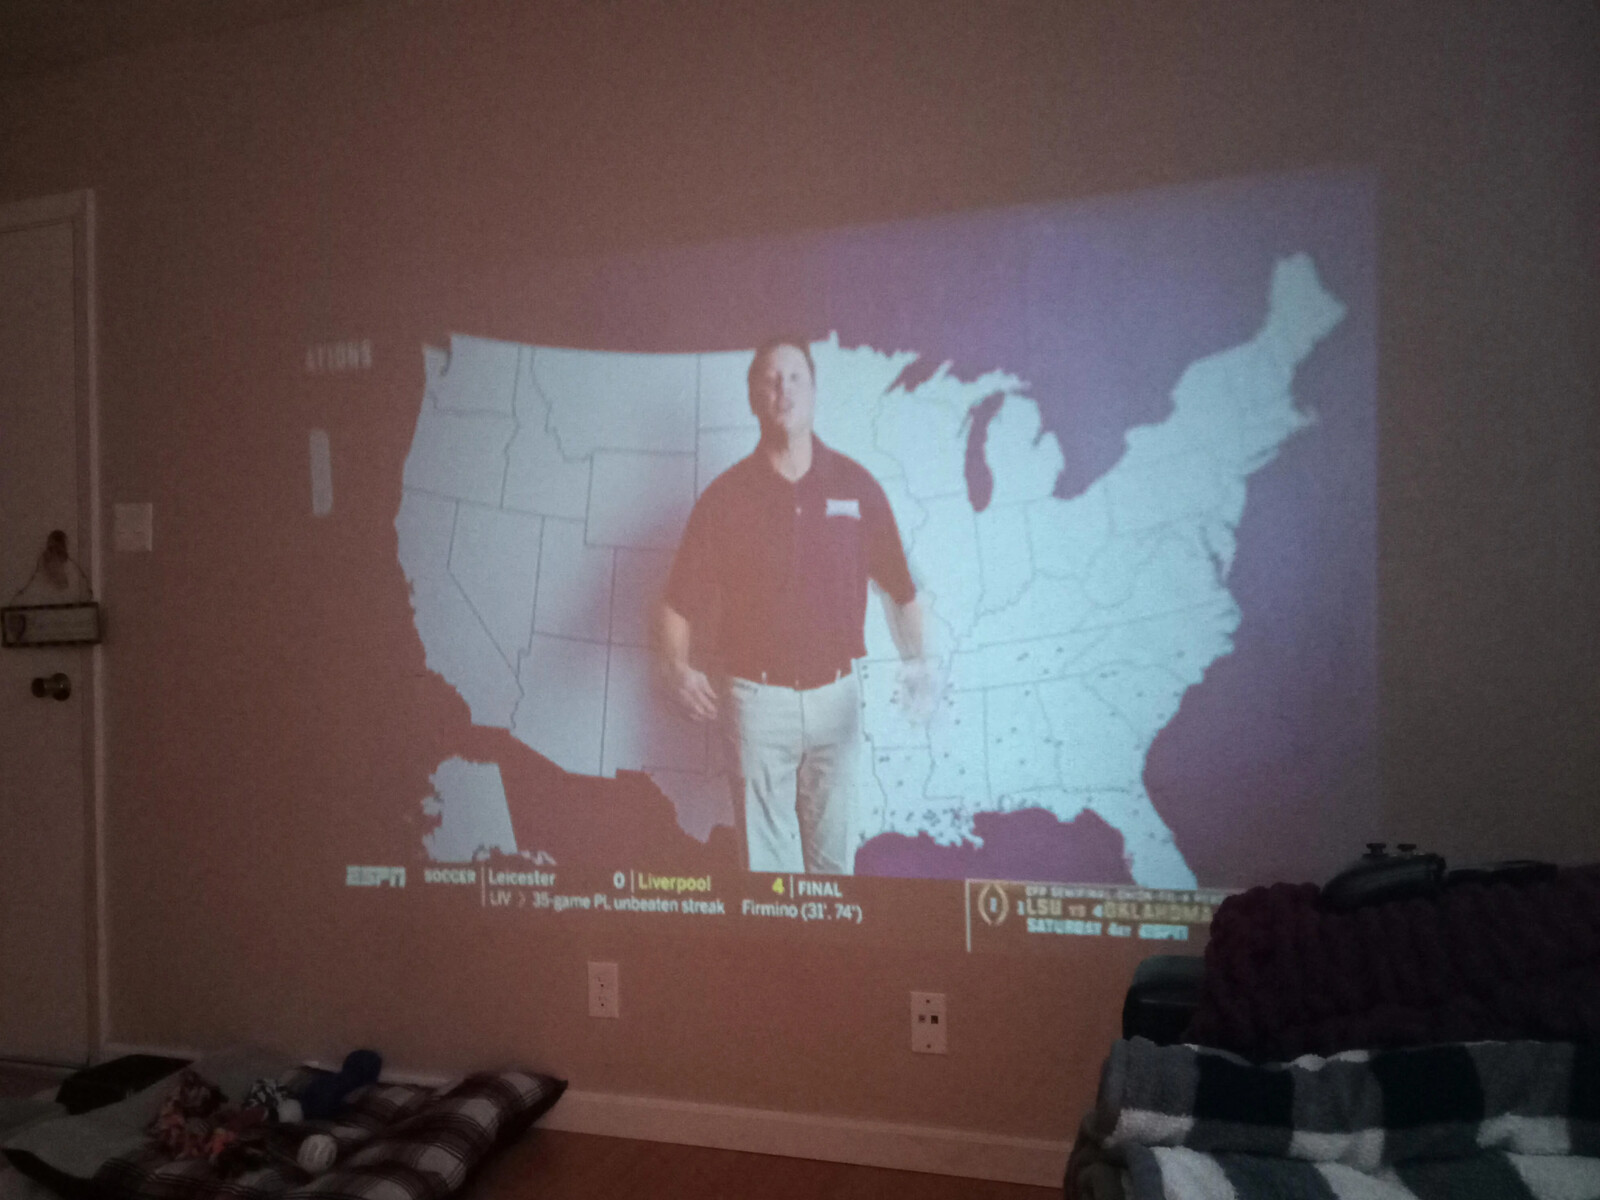
Start by projecting a test pattern or a high-quality image onto a screen or wall. Examine the image for any noticeable issues or abnormalities. Look for the following common image quality problems:
- Poor focus: Check if the image appears blurry or lacks sharpness. Adjust the projector’s focus ring or menu settings to achieve a clear and well-defined image.
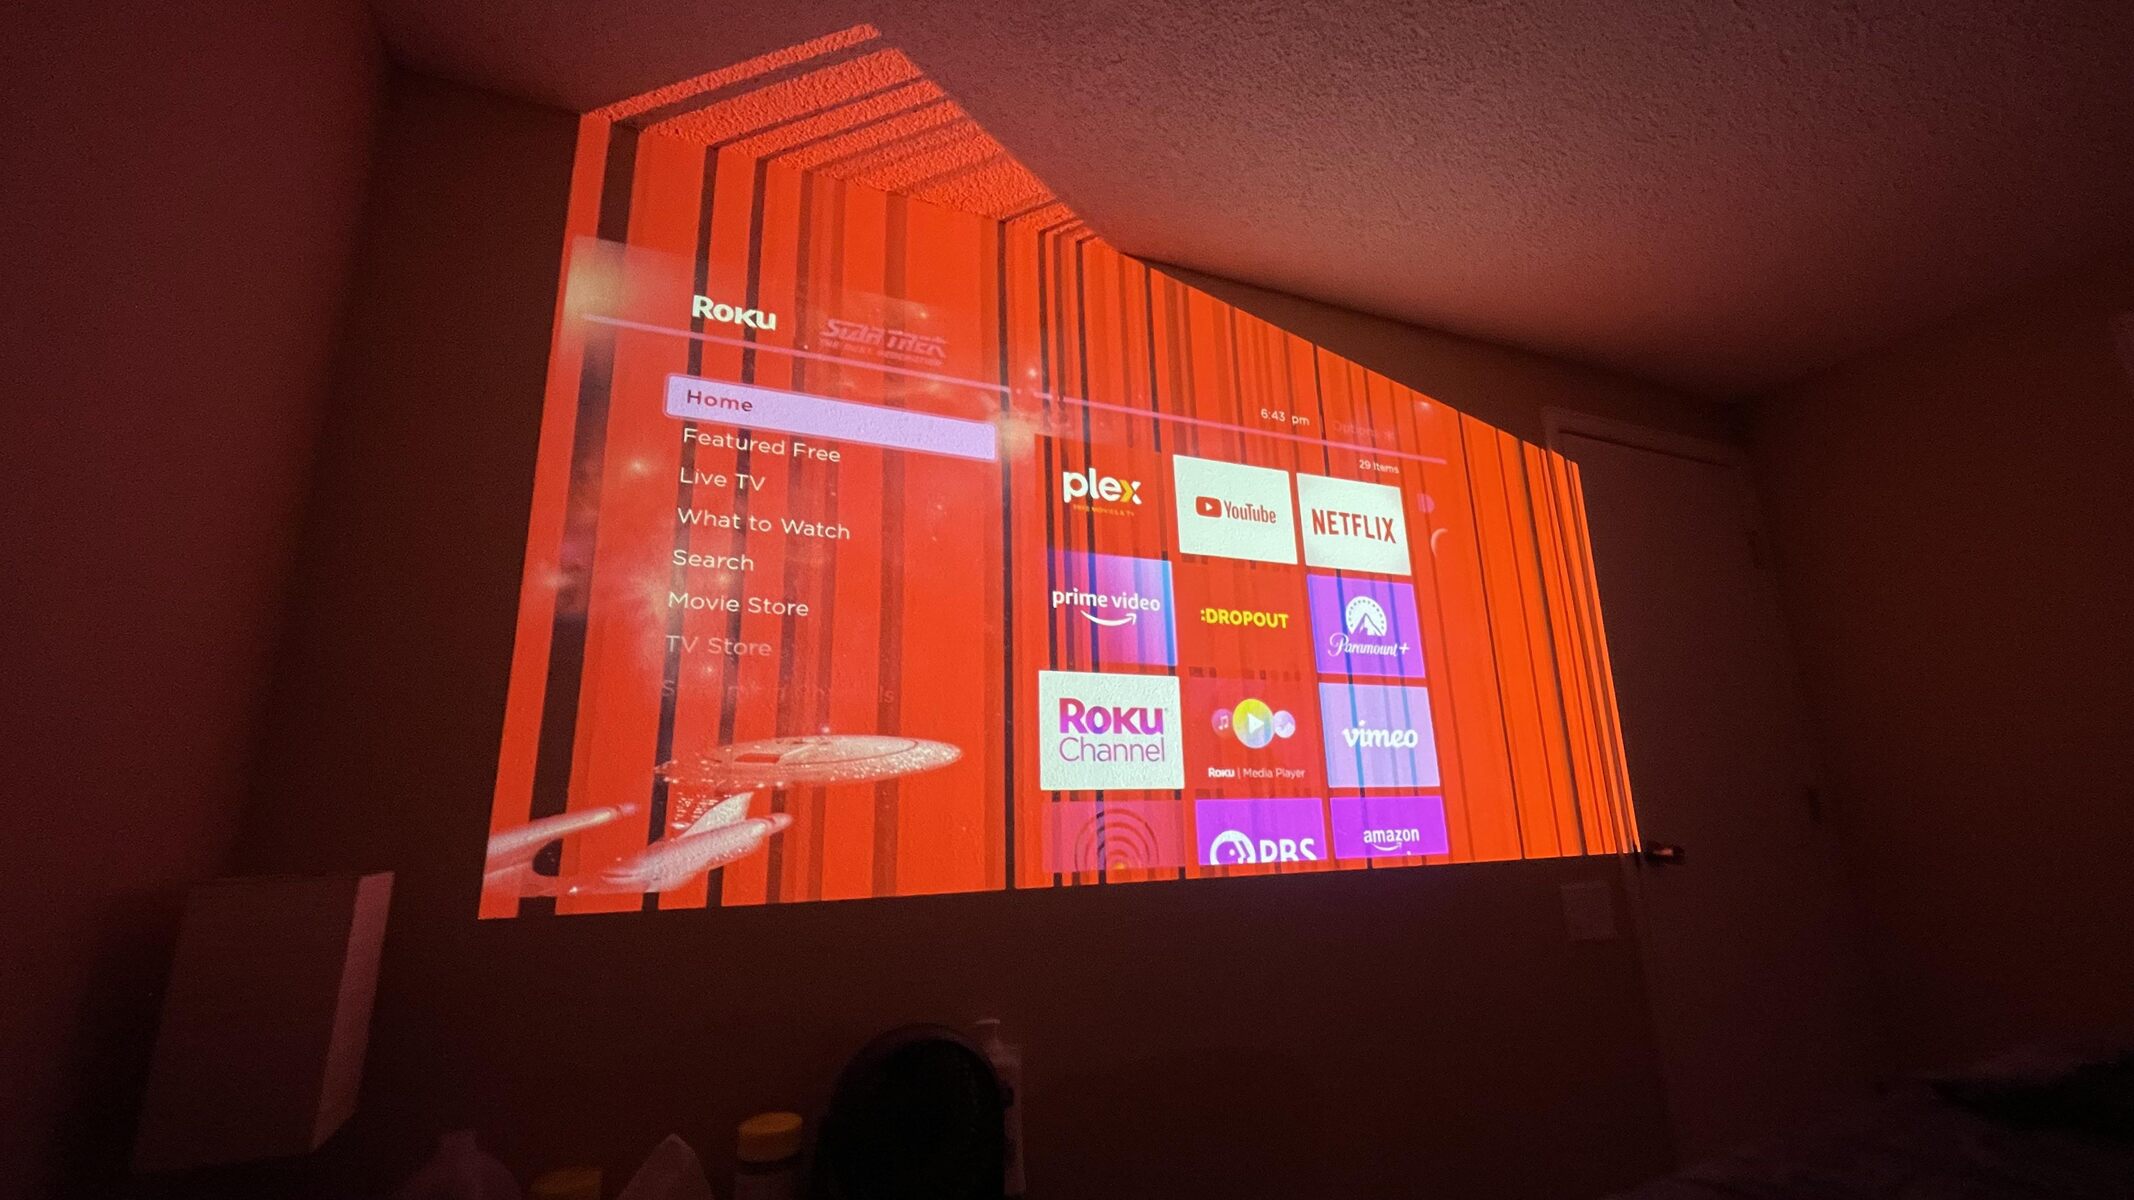
- Image distortion: Look out for any distortion, such as keystone distortion or pixelation. Use the projector’s keystone correction feature to correct any trapezoidal or distorted image shapes. If pixelation is present, ensure that the input source is of high resolution.
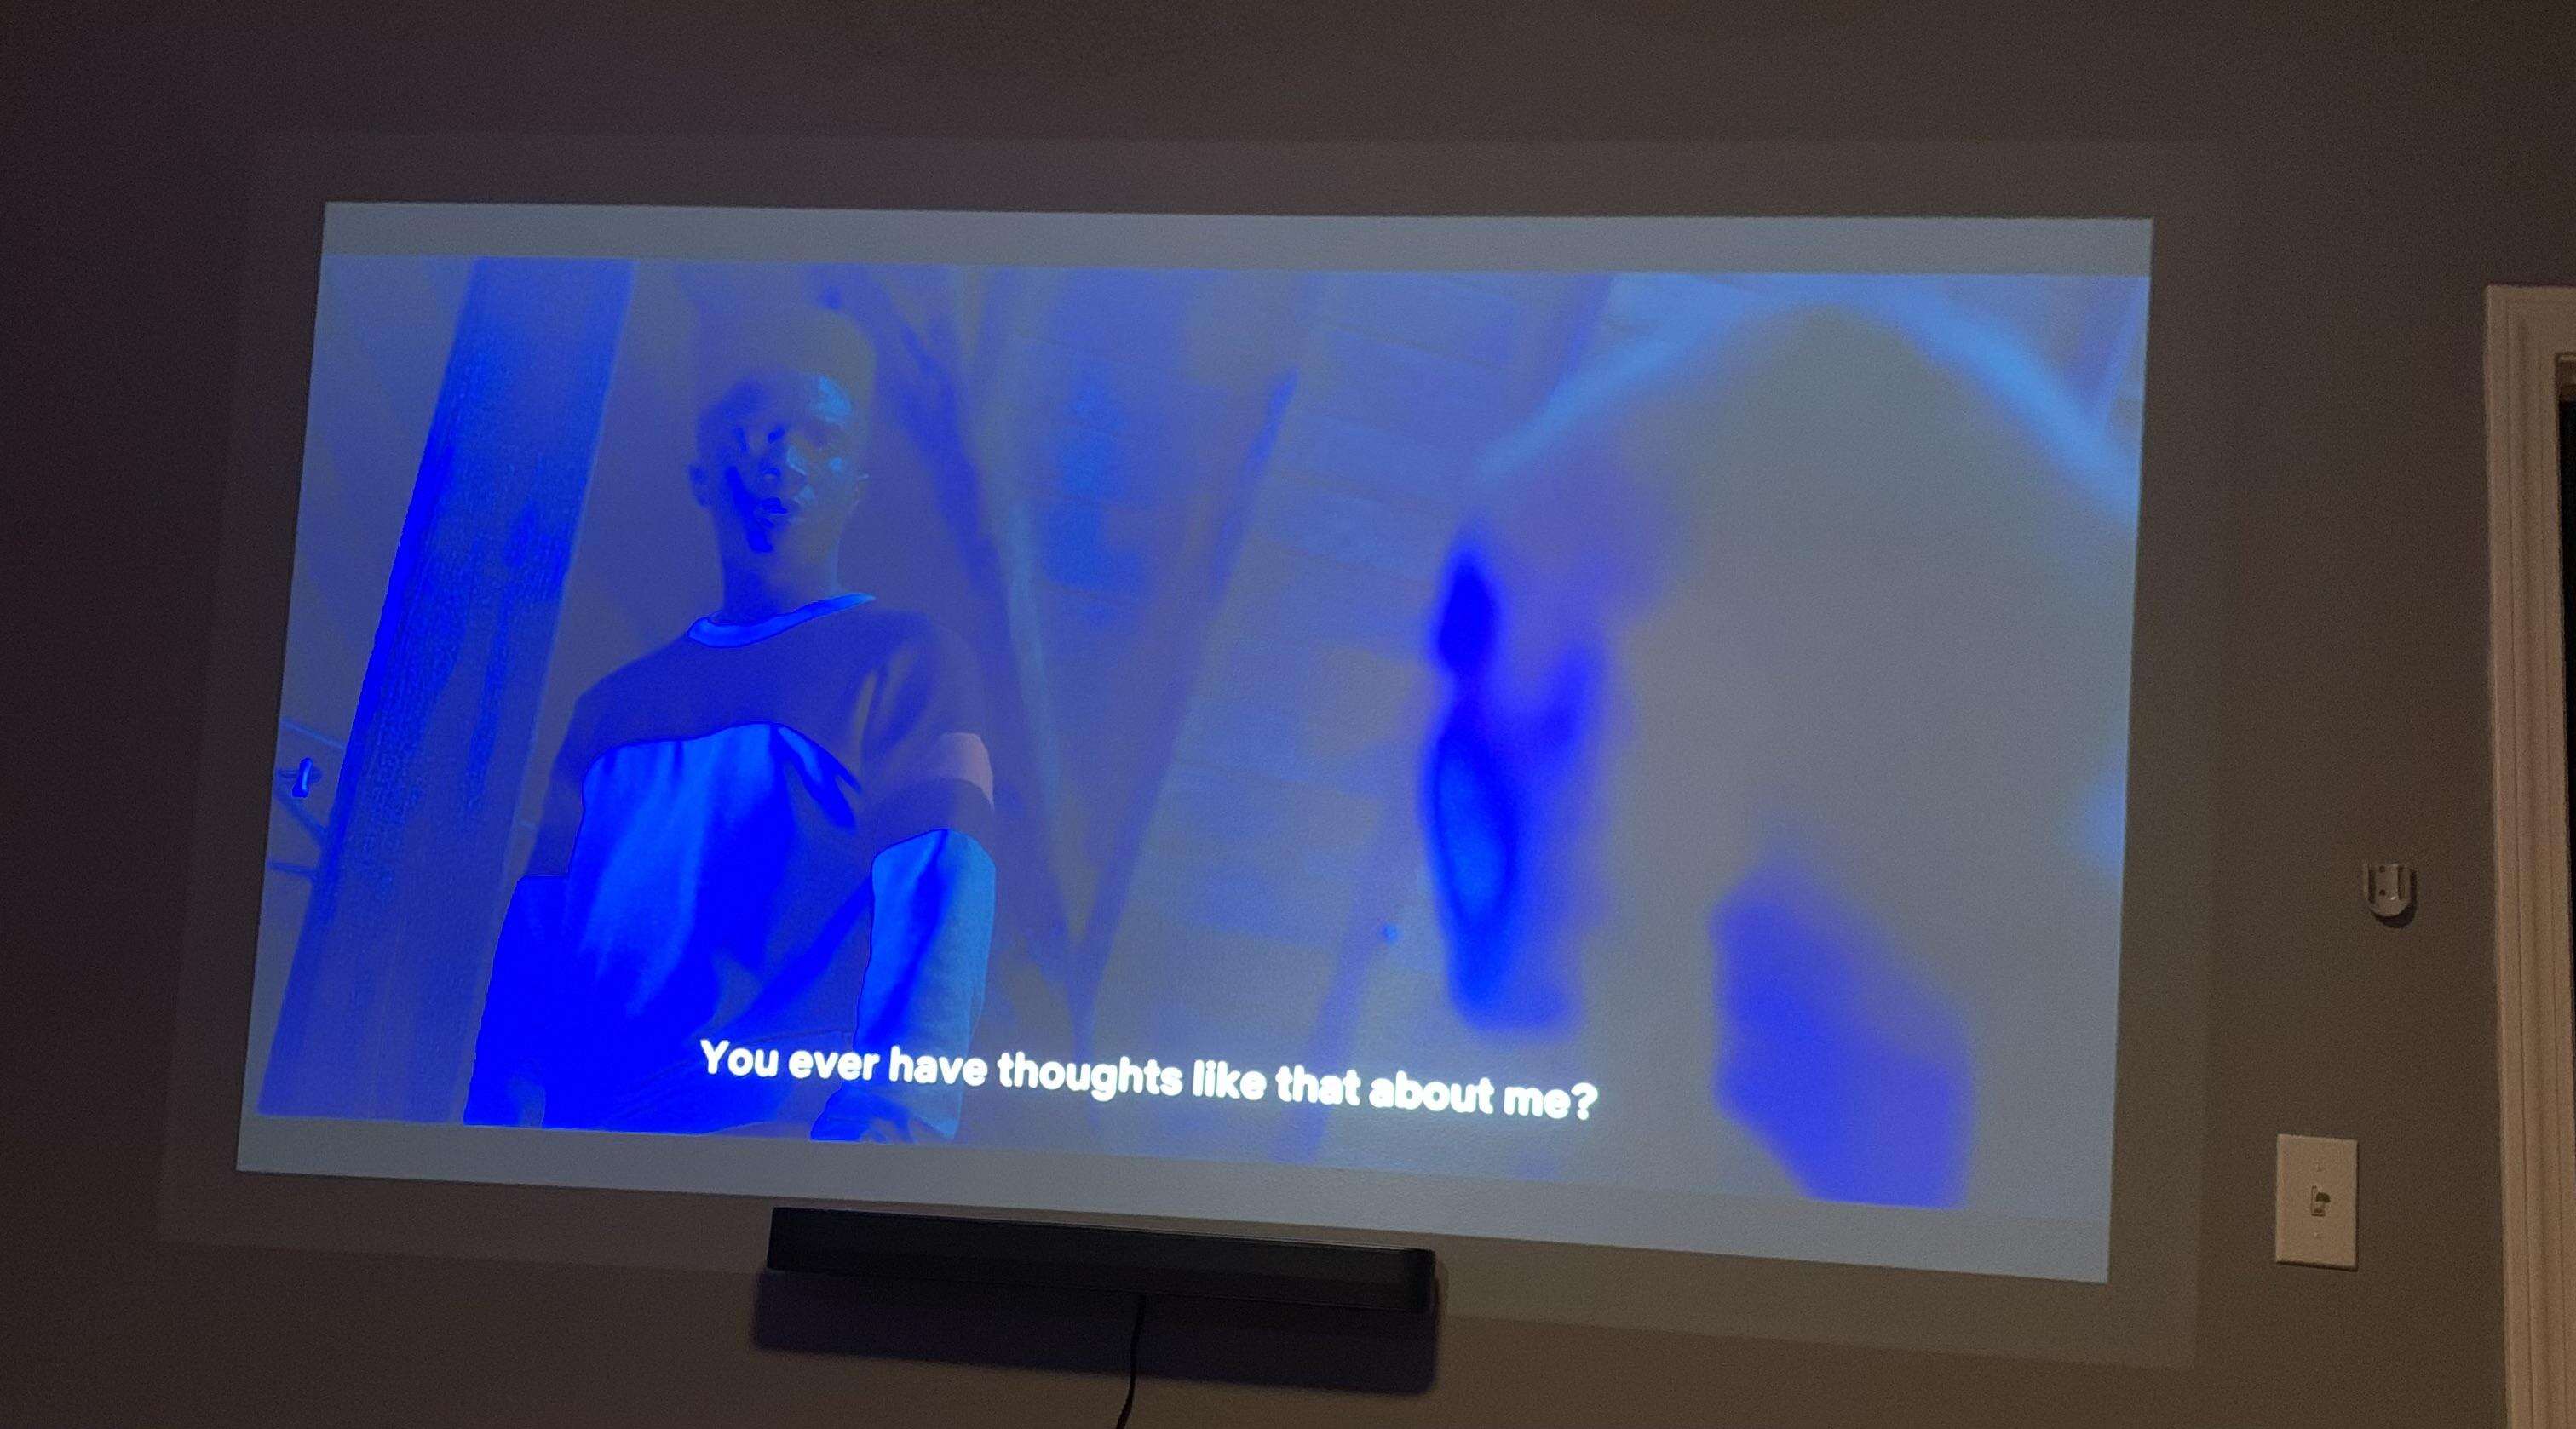
- Color accuracy: Assess if the colors displayed are vibrant, accurate, and well-balanced. Look for any color shifts, tints, or washouts. Use a color test pattern or reference images to compare the projector’s color reproduction with the desired standard.
- Uniformity: Check for any significant variations in brightness or color across the entire projected image. Uneven brightness or color distribution may indicate an issue with the lamp or optical system.
- Screen artifacts: Look for any artifacts like flickering, lines, or spots on the screen. These artifacts can be caused by dirty lenses, dust particles, or a malfunctioning lamp.
If you notice any image quality issues during the inspection, try the following remedies:
- Clean the projector’s lenses, filters, and air vents to remove dust and debris.
- Adjust the projector’s settings, such as brightness, contrast, and color temperature, to improve image quality.
- If the problems persist, consider replacing the lamp or seeking professional help for further diagnostics and repairs.
Regularly inspecting the image quality allows you to identify and address any issues that may impact the visual presentation. By ensuring clear and crisp image reproduction, you can captivate your audience and convey your message effectively.
Checking for Color Accuracy
Color accuracy is a vital aspect of a projector’s performance, as it directly affects the visual representation of images and videos. Over time, projector lamps can exhibit color shifts or inaccuracies, impacting the overall viewing experience. Therefore, regularly checking for color accuracy is essential to ensure optimal performance.
To evaluate the color accuracy, start by projecting a color test pattern onto a flat, neutral surface. The test pattern should include a wide range of colors, gradients, and shades. Compare the projected colors with the reference colors provided on the test pattern or with known color standards.
Pay attention to the following factors to assess color accuracy:
- Hue: Examine if the projected colors match the intended hues. Look for any obvious deviations or color shifts.
- Saturation: Check the level of saturation or intensity of the colors. Ensure that the colors are vibrant and not washed out or overly saturated.
- Color temperature: Evaluate the overall color temperature of the image. It should align with the desired temperature, such as warm or cool tones, depending on the content being displayed.
- Color balance: Assess the balance between the primary colors (red, green, and blue). Look for any color imbalances or dominant color casts.
If you notice any color accuracy issues, consider the following steps for improvement:
- Adjust the projector’s color settings, such as color temperature, gamma, or color saturation.
- Perform a calibration process using a color calibration tool or software for more precise color adjustments.
- Ensure that the input source is providing accurate color information. Check the color settings on the device connected to the projector, such as a computer or media player.
- If the color inaccuracies persist, it may be necessary to clean the projector’s lenses, filters, or seek professional assistance for further calibration or lamp replacement.
Regularly checking for color accuracy ensures that the projector delivers true and vibrant colors, resulting in a more immersive and visually pleasing viewing experience. By maintaining accurate color reproduction, you can effectively convey the intended message and capture the attention of your audience.
Testing the Lamp Cooling
Proper cooling is crucial for the longevity and performance of a projector lamp. Excessive heat can lead to premature lamp failure and diminished image quality. Therefore, it is important to regularly test the lamp cooling system to ensure optimal operation and prevent any potential issues.
Start by checking the projector’s cooling fans. These fans are responsible for dissipating heat and maintaining a stable temperature for the lamp. Make sure the fans are clean and free from dust or debris that could obstruct airflow. A blocked or inefficient cooling fan can result in overheating and decreased lamp life.
Next, monitor the projector’s temperature during operation. Many projectors have built-in temperature sensors that display the lamp and internal temperature. Use this feature to keep track of the temperature levels while the projector is running.
Observe the temperature readings and compare them with the projector’s specified operating temperature range. If the temperature exceeds the recommended range, it may indicate an issue with the cooling system. Common causes can include a malfunctioning fan, clogged vents, or inadequate ventilation in the projector’s installation area.
To improve lamp cooling, try the following steps:
- Clean the projector’s cooling fans and vents regularly to remove any accumulated dust or debris. This helps promote proper airflow and prevents overheating.
- Ensure that the projector is placed in a well-ventilated area with sufficient space around it to allow for adequate air circulation.
- If the room temperature is high or if the projector is being used in an environment with limited airflow, consider employing external cooling solutions such as external fans or cooling pads.
- Check the projector’s settings for any power-saving modes or eco-modes that can help reduce heat generation and optimize lamp cooling.
By testing the lamp cooling system, you can prevent overheating issues and prolong the life of your projector lamp. Maintaining proper cooling ensures consistent performance and image quality, allowing you to deliver presentations or enjoy movies without interruptions due to heat-related problems.
Verifying the Noise Level
The noise level produced by a projector can significantly impact the viewing experience, especially in quiet environments or during presentations. Projectors incorporate cooling fans and other internal mechanisms that can generate noise during operation. It is important to regularly verify the noise level to ensure a comfortable and distraction-free environment.
Start by assessing the ambient noise level in the room before turning on the projector. This will provide a baseline for comparison. Next, power on the projector and listen for any noticeable noise. Pay attention to the following factors:
- Fan noise: The cooling fan is a common source of noise in projectors. Listen for any excessive or irregular fan noise. If the fan noise is loud or abnormal, it may indicate a problem with the fan, such as accumulated dust or a worn-out bearing.
- Internal mechanisms: Other components, such as motors or color wheels, can also contribute to the projector’s noise. Listen for any unusual or loud sounds coming from within the projector.
Modern projectors often come with various power modes or settings that can affect the noise level. Experiment with different power modes, such as eco-mode, to reduce noise while still maintaining acceptable performance. However, keep in mind that lower power modes may also impact the brightness or image quality, so find the right balance for your specific needs.
If you find that the projector’s noise level exceeds your tolerance or interferes with your presentation or viewing experience, consider the following steps:
- Clean the projector’s cooling fans and vents to remove accumulated dust or debris. This can help improve airflow and reduce fan noise.
- Check for any loose or improperly installed parts that could contribute to excessive noise. Tighten screws or seek professional assistance, if necessary.
- If the projector is positioned in close proximity to the audience, consider using acoustic panels or other sound-absorbing materials in the room to minimize the impact of the noise.
- If the noise from the projector remains disruptive, it may be time to explore more advanced and quieter projector models that are specifically designed for low-noise operation.
Verifying the noise level of your projector helps create a comfortable and distraction-free environment for your presentation or viewing. By addressing any excessive noise issues, you can enhance the overall viewing experience and ensure that your audience remains focused on the content being presented.
Testing the Lamp Power Consumption
The power consumption of a projector’s lamp is an important aspect to consider, both in terms of energy efficiency and cost. Regularly testing the lamp’s power consumption can help you assess its efficiency and make informed decisions regarding energy usage. Additionally, it allows you to estimate the operational costs associated with running the projector.
To test the lamp’s power consumption, start by noting the wattage rating of the lamp. This information can usually be found in the projector’s user manual or on the lamp itself. Next, measure the power consumption of the projector while it is running.
Use a power meter or wattmeter to measure the electricity consumption. Connect the meter between the projector and the power outlet, and ensure that the projector is operating under normal conditions, projecting a typical image or scene. Take note of the power reading displayed on the meter.
Compare the measured power consumption to the lamp’s wattage rating. If the power consumption is significantly higher than the lamp’s rating, it may indicate an issue with the lamp or projector that requires attention. It could be due to a faulty lamp, improper calibration, or inefficient power management.
It’s worth noting that power consumption can vary depending on various factors, including the projector model, lamp brightness settings, and usage patterns. In some cases, projectors offer power-saving modes or eco-modes that reduce lamp brightness and power consumption. Consider utilizing these features when appropriate to optimize energy efficiency while maintaining acceptable performance.
By regularly testing the lamp’s power consumption, you can assess its efficiency and make adjustments as needed. This can help reduce energy usage, lower operational costs, and contribute to a more sustainable environment.
Furthermore, tracking the power consumption of your projector can help you estimate the energy costs associated with running the device. This information is particularly useful for budgeting purposes and allows you to make informed decisions regarding energy-efficient equipment or adjustments in usage patterns.
Overall, testing the lamp’s power consumption is an important step in optimizing energy efficiency, reducing costs, and promoting environmental sustainability.
Examining the Lamp for Physical Damage
Regularly examining the projector lamp for physical damage is essential to ensure its longevity and optimal performance. Physical damage can affect the lamp’s functionality, image quality, and even pose safety risks. By conducting a thorough inspection, you can identify any visible signs of damage and take necessary action to address them.
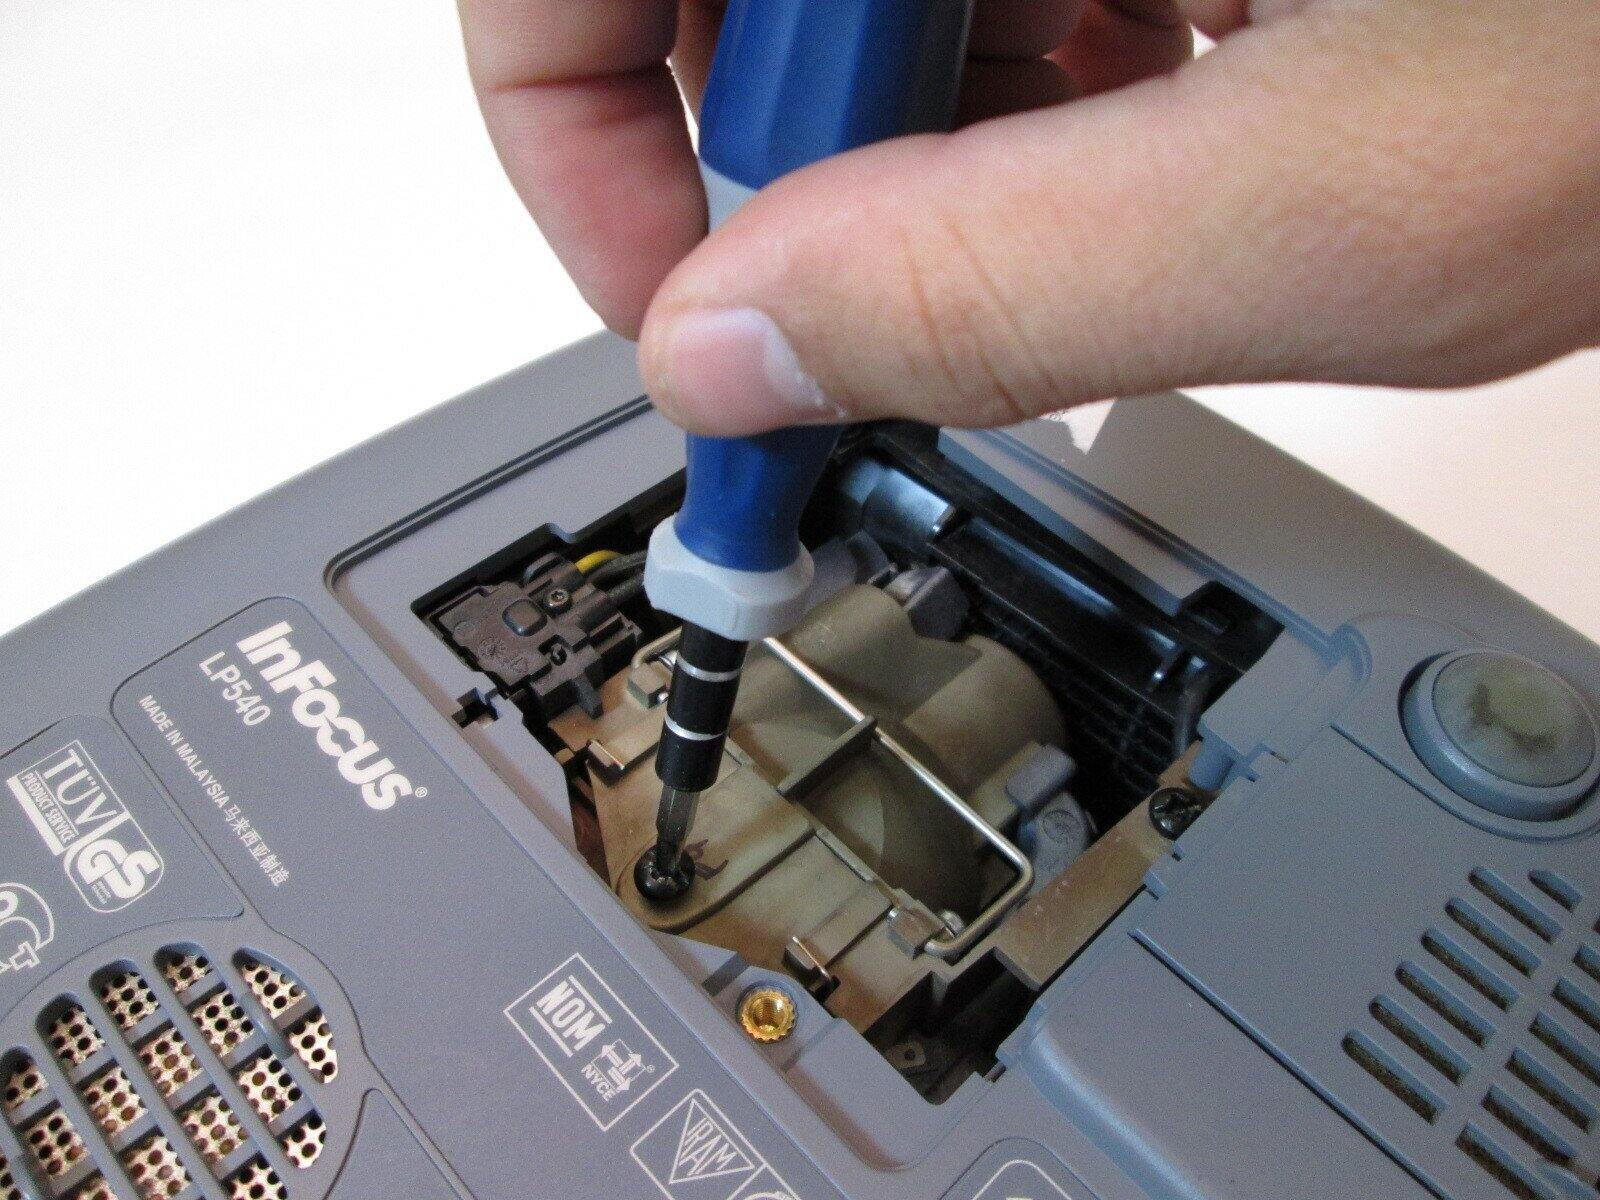
Start by carefully inspecting the external surface of the lamp. Look for any cracks, dents, or visible signs of wear and tear. Pay close attention to the lamp’s glass envelope as it is the most vulnerable part. If you notice any damage to the glass, such as scratches or chips, it can impact the lamp’s ability to project a clear and focused image.
Inspect the lamp’s connectors or pins for any signs of corrosion, oxidation, or loose connections. Ensure that the connectors are securely attached and not bent or damaged. Faulty connectors can result in poor electrical contact and may lead to lamp failure or unstable operation.
Check for any signs of discoloration or dark spots on the lamp’s surface. Discoloration or blackening of the lamp can indicate overheating, excessive usage, or a malfunctioning cooling system. It is important to address these issues promptly to prevent further damage and ensure safe operation.
Additionally, examine the lamp for any signs of leaking, such as oil or residue. Leaking can indicate a defective lamp or a problem with the internal components. If you encounter any leakage, it is best to discontinue use and seek professional assistance or replace the lamp to avoid potential hazards.
Regularly cleaning the lamp is also important to prevent dust or debris buildup, which can affect the lamp’s performance. Use a soft cloth or a compressed air canister to gently remove any accumulated dust or particles from the lamp’s surface. Avoid touching the lamp with bare hands, as the oils from your skin can cause hot spots and reduce the lamp’s lifespan.
If you notice any significant physical damage to the lamp or suspect any internal issues, it is recommended to consult the projector’s user manual or contact a professional technician for further guidance and assistance. They can provide a more thorough inspection and perform necessary repairs or lamp replacement if needed.
By regularly examining the lamp for physical damage, you can ensure its proper functionality, maintain image quality, and prevent any safety hazards. Acting promptly upon detecting any damage or abnormalities will help prolong the lamp’s lifespan and ensure optimal performance from your projector.
Assessing the Overall Performance
Evaluating the overall performance of a projector goes beyond individual aspects such as lamp life, brightness, or image quality. It involves considering all the essential factors that contribute to the projector’s functionality and user experience. By assessing the overall performance, you can make informed decisions regarding maintenance, upgrades, or replacements.
Start by examining the projector’s functionality and features. Consider whether all the inputs, outputs, and control mechanisms are working as expected. Test the projector’s connectivity options, such as HDMI, VGA, or wireless connections, to ensure seamless integration with your devices and content sources.
Assess the projector’s compatibility with various media formats and resolutions. Test different types of content, including videos, presentations, and images, to evaluate how well the projector handles different formats and displays them accurately.
Consider the projector’s ease of use and user interface. Evaluate the intuitiveness of the menu system, remote control functionality, and accessibility of important settings. A user-friendly interface contributes to a smoother operation and hassle-free adjustments during presentations or home entertainment.
Look for any signs of lag or delay in response, especially when navigating menus or switching between inputs. A projector with quick and seamless transitions enhances the user experience and minimizes interruptions during use.
Assess the projector’s noise level during operation, as discussed earlier in this article. A low noise level ensures a distraction-free environment and adds to the overall comfort and satisfaction of the viewers or presenters.
Consider the durability and build quality of the projector. A well-constructed and robust projector is more likely to withstand demanding usage conditions and last longer without encountering frequent mechanical issues or premature wear and tear.
Take into account the warranty and customer support provided by the projector manufacturer. A reliable warranty and responsive customer support can offer peace of mind and assistance if any issues arise during the projector’s lifetime.
Lastly, gather feedback from other users or reviews to gain insights into the real-world performance and reliability of the projector. Learning from the experiences of others can provide valuable information and help you make a more informed decision.
By thoroughly assessing the overall performance of a projector, you can ensure that it meets your requirements and expectations. This holistic evaluation empowers you to make informed decisions regarding maintenance, upgrades, or replacements that align with your specific needs and desired user experience.
Conclusion
Regularly testing and assessing the performance of a projector lamp is crucial to ensure optimal operation, image quality, and longevity. By following the guidelines provided in this article, you can effectively evaluate different aspects of the lamp, from its lifespan and brightness to image quality and color accuracy.
Checking the lamp’s life allows you to determine if it is nearing the end of its usable period and requires replacement. Verifying the brightness ensures that the projected images are clear and vibrant, captivating your audience. Inspecting for image quality issues helps maintain sharpness, clarity, and color accuracy. Testing the lamp’s cooling ensures proper heat dissipation and prevents overheating. Verifying the noise level contributes to a comfortable and distraction-free environment. Assessing the lamp’s power consumption promotes energy efficiency and budget planning. Examining for physical damage safeguards the lamp’s functionality and prevents safety hazards. Lastly, evaluating the overall performance helps make informed decisions regarding maintenance, upgrades, or replacements.
Remember that each projector model may have specific features and considerations, so refer to the manufacturer’s guidelines and user manual for precise instructions. By incorporating these testing procedures into your regular maintenance routine, you can ensure that your projector lamp performs optimally, delivering excellent image quality and reliable functionality for presentations, home theater experiences, or any other application.+


