Introduction
Welcome to our guide on how to test an LED TV main board. LED TVs have become a popular choice for many households due to their high picture quality and energy efficiency. However, like any electronic device, they can experience issues over time, and one of the common areas of concern is the main board.
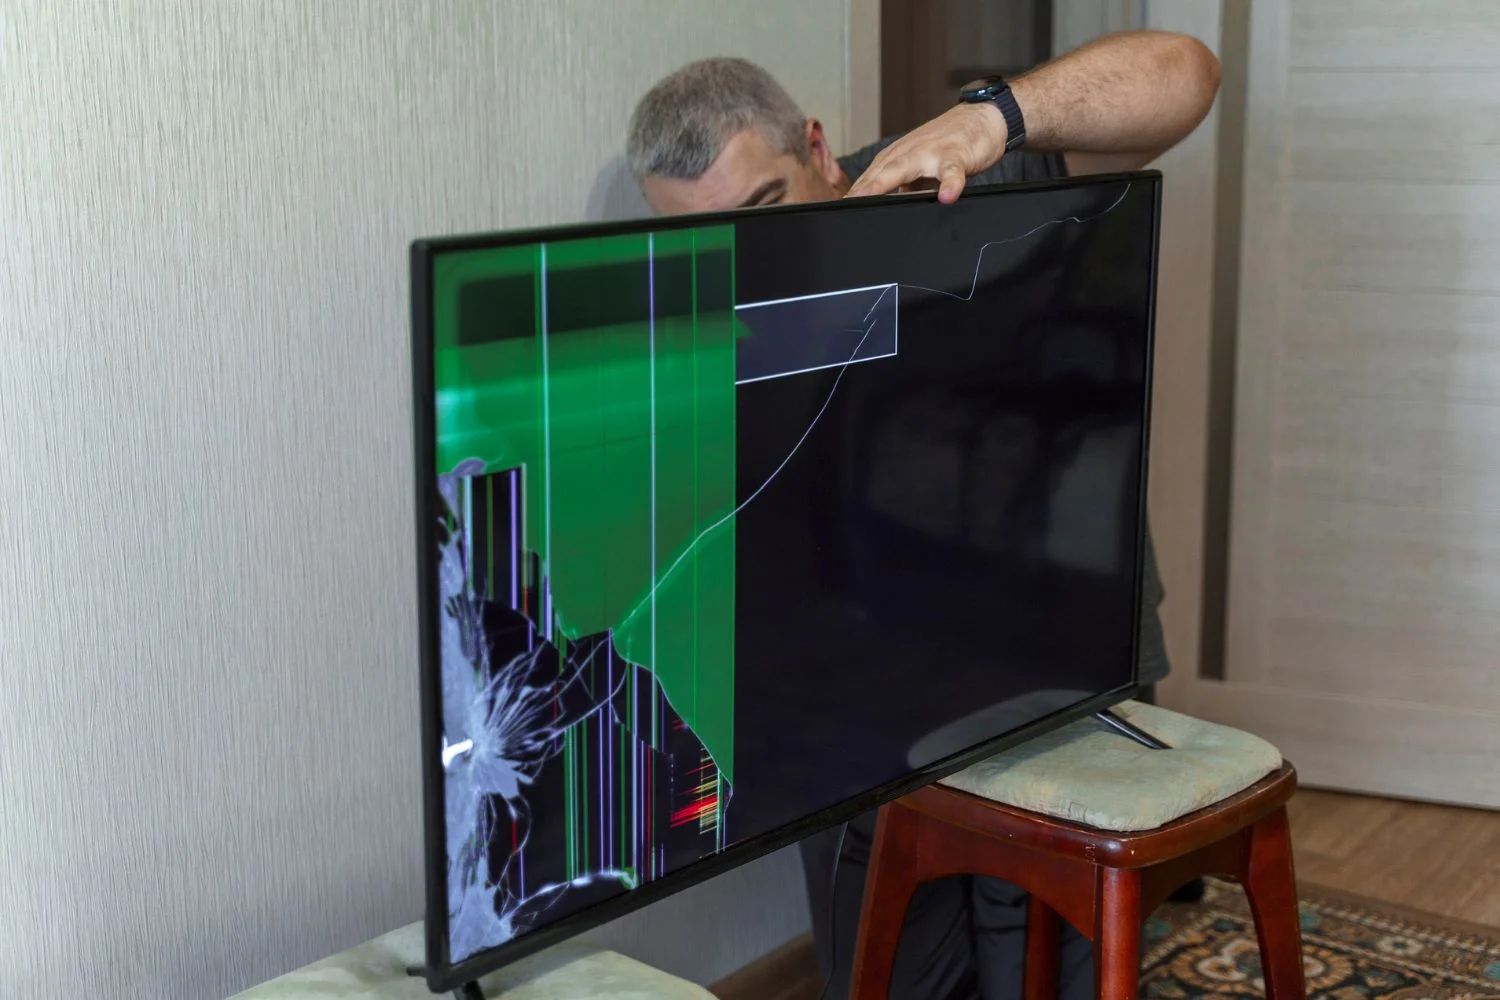
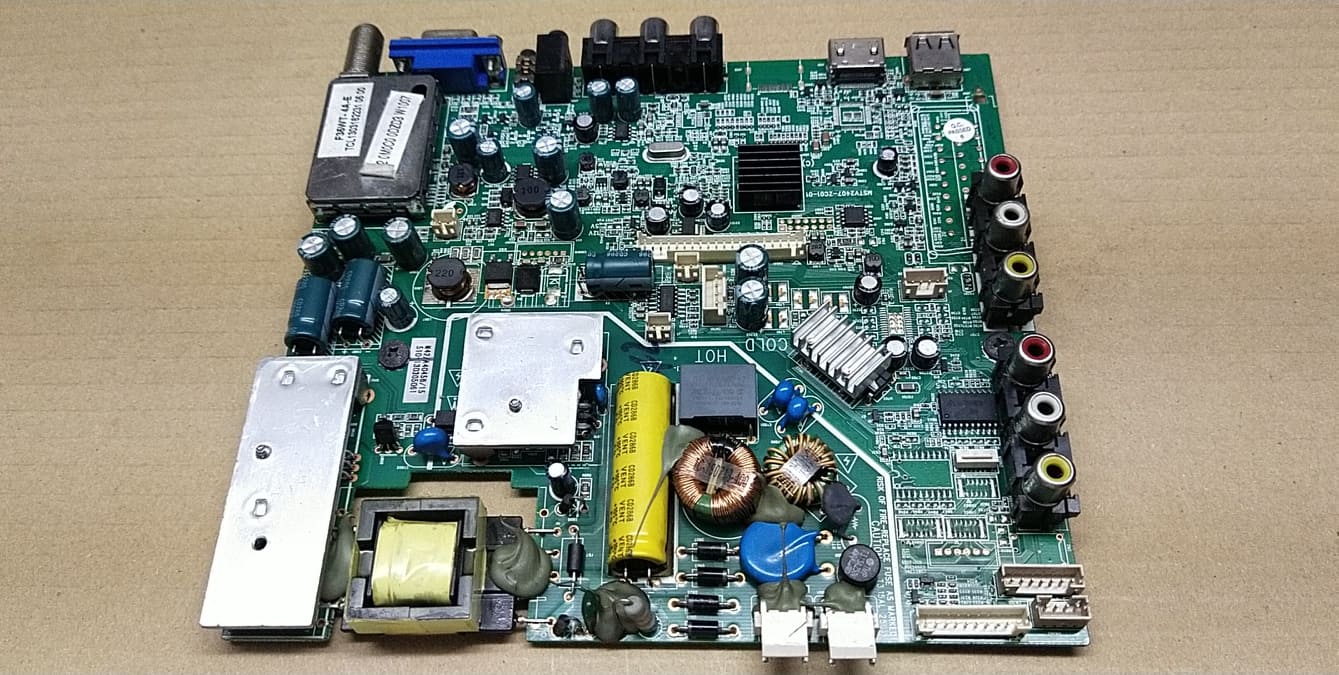
The main board is the central component of an LED TV and is responsible for controlling various functions, including signal processing, power distribution, and input/output connections. When the main board malfunctions, it can result in various problems, such as no power, no picture, or even a completely dead TV. In such cases, it becomes necessary to test the main board to identify the underlying issue and determine if a replacement is necessary.
In this guide, we will walk you through the step-by-step process of testing an LED TV main board. We will cover all the necessary tools and equipment you will need, as well as the different tests you can perform to diagnose the main board’s functionality. By following these steps, you can save both time and money by troubleshooting the main board before considering a costly repair or replacement.
It’s important to note that testing the main board requires some basic technical knowledge and understanding of electronics. If you are not comfortable working with electronic components or are unsure about any step in the process, we recommend seeking assistance from a professional technician.
Now, let’s dive into the world of LED TV main board testing and learn how to identify potential issues and find solutions for your TV’s malfunctioning main board.
Tools and Equipment Needed
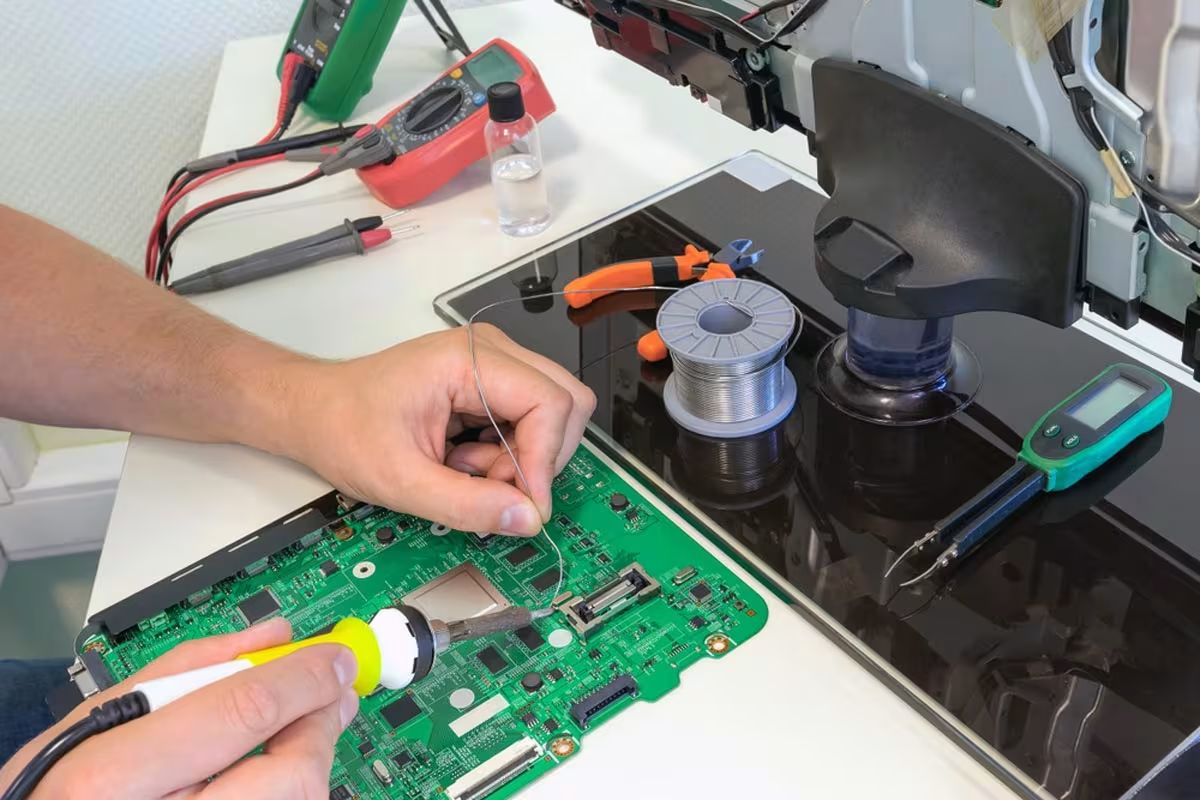
Before you begin testing an LED TV main board, it’s important to gather the necessary tools and equipment. This will help ensure a smooth and efficient testing process. Here are the essential tools you’ll need:
- Multimeter: A multimeter is a versatile tool that can measure voltage, current, and resistance. It will be invaluable for testing various components on the main board.
- Power Supply Unit (PSU) Tester: This device is specifically designed to test power supply units. It helps determine if the power supply is delivering the correct voltages to the main board.
- Screwdriver Set: A set of screwdrivers with various sizes and types will be required for opening the TV casing and accessing the main board.
- Anti-static Wrist Strap: To prevent any damage to sensitive electronic components, it’s important to use an anti-static wrist strap. This will ground you and minimize the risk of static electricity discharge.
- Testing Cables and Probes: You’ll need a variety of testing cables and probes to connect the multimeter to the main board and other components for accurate readings.
- Insulation Tape: Insulation tape will be useful for securing any loose cables or connectors and preventing accidental short circuits.
- Pen and Paper: It’s essential to keep a pen and paper handy to take notes, record measurements, and document your testing process.
These are the basic tools and equipment you will need to effectively test and diagnose an LED TV main board. However, it’s always a good idea to refer to the TV’s user manual for any specific tools or instructions recommended by the manufacturer.
Now that you have all the necessary tools at your disposal, you’re ready to move on to the next steps of testing the LED TV main board.
Step 1: Checking for Power Supply Issues
When an LED TV main board is not functioning properly, one of the first areas to investigate is the power supply. A faulty power supply can prevent the main board from receiving the necessary voltage and can result in various issues. Here’s how to check for power supply issues:
- Unplug the TV: Begin by disconnecting the TV from the power source. This ensures your safety while working on the device.
- Inspect the Power Cord: Check the power cord for any visible damage, such as cuts or frayed wires. If any damage is detected, replace the power cord before proceeding.
- Reset the Power Supply: Some LED TVs have a reset button on the back of the TV or on the power supply unit. Press and hold the reset button for a few seconds to discharge any residual power and reset the power supply.
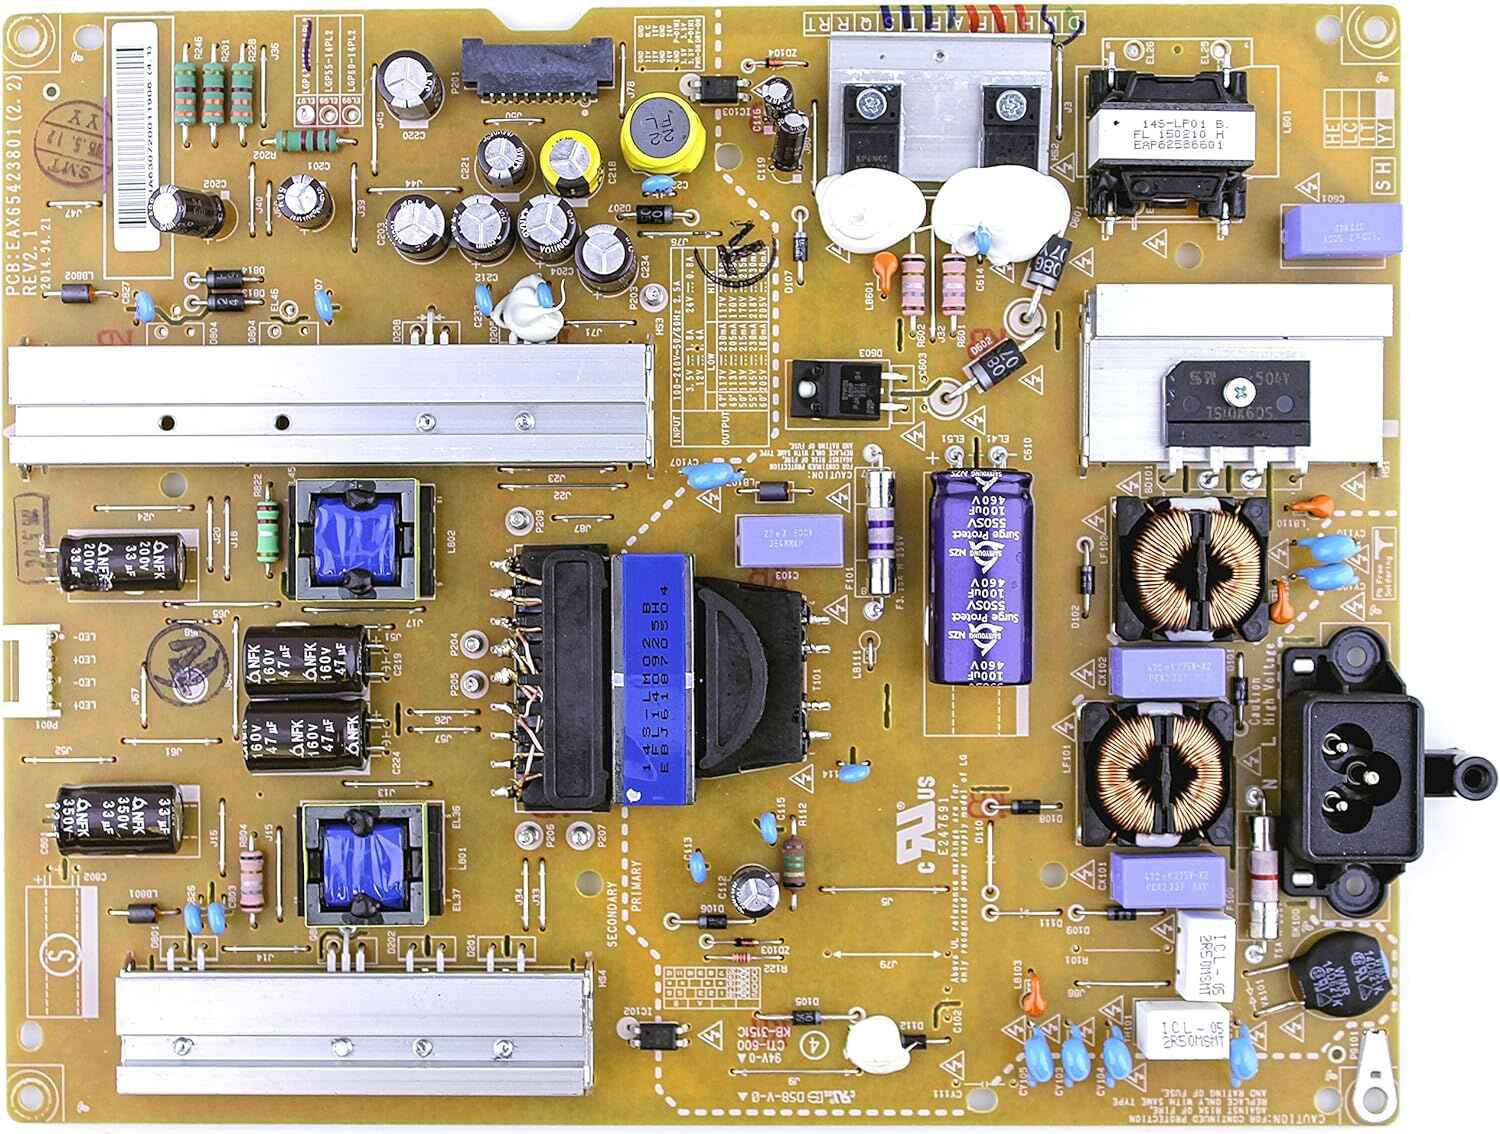
- Check the Fuse: Open the TV casing and locate the power supply unit. Check the fuse for any signs of damage, such as a blown or blackened fuse. If the fuse is damaged, replace it with a new one of the exact same type and rating.
- Test the Voltage Output: Using a multimeter set to DC voltage, carefully probe the connectors on the power supply unit to measure the voltage output. Refer to the TV’s user manual for the correct voltage ratings. If the measured voltage deviates significantly from the specified values, the power supply may be faulty and require replacement.
- Inspect Capacitors: Examine the capacitors on the power supply unit for any signs of bulging or leakage. Damaged capacitors can cause voltage irregularities and may need to be replaced.
- Check for Burnt Components: Look for any burnt or charred components on the power supply board. These could indicate a power surge or other electrical issue that may have damaged the main board. If burnt components are found, it may be necessary to replace the power supply unit.
By following these steps, you can identify and address power supply issues that may be affecting the functionality of the main board. If the power supply is determined to be the cause of the problem, replacing it can often resolve the issues with the LED TV.
Once you have completed the power supply checks and resolved any issues, you can move on to the next step in testing the LED TV main board.
Step 2: Inspecting the Input and Output Connections
After confirming that there are no power supply issues, the next step in testing an LED TV main board is to inspect the input and output connections. Faulty connections can result in no signal, audio/video distortion, or other issues. Follow these steps to inspect the connections:
- Disconnect External Devices: Remove any external devices, such as gaming consoles or DVD players, from the TV. This will allow you to focus on the TV’s internal connections.
- Inspect Input Ports: Check all the input ports, including HDMI, VGA, AV, and USB, for any physical damage or loose connections. Ensure that the ports are clean and free from debris. If any port appears damaged or not securely connected, it may need to be repaired or replaced.
- Inspect Output Ports: Similarly, examine the output ports, such as audio and video outputs, for any signs of damage or loose connections. Clean the ports if necessary.
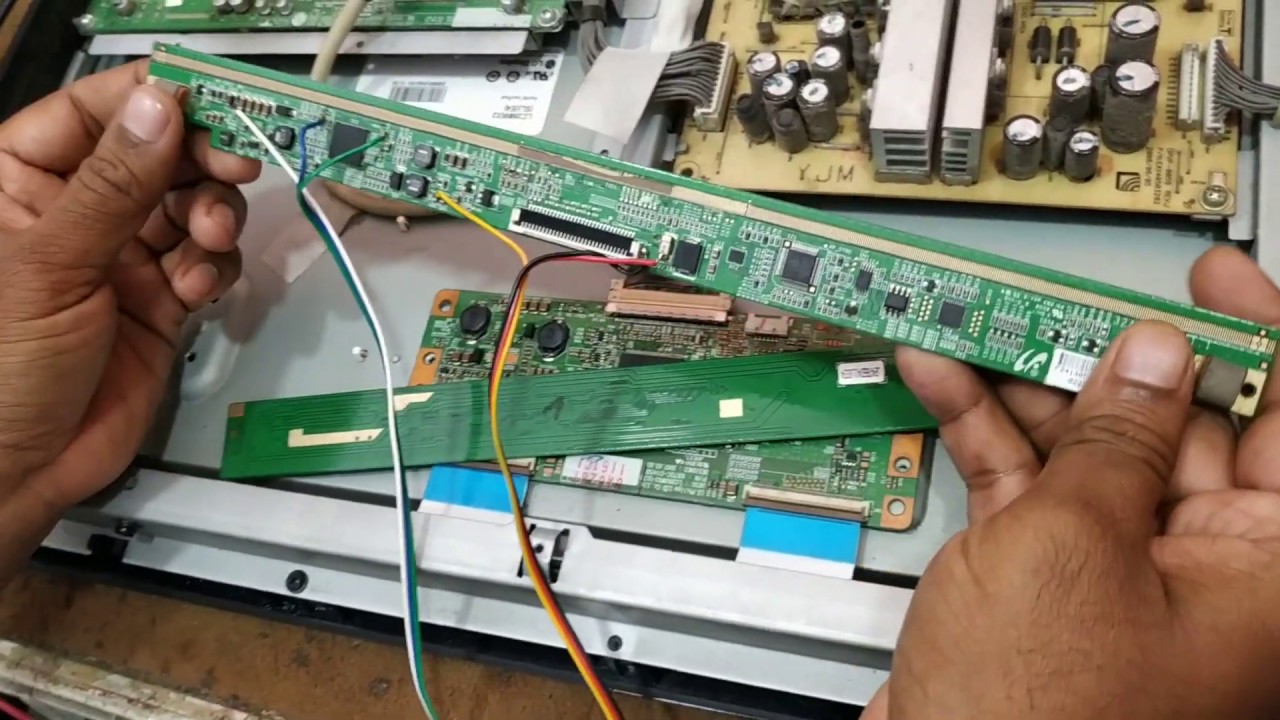
- Check Internal Cables: Open the TV casing and inspect the internal cables that connect the main board to the input and output ports. Look for any loose or disconnected cables, and reattach them securely if needed.
- Inspect Ribbon Cables: Ribbon cables are thin, flat cables that connect the main board to the display panel. Carefully examine these cables for any signs of damage, such as tears or frayed wires. Damaged ribbon cables may need to be replaced.
- Test Signal Inputs: Connect a known working device, such as a DVD player or game console, to each input port and test for a signal. If a particular input port fails to display a signal, it could indicate a faulty connection or a problem with the main board’s input processing.
- Check for Bent Pins: Inspect the HDMI and VGA ports for any bent pins. Bent pins can prevent proper signal transmission. If bent pins are detected, carefully straighten them using a small, pointed object.
By carefully inspecting the input and output connections, you can ensure that the main board is receiving and transmitting signals properly. Correcting any faulty or damaged connections can help resolve issues related to signal reception and output.
If there are no visible problems with the connections and the issues persist, continue to the next step for further testing and troubleshooting.
Step 3: Testing the Voltage Regulator
The voltage regulator is a crucial component on the LED TV main board. It ensures that the appropriate voltage is supplied to various parts of the board. If the voltage regulator malfunctions, it can cause issues such as inconsistent power supply or even damage other components. To test the voltage regulator, follow these steps:
- Identify the Voltage Regulator: Locate the voltage regulator on the main board. It is typically a small, rectangular component with multiple pins or leads.
- Refer to the Datasheet: Look for the datasheet or technical specifications for your TV’s model and find the voltage regulator’s pinout diagram. This will help identify the pins responsible for input and output voltages.
- Set the Multimeter: Set your multimeter to measure DC voltage and make sure it is properly calibrated.
- Power on the TV: Connect the TV to a power source, ensuring all safety precautions are taken.
- Measure Input Voltage: Carefully touch the multimeter probes to the voltage regulator’s input pins, as indicated by the datasheet. It should read the specified input voltage. If there is no voltage reading or it deviates significantly from the specified value, the voltage regulator may be faulty.
- Measure Output Voltage: Next, measure the output voltage by touching the multimeter probes to the voltage regulator’s output pins. Compare the measured voltage with the specified output voltage. If the output voltage is incorrect or unstable, it indicates a defective voltage regulator.
- Check for Overheating: While measuring the voltages, pay attention to the temperature. If the voltage regulator becomes excessively hot to the touch, it may indicate a malfunction.
- Repeat the Test: To ensure accurate results, repeat the voltage measurements at least twice. If the readings consistently deviate from the specified values or there is no voltage output, it is likely that the voltage regulator needs to be replaced.
If the voltage regulator is found to be faulty, it is recommended to replace it with a compatible component. Consult the TV’s service manual or reach out to a professional technician if you are unsure about the replacement process.
Testing the voltage regulator is an important step in troubleshooting LED TV main board issues. If the voltage regulator passes the test, you can proceed to the next step to further diagnose the main board components.
Step 4: Troubleshooting the Inverter
The inverter is responsible for providing power to the LED backlighting system in an LED TV. If the inverter is not functioning correctly, it can result in various backlight-related problems, such as dim or flickering display. To troubleshoot the inverter, follow these steps:
- Locate the Inverter: On the main board, find the inverter circuit, which is usually located near the edge of the board and connected to the backlight cables.
- Inspect the Inverter Board: Examine the inverter board for any visible signs of damage, such as burnt components or loose connections. If any damage is found, the inverter board may need to be replaced.
- Check the Backlight Cables: Ensure that the cables connecting the inverter board to the backlight system are securely plugged in. Reconnect any loose cables if necessary.
- Test the Inverter: Connect the TV to a power source and turn it on. Use a multimeter to measure the voltage output of the inverter board. It should match the specified voltage as indicated in the TV’s service manual or datasheet. If the measured voltage is significantly different or there is no output, the inverter may be faulty.
- Check for Inverter Oscillation: Some inverters produce an audible high-frequency sound known as inverter oscillation. Listen closely to determine if the inverter is producing any unusual noise. If an abnormal sound is detected, it may indicate a malfunctioning inverter.
- Perform an Inverter Swap Test: If you have a spare inverter that is compatible with your TV model, consider performing an inverter swap test. Replace the existing inverter with the spare one and observe if the backlight issues are resolved. If the problems persist, the inverter may not be the cause, and further investigation of other components is necessary.
If the inverter is determined to be faulty, replacing it with a new one that matches your TV model is recommended. However, if you are not confident in performing the replacement, it is best to seek assistance from a professional technician.
Troubleshooting the inverter is a crucial step in resolving backlight-related problems in an LED TV. After completing the inverter troubleshooting, proceed to the next step to verify the functionality of the LED backlight itself.
Step 5: Verifying the LED Backlight
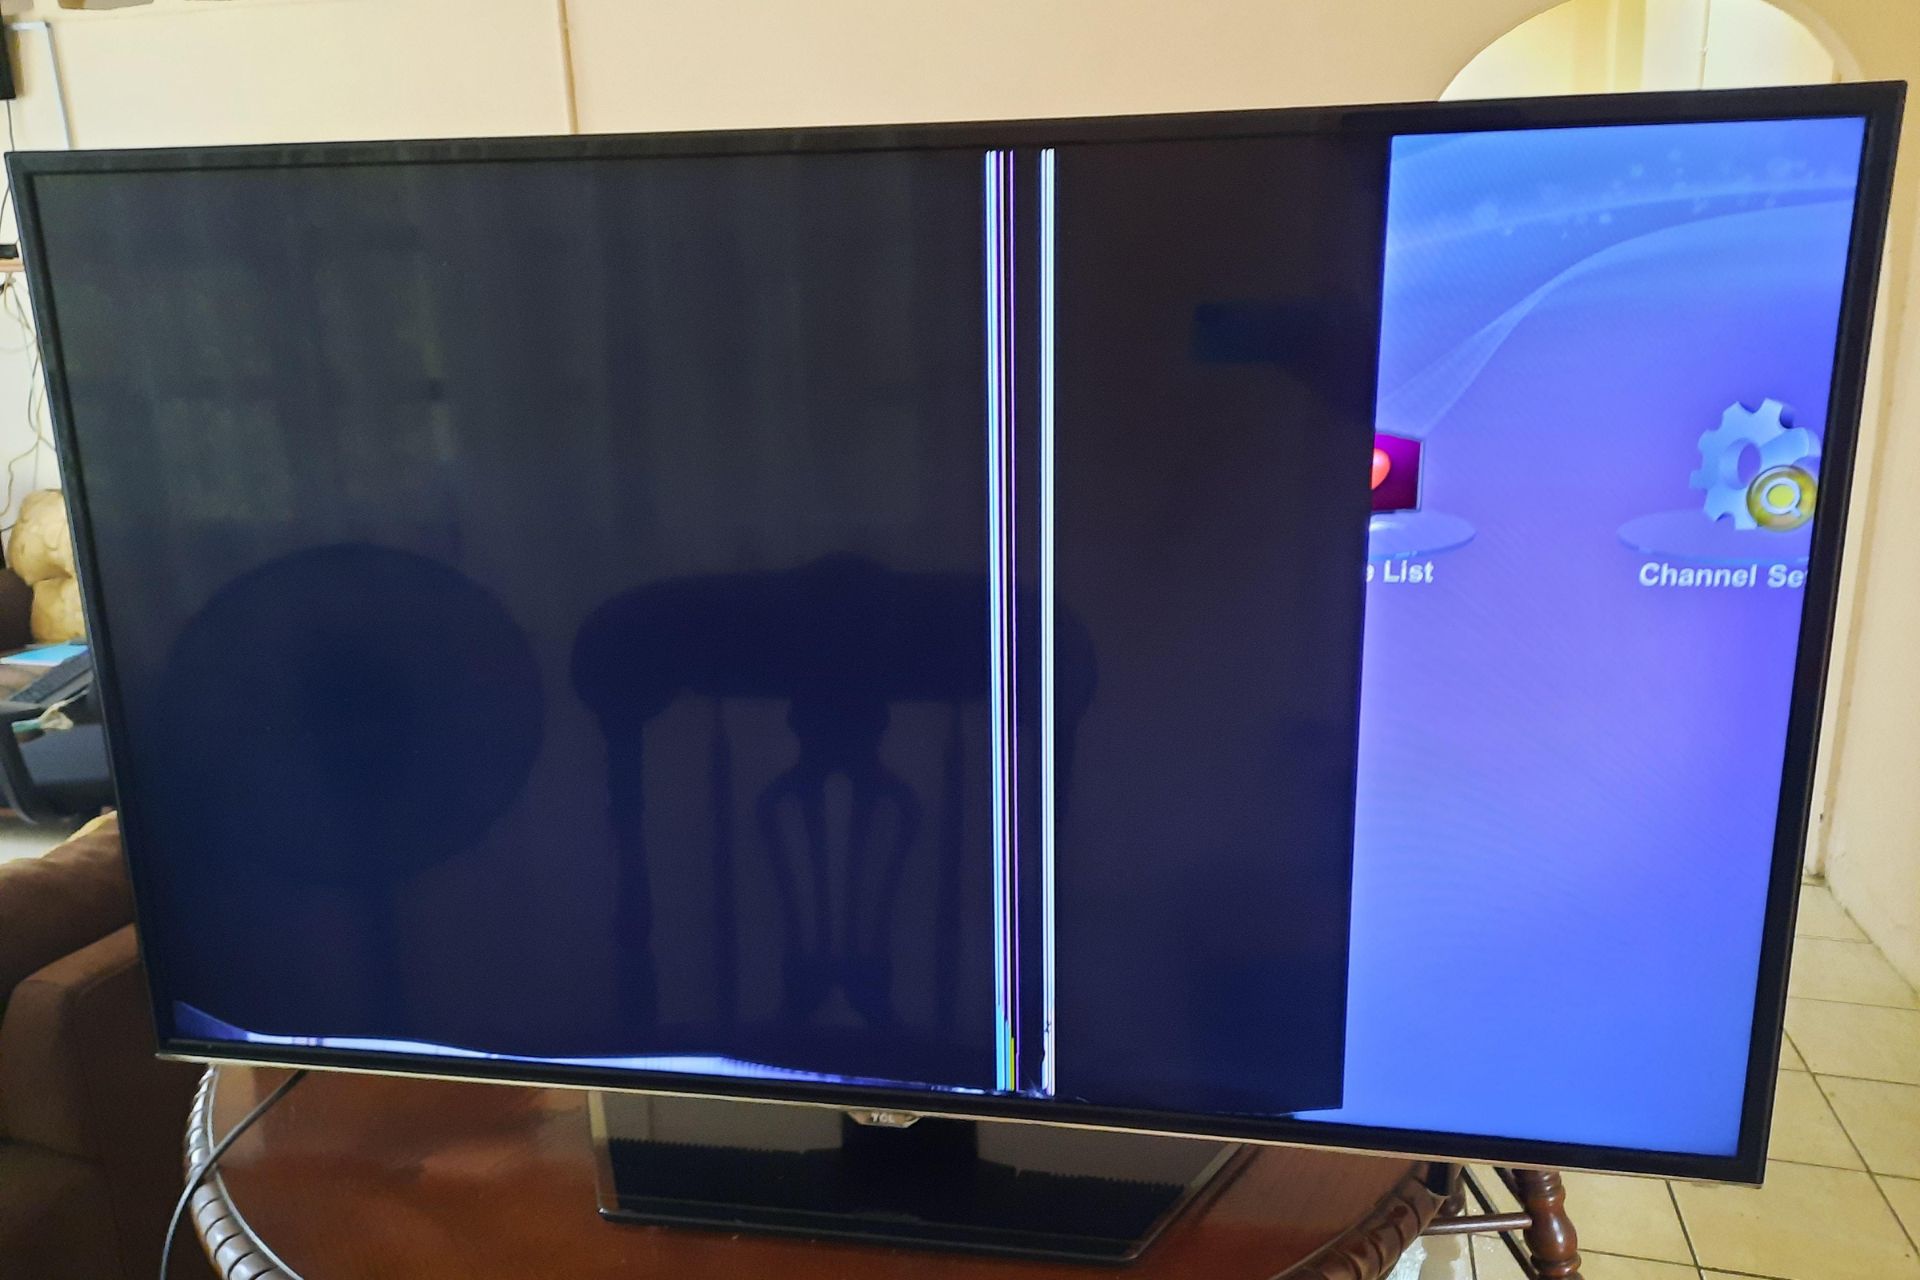
The LED backlight is what illuminates the screen in an LED TV, providing the brightness and visual clarity. If the backlight is not functioning properly, it can result in a dim or completely black screen. To verify the functionality of the LED backlight, follow these steps:
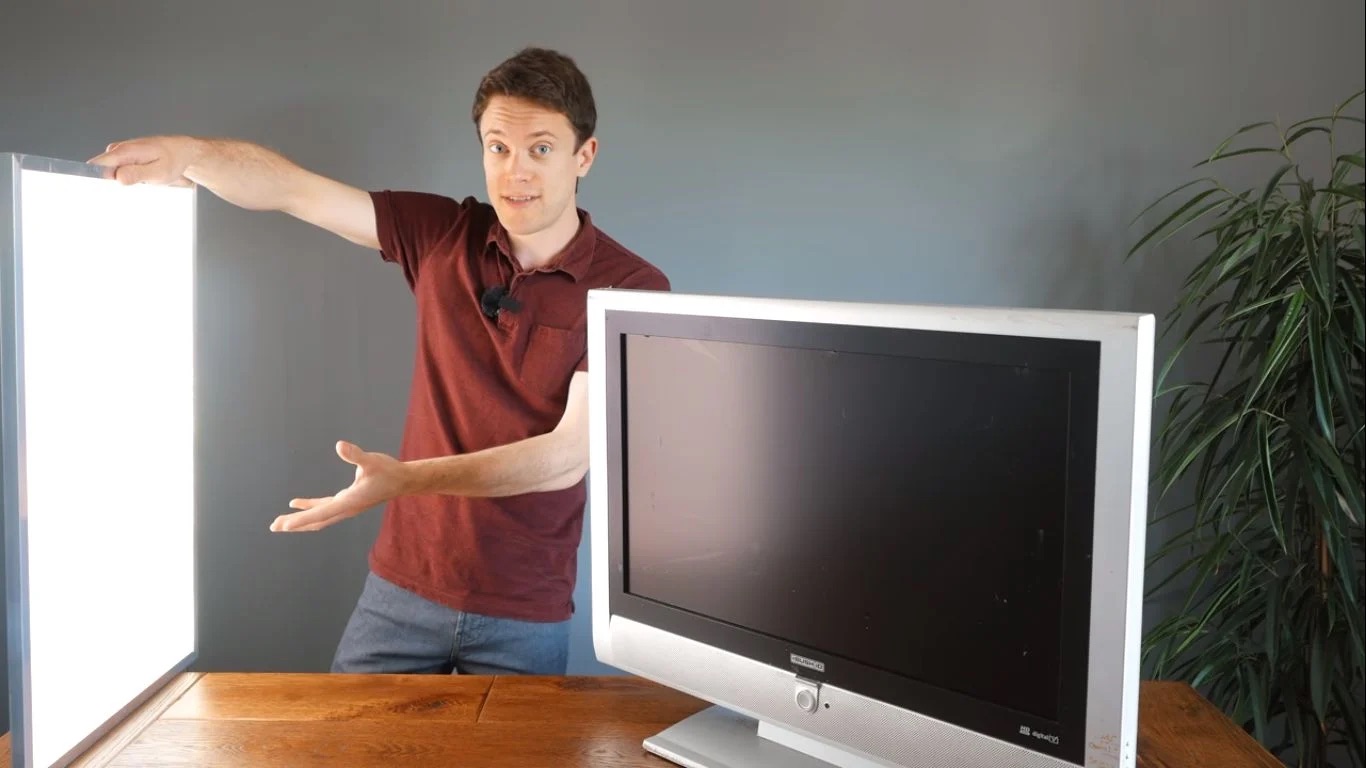
- Inspect the Backlight Assembly: Open the TV casing and locate the LED backlight assembly. Check for any physical damage, such as broken or loose LED strips. If any damage is found, the backlight assembly may need to be replaced.
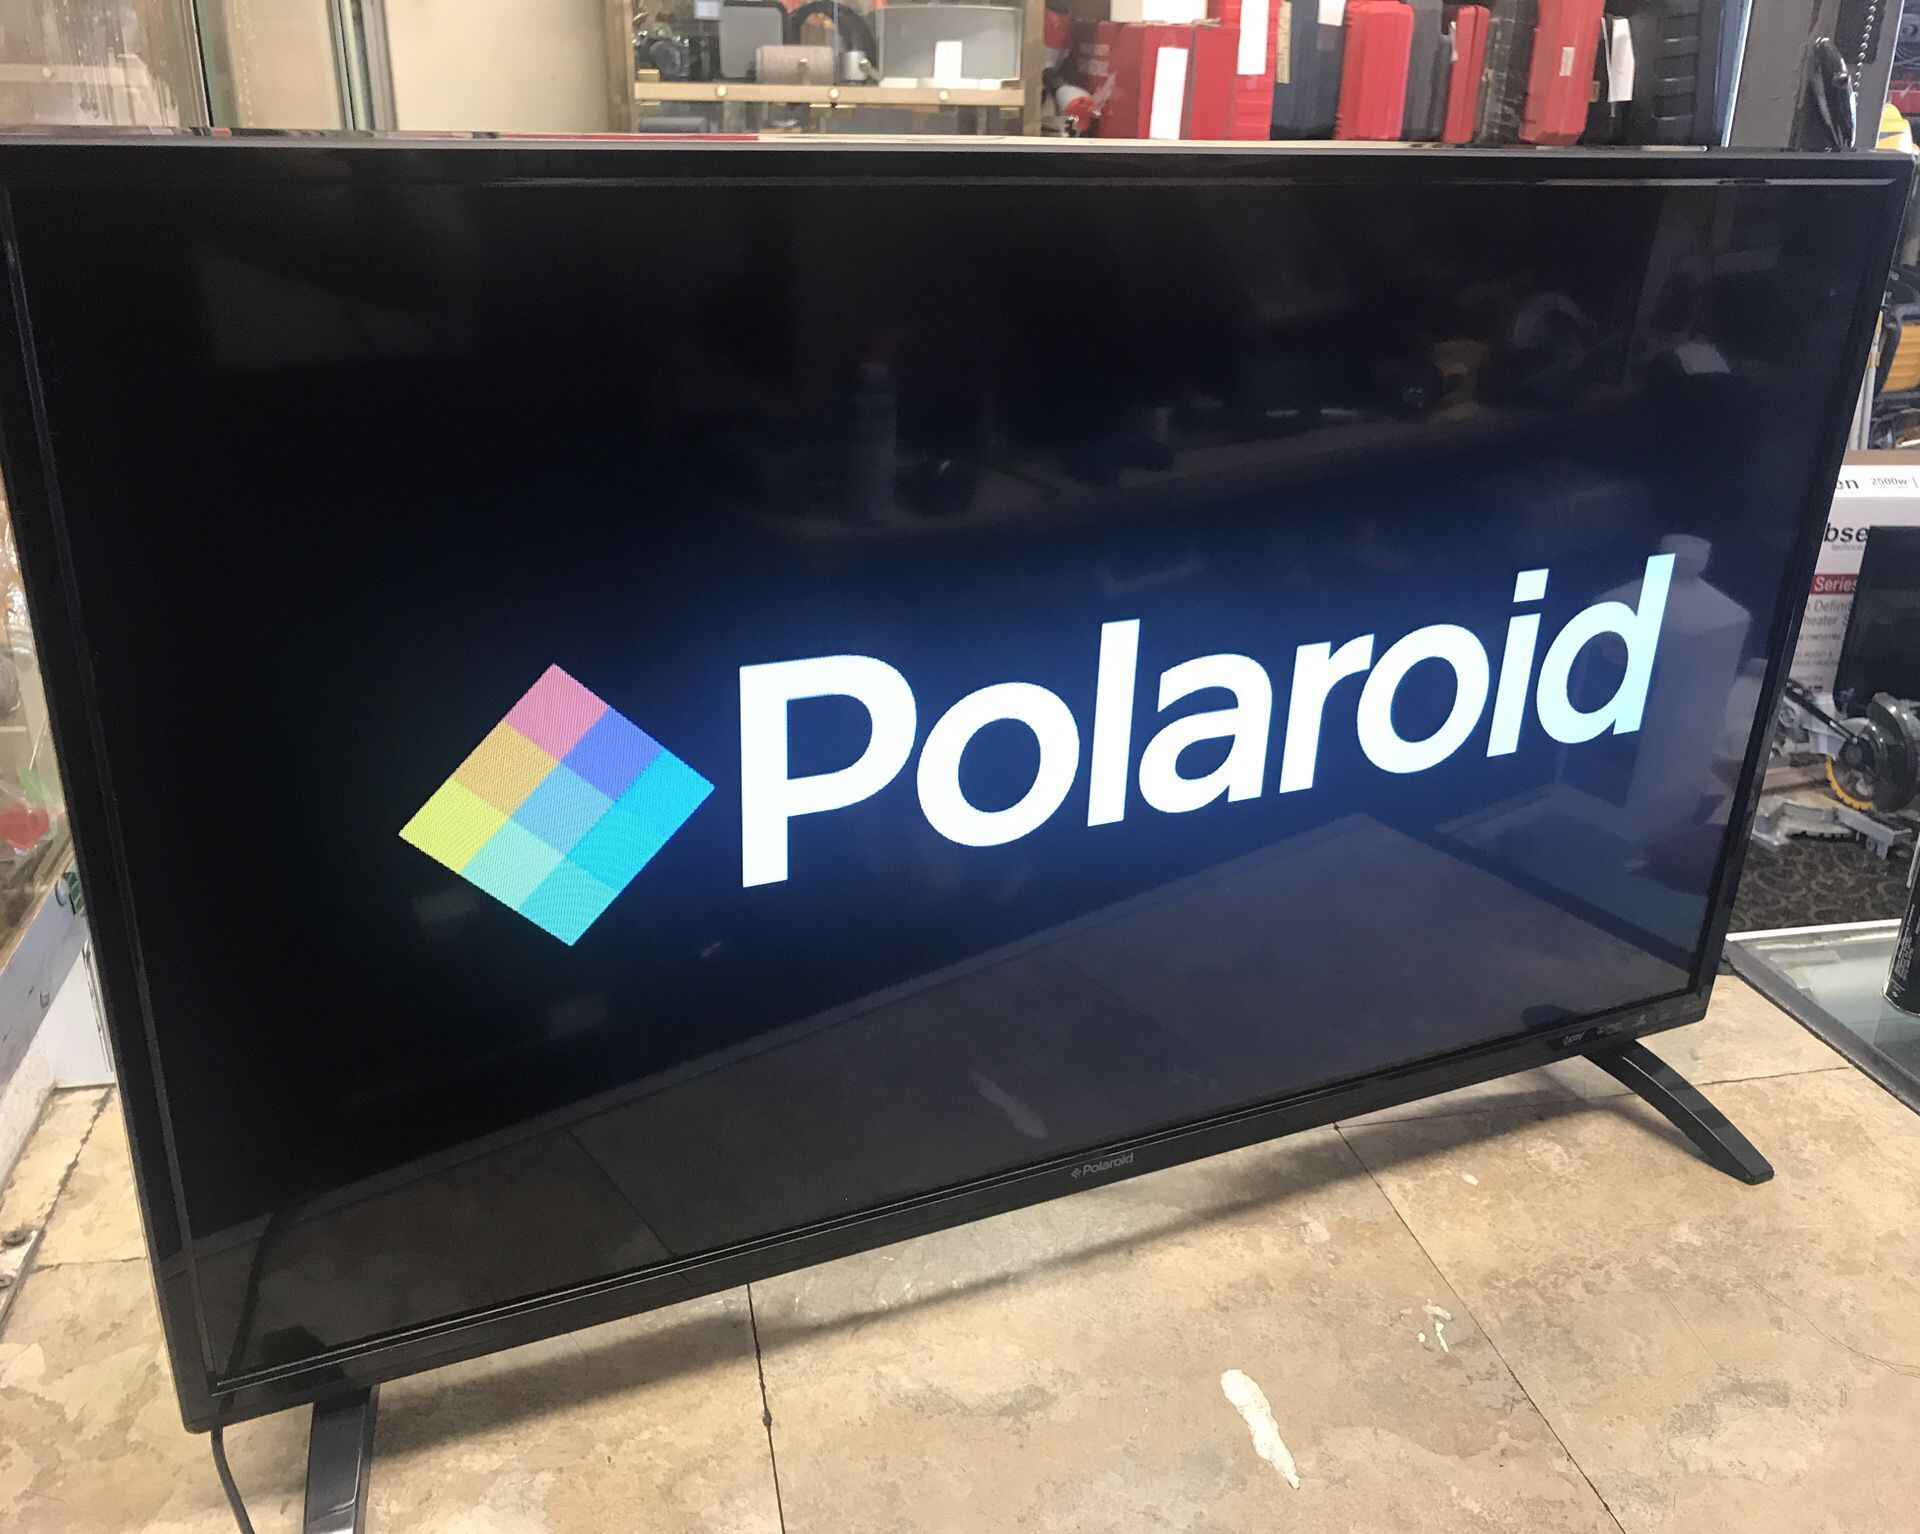
- Power on the TV: Connect the TV to a power source and turn it on. Observe the screen carefully to determine if there is any visible backlight illumination. If the screen remains completely black or extremely dim, there may be an issue with the LED backlight.
- Check for Backlight Glow: In a dimly lit room, turn on the TV and look closely at the screen. If the LED backlight is functioning properly, you should be able to see a faint glow from the back of the screen. This indicates that the backlight is receiving power.
- Perform a Backlight Test: In a completely dark room, play a video or display a content with bright colors on the screen. Using a flashlight, shine it at an angle onto the screen. If you are able to see the content, albeit very faintly, it indicates that the backlight is not illuminating the screen effectively.
- Inspect LED Strips: If the LED backlight is not working, you will need to inspect the LED strips individually. Disconnect the TV from the power source and carefully remove the LED strips from the backlight assembly. Inspect each strip for any visible damage, such as broken or burnt-out LEDs. Replace any faulty LED strips as necessary.
- Use a Multimeter: Set your multimeter to measure DC voltage and touch the probes to the input pads of the LED strips. The voltage reading should match the specified value as indicated in the TV’s service manual or datasheet. If there is no voltage output or it deviates significantly, there may be an issue with the LED driver or the main board.
If the LED backlight is deemed defective, replacing the faulty LED strips or the entire backlight assembly may be required. However, it is important to exercise caution and seek professional help if you are uncertain about the replacement process.
After verifying the functionality of the LED backlight, you can proceed to the next step to further test and examine the main board components.
Step 6: Testing the Main Board Components
After ensuring the functionality of the power supply, input/output connections, voltage regulator, inverter, and LED backlight, the next step is to test the various components on the main board itself. This step will help identify any faulty or malfunctioning components that may be causing the issues. Follow these steps to test the main board components:
- Refer to the Schematics: Obtain the schematics or circuit diagram for your TV’s main board. This will provide a detailed overview of the components and their connections, allowing you to pinpoint specific areas for testing.
- Inspect Capacitors and Resistors: Visually examine the capacitors and resistors on the main board for any signs of damage, such as bulging, leakage, or discoloration. Faulty capacitors and resistors can cause various issues and may need to be replaced.
- Test IC Chips: Use a multimeter or an IC tester to check the Integrated Circuit (IC) chips on the main board. Follow the specifications provided in the schematics to measure the voltages across specific pins. If the voltages do not match the specified values or there is no voltage output, it could indicate a faulty IC chip.
- Inspect for Burnt Traces: Carefully examine the traces or tracks on the main board for any burn marks or discontinuity. Burnt traces can disrupt the flow of signals and may require repair or replacement.
- Check Connectors and Sockets: Ensure that all connectors and sockets on the main board are securely attached and free from any debris or corrosion. Clean and reconnect any loose or dirty connectors to eliminate potential connection issues.
- Verify Switching Components: Test the switching components, such as transistors and diodes, using a transistor tester or diode mode on a multimeter. Check for deviations from the expected readings, as specified in the schematics.
- Test Oscillators and Clock Generators: Use an oscilloscope or an appropriate testing device to measure the waveform and frequency output of the oscillators and clock generators on the main board. Compare the measurements with the specified values to ensure proper functionality.
- Observe Heat Sink Temperature: Pay attention to the temperature of heat sinks on the main board. If certain components or heat sinks become excessively hot during operation, it could indicate a problem and may require further investigation.
By meticulously testing and inspecting the main board components, you can identify any faulty or malfunctioning parts that may be causing the issues with your LED TV. Depending on the results of the tests, you may need to replace or repair specific components to restore the functionality of the main board.
If you are unsure about performing any of these tests or interpreting the results, it is highly recommended to seek assistance from a professional technician with experience in TV repairs.
Step 7: Examining the Firmware and Software
In the final step of testing the LED TV main board, it’s important to examine the firmware and software components. Issues with the firmware or software can affect the overall performance and functionality of the TV. Follow these steps to examine the firmware and software:
- Update Firmware: Check if there are any available firmware updates for your TV model. Visit the manufacturer’s website and download the latest firmware version. Follow the instructions provided by the manufacturer to update the firmware. Outdated firmware can cause various issues, and updating it may resolve those problems.
- Factory Reset: Perform a factory reset on the TV. This will revert all settings and configurations to their default state. Refer to the user manual or the manufacturer’s instructions to perform a factory reset.
- Test Menu Functionality: Access the TV’s service or diagnostic menu (if available) to check different functions and settings. This will allow you to identify any anomalies that may indicate software-related issues.
- Check for Software Updates: If your TV has smart features or uses apps, check for any software updates for these applications. Updating the software of the apps can help resolve compatibility issues and improve performance.
- Perform a Software Reset: In some cases, a software reset can help resolve software-related issues. This is different from a factory reset as it only resets the software components without affecting the settings and configurations. Check the user manual or manufacturer’s instructions for the specific steps to perform a software reset.
- Contact Customer Support: If you have exhausted all troubleshooting steps and the issues persist, reach out to the TV manufacturer’s customer support for further assistance. They may be able to provide specific troubleshooting steps or recommend professional service.
Examining the firmware and software is crucial in ensuring that the TV is running the latest software version and that any potential software-related issues are addressed. By performing updates, resets, and seeking assistance when needed, you can maximize the performance and functionality of your LED TV.
It’s important to note that modifying the firmware or software without proper knowledge or instructions from the manufacturer can lead to further problems and may void your warranty. When in doubt, always consult the manufacturer or a professional technician for guidance.
Conclusion
Testing an LED TV main board can be a complex process, but by following the steps outlined in this guide, you can effectively diagnose and troubleshoot issues with your TV. From checking for power supply problems to examining the firmware and software, each step plays a crucial role in identifying and resolving the underlying causes of malfunctioning main boards.
Throughout the testing process, it is important to exercise caution, especially when dealing with electrical components. If you are unsure about any step or encounter difficulties, it is always advisable to seek assistance from a professional technician with experience in TV repairs.
Remember, proper maintenance and regular inspections can help prevent issues with the main board and other components of your LED TV. Keeping the TV clean, ensuring proper ventilation, and avoiding power surges can contribute to a longer lifespan for your TV.
By understanding the various components and conducting thorough tests, you can minimize repair costs and potentially restore functionality to your LED TV. However, in some cases, if the main board is irreparable, it may be necessary to consider a replacement.
We hope this guide has provided you with valuable insights and guidance on how to test an LED TV main board. By following these steps and seeking professional help when needed, you can save time and money in resolving issues with your LED TV, ensuring that you enjoy high-quality viewing experiences for years to come.