Introduction
Taking ownership of files on an external hard drive is a crucial step when it comes to managing and accessing your data. Whether you have just purchased a new external hard drive or are facing some issues with an existing one, understanding how to take ownership can save you a lot of time and frustration.
When you connect an external hard drive to your computer, the files and folders on it inherit the ownership and permissions from your computer’s operating system. This means that if there are any restrictions or limitations on the computer, it will be reflected on the external drive as well. Consequently, you may encounter situations where you are unable to copy, modify, or delete certain files or folders on the external hard drive.
By taking ownership, you not only gain control over the files and folders but also have the ability to modify the permissions and access them as needed. This gives you the freedom to organize, delete, and manage your data without any restrictions. Additionally, taking ownership is particularly useful if you have acquired an external hard drive that was previously used on a different computer or if you are using the drive on a shared network or system.
In this step-by-step guide, we will walk you through the process of taking ownership of files on an external hard drive in a Windows operating system. Whether you are a beginner or a more experienced user, these instructions will help you address any ownership issues and regain control over your valuable data.
Understanding File Ownership
Before we dive into the process of taking ownership of files on an external hard drive, it’s important to have a solid understanding of what file ownership entails. In a nutshell, file ownership determines who has control over a file or folder and who can perform certain actions on it.
In a Windows operating system, each file and folder is associated with an owner. The owner is typically the user account that created the file or folder. The owner has full control over the file or folder by default, which means they can modify, delete, or change its permissions at will.
File ownership is closely tied to file permissions. Permissions dictate what actions are allowed or denied for a particular file or folder. These actions include reading, writing, modifying, executing, and deleting files. Each file and folder has an associated set of permissions that define what users or user groups can do with them.
When you connect an external hard drive to your computer, the existing files and folders on it inherit the ownership and permissions from your computer’s operating system. This ensures consistency and prevents unauthorized access to your files. However, it can also lead to issues if the current owner does not have the necessary permissions to access or modify certain files.
To resolve ownership-related issues, you may need to take ownership of the files and folders on the external hard drive. Taking ownership allows you to become the new owner, giving you full control over the files and the ability to modify permissions as needed. With ownership transferred to your user account, you can effectively manage and access your data without any restrictions.
It’s worth noting that taking ownership of files on an external hard drive should be done with caution. Ensure that you are taking ownership of files that you have the right to access and modify. Tampering with files that you are not authorized to modify can lead to data corruption or loss. Always exercise caution and adhere to the proper protocols when taking ownership of files on an external hard drive.
Why do you need to take ownership?
Taking ownership of files on an external hard drive can solve a multitude of issues and provide several benefits for users. Here are some of the key reasons why you might need to take ownership:
1. Access Restrictions: Sometimes, when you try to access or modify files on an external hard drive, you may encounter “Access Denied” errors. These errors occur when the current owner of the files or folders does not have the necessary permissions to perform the desired actions. By taking ownership, you can overcome these access restrictions and gain full control over your data.
2. Data Recovery: If you have lost access to your files due to accidental deletion, formatting, or a corrupted file system, taking ownership can help in the recovery process. When you take ownership, you gain the ability to restore or retrieve your valuable data, even if it was previously inaccessible.
3. Transfer of Ownership: If you have acquired an external hard drive from someone else, it is likely that their user account is still the owner of the files and folders on the drive. By taking ownership, you can transfer the ownership to your own user account, ensuring that you have complete control and authority over the data on the drive.
4. System Migration: When migrating to a new computer or operating system, you might encounter issues with file permissions and ownership. Taking ownership of the files on your external hard drive allows you to seamlessly transition to the new system without any restrictions.
5. Customized Permissions: Taking ownership also provides you with the ability to customize permissions according to your specific needs. You can grant or revoke access to certain files or folders, ensuring that only authorized users can view, modify, or delete them.
6. Troubleshooting: In situations where you are facing errors or inconsistencies with file access or permissions, taking ownership can serve as a troubleshooting step. By gaining ownership, you can effectively diagnose and resolve issues related to file permissions and access.
Taking ownership of files on an external hard drive empowers you to have full control and authority over your data. It ensures that you can access, modify, and manage your files without encountering any limitations or restrictions. With ownership, you can customize permissions, troubleshoot issues, and maintain the integrity of your valuable data.
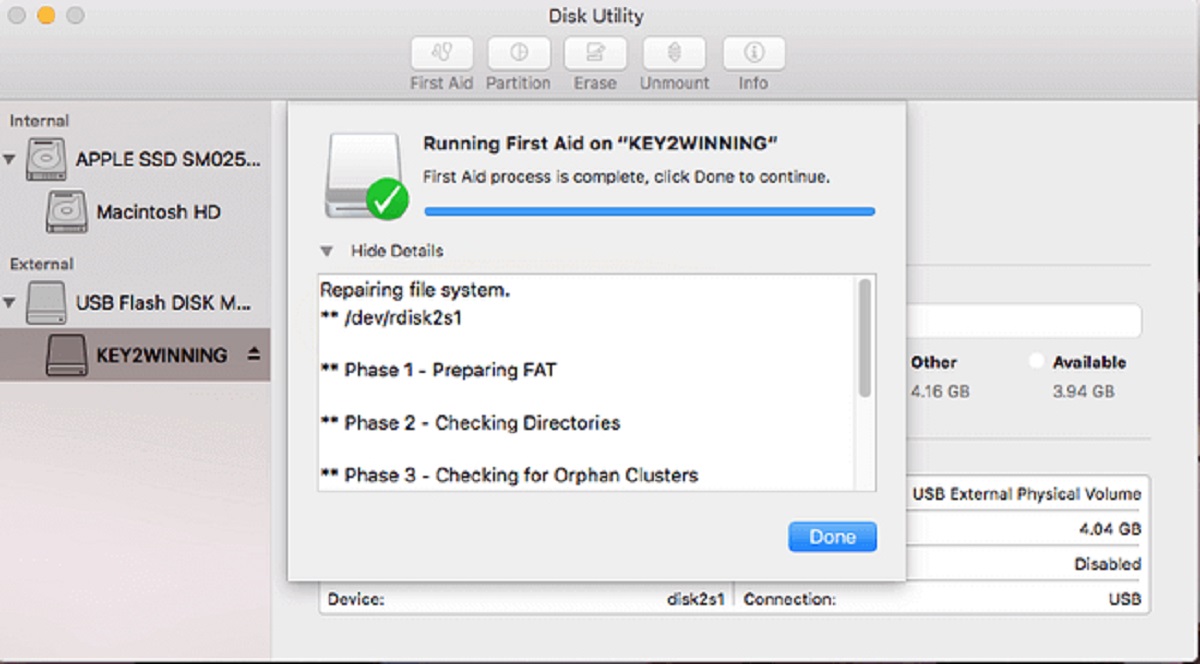
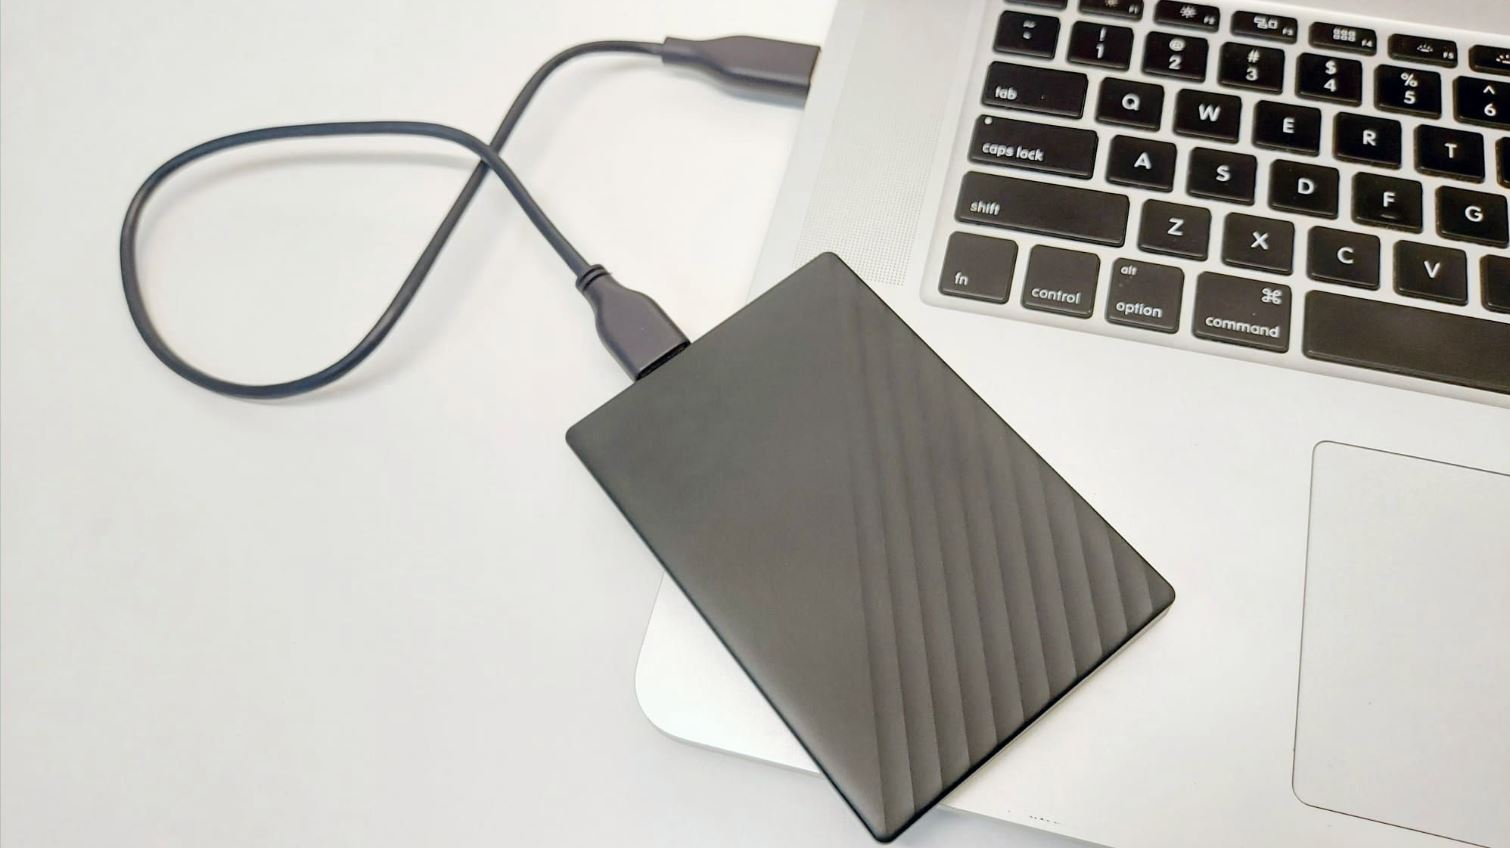
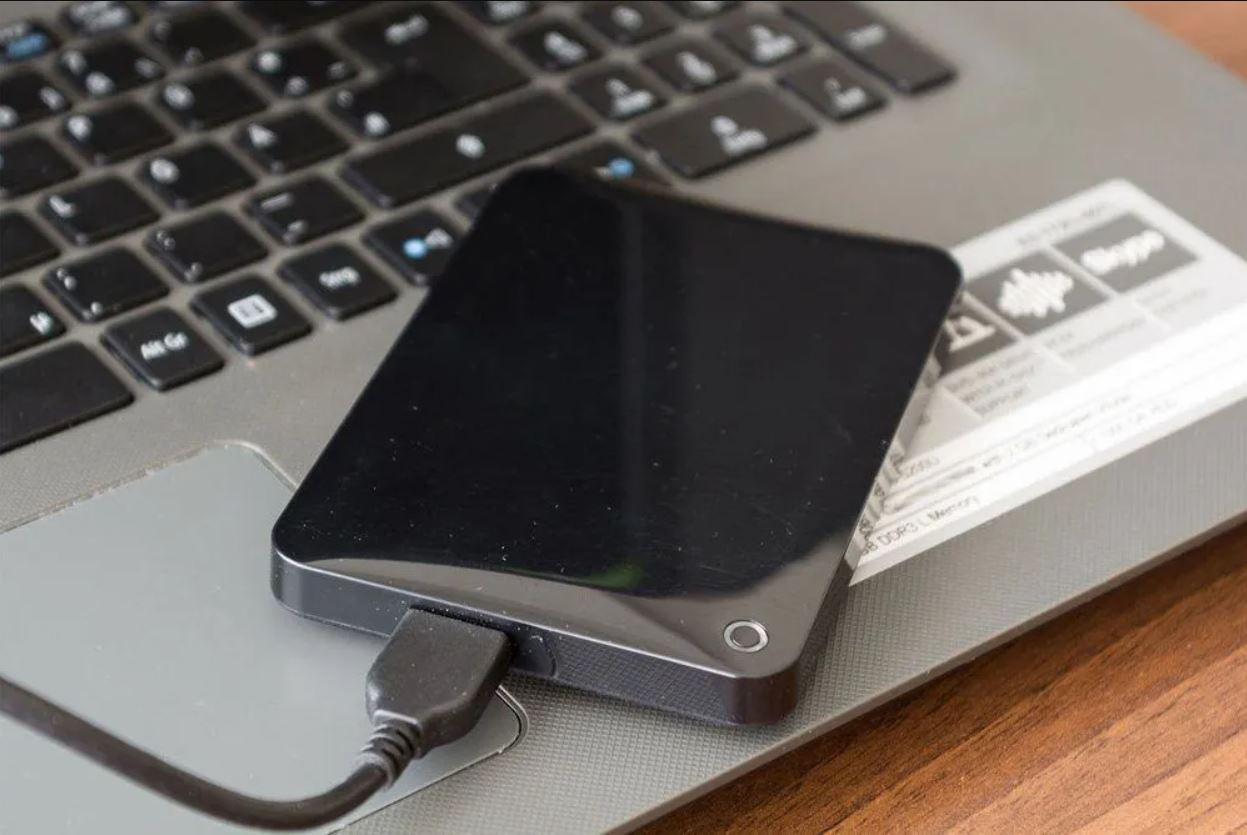
Step 1: Connect your external hard drive
The first step in taking ownership of files on your external hard drive is to ensure that it is properly connected to your computer. Follow these instructions to connect your external hard drive:
- Locate the USB or Thunderbolt port on your computer. These ports are typically found on the sides or back of your computer tower or on the sides of your laptop.
- Take the appropriate cable (such as USB or Thunderbolt) and connect one end to the port on the computer and the other end to the corresponding port on your external hard drive.
- Wait for a few moments until your computer recognizes the external hard drive. You may hear a sound or see a notification indicating that the device has been successfully connected.
- Ensure that the external hard drive is powered on. Some external hard drives require their own power source, so make sure it is properly connected and turned on.
- If your external hard drive has an external power adapter, make sure it is securely plugged into an electrical outlet.
Once your external hard drive is connected and recognized by your computer, you can proceed to the next step to take ownership of the files and folders on the drive.
Step 2: Open File Explorer
In order to take ownership of files on your external hard drive, you need to open File Explorer, which is the file management tool in Windows. Follow these steps to open File Explorer:
- Click on the Start menu located at the bottom-left corner of your screen. Alternatively, you can press the Windows key on your keyboard.
- In the search box, type “File Explorer”. As you type, you will see “File Explorer” appear in the search results.
- Click on “File Explorer” in the search results to open the application.
- Alternatively, you can use the keyboard shortcut by pressing the Windows key + E simultaneously. This will launch File Explorer directly.
Once you have opened File Explorer, you will be able to see a list of your computer’s drives and file directories. The next step is to locate and select your external hard drive.
Note: The appearance and layout of File Explorer may vary slightly depending on the version of Windows you are using. However, the basic functionality and steps should remain the same.
Step 3: Locate the external hard drive
After opening File Explorer, the next step is to locate and identify your external hard drive. Follow these instructions:
- Look for the “This PC” or “My Computer” option in the navigation pane on the left side of the File Explorer window. Click on it to expand the view.
- Scroll down the list of available drives under “Devices and drives”. Your external hard drive should be listed here.
- The external hard drive is typically labeled with its own unique name or a generic name like “removable drive” or “USB drive”. Look for an icon representing an external storage device.
- If you are unsure which drive is your external hard drive, you can compare the drive’s name or other identifiers with the information provided by your external hard drive’s manufacturer or documentation.
Once you have located your external hard drive, you are ready to proceed to the next step and take ownership of the files and folders on the drive. Remember to accurately identify your external hard drive to avoid any unintended changes to other drives or system files.
Step 4: Right-click on the drive and select “Properties”
Once you have located your external hard drive in File Explorer, the next step is to access its properties. By accessing the properties of the drive, you can make changes to its ownership and permissions. Follow these steps:
- Position your mouse cursor over the icon representing your external hard drive.
- Right-click on the drive icon to open a context menu.
- From the context menu, select the “Properties” option. This will open the Properties window for the external hard drive.
The Properties window provides you with detailed information about the drive, including its capacity, file system, and available space. It also allows you to make changes to the drive’s settings, permissions, and security. By accessing the properties, you will be able to modify the ownership settings, which is essential for taking ownership of the files and folders on the drive.
Keep in mind that the Properties window may take a few moments to load, especially if you have a large external hard drive or if there are many files and folders on the drive. Be patient while the window loads, and do not close or interrupt the process.
Once the Properties window for your external hard drive is open, you are ready to proceed to the next step and change the ownership settings in order to take ownership of the files and folders on the drive.
Step 5: Go to the “Security” tab
After opening the Properties window for your external hard drive, the next step is to navigate to the “Security” tab. The Security tab allows you to manage the permissions and ownership settings for the files and folders on the drive. Follow these instructions:
- Within the Properties window, you will typically see several tabs at the top. Click on the “Security” tab to access the security settings for the drive.
- If you do not see a “Security” tab, it may be hidden, and you need to enable it. To do this, click on the “Advanced” button at the bottom of the Properties window.
- In the Advanced Security Settings window that appears, click on the “Change Permissions” button.
- In the next window, click on the “Add” button to add a new user to the permissions list.
- Type your user account name in the provided field, or click on the “Advanced” button and then click on the “Find Now” button to search for your user account.
- Select your user account from the search results and click “OK”.
- Back in the previous window, ensure that your user account is selected and click on the “OK” button.
- Now you should be back in the Properties window with the “Security” tab visible. Click on the “Security” tab to proceed.
By accessing the Security tab, you gain the ability to configure the ownership, permissions, and access controls for the files and folders on your external hard drive. This is a crucial step in the process of taking ownership and gaining full control over the data stored on the drive.
Once you have arrived at the Security tab, you are ready to proceed to the next steps and make the necessary changes to take ownership of the files and folders on your external hard drive.
Step 6: Click on “Advanced”
After accessing the Security tab in the Properties window for your external hard drive, the next step is to click on the “Advanced” button. This will allow you to access advanced security settings and make changes to the ownership and permissions. Follow these instructions:
- Within the Security tab, locate and click on the “Advanced” button. It is usually located at the bottom-right corner of the window.
- Upon clicking the “Advanced” button, a new window titled “Advanced Security Settings” will appear.
- The Advanced Security Settings window provides you with a more granular control over the security settings for your external hard drive.
- Here, you will find options to modify permissions, add or remove users or groups, and change ownership.
- To proceed with taking ownership of the files and folders on your external hard drive, click on the “Change” button next to the current owner’s name.
Clicking on the “Advanced” button is an essential step as it allows you to access the advanced security settings, including ownership and permissions management. This gives you more control over your external hard drive and enables you to configure the settings according to your requirements.
Make sure to carefully follow each step to ensure that you are on the right track towards taking ownership of the files and folders on your external hard drive.
With the Advanced Security Settings window open, you are now ready to proceed to the next step and change the owner of the drive to your user account.
Step 7: Click on “Change” next to the current owner
Once you have accessed the Advanced Security Settings window for your external hard drive, the next step is to click on the “Change” button next to the current owner’s name. This will allow you to select a new owner for the drive and transfer the ownership. Follow these instructions:
- In the Advanced Security Settings window, locate the “Owner” section at the top of the window.
- Next to the current owner’s name, you will see a “Change” link. Click on it.
- A new window titled “Select User or Group” will appear, presenting you with options to choose a new owner for the drive.
- In the text field provided, type your user account name or click on the “Advanced” button and then the “Find Now” button to search for your user account.
- From the search results, select your user account and click “OK” to confirm the selection.
Clicking on “Change” next to the current owner’s name is a crucial step in the process of taking ownership. By selecting a new owner, you ensure that you have full control and authority over the files and folders on your external hard drive.
Remember that the new owner should be your user account to ensure that you can access, modify, and manage the files and folders without any restrictions.
Once you have selected your user account as the new owner, you are ready to proceed to the next step and finalize the ownership transfer for your external hard drive.
Step 8: Enter your user name and click “Check Names”
After clicking on “Change” next to the current owner’s name in the Advanced Security Settings window, the next step is to enter your user name and verify its correctness by clicking “Check Names.” This ensures that you have selected the correct user account to become the new owner. Follow these instructions:
- In the “Select User or Group” window, you will see a text field next to the “Enter the object name to select” label.
- Type your user account name in this field. Make sure to type it correctly to avoid any errors.
- After entering your user name, click on the “Check Names” button located beside the text field.
- If you have entered the user name correctly, and it is a valid user account, the system will underline and display the user name with the proper formatting.
- Click on the “OK” button to close the “Select User or Group” window.
Entering your user name and clicking “Check Names” is an important step to confirm that you have selected the correct user account. It ensures that the user name is properly recognized by the system and prevents any potential issues during the ownership transfer process.
Take extra care to accurately enter your user name to avoid any typos or spelling errors. Double-check the formatting and ensure that the user name is displayed correctly after clicking “Check Names.”
With your user name verified, you are now ready to proceed to the next step and make the necessary changes to establish yourself as the new owner of the files and folders on your external hard drive.
Step 9: Click “OK”
After entering your user name and verifying its correctness in the “Select User or Group” window, the next step is to click the “OK” button. This confirms your selection and proceeds with assigning your user account as the new owner of the files and folders on your external hard drive. Follow these instructions:
- In the “Select User or Group” window, after confirming the correctness of your user name, click on the “OK” button.
- You will be taken back to the Advanced Security Settings window, where your user name should now be displayed as the selected owner.
- Ensure that your user name is correctly listed as the new owner in the “Owner” section of the Advanced Security Settings window.
- If the correct user name is displayed, click on the “OK” button located at the bottom of the window to save the changes.
Clicking “OK” confirms your selection and finalizes the ownership transfer process for your external hard drive. It assigns your user account as the new owner, granting you full control and authority over the files and folders on the drive.
Double-check that your user name is accurately listed as the new owner before proceeding. This ensures that you have successfully taken ownership, allowing you unrestricted access to manage, modify, and organize the files and folders on your external hard drive.
With the ownership transfer confirmed by clicking “OK,” you are now ready to proceed to the next step and adjust the permissions to ensure full control over your files and folders.
Step 10: Make sure the new owner has full control permissions
After finalizing the ownership transfer process for your external hard drive, it is important to ensure that the new owner (your user account) has full control permissions over the files and folders on the drive. Full control permissions grant you the ability to modify, delete, and manage the data without any restrictions. Follow these instructions to verify and adjust the permissions:
- In the Advanced Security Settings window, make sure that your user name is listed as the owner in the “Owner” section.
- Below the “Owner” section, click on the “Edit” button. This will open the Permissions window.
- In the Permissions window, locate your user account in the “Group or user names” section.
- Select your user account and ensure that the checkbox for “Full Control” is checked in the “Allow” column. This grants your user account full control permissions.
- If “Full Control” is not already checked, click on the checkbox to select it.
- Click on the “Apply” button to save the changes.
- Click on the “OK” button to exit the Permissions window.
Verifying and adjusting the permissions ensures that the new owner (your user account) has the necessary rights and permissions to fully access and manage the files and folders on your external hard drive. It gives you complete control over the data, allowing you to perform actions such as organizing, modifying, and deleting files as needed.
Take a moment to carefully review the permissions and ensure that “Full Control” is checked for your user account. This ensures that you have the highest level of permissions and can exercise full control over the files and folders on your external hard drive.
With the permissions adjusted, you are now ready to proceed to the final steps and apply the changes to establish full ownership and access control over your external hard drive.
Step 11: Apply the changes
After verifying and adjusting the permissions for your user account in the Permissions window, the final step is to apply the changes. Applying the changes ensures that the ownership transfer and permissions modifications take effect for the files and folders on your external hard drive. Follow these instructions:
- Ensure that you are still in the Advanced Security Settings window and that your user account is listed as the owner.
- Click on the “Apply” button at the bottom of the window.
- A progress window may appear, indicating that the changes are being applied to the files and folders on your external hard drive.
- Wait for the progress to complete. The duration of this process may vary depending on the number of files and folders on your drive.
- Once the changes have been applied, you will see a confirmation message indicating that the process was successful.
- Click on the “OK” button to exit the Advanced Security Settings window.
Applying the changes ensures that the ownership and permissions modifications are implemented for the files and folders on your external hard drive. It sets your user account as the owner and grants you full control over the data, enabling you to perform actions such as modifying, deleting, and managing files without any restrictions.
During the application process, it is important to be patient and wait for the changes to be fully applied. The time it takes may vary depending on the size and number of files on your drive.
Once the changes have been successfully applied and you have received the confirmation message, you can safely close the Advanced Security Settings window and begin managing your files and folders with full ownership and control on your external hard drive.
Conclusion
Taking ownership of files on an external hard drive is an essential process that allows you to gain full control over your data. By following the step-by-step guide outlined above, you can successfully transfer ownership and modify permissions, enabling you to access, modify, and manage the files and folders on your external hard drive without any restrictions.
Understanding file ownership and the reasons for taking ownership is crucial in managing your data effectively. In addition to addressing access restrictions and enabling data recovery, taking ownership allows you to transfer ownership when acquiring an external hard drive, migrate to a new system, and customize permissions based on your specific needs.
Throughout the process, it is important to ensure that your user account is correctly identified as the new owner and that you have full control permissions. This guarantees that you can carry out the desired actions on your files, maintaining the integrity and security of your data.
Remember to exercise caution and only take ownership of files that you are authorized to modify. Mishandling files or changing ownership without proper authorization can result in data corruption or loss.
By successfully taking ownership of files on your external hard drive, you can now confidently manage and organize your data, allowing for seamless access and full control over your valuable files and folders.