Introduction
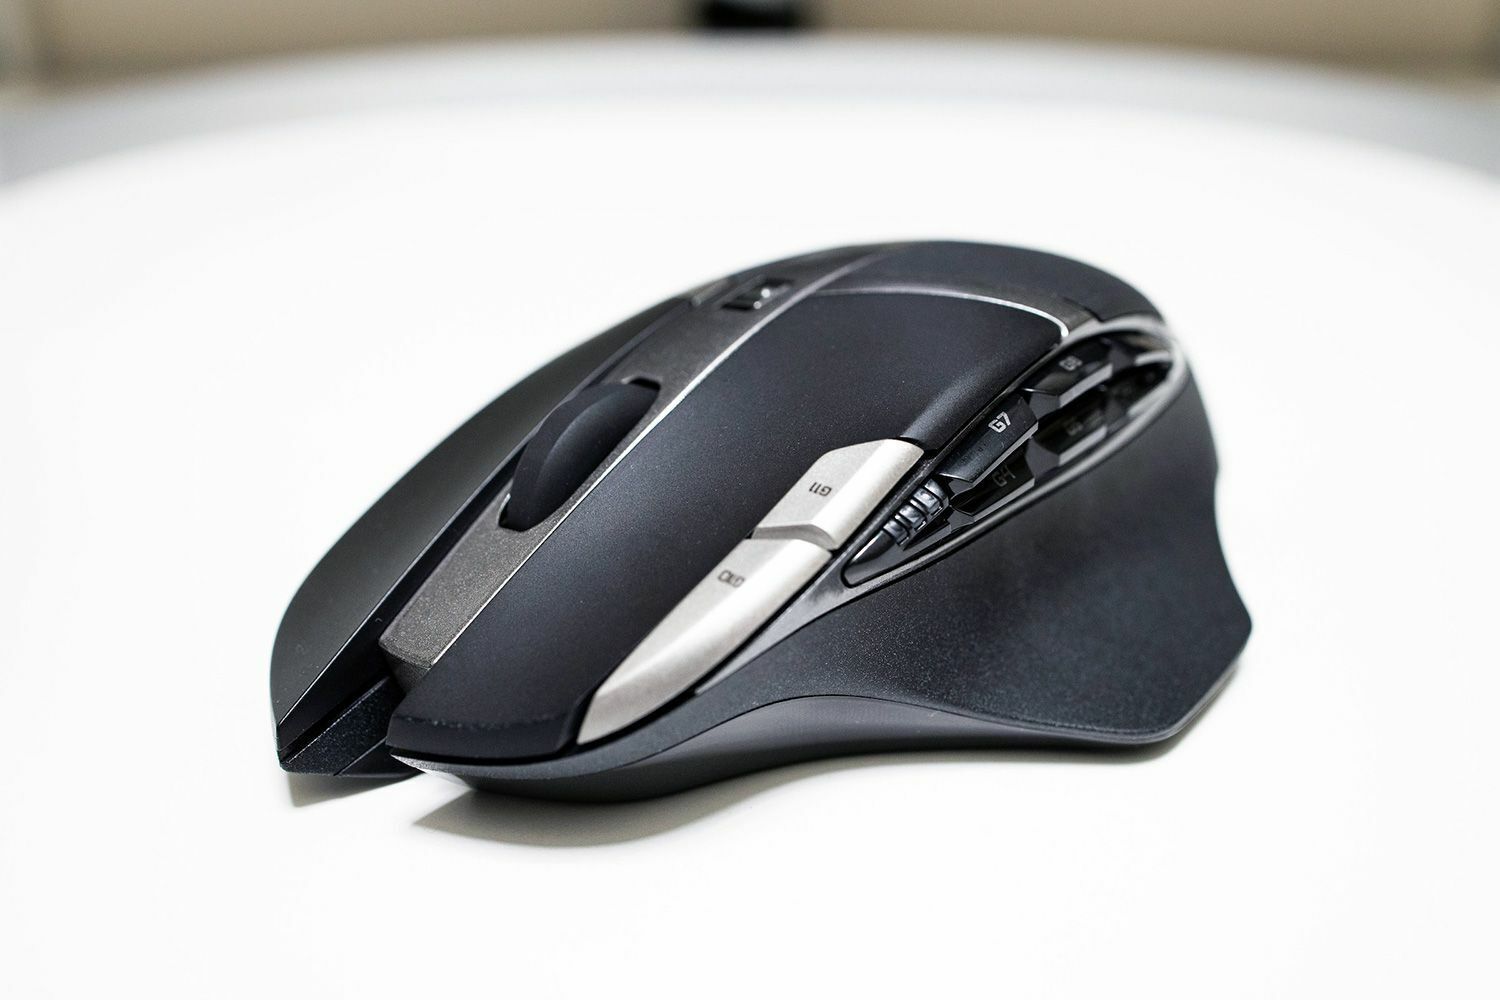
The Logitech G602 is a popular gaming mouse known for its exceptional performance and customizable features. However, over time, it may require cleaning or repairs due to dust buildup or hardware issues. Taking apart the Logitech G602 may seem like a daunting task, but with the right tools and a little patience, it can be easily done.
In this step-by-step guide, we will walk you through the process of disassembling the Logitech G602 mouse. Whether you need to clean the internal components or fix a specific problem, following these instructions will ensure that you can safely and effectively take apart your mouse.
Before we begin, it is important to note that modifying or disassembling your mouse may void the warranty. If your mouse is still under warranty, we recommend contacting Logitech’s customer support for assistance. Otherwise, let’s get started with the tools and equipment you will need for this task.
Tools and Equipment Needed
Before you begin the process of taking apart your Logitech G602 mouse, make sure you have the following tools and equipment on hand:
- Small Phillips-head screwdriver: This will be used to remove the screws holding the mouse together.
- Anti-static wrist strap (optional): Using an anti-static wrist strap can help protect the internal components of the mouse from damage caused by static electricity. It is especially recommended if you are working in a dry environment.
- Plastic pry tool or spudger: This tool can be helpful in gently prying open the casing of the mouse without damaging it.
- Cotton swabs (Q-tips): These will be used to clean the internal components and remove any dust or debris.
- Isopropyl alcohol: This cleaning solution will help dissolve any stubborn dirt or residue on the components.
- Microfiber cloth or soft lint-free cloth: Use this to gently wipe down the mouse and remove any remaining dirt or cleaning solution.
It is important to gather all the necessary tools and equipment before starting the disassembly process. This will ensure a smooth and efficient workflow, minimizing the chances of losing or damaging any components. With these tools in hand, you are now ready to proceed with the disassembling of your Logitech G602 mouse.
Step 1: Removing the Battery Cover
The first step in disassembling the Logitech G602 mouse is to remove the battery cover. Follow these instructions:
- Turn the mouse upside down to expose the battery compartment.
- Locate the battery cover release button or latch. This is usually located on the backside of the mouse, near the bottom edge.
- Press and hold the battery cover release button or move the latch in the direction indicated to unlock the battery cover.
- While holding the release button or latch, gently slide or lift the battery cover off the mouse.
Once the battery cover is removed, you will have access to the batteries as well as the screws securing the mouse’s casing. Set the battery cover aside in a safe place, as you will need it later for reassembly.
Removing the battery cover is a straightforward process, but make sure to be gentle to avoid damaging any components. With the battery cover successfully removed, you are now ready to move on to the next step: removing the screws.
Step 2: Removing the Screws
After removing the battery cover, the next step in disassembling the Logitech G602 mouse is to remove the screws that hold the casing together. Here’s how to do it:
- Using a small Phillips-head screwdriver, identify and remove the screws on the bottom of the mouse. There may be anywhere from 2 to 5 screws, depending on the specific model.
- Place the screws in a safe location, such as a small container or a magnetic mat, to prevent them from getting lost or rolling away.
It is essential to keep track of the screws and their proper placement as you will need to reassemble the mouse later. Take note of any different-sized screws or locations where specific screws were used.
Once all the screws have been removed, you can move on to the next step of opening the casing to access the internal components. Make sure to handle the mouse with care, as some internal components may be delicate or sensitive to static electricity.
With the screws safely removed, you are now ready to proceed with the next step: opening the casing of the Logitech G602 mouse.
Step 3: Opening the Casing
After removing the screws, it’s time to open the casing of the Logitech G602 mouse. Follow these steps carefully:
- Gently insert a plastic pry tool or spudger between the top and bottom of the mouse casing. Start at one of the corners or edges and carefully work your way around the mouse.
- Apply gentle and even pressure to pry open the casing. Take your time and be patient to avoid damaging the plastic tabs or any internal components.
- Continue working your way around the mouse until the top and bottom halves of the casing are separated.
- Once the casing is partially open, use your fingers to carefully lift and fully separate the top and bottom halves of the mouse casing.
As you open the casing, you may notice some resistance due to the plastic clips holding the two halves together. Be cautious and ensure that all clips are detached before fully separating the casing.
Once the casing is opened, you will have access to the internal components, such as the circuit board, buttons, and scroll wheel. Handle the components with care to avoid any damage, and take note of their positions for reassembly later.
With the casing successfully opened, you are ready to proceed to the next step: disconnecting the cable.
Step 4: Disconnecting the Cable
After opening the casing, the next step in disassembling the Logitech G602 mouse is to disconnect the cable that connects the mouse buttons to the circuit board. Follow these instructions:
- Locate the cable that connects the buttons to the circuit board. It is a flat ribbon cable with a connector at each end.
- To disconnect the cable, gently lift the latch on the connector. This latch is usually on the side of the connector and needs to be lifted upwards.
- Once the latch is lifted, carefully pull the cable out of the connector.
Be mindful and gentle when handling the cable and connector to avoid any damage. If you encounter any resistance, double-check to ensure that the latch is fully lifted before attempting to remove the cable.
By disconnecting the cable, you have now separated the buttons from the circuit board, making it easier to clean or replace components if needed.
With the cable successfully disconnected, you can now proceed to the next step: removing the buttons and scroll wheel.
Step 5: Removing the Buttons and Scroll Wheel
Once the cable is disconnected, it’s time to remove the buttons and scroll wheel from the Logitech G602 mouse. Follow these steps carefully:
- Locate the buttons and scroll wheel, which are attached to the top half of the casing.
- Gently lift the buttons and scroll wheel assembly from the casing, keeping in mind that they may be secured by small clips or adhesive.
- If the buttons or scroll wheel are held in place by clips, release them by gently prying or sliding them away from their respective slots.
- If there is adhesive securing the buttons or scroll wheel, carefully peel it away to detach them from the casing.
Take note of the positions and orientations of the buttons and scroll wheel as you remove them from the casing. This will ensure that you can reassemble the mouse correctly later on.
With the buttons and scroll wheel successfully removed, you now have better access to the internal components for cleaning or repair purposes. Take care to keep the removed components in a safe place to prevent any damage or loss.
Now that the buttons and scroll wheel are removed, you can proceed to the next step: cleaning the internal components.
Step 6: Cleaning the Internal Components
With the buttons and scroll wheel removed, it’s time to clean the internal components of the Logitech G602 mouse. Over time, dust and debris can accumulate, affecting the mouse’s performance. Follow these steps to effectively clean the internal components:
- Using a small brush or a cotton swab (Q-tip), gently remove any dust or debris from the circuit board, buttons, and scroll wheel.
- Dampen a cotton swab (Q-tip) with isopropyl alcohol and carefully wipe down the surfaces of the components to remove any stubborn dirt or residue.
- Pay extra attention to areas with visible dirt buildup, such as the cracks and crevices between the buttons and around the scroll wheel.
- Allow the components to air dry or use a soft lint-free cloth to gently dry them. Avoid using excessive force or heat that could damage the components.
It is crucial to be delicate when cleaning the internal components to avoid causing any damage. Take your time and ensure that all the components are thoroughly cleaned before proceeding to reassembly.
Once the internal components are clean and dry, you can move on to the next and final step: reassembling the Logitech G602 mouse.
Step 7: Reassembling the Mouse
After cleaning the internal components, it’s time to reassemble the Logitech G602 mouse. Follow these steps carefully:
- Begin by reattaching the buttons and scroll wheel to their respective slots in the top half of the casing. Align them properly and secure them in place using any clips or adhesive that were originally present.
- Once the buttons and scroll wheel are in place, carefully reattach the cable that connects the buttons to the circuit board. Insert one end of the cable into the connector and ensure it is fully inserted before lowering the latch to secure it.
- Align the top and bottom halves of the mouse casing, ensuring that all the plastic tabs on both halves are properly aligned.
- Gently press the two halves of the casing together, applying even pressure along the edges to snap them back into place. Take care to ensure that all the tabs are securely fastened, but be cautious not to apply excessive force.
- Finally, insert and tighten the screws that hold the casing together. Use a small Phillips-head screwdriver and refer to any notes you made during disassembly to ensure the correct placement of each screw.
Once all the screws are tightened, double-check that the casing is securely closed and there are no gaps or loose parts. If everything looks and feels secure, your Logitech G602 mouse is now successfully reassembled.
After the reassembly process, you can now reconnect the battery by sliding the battery cover back onto the mouse and locking it into place. Ensure that the battery cover is securely attached before using the mouse.
Congratulations! You have successfully disassembled, cleaned, and reassembled your Logitech G602 mouse. It should now be in optimal working condition and ready for use.
Conclusion
Taking apart the Logitech G602 mouse may have seemed intimidating at first, but with the right tools and careful steps, it can be a straightforward process. Disassembling the mouse allows you to clean the internal components, remove any dust or debris, and address any hardware issues that may be affecting its performance.
Throughout this step-by-step guide, we have covered the necessary tools and equipment needed, as well as each stage of the disassembly process. Remember to handle the components with care, keep track of screws and their placements, and ensure proper alignment when reassembling the mouse.
Performing regular maintenance, such as cleaning the internal components, can help extend the lifespan of your Logitech G602 mouse and maintain its optimal performance. However, it’s important to note that modifying or disassembling your mouse may void the warranty, so proceed with caution if your device is still covered.
We hope this guide has been helpful in assisting you with taking apart your Logitech G602 mouse. If you encounter any difficulties or are unsure about any step, it’s always a good idea to seek assistance from Logitech’s customer support or a professional technician.
By following these instructions, you can confidently disassemble and clean your Logitech G602 mouse, ensuring that it continues to provide you with accurate and responsive gameplay for years to come.