Introduction
Welcome to the world of fitness tracking with Fitbit! Whether you’re a fitness enthusiast or simply looking to lead a healthier lifestyle, syncing your Fitbit device to your Android device will allow you to effortlessly monitor your daily activity, track your workouts, and even analyze your sleep patterns. Fitbit offers a wide range of trackers that can help you meet your fitness goals and improve your overall well-being.
Syncing your Fitbit device to your Android smartphone or tablet is a straightforward process that can be easily accomplished with a few simple steps. In this article, we will guide you through the process of syncing your Fitbit tracker to your Android device, so you can start enjoying the benefits of tracking your fitness progress.
By syncing your Fitbit device to your Android device, you will be able to view detailed activity summaries, receive real-time notifications, and access advanced features like heart rate tracking and guided breathing exercises. Plus, syncing your Fitbit to your Android device allows you to seamlessly transfer your data, ensuring that your fitness journey is tracked accurately without any hassle.
Whether you own a Fitbit Charge, Versa, Inspire, or any other Fitbit tracker, the process of syncing it to your Android device remains the same. So, let’s get started and learn how to sync your Fitbit to your Android device!
Step 1: Install the Fitbit App
The first step in syncing your Fitbit device to your Android device is to install the Fitbit app. The Fitbit app is available for free on the Google Play Store, so you can easily download and install it on your Android smartphone or tablet.
To install the Fitbit app, follow these simple steps:
- Open the Google Play Store on your Android device.
- Search for “Fitbit” in the search bar at the top of the screen.
- Tap on the Fitbit app from the search results.
- Click on the “Install” button to begin downloading and installing the app.
Once the Fitbit app is successfully installed on your Android device, you’re ready to move on to the next step.
Installing the Fitbit app is crucial as it serves as the primary hub for all your Fitbit data. It allows you to track your daily steps, distance traveled, calories burned, and even monitor your sleep patterns. The Fitbit app also provides personalized insights, challenges, and guidance to help you stay motivated and achieve your fitness goals.
Remember, it’s important to ensure that you’re downloading the official Fitbit app from the Google Play Store to guarantee a secure and smooth syncing process.
Step 2: Create a Fitbit Account
Before you can start syncing your Fitbit device to your Android device, you need to create a Fitbit account. A Fitbit account is essential for storing and accessing your fitness data, as well as personalizing your Fitbit experience.
To create a Fitbit account, follow these steps:
- Open the Fitbit app on your Android device.
- Tap on the “Join Fitbit” or “Sign Up” button.
- Provide your email address and create a strong password for your account.
- Enter your personal information, such as your name, gender, height, and weight.
- Agree to the Fitbit terms and conditions and privacy policy.
- Complete the account setup process by following the on-screen instructions.
Once you have successfully created your Fitbit account, you will have access to a range of features and functionalities that will enhance your fitness tracking experience. These include setting goals, joining challenges, connecting with friends, and syncing your Fitbit device to your Android device.
Creating a Fitbit account is an important step as it allows you to personalize your Fitbit experience and ensures that your fitness data is securely stored and accessible across devices. Your Fitbit account acts as a central hub where you can view your activity history, track your progress, and make adjustments to your goals and settings.
If you already have a Fitbit account, you can simply sign in using your existing credentials and proceed to the next step.
Step 3: Enable Bluetooth on Your Android Device
In order to sync your Fitbit device with your Android device, you need to ensure that Bluetooth is enabled on your Android device. Bluetooth technology allows for wireless communication between devices, making it the key to connecting your Fitbit tracker to your Android smartphone or tablet.
Here’s how you can enable Bluetooth on your Android device:
- Swipe down from the top of your screen to access the notification shade.
- Look for the Bluetooth icon and tap on it to enable Bluetooth.
- If the Bluetooth icon does not appear in the notification shade, you can access it through the settings menu. Go to “Settings”, then “Connections”, and toggle the Bluetooth switch to turn it on.
Once Bluetooth is enabled on your Android device, it will start searching for nearby Bluetooth devices, including your Fitbit tracker. By enabling Bluetooth, you allow your Android device to establish a secure connection with your Fitbit tracker and transfer data between the devices.
It is important to keep Bluetooth enabled on your Android device for seamless syncing of your Fitbit tracker. However, it is recommended to disable Bluetooth when not in use to conserve battery life.
With Bluetooth enabled on your Android device, you’re now ready to move on to the next step, which involves opening the Fitbit app and signing in to your account.
Step 4: Open the Fitbit App and Sign In
After enabling Bluetooth on your Android device, the next step is to open the Fitbit app and sign in to your Fitbit account. Signing in to your Fitbit account is necessary to establish a connection between your Fitbit device and your Android device.
Here are the steps to open the Fitbit app and sign in:
- Locate the Fitbit app icon on your Android device’s home screen or app drawer.
- Tap on the Fitbit app icon to launch it.
- If you’re a new user, tap on the “Join Fitbit” or “Sign Up” button to create a Fitbit account (refer to Step 2 for detailed instructions on creating an account).
- If you already have a Fitbit account, tap on the “Log In” or “Sign In” button.
- Enter your email address and password associated with your Fitbit account.
- Tap on the “Sign In” or “Log In” button to proceed.
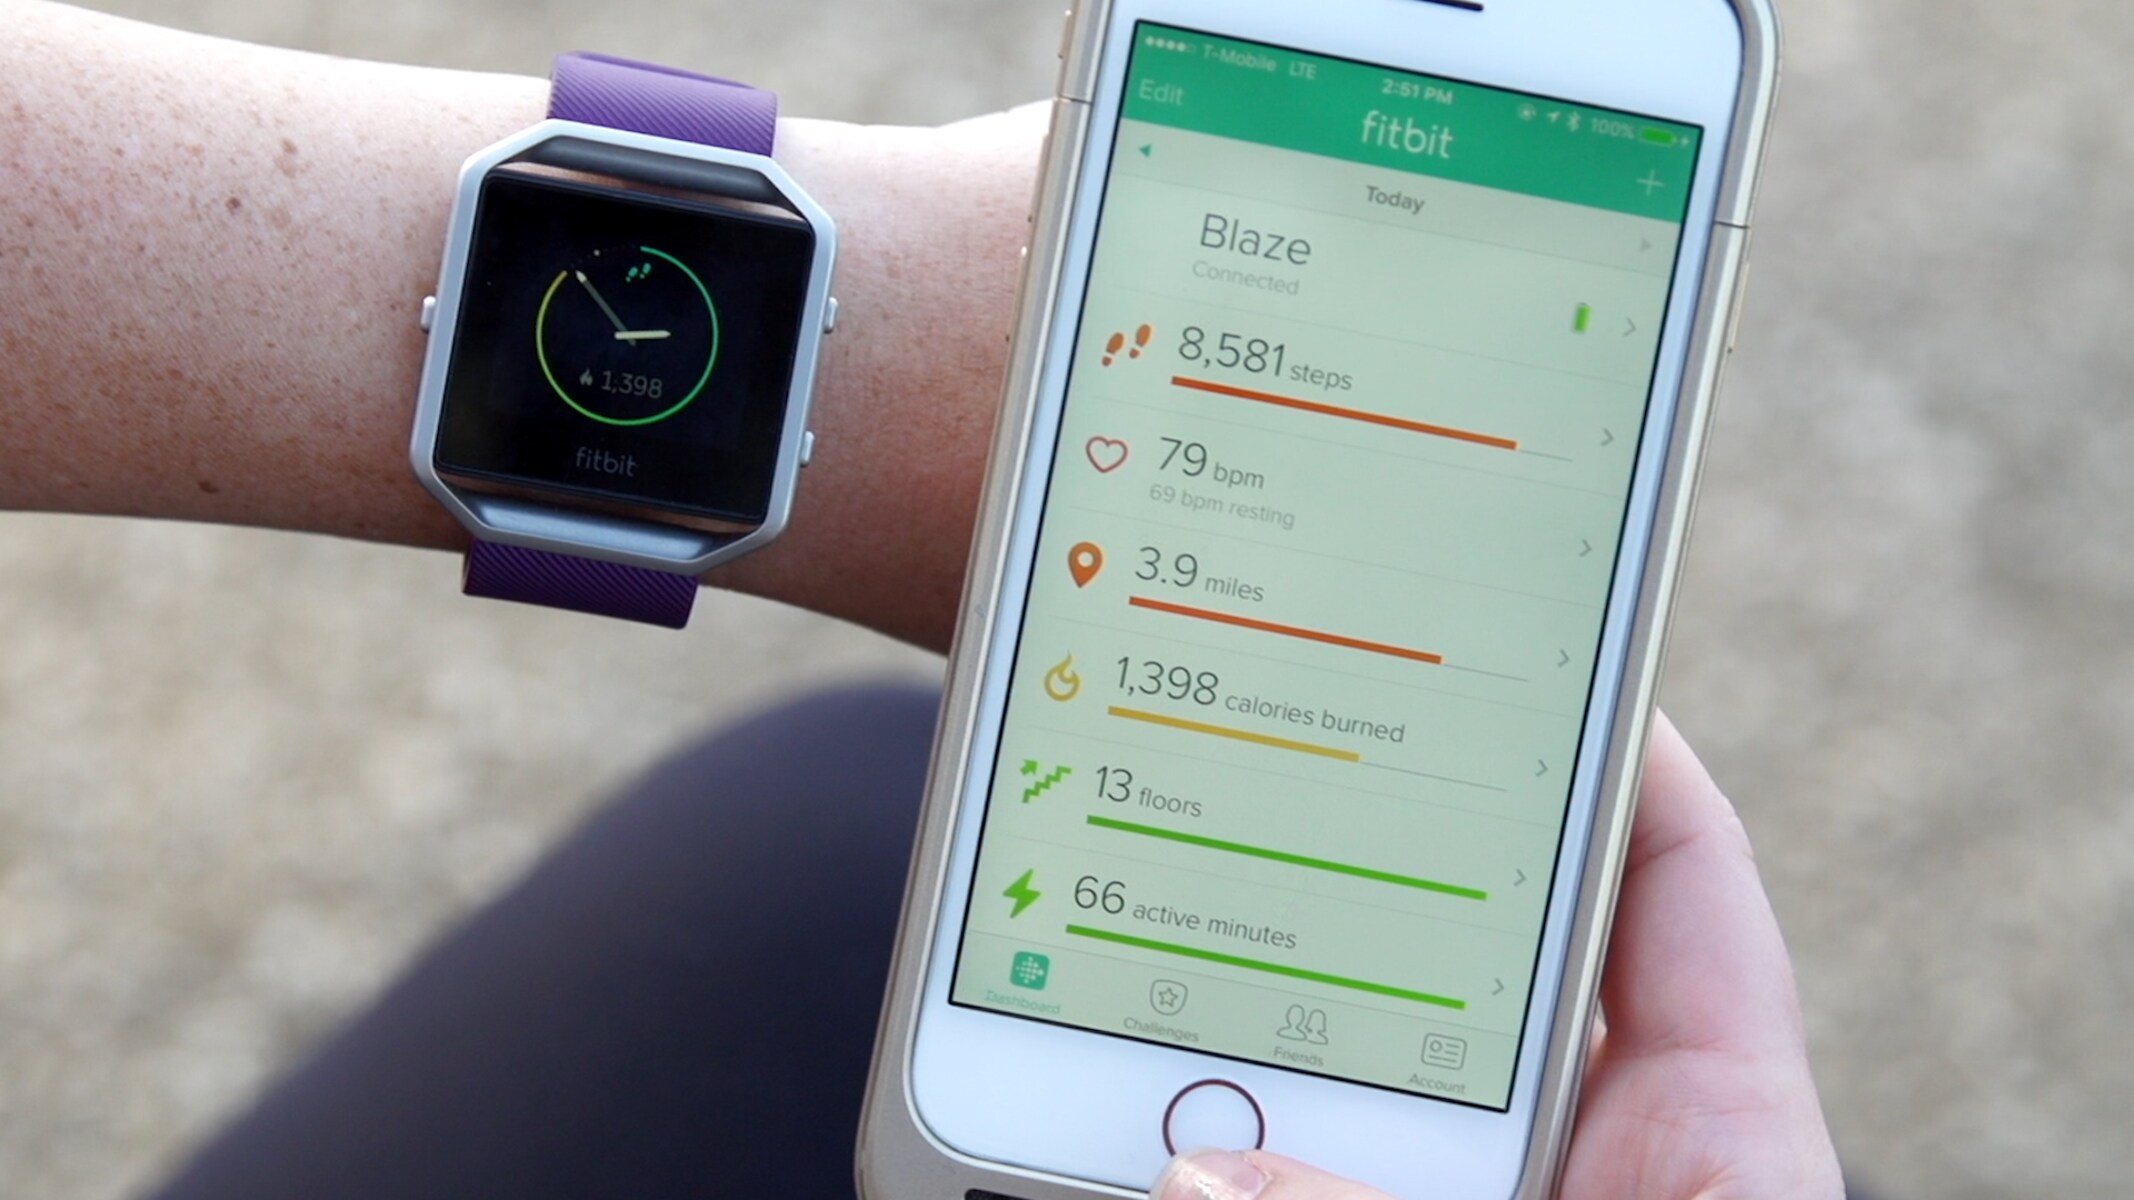
Once you have successfully signed in to your Fitbit account within the app, you will gain access to your personalized dashboard. The dashboard displays an overview of your latest activity data, including steps taken, distance traveled, calories burned, and more.
By signing in to your Fitbit account, you also ensure that your fitness data is synced and available across devices. This means that any changes you make to your goals, settings, or notifications within the Fitbit app will be applied to your Fitbit device, ensuring a seamless and connected experience.
Now that you’re signed in to the Fitbit app, you’re ready to proceed to the next step, which involves following the setup instructions.
Step 5: Follow the Setup Instructions
Once you have signed in to your Fitbit account within the app, it’s time to follow the setup instructions to connect and sync your Fitbit device with your Android device. The setup process may vary slightly depending on the model of your Fitbit tracker, but the overall steps remain similar.
Here’s how you can follow the setup instructions in the Fitbit app:
- After signing in, you will be prompted to start the device setup process. Tap on “Set up a Device” or a similar option.
- Select your Fitbit device model from the list displayed. If you’re not sure about your Fitbit model, refer to the documentation that came with your device.
- Follow the on-screen prompts and instructions such as turning on your Fitbit device, accepting terms and conditions, and placing the device close to your Android device.
- Wait for the Fitbit app to search for and detect your Fitbit device. This process may take a few moments.
- Once your Fitbit device is detected, tap on it in the app to begin the pairing process.
- Follow any additional prompts or instructions that appear on the screen to complete the setup process.
During the setup process, it’s important to ensure that your Fitbit device is fully charged to ensure a successful connection and synchronization with your Android device. Additionally, make sure that your Fitbit device is close to your Android device to maintain a stable and reliable connection.
Following the setup instructions is essential to establish a secure and synchronized connection between your Fitbit device and your Android device. Once the setup is complete, you will be able to access all the features and functionalities of your Fitbit tracker through the Fitbit app on your Android device.
Now that you have followed the setup instructions, it’s time to move on to the next step, which involves selecting your specific Fitbit tracker model.
Step 6: Select Your Fitbit Tracker Model
After completing the setup process in the Fitbit app, the next step is to select your specific Fitbit tracker model. This step ensures that the app recognizes and communicates with your Fitbit device accurately, enabling seamless syncing and data tracking.
Follow these steps to select your Fitbit tracker model:
- In the Fitbit app, you will be prompted to choose your Fitbit tracker from a list of available models. This list will include various Fitbit devices such as Fitbit Charge, Versa, Inspire, and others.
- Scroll through the list and find the model that matches your Fitbit device.
- Tap on your specific Fitbit model to select it.
Once you have selected your Fitbit tracker model, the Fitbit app will automatically configure its settings to match your device’s features and capabilities. This ensures that you can make the most out of your Fitbit tracker and access all the relevant data and features specific to your model.
It’s important to choose the correct Fitbit tracker model during this step to ensure accurate fitness tracking and data synchronization. This step is crucial as it sets up the correct parameters and functionalities between the Fitbit app and your Fitbit device.
Now that you have selected your Fitbit tracker model, you’re ready to move on to the final step, which involves syncing your Fitbit tracker with your Android device.
Step 7: Syncing Your Fitbit Tracker with Your Android Device
The final step in the process of syncing your Fitbit device with your Android device is to establish a connection and sync your data. Syncing allows your Fitbit tracker to communicate with the Fitbit app on your Android device, ensuring that all your fitness data is up-to-date and accurately reflected in the app.
Follow these steps to sync your Fitbit tracker with your Android device:
- Ensure that both your Fitbit device and your Android device have Bluetooth enabled.
- Open the Fitbit app on your Android device.
- Wait for the app to automatically initiate the syncing process. Alternatively, you can manually trigger the sync by pulling down on the main screen of the app.
- Once the syncing process begins, make sure that your Fitbit device is within range and near your Android device.
- Wait for the sync to complete. The duration will vary depending on the amount of data being transferred.
- Once the sync is complete, you will see a message or notification confirming that your Fitbit device is successfully synced with your Android device.
Syncing your Fitbit tracker allows you to view your updated activity data, track your progress, and access all the features of the Fitbit app. It ensures that your fitness journey is accurately recorded and effortlessly accessible on your Android device.
It’s important to note that regular syncing is recommended to keep your Fitbit device and the Fitbit app in sync. This ensures that any changes or updates you make on one device are reflected on the other, providing you with the most accurate and up-to-date information at all times.
Congratulations! You have successfully synced your Fitbit tracker with your Android device. You can now enjoy the benefits of real-time fitness tracking, personalized insights, and a seamless user experience as you work towards achieving your fitness goals.
Conclusion
Congratulations on successfully syncing your Fitbit tracker to your Android device! By following the steps outlined in this guide, you have unlocked a world of fitness tracking, personalized insights, and motivation to help you reach your health and wellness goals.
The Fitbit app, combined with your Fitbit tracker, offers a powerful tool for monitoring your daily activity, tracking your workouts, and improving your overall well-being. With features such as heart rate monitoring, sleep tracking, and personalized goal setting, Fitbit empowers you to take control of your health and make positive lifestyle changes.
Remember to regularly sync your Fitbit tracker and Android device to ensure that your fitness data is up to date and accurately reflected in the Fitbit app. This will allow you to track your progress, set new goals, and stay motivated on your fitness journey.
Make the most of your Fitbit experience by exploring additional features offered by the app, such as challenges, guided workouts, and connecting with friends and family for added motivation and accountability. The Fitbit community is a great source of support and inspiration, helping you stay focused and committed to your health and fitness goals.
Lastly, don’t forget to take care of your Fitbit tracker by keeping it charged, cleaning it regularly, and ensuring it is properly fitted for accurate tracking. By maintaining your Fitbit device, you can optimize its performance and longevity.
So, what are you waiting for? Start syncing your Fitbit device to your Android device and embark on your fitness journey today. Make every step count, stay active, and celebrate your progress along the way. With Fitbit and your Android device on your side, you have all the tools you need to achieve a healthy and balanced lifestyle.
Happy tracking and best of luck on your fitness endeavors!