Introduction
Welcome to this guide on how to sync your Corsair RAM with Aura Sync! If you’re a PC enthusiast or gamer looking to enhance the aesthetic appeal of your computer system, combining Corsair RAM with Aura Sync can provide a stunning visual experience. Aura Sync is a software developed by ASUS that allows you to synchronize the RGB lighting effects on various components of your PC.
Corsair, on the other hand, is a renowned manufacturer known for their high-quality RAM modules. By syncing Corsair RAM with Aura Sync, you can create a cohesive and visually pleasing lighting setup that matches your personal style or complements your gaming setup.
In this guide, we’ll take you through the step-by-step process of syncing your Corsair RAM with Aura Sync. Before we begin, it’s important to note that the compatibility of these components will play a crucial role in ensuring a seamless integration.
We’ll cover the installation and configuration of Corsair’s iCUE software, which acts as the control hub for their RGB peripherals. Additionally, we’ll walk you through downloading and installing Aura Sync, allowing you to connect and control the RGB lighting effects on your Corsair RAM modules.
Whether you’re looking to create a mesmerizing light show or simply want your RAM to match the rest of your RGB setup, this guide will provide you with the necessary steps and troubleshooting tips to achieve your desired result. So, let’s dive in and bring your Corsair RAM and Aura Sync together in perfect harmony!
Understanding Corsair RAM and Aura Sync
Before we delve into the process of syncing Corsair RAM with Aura Sync, it’s important to familiarize ourselves with these two components.
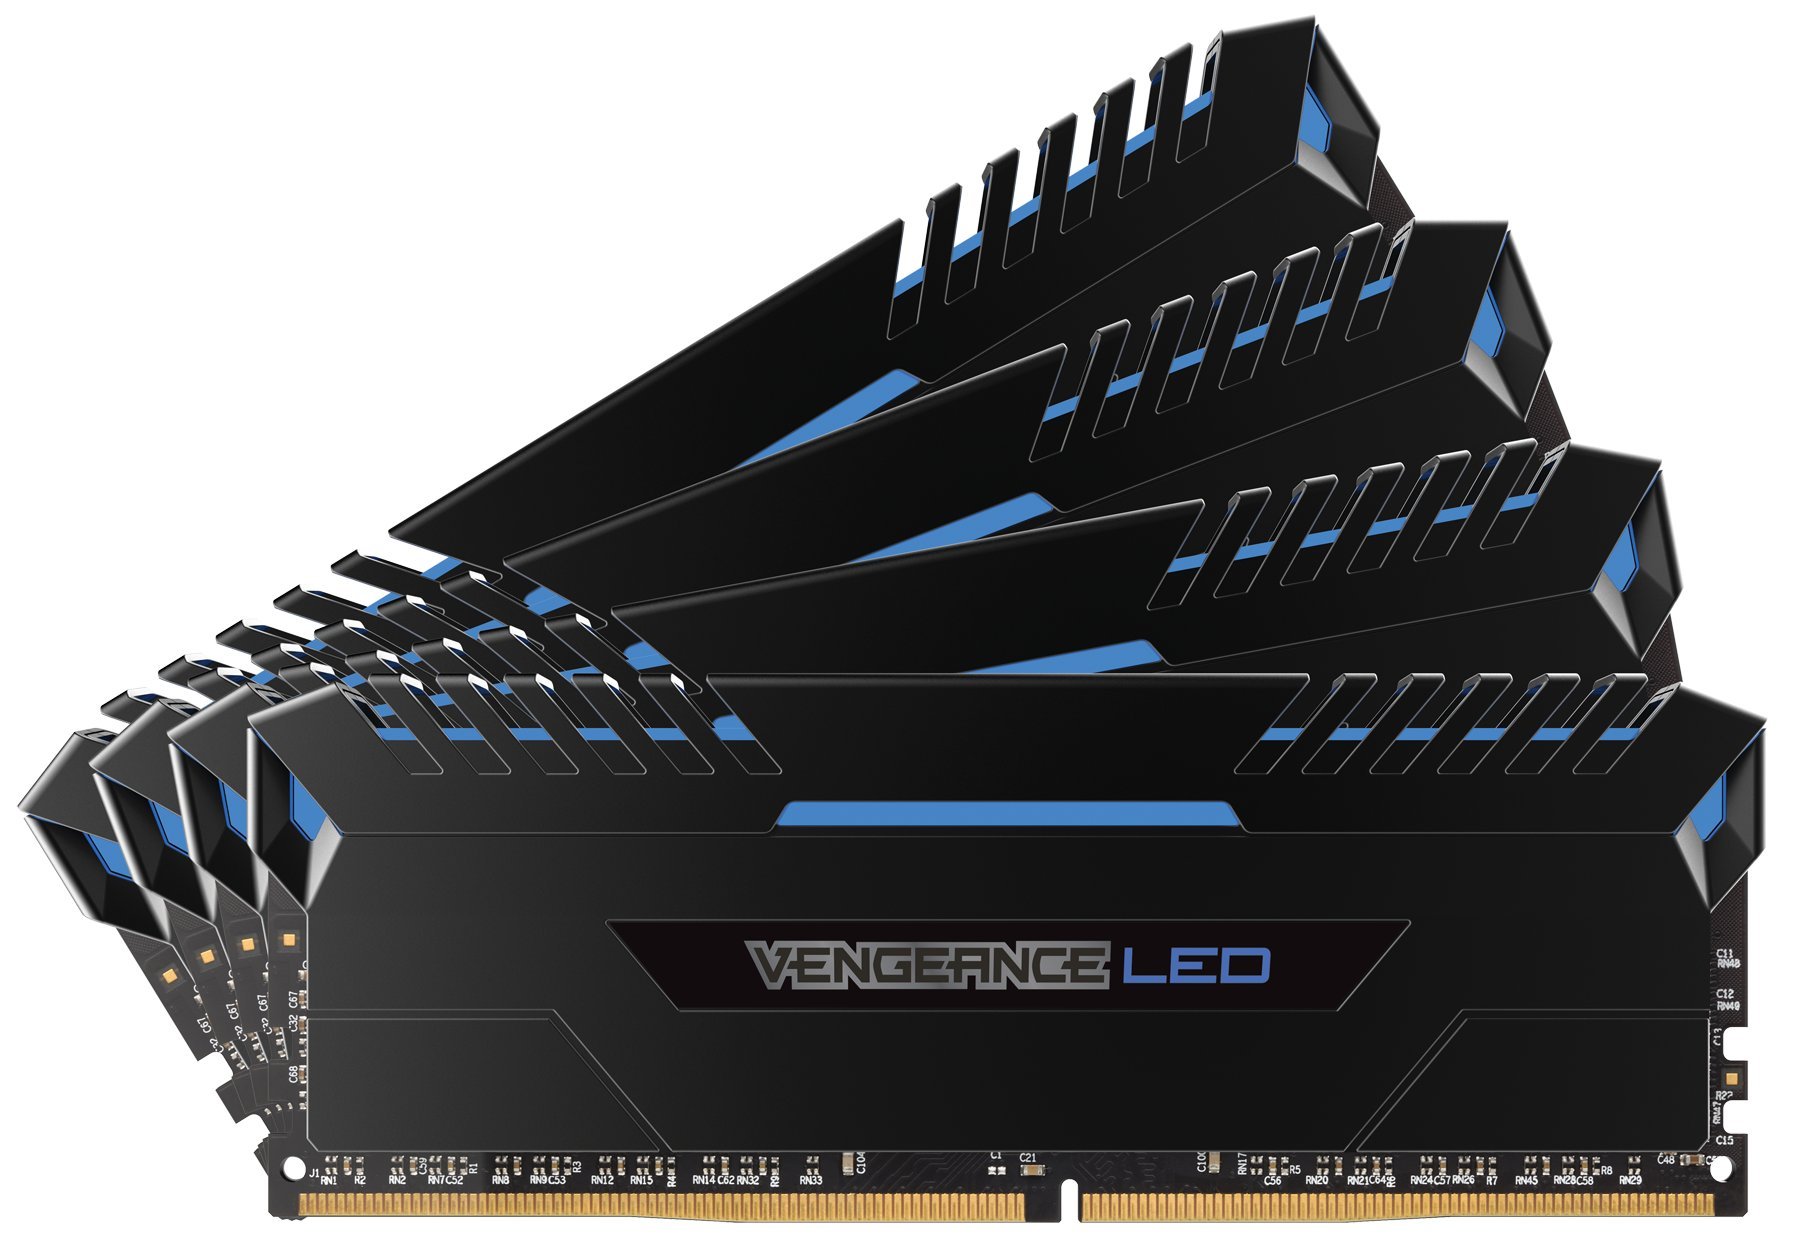
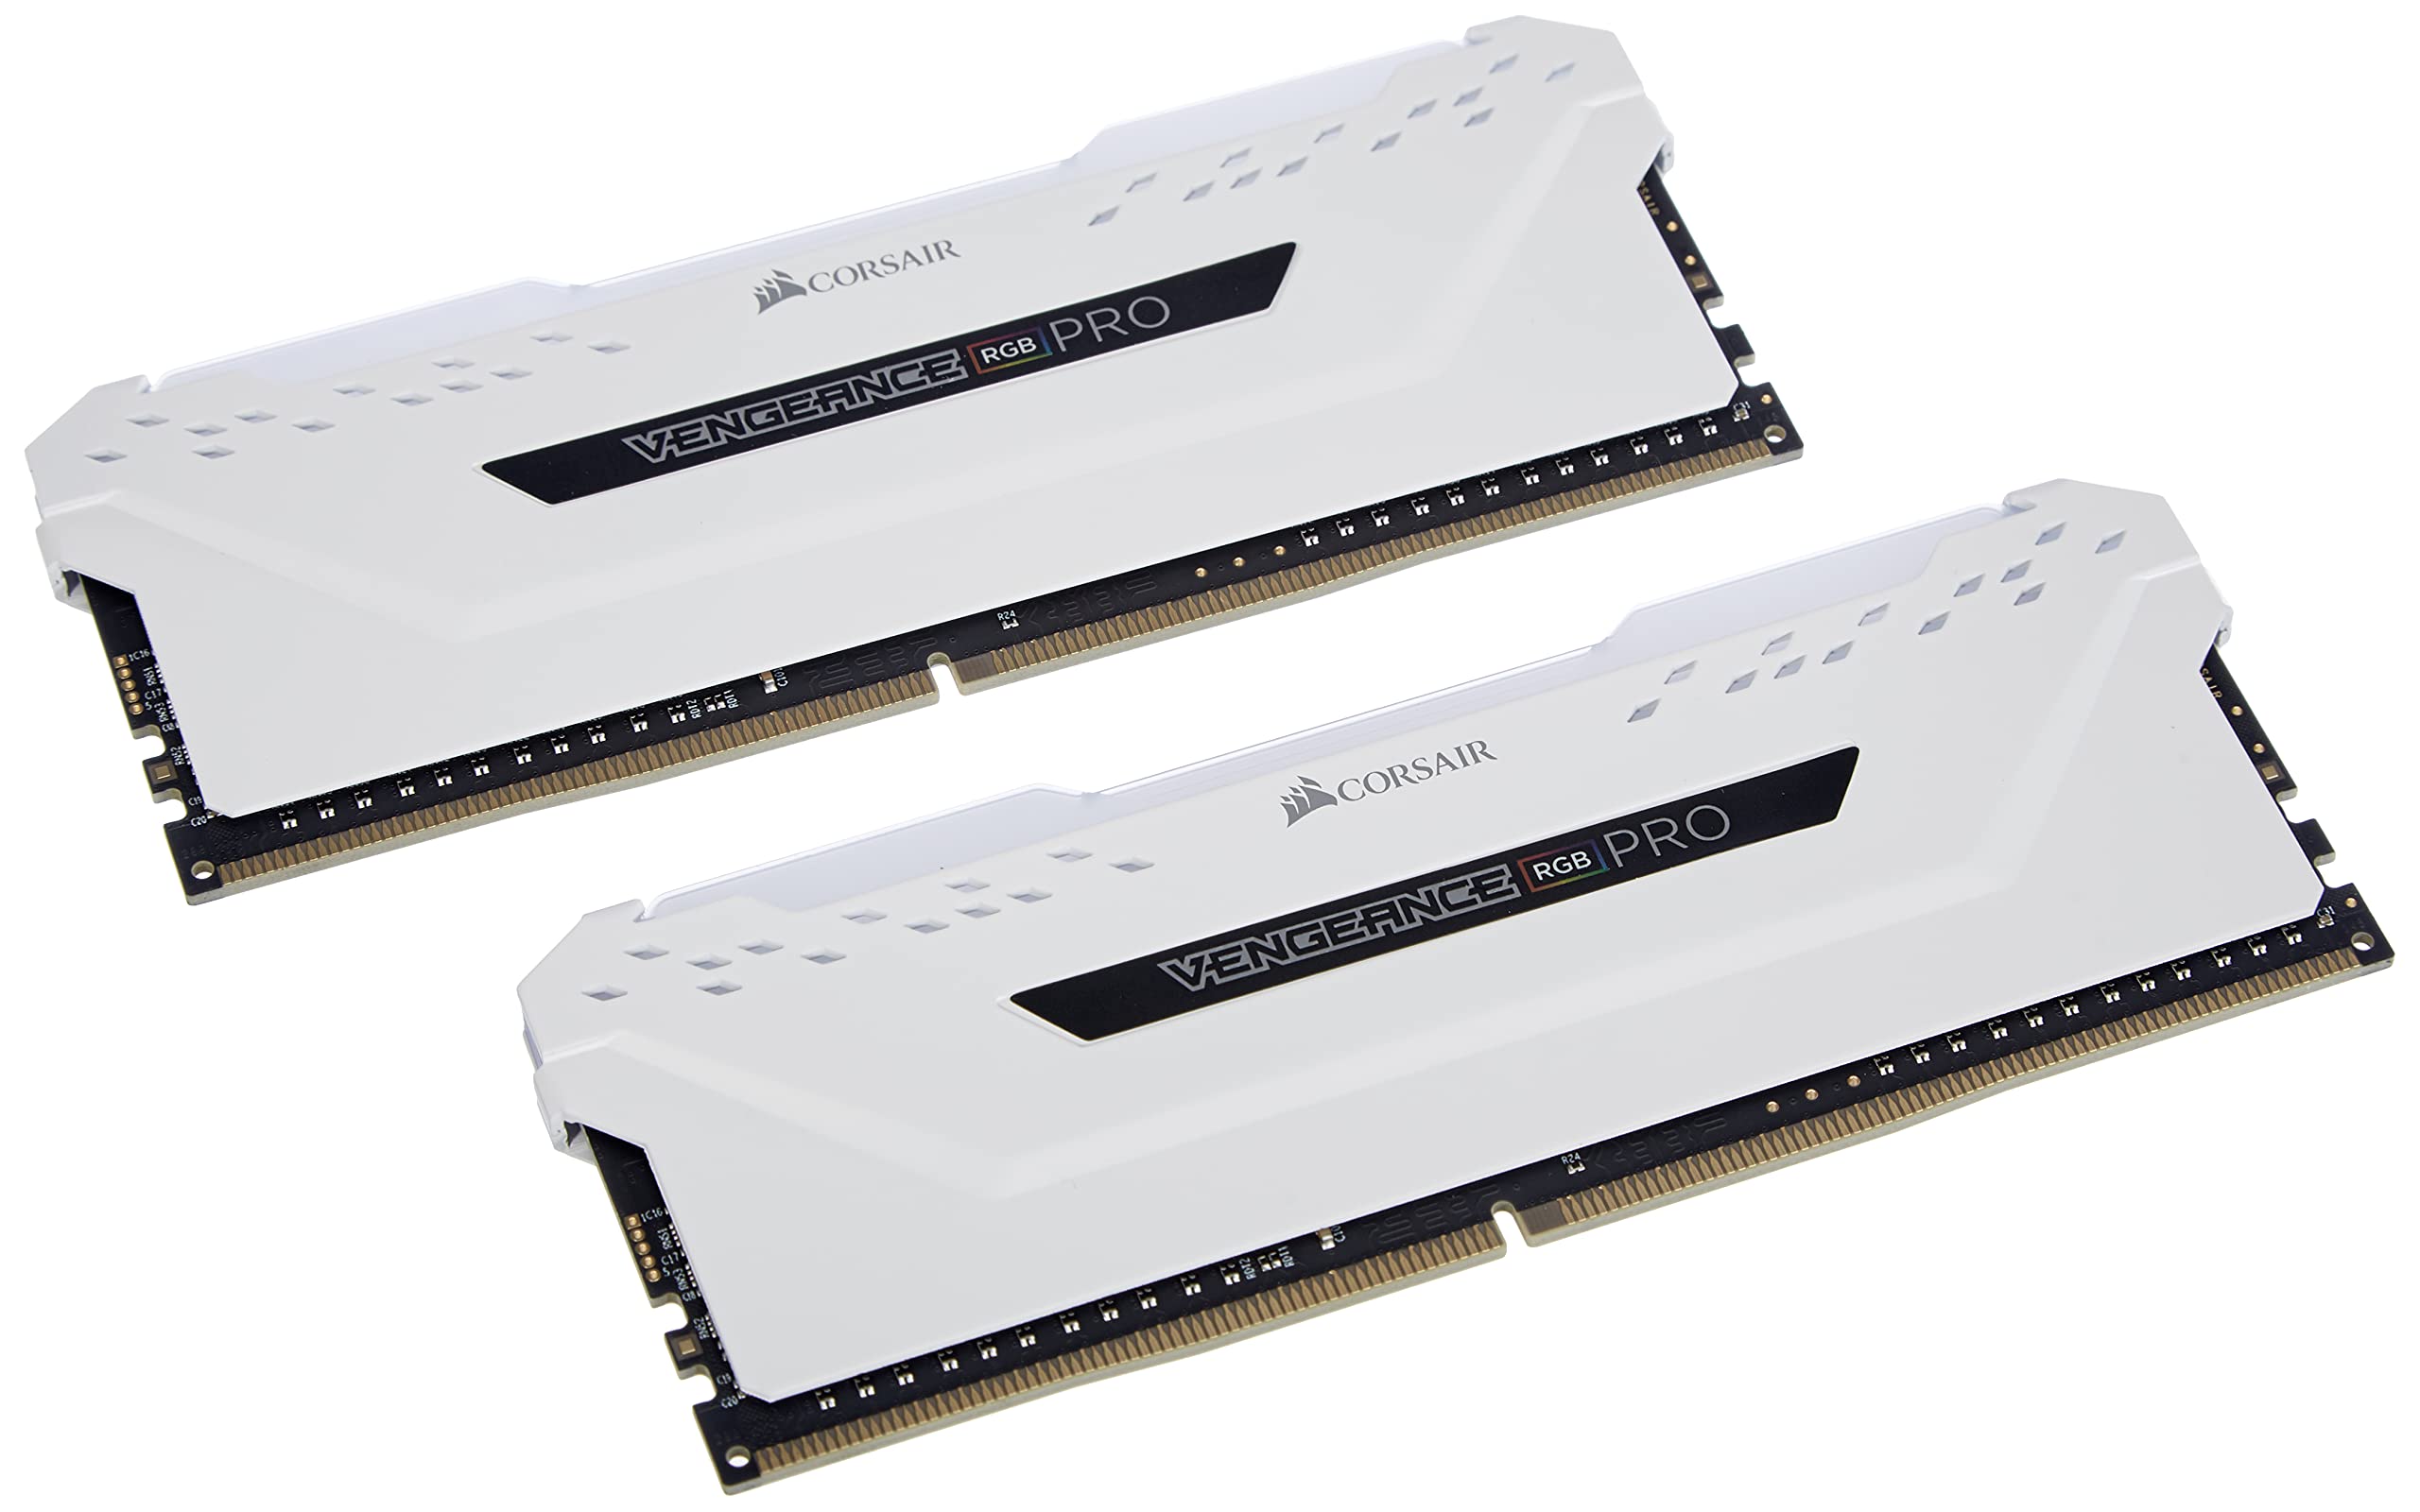
Corsair RAM refers to the memory modules manufactured by Corsair. Apart from providing reliable and high-performance memory for your PC, Corsair RAM also comes with RGB lighting features. These lighting effects can be customized to create stunning visuals that add a touch of personality to your computer system.
Aura Sync, on the other hand, is a software developed by ASUS to control and synchronize the RGB lighting effects on various components of your PC. This software allows you to create captivating lighting setups by synchronizing the RGB effects across compatible ASUS and third-party hardware.
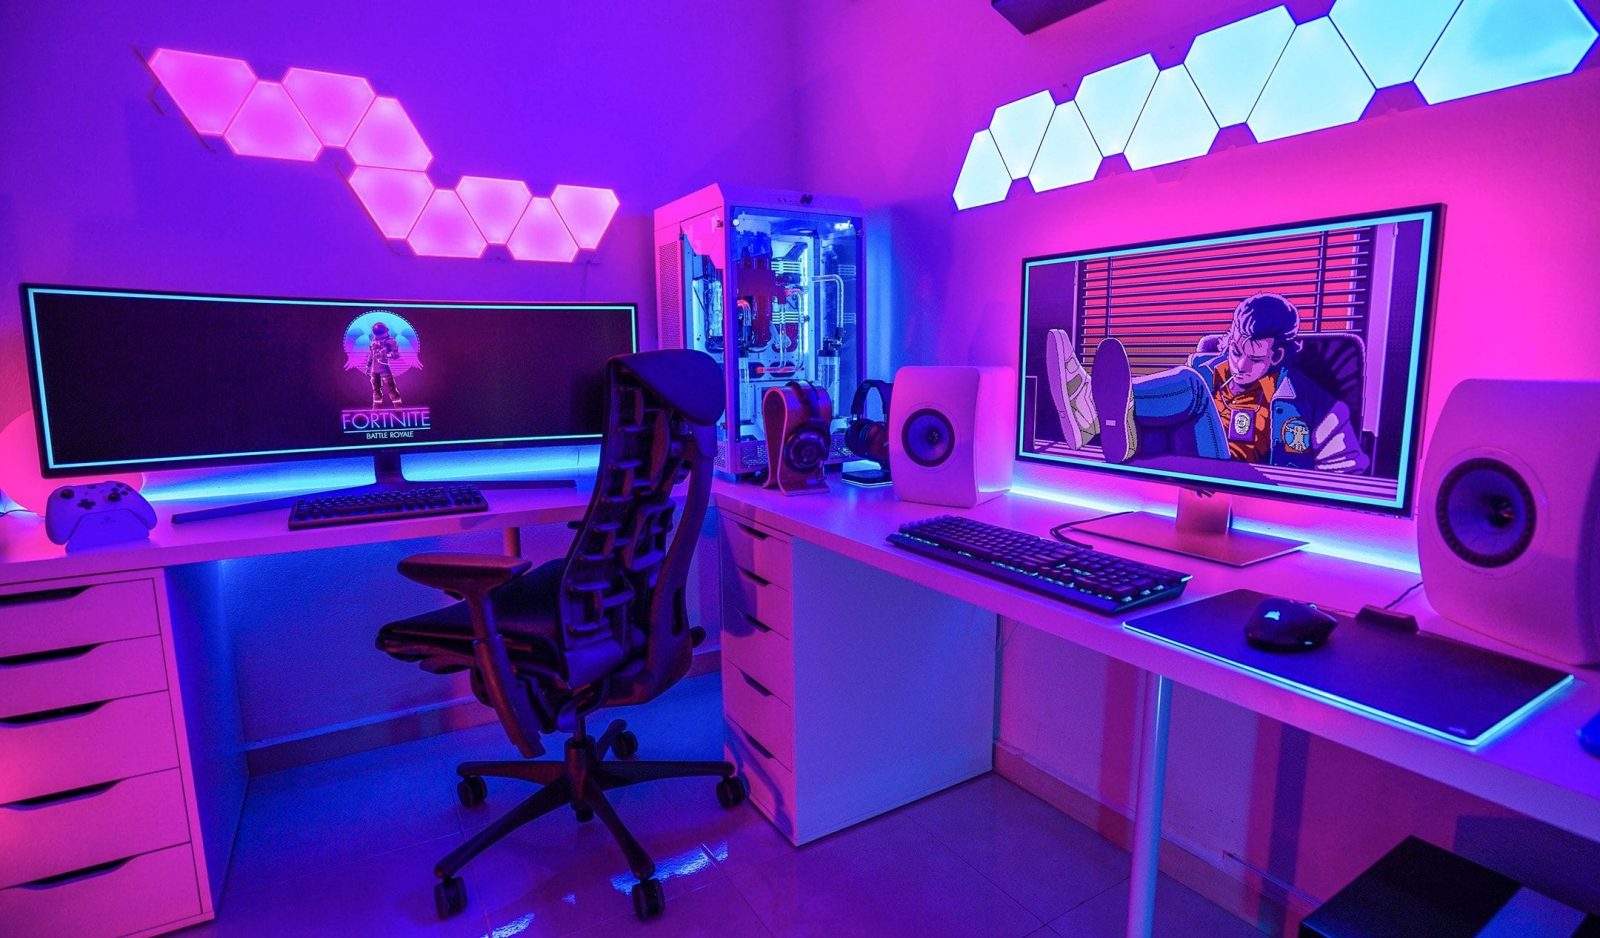
By syncing your Corsair RAM modules with Aura Sync, you can achieve a harmonious lighting experience where the colors and effects seamlessly blend together. This integration allows you to control and customize the lighting on your Corsair RAM alongside other RGB components of your PC, such as ASUS motherboards, graphics cards, and peripherals.
Both Corsair RAM and Aura Sync offer extensive customization options. You can choose from a wide range of colors, effects, and even synchronize the lighting to react dynamically with your PC’s performance or audio output. Whether you prefer a subtle and elegant lighting setup or a vibrant and eye-catching display, the combination of Corsair RAM and Aura Sync provides you with the flexibility to create your desired ambiance.
It is worth noting that the compatibility between Corsair RAM and Aura Sync is an essential factor to consider. While Corsair RAM modules typically come with their own software control, syncing them with Aura Sync requires additional steps. These steps involve installing Corsair’s iCUE software, which acts as an intermediary between Corsair RAM and Aura Sync, ensuring smooth communication and synchronization.
Now that we have a better understanding of Corsair RAM and Aura Sync, let’s move on to the step-by-step process of syncing these components to achieve a visually stunning lighting setup on your PC.
Step 1: Checking Compatibility
Before you begin the process of syncing your Corsair RAM with Aura Sync, it’s crucial to ensure that both components are compatible with each other. Checking compatibility will save you time and frustration down the line, allowing for a seamless integration of the RGB lighting effects.
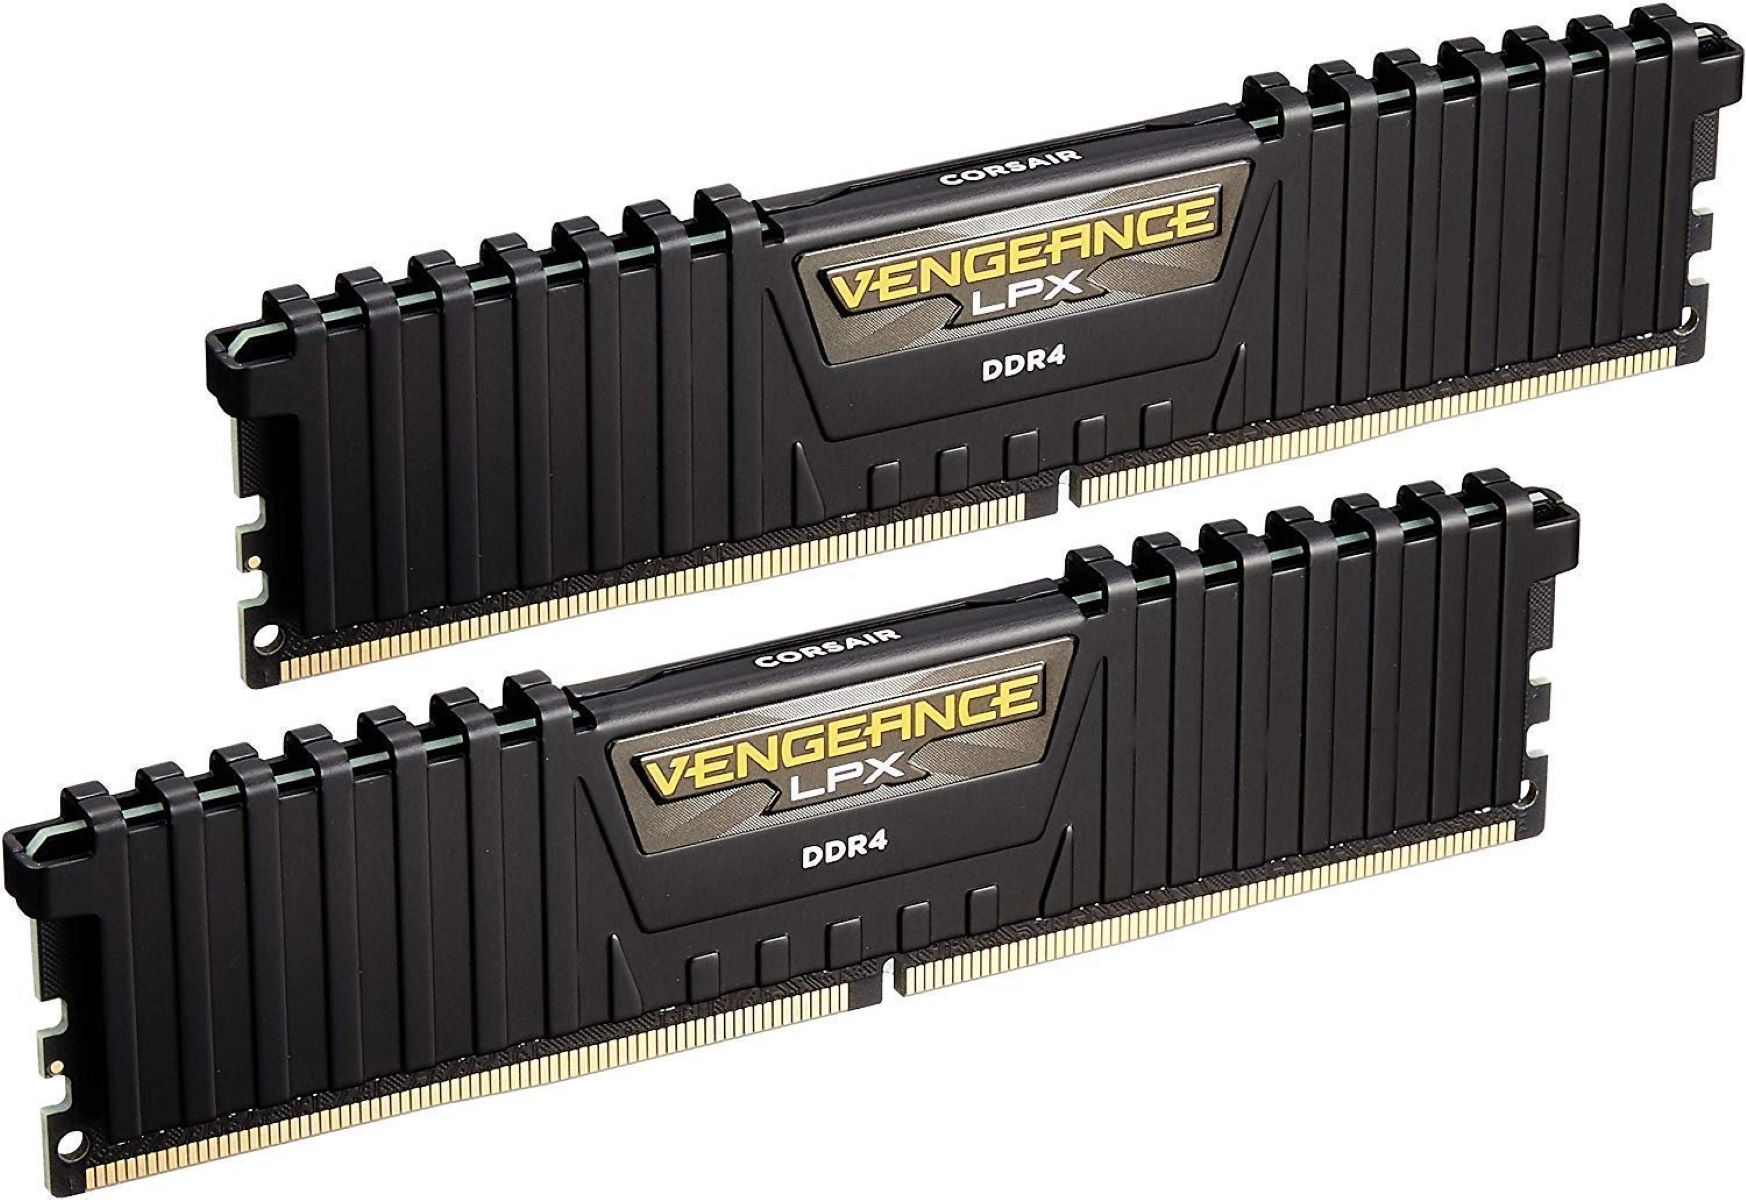
Firstly, make sure that your Corsair RAM modules have RGB lighting capabilities. Not all Corsair RAM models come with RGB lighting, so double-check the specifications of your RAM modules to confirm their compatibility. If your modules do not have RGB lighting, unfortunately, they cannot be synced with Aura Sync.
Next, ensure that your motherboard supports Aura Sync. Aura Sync is developed by ASUS, so compatibility with Aura Sync is typically found on ASUS motherboards. Check your motherboard’s specifications either in the user manual or on the manufacturer’s website to verify if it supports Aura Sync. If your motherboard does not support Aura Sync, you won’t be able to sync your Corsair RAM with it.
Additionally, check if your Corsair RAM modules are compatible with Corsair’s iCUE software. iCUE serves as the bridge between Corsair RAM and Aura Sync, enabling the synchronization of the RGB lighting effects. Refer to the Corsair website or the documentation that accompanies your RAM modules to determine if they support iCUE.
Once you’ve confirmed the compatibility of your Corsair RAM modules, Aura Sync support on your motherboard, and iCUE compatibility, you’re ready to proceed with the syncing process.
Remember that compatibility requirements may differ based on the specific models and versions of Corsair RAM, Aura Sync, and motherboards. It’s always best to consult the official documentation or reach out to the manufacturers for any additional guidance or clarification.
With the compatibility check done, you can now move on to the next step, which involves installing and setting up Corsair’s iCUE software.
Step 2: Installing Corsair’s iCUE Software
To sync your Corsair RAM with Aura Sync, you’ll need to install Corsair’s iCUE software. iCUE acts as the control center for all Corsair RGB peripherals, including RAM modules.
Follow these steps to install iCUE:
- Visit the Corsair website (www.corsair.com) and navigate to the “Downloads” section.
- Search for “iCUE” in the search bar or browse through the available software options until you find iCUE.
- Click on the download link to start the download process.
- Once the download is complete, locate the setup file in your Downloads folder or wherever you chose to save it.
- Double-click on the setup file to run the installer.
- Follow the on-screen instructions to complete the installation process.
After installing iCUE, you will need to open the software and create an account. Creating an account will allow you to save your lighting profiles and settings, making it easier to sync your Corsair RAM with Aura Sync.
Once you’ve created an account and logged in to iCUE, the software will automatically detect any compatible Corsair RGB peripherals connected to your system. This includes your Corsair RAM modules, which will appear in the iCUE interface.
The installation of iCUE is a crucial step as it enables the communication between your Corsair RAM and Aura Sync. iCUE serves as the intermediary software that allows you to control and synchronize the RGB lighting effects on your Corsair RAM modules.
With iCUE successfully installed, you’re now ready to move on to the next step, which involves downloading and installing Aura Sync.
Step 3: Downloading and Installing Aura Sync
Once you have installed the iCUE software, the next step in syncing your Corsair RAM with Aura Sync is downloading and installing the Aura Sync software developed by ASUS. Aura Sync is responsible for controlling and synchronizing the RGB lighting effects on various components of your PC, including your ASUS motherboard and other compatible peripherals.
Follow these steps to download and install Aura Sync:
- Visit the ASUS support website (www.asus.com/support) and navigate to the “Drivers & Tools” section.
- Select your specific motherboard model from the list provided. Make sure to choose the correct motherboard model to ensure compatibility with Aura Sync.
- In the list of available drivers and software, locate the Aura Sync software and click on the download link.
- Once the download is complete, locate the setup file in your Downloads folder or wherever you chose to save it.
- Double-click on the setup file to run the installer.
- Follow the on-screen instructions to complete the installation process.
After the installation, open the Aura Sync software. You may be prompted to create an ASUS account or log in to an existing account. Creating an account will allow you to access additional features and settings within Aura Sync.
Upon launching Aura Sync, the software will automatically detect any compatible ASUS RGB components connected to your system, including your ASUS motherboard. It will also detect iCUE as an available integration option.
It’s important to note that during the installation process, Aura Sync may prompt you to update your motherboard’s BIOS or firmware. It is recommended to follow the instructions provided by the software to ensure compatibility and optimal performance.
Once you have successfully installed and launched Aura Sync, you’re now ready to proceed with configuring both iCUE and Aura Sync for the syncing process. This configuration step will allow you to establish a connection between your Corsair RAM and Aura Sync, enabling the synchronization of RGB lighting effects.
Now that Aura Sync is installed, let’s move on to the next step, where we’ll configure both iCUE and Aura Sync for seamless synchronization.
Step 4: Configuring iCUE and Aura Sync
With both iCUE and Aura Sync installed on your system, it’s time to configure these software programs to establish a connection and enable the synchronization of your Corsair RAM with Aura Sync.
Follow these steps to configure iCUE and Aura Sync:
- Open the iCUE software. If you haven’t logged in to your iCUE account, do so now.
- In the iCUE interface, locate your Corsair RAM modules that are connected to your system. They should be listed under the “Devices” or “Components” section.
- Select your Corsair RAM modules and click on the option to enable third-party RGB control. This allows iCUE to communicate with Aura Sync.
- Configure the lighting effects, colors, and patterns for your Corsair RAM modules using iCUE. Customize them according to your preferences and desired syncing with Aura Sync.
- Once you have configured the lighting effects in iCUE, save the settings by creating a lighting profile. This profile will be used later during the syncing process.
- Next, open the Aura Sync software. If prompted, log in to your ASUS account.
- In the Aura Sync interface, locate the option to enable iCUE integration or third-party software control.
- Enable the integration with iCUE and allow Aura Sync to access and control your Corsair RAM modules.
- Configure the lighting effects and settings for other Aura Sync-compatible components connected to your system, such as your ASUS motherboard or graphics card.
- Ensure that the lighting effects and settings in Aura Sync align with the profiles and configurations you created in iCUE.
- Once you have finished configuring both iCUE and Aura Sync, save the settings and exit the software programs.
By configuring iCUE and Aura Sync, you have established the necessary connection and compatibility between your Corsair RAM modules and Aura Sync. The configurations you set in both software programs will ensure the synchronization of RGB lighting effects, allowing your Corsair RAM to seamlessly match the lighting effects of your other Aura Sync-compatible components.
Now that iCUE and Aura Sync are configured, let’s move on to the final step, where we’ll sync your Corsair RAM modules with Aura Sync.
Step 5: Syncing Corsair RAM with Aura
Now that you have iCUE and Aura Sync configured, it’s time to sync your Corsair RAM modules with Aura Sync to create a harmonious lighting experience. Follow these steps:
- Open both the iCUE and Aura Sync software programs on your computer.
- In iCUE, select the lighting profile that you created earlier for your Corsair RAM modules.
- In Aura Sync, ensure that the lighting effects and settings are aligned with those in iCUE for the other Aura Sync-compatible components connected to your system.
- Verify that the Corsair RAM modules and other compatible components are listed and detected in both iCUE and Aura Sync interfaces.
- Click on the “Sync” or “Apply” button in both iCUE and Aura Sync to initiate the synchronization process.
- Wait for the syncing process to complete. This may take a few moments as the software programs establish communication and sync the RGB lighting effects between the components.
- Once the synchronization is complete, the lighting effects on your Corsair RAM modules should now be synchronized with the lighting effects on your other Aura Sync-compatible components.
Take the time to review the lighting effects and configurations on all the components to ensure that they match your desired lighting setup. If any adjustments need to be made, you can go back to both iCUE and Aura Sync to modify the lighting profiles and settings accordingly.
Remember to save the changes after making any adjustments to ensure that the settings are retained the next time you power on your computer.
With your Corsair RAM modules successfully synced with Aura Sync, you can now enjoy a visually stunning lighting display that seamlessly blends with the lighting effects of your other Aura Sync-compatible components.
Congratulations! You have successfully completed the process of syncing your Corsair RAM with Aura Sync. Take a moment to admire your newly synchronized lighting setup.
If you encounter any difficulties during the syncing process or if the lighting effects do not sync as expected, refer to the troubleshooting section in the next portion of this guide for common issues and solutions.
Troubleshooting Common Issues
While syncing your Corsair RAM with Aura Sync can result in a mesmerizing lighting experience, you may encounter some common issues along the way. Here are a few troubleshooting tips to help you resolve them:
1. Lack of Sync or Mismatched Colors: If the lighting effects on your Corsair RAM modules do not sync with the other Aura Sync-compatible components, or if the colors appear mismatched, ensure that you have correctly configured the settings in both iCUE and Aura Sync. Make sure that the lighting profiles and effects are aligned and that both software programs have successfully detected and connected to the components.
2. Missing Corsair RAM Modules: If your Corsair RAM modules are not listed or detected in either iCUE or Aura Sync, double-check the connections of your RAM modules. Ensure that they are properly seated in the RAM slots and that the RGB connectors are securely plugged in. Additionally, confirm that your RAM modules are compatible with both iCUE and Aura Sync.
3. Software Compatibility: Ensure that you have the latest versions of both iCUE and Aura Sync installed. Outdated software versions may cause compatibility issues and prevent proper syncing. Visit the official websites of Corsair and ASUS to download the latest software updates and drivers for your components.
4. Driver and Firmware Updates: Regularly check for driver and firmware updates for your Corsair RAM, motherboard, and other Aura Sync-compatible components. Outdated drivers or firmware can hinder the synchronization process. Visit the respective manufacturer’s websites for the latest updates and follow the provided instructions to install them.
5. Restarting Your System: If you’re encountering issues with syncing, try restarting your computer. Sometimes, a simple restart can resolve minor software glitches and help establish proper communication between the components.
6. Support and Troubleshooting Guides: If you continue to experience difficulties, consult the official support and troubleshooting guides provided by Corsair and ASUS. These resources offer detailed instructions and solutions for common issues encountered while syncing Corsair RAM with Aura Sync. You can usually find these guides on the respective manufacturer’s websites.
If, after trying the above troubleshooting tips, you are still unable to sync your Corsair RAM with Aura Sync, consider reaching out to the manufacturer’s customer support for further assistance. They can provide more specific guidance and help you resolve any technical issues you may be facing.
Remember, patience and persistence are key when troubleshooting. With some troubleshooting and adjustments, you’ll be able to achieve the stunning RGB synchronization you desire.
Conclusion
Congratulations on successfully syncing your Corsair RAM with Aura Sync! Through the step-by-step process outlined in this guide, you’ve learned how to bring together the powerful features of both Corsair RAM and Aura Sync to create a visually captivating lighting experience for your computer system.
By checking compatibility, installing iCUE software, downloading and installing Aura Sync, configuring both software programs, and finally syncing your Corsair RAM with Aura Sync, you’ve unlocked the potential for seamless RGB lighting synchronization across your components.
Remember to regularly check for updates for both iCUE and Aura Sync to ensure the latest features and compatibility with your components. Updating drivers and firmware will also optimize the performance and stability of your system.
If you encounter any issues during the syncing process, refer back to our troubleshooting section for common problems and solutions. Don’t hesitate to reach out to the customer support of Corsair or ASUS for further assistance.
Now, sit back and enjoy the stunning lighting display on your Corsair RAM modules, perfectly synchronized with the rest of your Aura Sync-compatible components. Customize the lighting effects, experiment with different colors and patterns, and bring your computer system to life with your personal touch.
Thank you for following this guide and investing time in enhancing the visual appeal of your PC. With your newly synced Corsair RAM and Aura Sync, your computer system is now a true reflection of your style and creativity.
Happy gaming and computing!