Introduction
Graphics cards and onboard graphics are essential components of a computer’s visual display system. Graphics cards, also known as video cards or GPUs (Graphics Processing Units), are dedicated hardware devices designed to handle rendering and processing complex graphics. On the other hand, onboard graphics, also referred to as integrated graphics, are built-in graphics chips embedded within the motherboard of a computer.
Both graphics cards and onboard graphics have their own set of advantages and limitations. Graphics cards are known for their powerful performance, as they are specifically designed for handling demanding tasks such as gaming, video editing, and graphic design. On the other hand, onboard graphics provide basic functionality, suitable for everyday tasks such as web browsing, document editing, and multimedia playback.
There may be situations where you might want to switch from using a graphics card to utilizing the onboard graphics of your computer. This could be due to various reasons, including troubleshooting graphics card issues, conserving power, or testing the performance of the onboard graphics.
Before proceeding with the process of switching from a graphics card to onboard graphics, it is important to ensure that your computer’s motherboard supports onboard graphics. Some older or budget-oriented motherboards might not have integrated graphics capabilities. You can usually check this information in the motherboard’s documentation or by visiting the manufacturer’s website for specifications.
In this article, we will explore the steps to switch from a graphics card to onboard graphics. We will guide you through the process of disabling the graphics card and enabling the onboard graphics. Additionally, we will discuss how to adjust display settings and troubleshoot any potential issues that may arise during the transition.
By following the instructions provided in this article, you will be able to effectively utilize the onboard graphics of your computer, providing an alternative option for displaying visuals and conserving resources when necessary.
Overview of Graphics Cards and Onboard Graphics
Graphics cards play a vital role in enabling high-quality visuals and smooth performance in tasks that require intensive graphics processing. They are dedicated hardware components that have their own processing units, memory, and interfaces to connect to the motherboard and display devices. Graphics cards come in various forms, ranging from entry-level options to high-end gaming and professional-grade models.
On the other hand, onboard graphics, also known as integrated graphics, are built-in graphics processors embedded within the computer’s motherboard. Integrated graphics utilize system memory instead of having dedicated memory like graphics cards. They are typically more basic in terms of performance but are sufficient for everyday computing tasks and less demanding graphics requirements.
Graphics cards are favored by gamers, graphic designers, and video editors who demand high frame rates, realistic details, and smooth gameplay. The dedicated GPU on a graphics card offloads the graphics processing from the CPU, resulting in better performance and visual fidelity. They also offer support for advanced technologies such as ray tracing, virtual reality, and multiple-monitor setups.
In contrast, onboard graphics are more commonly found in entry-level or budget-oriented computers. They provide basic graphics capabilities suitable for tasks such as web browsing, document editing, and media playback. Integrated graphics are an economical option for users who don’t require advanced graphics performance and prefer a more power-efficient and cost-effective solution.
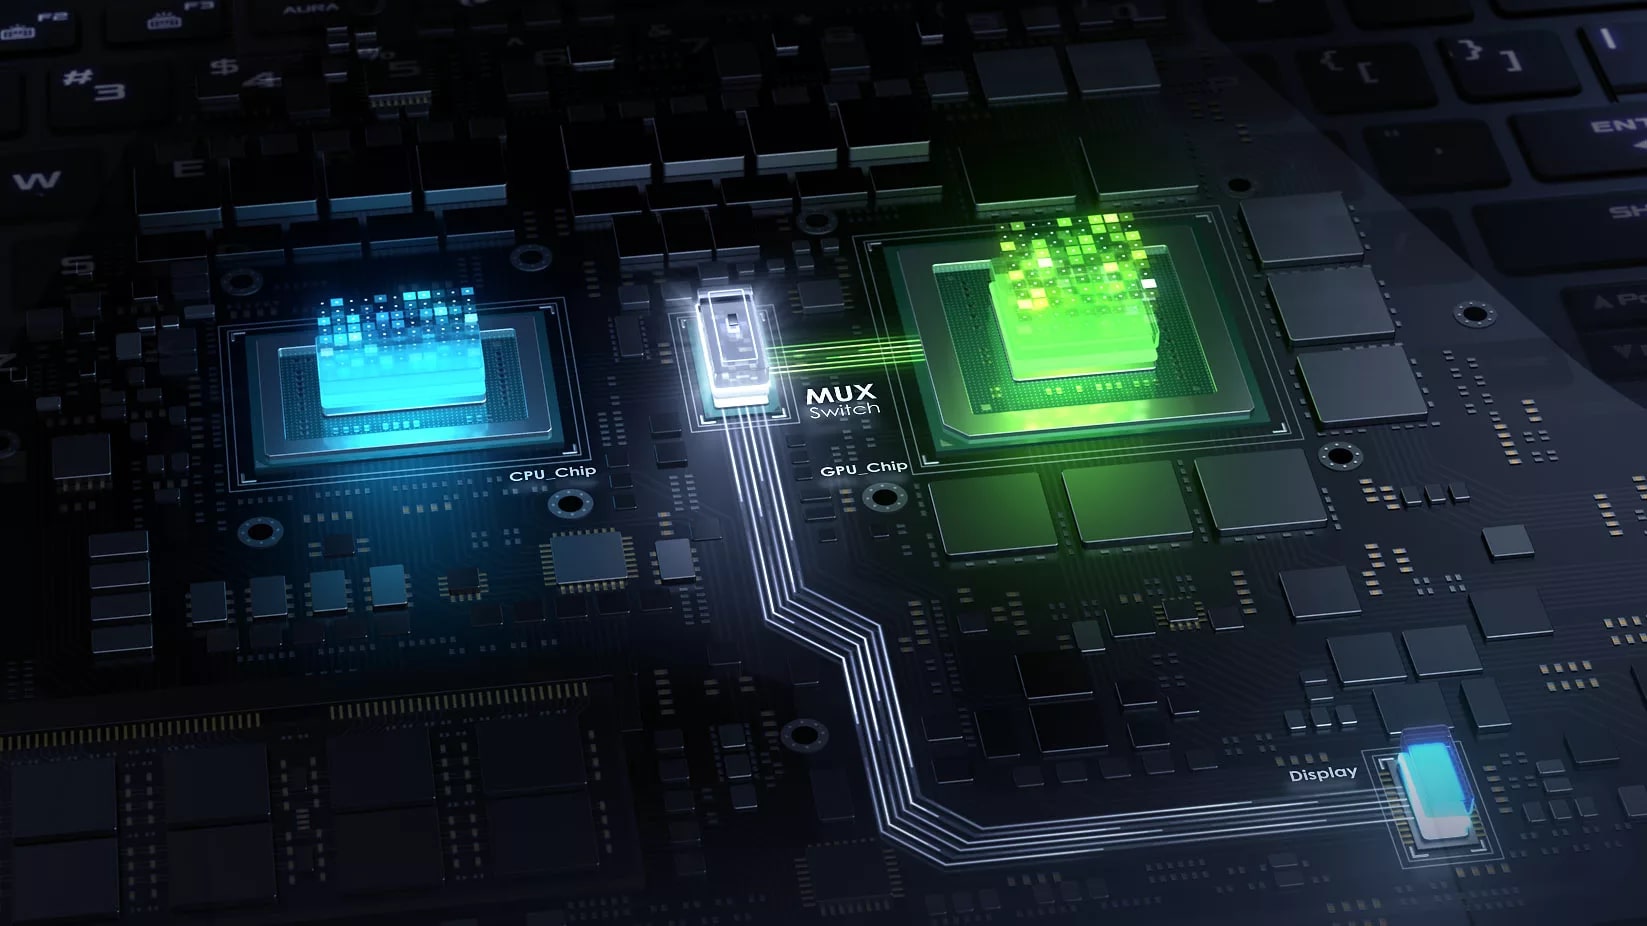
It’s worth noting that some computers come equipped with both a graphics card and onboard graphics. In this case, the computer can automatically switch between the two depending on the application being used. This feature called “hybrid graphics” provides a balance between power consumption and performance, letting you switch to the dedicated graphics card for demanding tasks and revert to onboard graphics for everyday use.
When comparing graphics cards and onboard graphics, there are a few key factors to consider:
- Performance: Graphics cards offer more powerful performance, especially for resource-intensive applications like gaming and 3D rendering. Onboard graphics, while less powerful, are sufficient for basic tasks and light multimedia usage.
- Upgradeability: Graphics cards can be upgraded easily by replacing them with more advanced models, allowing for improved performance and compatibility with the latest technologies. Onboard graphics, however, cannot be upgraded as they are integrated into the motherboard.
- Power Consumption: Graphics cards tend to consume more power due to their dedicated processing units and memory. Onboard graphics, on the other hand, consume less power as they utilize the system’s resources and do not require additional hardware.
Understanding the differences and capabilities of graphics cards and onboard graphics will help you make an informed decision when it comes to switching between them. The decision should be based on your specific requirements, budget, and the intended usage of your computer.
Reasons to Switch from Graphics Card to Onboard
While graphics cards offer powerful performance and advanced graphics capabilities, there may be situations where you might want to switch from using a graphics card to utilizing the onboard graphics of your computer. Here are some reasons why you might consider making this switch:
- Troubleshooting Graphics Card Issues: If you are experiencing issues with your graphics card, such as display artifacts, driver problems, or system crashes, switching to onboard graphics can help determine if the problem lies with the graphics card itself. By disabling the graphics card temporarily and using the onboard graphics, you can troubleshoot and identify any hardware or software-related issues that may be affecting the performance of your system. This can be particularly helpful before investing in a replacement or attempting repairs.
- Power Consumption: Graphics cards consume more power compared to onboard graphics. If you are using your computer for basic tasks that do not require intensive graphics processing, switching to onboard graphics can help reduce power consumption and increase energy efficiency. This can be beneficial for laptops or when operating on battery power, as it can extend battery life.
- Testing the Performance of Onboard Graphics: If you are considering upgrading to a new computer or building a budget-oriented system, testing the capabilities of the onboard graphics can help you determine if it meets your requirements. By switching from the graphics card to onboard graphics temporarily, you can evaluate the performance and suitability of the integrated graphics solution for your specific needs. This can be especially useful for everyday computing, media playback, and light gaming.
- Graphics Card Maintenance: Switching to onboard graphics can also be helpful when performing maintenance tasks on your graphics card, such as cleaning or replacing the cooling system. By temporarily disabling the graphics card and relying on the onboard graphics, you can keep your computer operational while performing necessary maintenance on the dedicated GPU.
- Extending the Lifespan of Graphics Card: Using the onboard graphics for non-intensive tasks can help extend the lifespan of your graphics card. By reducing the workload and heat generated by the graphics card, you can prevent excessive wear and tear, potentially prolonging its overall durability. This can be particularly beneficial if you plan to use the graphics card for demanding applications or gaming in the future.
It’s important to note that switching from a graphics card to onboard graphics may result in a decrease in graphics performance and capabilities. While onboard graphics can handle basic tasks and provide a satisfactory display experience, they are not designed for demanding applications like gaming or professional graphics work. Therefore, it’s crucial to assess your specific needs and requirements before making the decision to switch.
Now that we have explored the reasons to switch from a graphics card to onboard graphics, let’s move on to the next section, where we will discuss how to check the compatibility of your computer’s onboard graphics.
Checking the Compatibility of Onboard Graphics
Before proceeding with the process of switching from a graphics card to onboard graphics, it is essential to ensure that your computer’s motherboard supports onboard graphics. Here are the steps to check the compatibility of your computer’s onboard graphics:
- Check the Motherboard Specifications: The first step is to locate the documentation or specifications for your computer’s motherboard. This information is typically available on the manufacturer’s website or in the user manual that came with your computer. Look for details about the motherboard’s integrated graphics capabilities and supported graphics technologies.
- Identify the Onboard Graphics Chipset: Once you have the motherboard specifications, find the chipset that is responsible for the onboard graphics. This information will help you determine the specific capabilities and limitations of the integrated graphics solution. Common onboard graphics chipsets include Intel HD Graphics, AMD Radeon Graphics, and NVIDIA GeForce.
- Visit the Manufacturer’s Website: Go to the website of the manufacturer of the onboard graphics chipset. Look for the section dedicated to that chipset and search for information on compatibility, supported resolutions, and additional features. It’s important to ensure that your operating system is supported by the onboard graphics drivers provided by the manufacturer.
- Check System Requirements: Review the system requirements provided by the chipset manufacturer to confirm that your computer meets the necessary criteria for using the onboard graphics. This may include minimum memory requirements, available PCI slots, or BIOS updates that need to be installed.
- Update Graphics Drivers: Ensure that you have the latest drivers for the onboard graphics chipset. Visit the manufacturer’s website and download and install the most recent drivers compatible with your operating system. Outdated drivers can cause compatibility issues or limit the functionality of the onboard graphics.
By following these steps, you can determine if your computer’s motherboard supports onboard graphics and whether it is compatible with your intended usage. Checking the compatibility of onboard graphics is crucial to ensure smooth functionality and optimal performance when making the switch from a graphics card.
In the next section, we will discuss the steps to disable the graphics card and enable the onboard graphics, allowing you to effectively utilize the integrated graphics solution of your computer.
Steps to Disable the Graphics Card
When switching from a graphics card to onboard graphics, the first step is to disable the graphics card to prevent it from being used by the system. Here are the steps to disable the graphics card:
- Access Device Manager: Right-click on the Start menu or press Windows key + X to open the Power User menu. From the menu, select “Device Manager” to open the Device Manager window.
- Locate the Graphics Card: In the Device Manager window, expand the “Display adapters” category. This will display a list of the graphics devices installed on your computer. Locate your graphics card from the list.
- Disable the Graphics Card: Right-click on the graphics card name and select “Disable device” from the context menu. A warning message might appear, notifying you that disabling the device will stop it from functioning. Confirm the action by clicking “Yes” or “Disable” to disable the graphics card.
- Reboot the Computer: After disabling the graphics card, it is recommended to reboot your computer. This will ensure that the changes take effect and the operating system recognizes the disabled graphics card.
Once the graphics card is disabled, the system will automatically switch to using the onboard graphics as the default display device. This allows you to utilize the integrated graphics solution of your computer for everyday tasks and less demanding applications.
It’s important to note that some computers might have additional steps or specific BIOS settings required to disable the graphics card. In such cases, refer to the manufacturer’s documentation or support website for detailed instructions on how to disable the graphics card for your specific computer model.
With the graphics card successfully disabled, let’s move on to the next section, where we will discuss the steps to enable the onboard graphics and adjust the display settings accordingly.
Enabling Onboard Graphics
Once you have disabled the graphics card, you can proceed with enabling the onboard graphics to make it the default display device. Here are the steps to enable the onboard graphics:
- Access BIOS/UEFI Settings: Restart your computer and access the BIOS (Basic Input/Output System) or UEFI (Unified Extensible Firmware Interface) settings. The key to access these settings varies depending on the manufacturer and computer model. Common keys include F12, Del, Esc, or F2. Refer to your computer’s documentation or manufacturer’s website for the specific key required to access the BIOS/UEFI settings.
- Navigate to Graphics/Display Settings: Once you are in the BIOS/UEFI settings, navigate to the section related to graphics or display settings. Look for an option that allows you to select the primary graphics device or set the display adapter mode.
- Select Onboard Graphics: Within the graphics/display settings, locate the option to choose the primary graphics device. Select the option that refers to onboard graphics or integrated graphics. This will set the onboard graphics as the default display device for your computer.
- Save and Exit: After selecting the onboard graphics as the primary device, save the changes made in the BIOS/UEFI settings and exit the settings menu. This will restart your computer with the onboard graphics enabled as the default display device.
Once your computer reboots, it should automatically detect and utilize the onboard graphics for displaying visuals. You can confirm this by checking the Device Manager and verifying that the disabled graphics card is no longer listed under the “Display adapters” category.
It’s important to note that some computers might require additional steps or have specific BIOS/UEFI settings that need to be configured to enable the onboard graphics. If you are unsure about the process or encounter any difficulties, refer to the manufacturer’s documentation or support website for detailed instructions specific to your computer model.
With the onboard graphics successfully enabled, let’s move on to the next section, where we will discuss how to adjust the display settings to optimize the performance and visual experience when using the onboard graphics.
Adjusting Display Settings
After enabling the onboard graphics as the default display device, you may need to adjust the display settings to optimize the performance and visual experience. Here are some essential settings to consider:
- Resolution: Set the screen resolution to the desired level. Right-click on the desktop and select “Display settings” (Windows) or choose “System Preferences” followed by “Displays” (Mac). From there, you can choose the appropriate resolution for your monitor.
- Refresh Rate: Adjust the refresh rate of the display to ensure smooth motion and reduce eye strain. This setting is also found in the display settings of your operating system. Choose a refresh rate that is compatible with your monitor and offers a pleasant viewing experience.
- Color Calibration: Calibrate the colors of your display to ensure accurate and vibrant visuals. Many operating systems offer built-in color calibration tools, or you can use third-party software to fine-tune the color settings for your monitor.
- Multiple Display Setup: If you are using multiple monitors, configure the display settings to extend or duplicate your desktop across the screens. This can be done in the display settings of your operating system or through specific graphics control panel software provided by the chipset manufacturer.
- Driver Updates: Ensure that you have the latest drivers installed for the onboard graphics chipset. Visit the manufacturer’s website and download and install the most recent drivers compatible with your operating system. Up-to-date drivers can improve stability, performance, and compatibility with applications and games.
- Power Management: Adjust the power management settings to optimize power consumption when using the onboard graphics. This can be done from the operating system’s power settings, graphics control panel, or BIOS/UEFI settings. Choose options that balance energy efficiency with performance based on your usage requirements.
By adjusting these display settings, you can ensure that the onboard graphics deliver optimal performance and provide an enjoyable visual experience. Fine-tuning the settings according to your preferences and requirements can greatly enhance your overall computing experience when using the onboard graphics.
If you encounter any issues or have specific display-related requirements, consult the documentation or support resources provided by the motherboard manufacturer or the chipset manufacturer for further assistance and guidance.
With the display settings adjusted, you are now ready to test and troubleshoot the functionality of the onboard graphics, which we will cover in the next section.
Testing and Troubleshooting
Once you have enabled the onboard graphics and adjusted the display settings, it is important to test and troubleshoot to ensure that everything is functioning as expected. Here are some steps you can take:
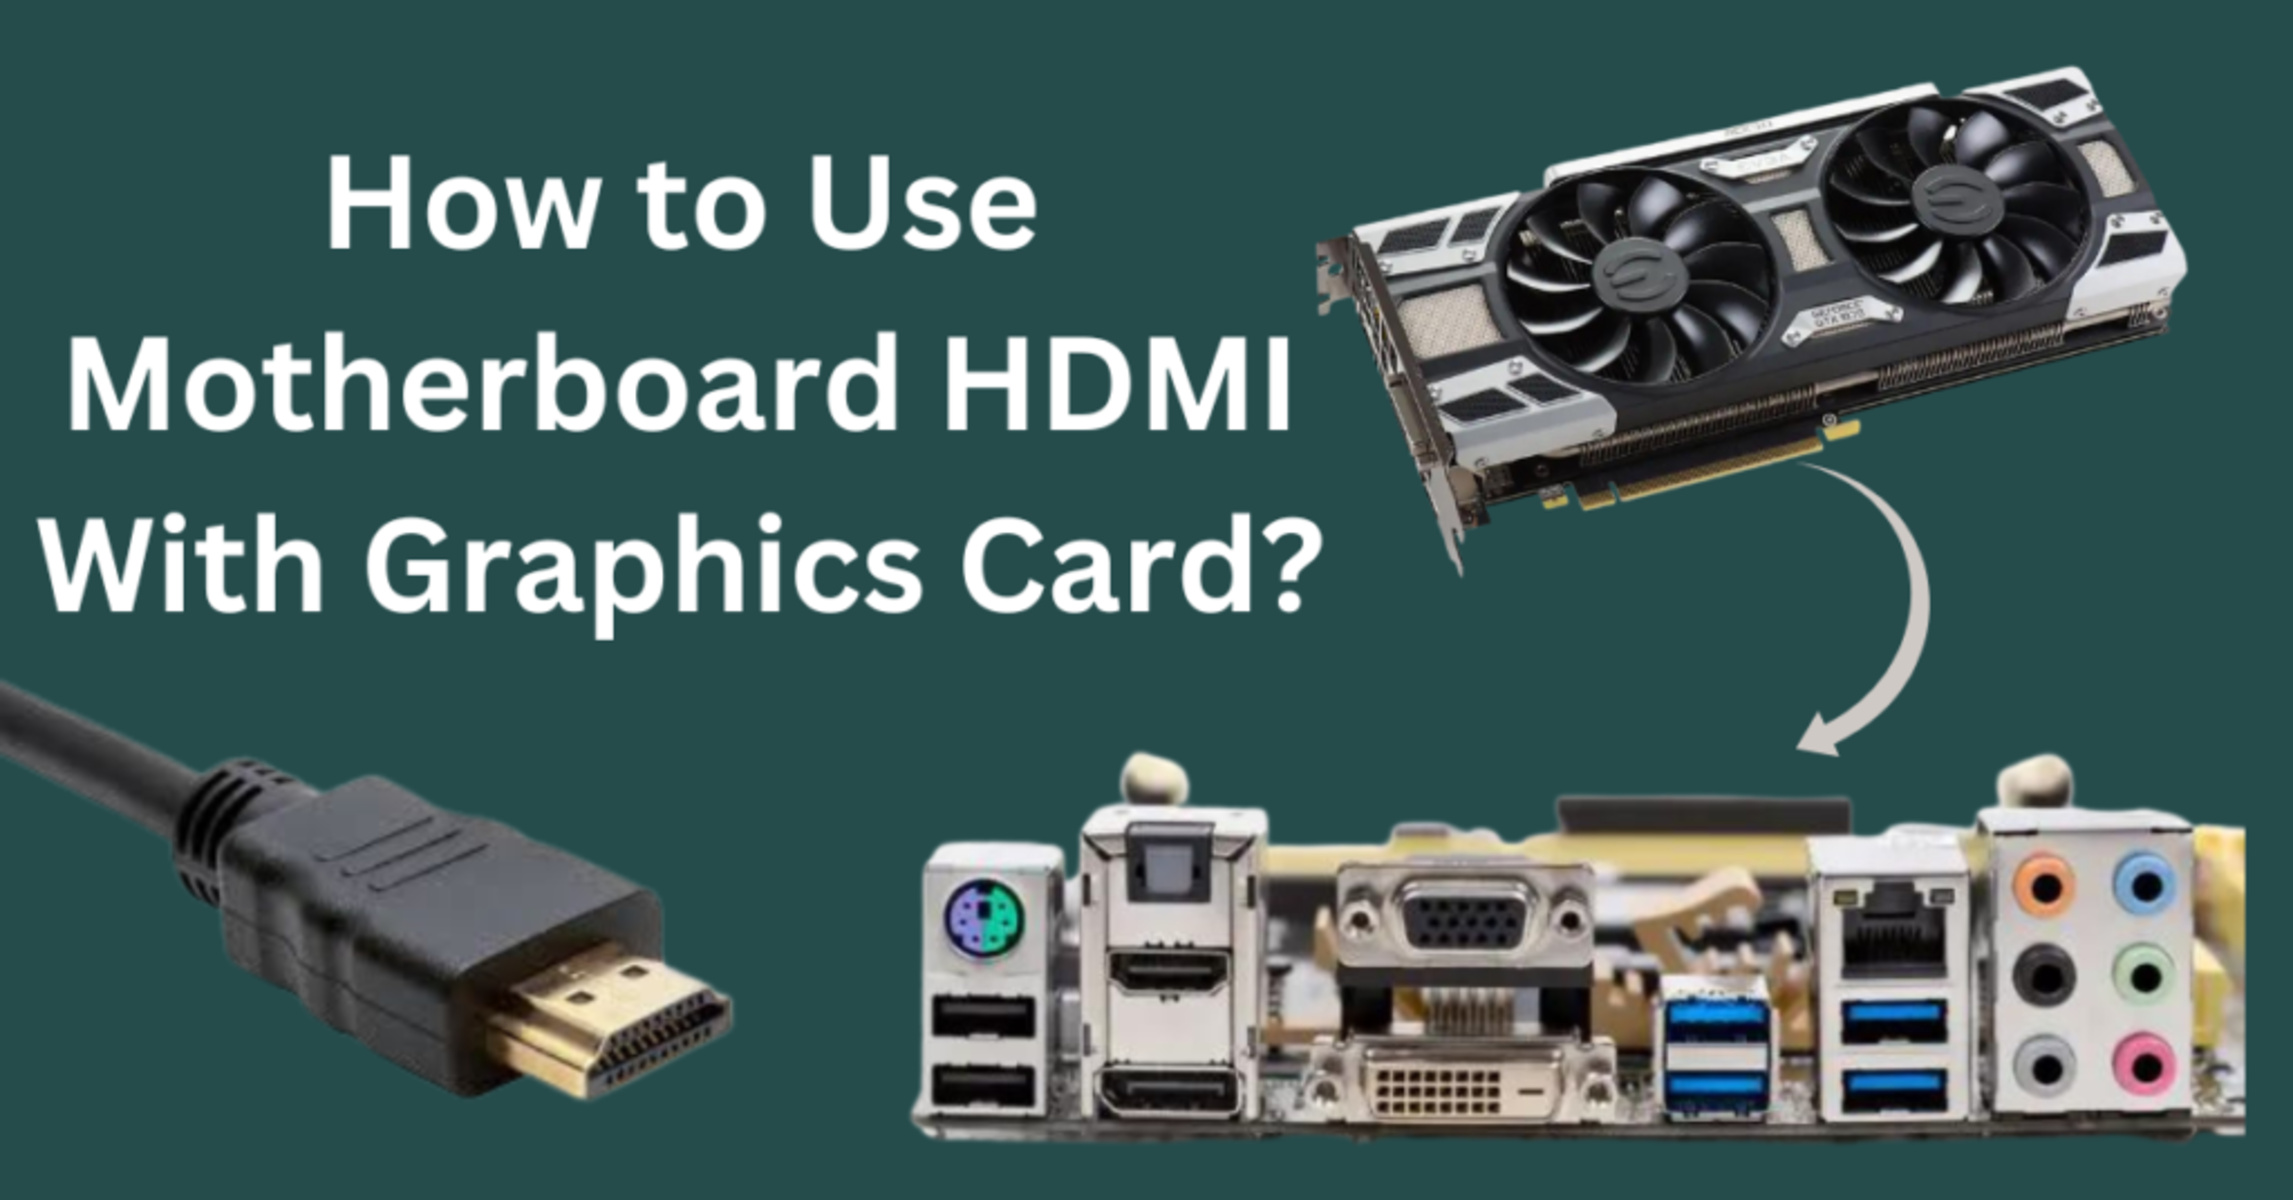
- Check Display Output: Verify that the display is connected to the correct port for the onboard graphics on your computer. Ensure that the cable is securely plugged in and that your monitor is powered on.
- Boot and Login: Restart your computer and observe the startup process. Confirm that the display is active and that you can log in to your operating system using the onboard graphics.
- Video Playback: Play a video or multimedia file to ensure smooth playback and proper rendering of visuals. Check for any artifacts, screen tearing, or unusual behavior.
- System Stability: Perform everyday tasks, such as web browsing, document editing, or light gaming, to assess the stability and performance of the onboard graphics. Monitor for any crashes, freezes, or performance issues.
- Driver Updates: Ensure that you have the latest drivers installed for your onboard graphics chipset. If you encounter any issues, consider updating to the most recent driver version recommended by the manufacturer.
- Compatibility with Applications: Test the compatibility of the onboard graphics with specific applications or games you frequently use. Some applications may require a dedicated graphics card for optimal performance or advanced features.
- Benchmarking: If desired, run benchmarking software or performance tests to evaluate the capabilities and performance of the onboard graphics. Compare the results to established benchmarks to gauge the performance level of your system.
- Monitor Temperature: Monitor the temperature of your computer components, especially if you are running tasks that put a strain on the onboard graphics. Ensure that the temperatures are within safe limits and that cooling systems are functioning properly.
- Troubleshooting: If you encounter any issues or abnormalities during testing, consult the troubleshooting resources provided by the motherboard or chipset manufacturer. Check for any known issues, FAQs, or support forums that may provide solutions or workarounds.
By thoroughly testing and troubleshooting the functionality of the onboard graphics, you can identify any potential issues or limitations. This will allow you to make informed decisions regarding the use of the onboard graphics for your specific computing needs.
If you encounter persistent issues or require further assistance, consider reaching out to technical support channels provided by the motherboard or chipset manufacturer. They can provide expert guidance and troubleshooting steps tailored to your specific hardware and software configuration.
With thorough testing and troubleshooting completed, you can now enjoy the benefits of utilizing the onboard graphics as an alternative display solution for your computer.
Conclusion
Switching from a graphics card to utilizing the onboard graphics of your computer can offer several advantages, such as troubleshooting graphics card issues, reducing power consumption, and testing the performance of the integrated graphics solution. By following the steps outlined in this article, you can effectively disable the graphics card, enable the onboard graphics, adjust display settings, and perform testing and troubleshooting to ensure a smooth transition and optimal performance.
Before proceeding with the switch, it is important to check the compatibility of your computer’s onboard graphics by referring to the motherboard specifications and the manufacturer’s website. This will ensure that your computer supports onboard graphics and that the specific chipset is suitable for your requirements.
By disabling the graphics card and enabling the onboard graphics, you can make the switch seamlessly and maximize the capabilities of the integrated graphics solution. Adjusting the display settings, updating drivers, and optimizing power management settings can further enhance the performance and visual experience when using the onboard graphics.
Testing and troubleshooting after enabling the onboard graphics is essential to ensure everything is functioning as expected. By performing various tests, monitoring stability, and addressing any issues or compatibility concerns, you can fine-tune the onboard graphics for your specific usage needs.
Should you encounter persistent issues or require further assistance, don’t hesitate to consult the documentation or support resources provided by the motherboard or chipset manufacturer. They can offer specialized guidance and troubleshooting steps.
By following these steps and considerations, you can effectively switch from a graphics card to onboard graphics and utilize the integrated graphics solution of your computer to its fullest potential.