Introduction
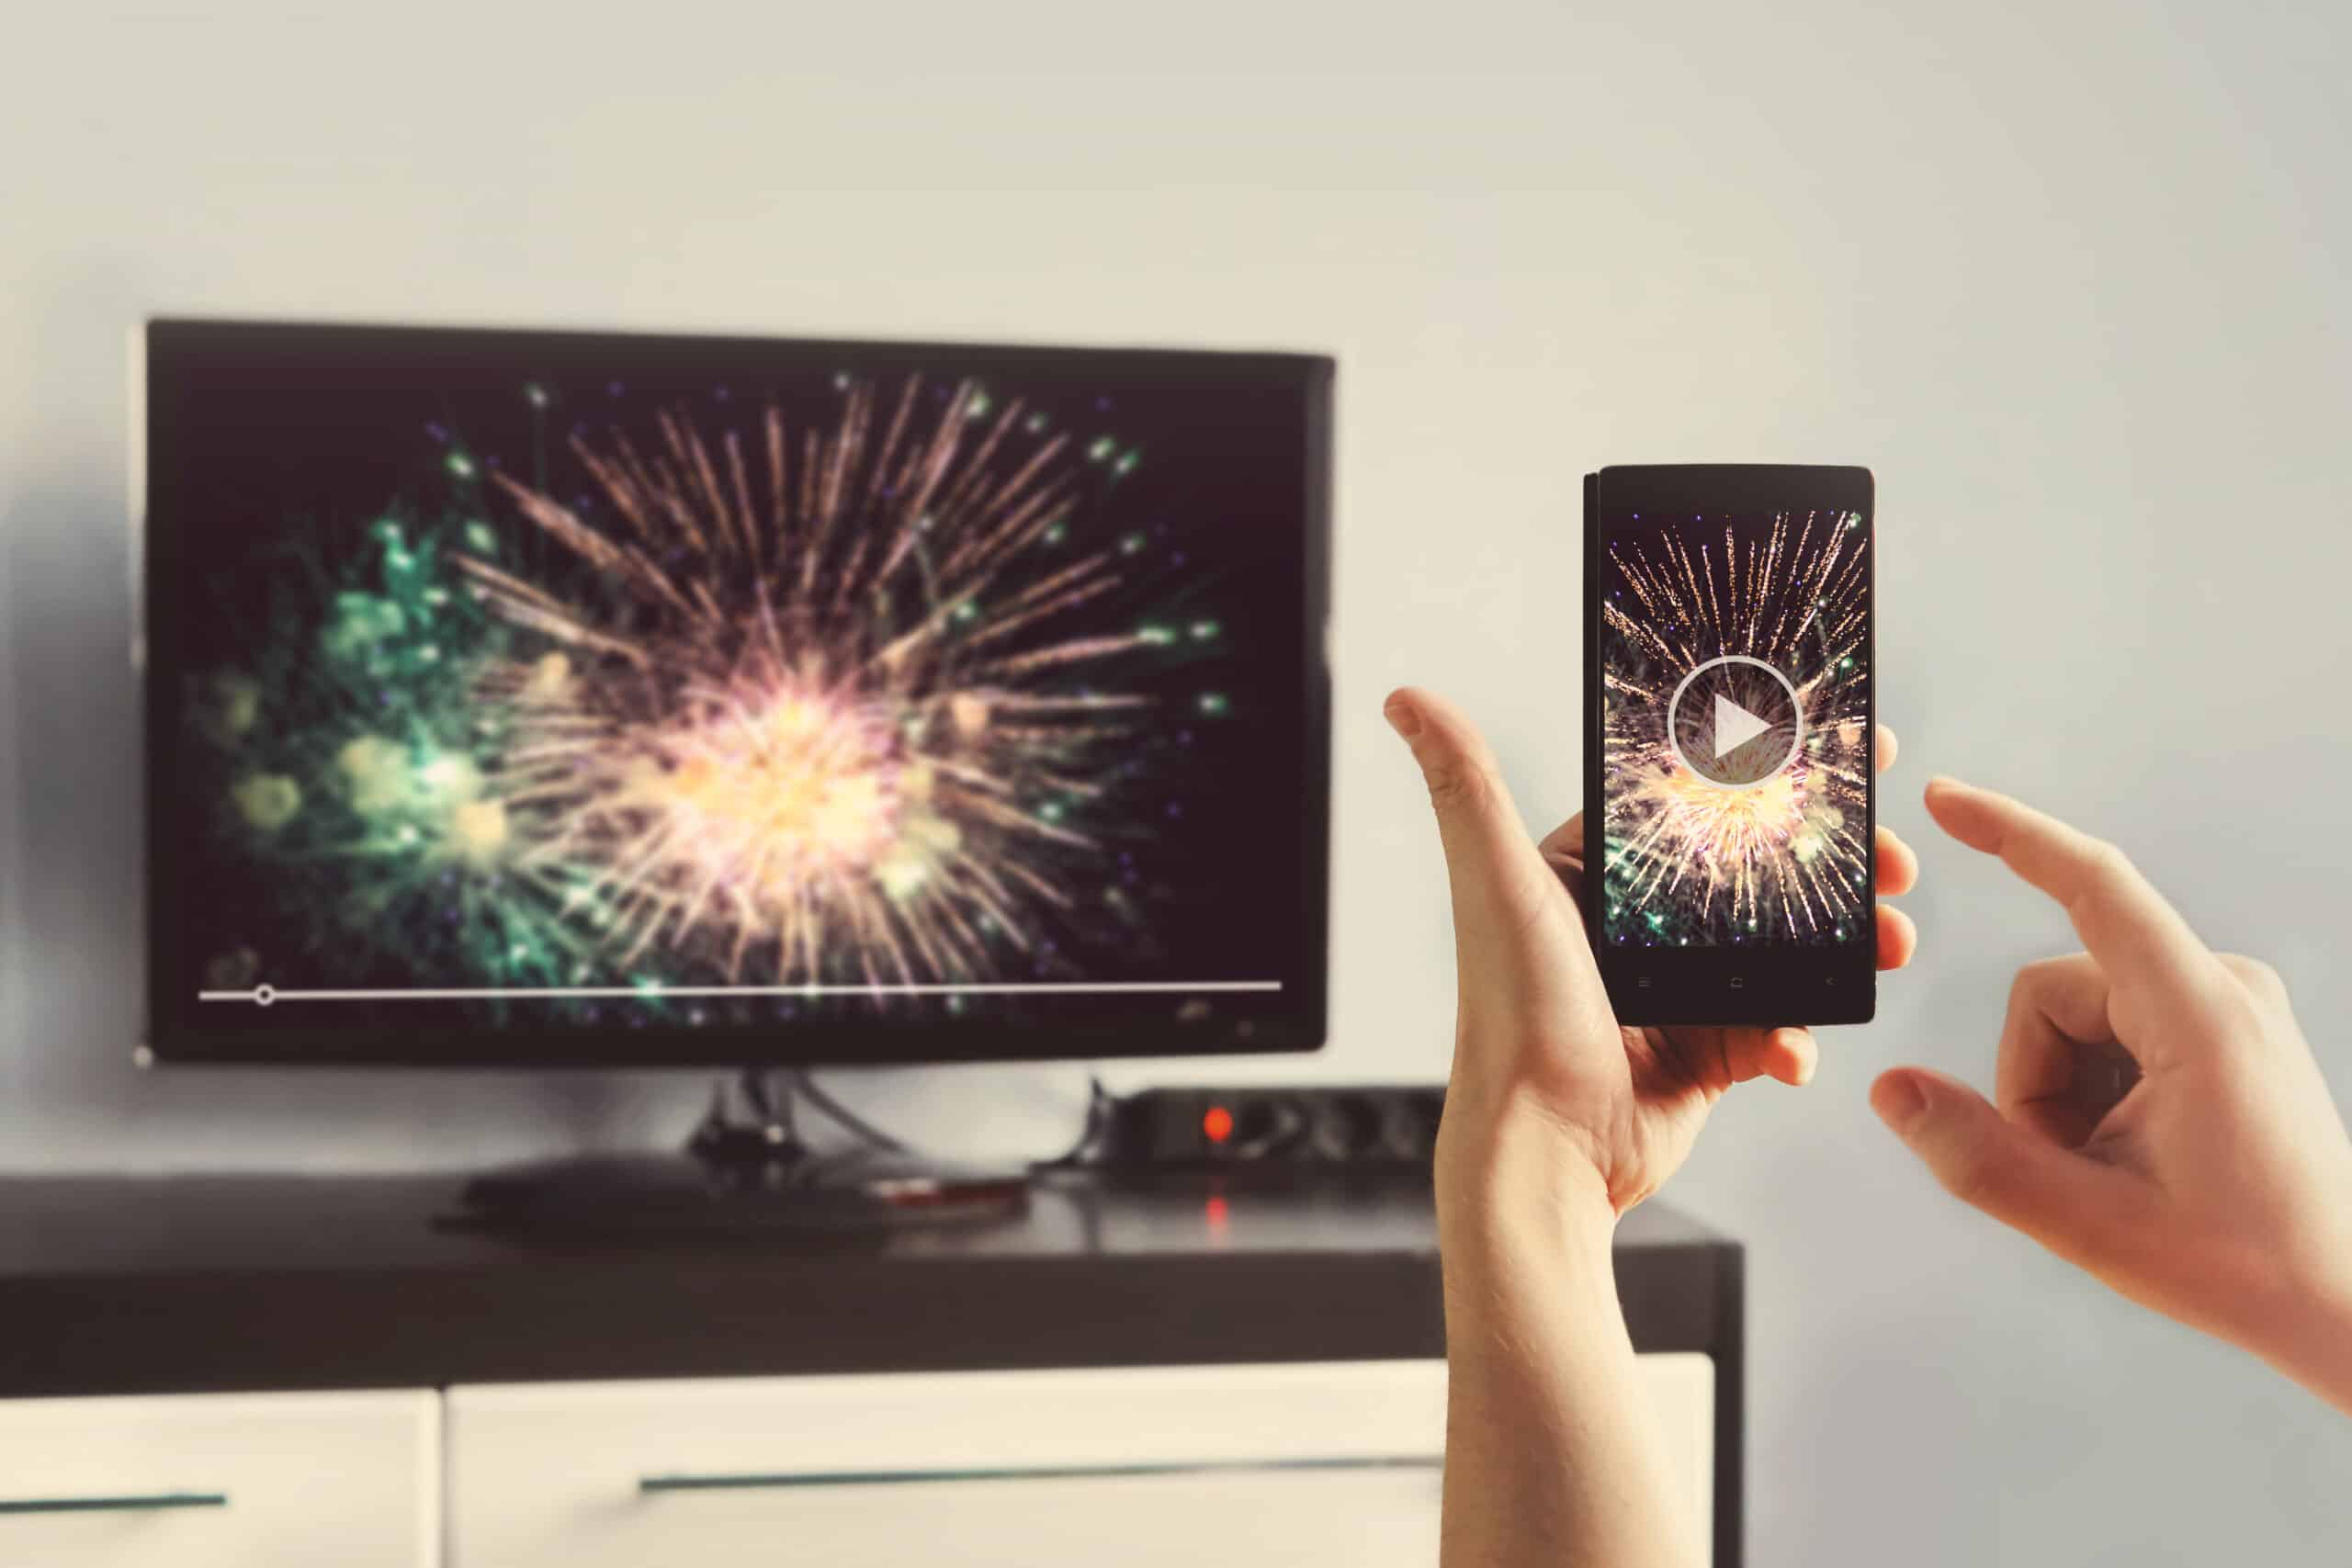
Streaming content from your Samsung tablet to your TV can be a convenient and enjoyable way to enjoy your favorite movies, TV shows, and videos on a larger screen. Whether you want to share photos with your family or watch YouTube videos with friends, connecting your Samsung tablet to your TV opens up a world of entertainment possibilities.
Samsung offers a wide range of tablets, each with its own set of features and capabilities. From the lightweight and portable Samsung Galaxy Tab S7 to the budget-friendly Samsung Galaxy Tab A, there is a Samsung tablet to suit every need. No matter which model you own, the process of connecting your Samsung tablet to your TV is relatively straightforward.
There are two main methods you can use to connect your Samsung tablet to your TV: using an HDMI cable or utilizing a wireless connection. The method you choose will depend on the available ports on your TV and the features supported by your tablet. Both methods have their advantages and can provide a seamless streaming experience.
In this guide, we will walk you through the steps for both methods, making it easy for you to connect your Samsung tablet to your TV and start streaming your favorite content. Before we get started, it’s important to note that the steps may vary slightly depending on the specific model of your Samsung tablet and TV. It’s always a good idea to refer to the user manuals for both devices for detailed instructions.
Types of Samsung Tablets
Samsung offers a diverse range of tablets to cater to different needs and budgets. Understanding the different types of Samsung tablets available can help you choose the right one for your streaming needs. Here are some of the popular options:
- Samsung Galaxy Tab S Series: This series is known for its premium features and high-end specifications. The Galaxy Tab S7 and S7+ are the current flagship tablets, featuring stunning AMOLED displays, powerful processors, and S Pen support. These tablets are perfect for users who want a top-of-the-line device for streaming and productivity tasks.
- Samsung Galaxy Tab A Series: The Galaxy Tab A series offers a balance between affordability and performance. These tablets are great for casual users or those on a budget. They come in various display sizes and offer decent performance for streaming content. The Galaxy Tab A7 and A8 are popular models in this series.
- Samsung Galaxy Tab E Series: The Galaxy Tab E series caters to users who prioritize affordability and basic functionality. These tablets may not have the latest hardware, but they still offer a decent streaming experience at a more pocket-friendly price point.
- Samsung Galaxy Tab Active Series: Designed for rugged use, the Galaxy Tab Active series is built to withstand harsh environments. These tablets are ideal for fieldwork or outdoor activities where durability is essential. They offer resistance to water, dust, and drops, making them a reliable choice for users who need a tough device for streaming on the go.
Regardless of the specific Samsung tablet you own, the methods for connecting to your TV remain the same. Whether you have a high-end flagship device or an entry-level model, you can still enjoy streaming content on a larger screen by following the steps we will outline in the upcoming sections.
How to Connect Samsung Tablet to TV
Connecting your Samsung tablet to your TV is a simple process that can be done using either an HDMI cable or a wireless connection. Both methods have their advantages and allow you to stream your tablet’s content onto a larger screen. Let’s explore both methods in detail.
Method 1: Using an HDMI Cable
This method involves connecting your Samsung tablet to your TV using an HDMI cable. Here are the steps to follow:
- Step 1: Check the ports on your Samsung tablet and your TV. Look for an HDMI port on both devices. If your tablet has a USB-C port, you will need an HDMI adapter or dongle to connect the HDMI cable.
- Step 2: Connect one end of the HDMI cable to the HDMI port on your tablet or the HDMI adapter/dongle.
- Step 3: Connect the other end of the HDMI cable to the HDMI port on your TV.
- Step 4: Set your TV to the correct HDMI input source. Use your TV’s remote control to navigate to the appropriate HDMI input. This may be labeled as HDMI 1, HDMI 2, etc., depending on the number of HDMI ports available on your TV.
- Step 5: Once the HDMI connection is established, your tablet’s screen should be mirrored on the TV. You can now stream videos, photos, or any other content from your tablet to the TV.
Method 2: Using a Wireless Connection
If your Samsung tablet and TV support wireless connectivity, you can use this method to connect them without the need for cables. Here are the steps to follow:
- Step 1: Check if your tablet and TV are compatible with screen mirroring or wireless display technology. Some Samsung tablets support technologies like Smart View or Screen Mirroring, while some Samsung TVs offer features like AllShare or Miracast. Make sure both devices have these capabilities.
- Step 2: Connect your Samsung tablet and TV to the same Wi-Fi network. This is crucial for the wireless connection to work properly. Refer to the user manuals of your tablet and TV for instructions on how to connect to Wi-Fi.
- Step 3: Enable screen mirroring on your Samsung tablet. This option is usually found in the Settings menu of your tablet, under Display or Connection settings. Enable the screen mirroring feature.
- Step 4: Enable screen mirroring on your TV. Depending on your TV’s brand and model, the process may vary. Consult the TV’s user manual for instructions on how to enable screen mirroring or wireless display.
- Step 5: Once screen mirroring is enabled on both devices, your tablet’s screen will be wirelessly mirrored on the TV. You can now enjoy streaming content from your tablet on the bigger screen.
By following these steps, you will be able to connect your Samsung tablet to your TV effortlessly, whether using an HDMI cable or a wireless connection. Now you can sit back, relax, and enjoy your favorite movies, shows, and videos on the big screen!
Method 1: Using an HDMI Cable
One of the simplest and most reliable ways to connect your Samsung tablet to your TV is by using an HDMI cable. This method allows you to enjoy high-quality audio and video by directly connecting your tablet to your TV. Here’s a step-by-step guide on how to connect your Samsung tablet to your TV using an HDMI cable:
- Step 1: Check the available ports on both your Samsung tablet and your TV. Look for an HDMI port on each device. If your tablet has a USB-C port, you will need an HDMI adapter or dongle to connect the HDMI cable.
- Step 2: Take one end of the HDMI cable and connect it to the HDMI port on your tablet or the HDMI adapter/dongle if needed. Be gentle while inserting the cable to avoid any damage.
- Step 3: Take the other end of the HDMI cable and connect it to the HDMI port on your TV. Make sure to plug it into the correct HDMI input port. Typically, TVs have multiple HDMI inputs, so choose the one you want to use or consult the TV manual for guidance.
- Step 4: Once the HDMI cable is securely connected to both your tablet and TV, turn on your TV and set it to the appropriate HDMI input. Most TVs have a dedicated button on the remote or a menu option to switch to the desired HDMI input.
- Step 5: With the HDMI connection established, your Samsung tablet’s screen will be mirrored on the TV. You can now navigate through your tablet’s interface and stream videos, photos, or any other content directly on the larger television screen.
Using an HDMI cable to connect your Samsung tablet to your TV ensures a stable and high-quality connection, offering an immersive viewing experience. It’s a reliable method that works with most modern smartphones and TVs. Remember to adjust the volume and video settings on both your tablet and TV to optimize the audio and visual output.
Before connecting your devices, make sure to power off both your tablet and TV to avoid any potential damage from sudden power surges. Additionally, refer to the user manuals of your tablet and TV for detailed instructions specific to your devices, as there may be slight variations depending on the models.
By following these steps, you can easily utilize the HDMI cable method to connect your Samsung tablet to your TV and enjoy your favorite content on a bigger and more immersive screen.
Method 2: Using a Wireless Connection
If you prefer a cable-free solution or your Samsung tablet and TV lack HDMI ports, you can still connect them wirelessly using screen mirroring or wireless display technology. This method allows you to stream your tablet’s content directly to your TV without the need for any physical connections. Here’s how to connect your Samsung tablet to your TV wirelessly:
- Step 1: Check if your Samsung tablet and TV support screen mirroring or wireless display technology. Some Samsung tablets have built-in features like Smart View or Screen Mirroring, while certain Samsung TVs offer functionalities like AllShare or Miracast. Ensure that both devices have these capabilities.
- Step 2: Connect both your Samsung tablet and TV to the same Wi-Fi network. It’s crucial for both devices to be connected to the same network to establish a seamless wireless connection. Refer to the user manuals of your tablet and TV if you need guidance on connecting to Wi-Fi.
- Step 3: Enable screen mirroring on your Samsung tablet. The option to enable screen mirroring is typically found in the Settings menu of your tablet, under Display or Connection settings. Activate the screen mirroring feature on your tablet.
- Step 4: Enable screen mirroring on your TV. The process may differ depending on the brand and model of your TV. Consult the TV’s user manual for instructions on how to enable screen mirroring or wireless display. Some TVs may have a dedicated button on the remote for quick access to screen mirroring options.
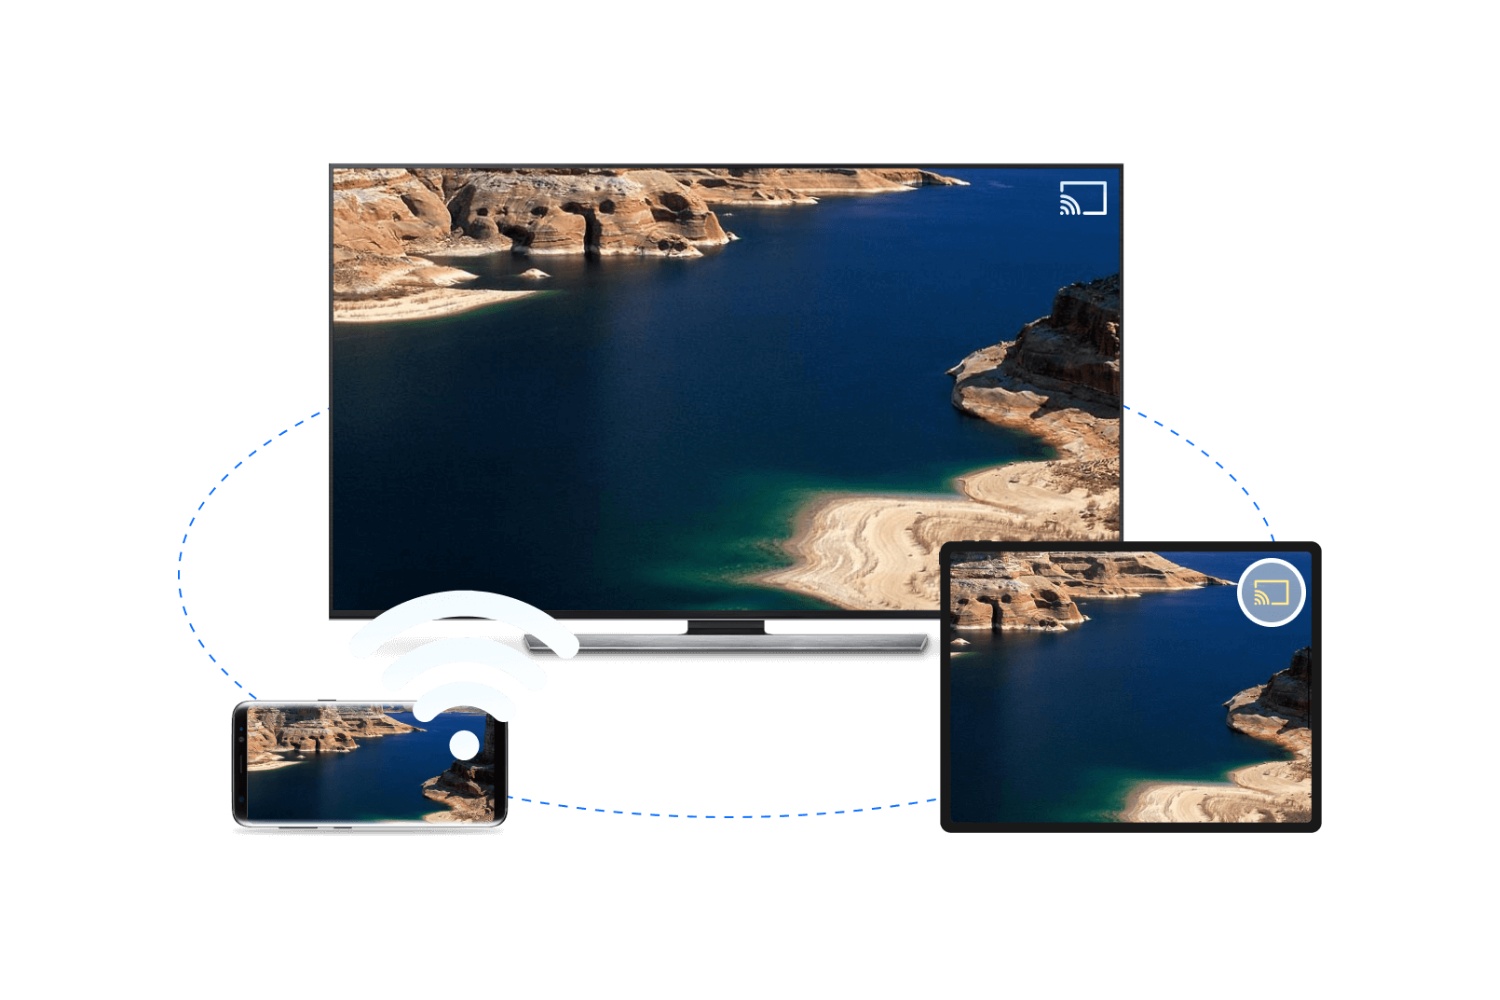
- Step 5: Once both devices have screen mirroring enabled, your Samsung tablet’s screen will be wirelessly mirrored onto the TV. You can now stream videos, view photos, browse the web, or perform any other activity on your tablet, and the content will be reflected on the larger TV screen.
Using a wireless connection for screen mirroring provides the flexibility to move around while enjoying your tablet’s content on the TV. It eliminates the need for cables and allows for a more seamless streaming experience. However, keep in mind that the performance and compatibility may vary depending on your tablet and TV models.
If you encounter any issues during the setup process, ensure that both devices are updated with the latest software and firmware versions. Additionally, some TVs may require additional settings to be adjusted, such as enabling Wi-Fi Direct or selecting the correct input source for screen mirroring.
By following these steps, you can easily connect your Samsung tablet to your TV wirelessly and enjoy an enhanced viewing experience with all the convenience and flexibility that wireless streaming provides.
Step 1: Check Compatibility and Requirements
Before connecting your Samsung tablet to your TV using a wireless connection, it’s important to check the compatibility and requirements of both devices. This will ensure a smooth and successful wireless connection. Here’s what you need to consider:
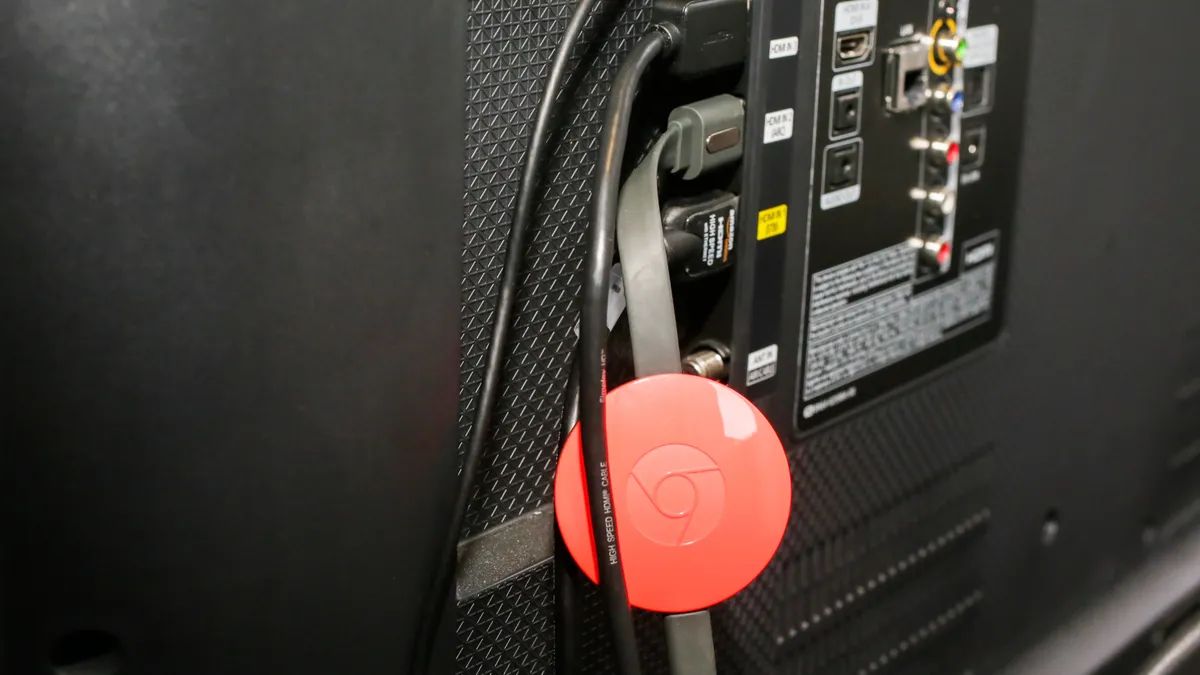
Tablet Compatibility: Verify if your Samsung tablet supports screen mirroring or wireless display technology. Look for built-in features like Smart View or Screen Mirroring in the tablet’s settings menu. If your tablet does not have these features, you may need to use external devices, such as a Chromecast or Miracast dongle, to enable wireless connectivity.
TV Compatibility: Check if your Samsung TV supports screen mirroring or wireless display. Look for features like AllShare or Miracast in the TV’s settings menu. Different Samsung TV models may have varying compatibility, so refer to the user manual or manufacturer’s website for specific details.
Network Connection: Ensure that both your Samsung tablet and TV are connected to the same Wi-Fi network. This is essential for a successful wireless connection. Verify that your network is stable and has sufficient bandwidth to handle the streaming content.
Software Updates: Update the software and firmware of your devices to the latest versions. This ensures optimal performance and compatibility. Check for updates in the tablet’s settings and periodically update your TV’s firmware as recommended by the manufacturer.
Additional Devices: Depending on your specific tablet and TV models, you may require additional devices to establish a wireless connection. For example, you might need a Miracast dongle or a Chromecast device to enable screen mirroring on TVs that lack built-in wireless connectivity.
Taking the time to check the compatibility and requirements of your Samsung tablet and TV will save you from potential frustration and troubleshooting later on. It ensures that both devices are capable of establishing a wireless connection and that you have all the necessary components or accessories for a smooth streaming experience.
If your devices are not compatible or do not support wireless screen mirroring, you can consider alternative connection methods, such as using an HDMI cable or exploring other ways to stream content from your tablet to the TV. Refer to the respective user manuals or online resources for detailed instructions specific to your devices.
Once you have confirmed the compatibility and requirements, you are ready to proceed to the next step of connecting your Samsung tablet to your TV wirelessly.
Step 2: Connect Samsung Tablet and TV to the Same Wi-Fi Network
To establish a wireless connection between your Samsung tablet and TV, both devices need to be connected to the same Wi-Fi network. This ensures a seamless and stable connection for screen mirroring and wireless display. Follow these steps to connect your Samsung tablet and TV to the same Wi-Fi network:
- Step 1: Power on your Samsung tablet and TV, ensuring they are both in range of your Wi-Fi router.
- Step 2: On your Samsung tablet, go to the Settings menu. Look for the Wi-Fi option and tap on it to enter the Wi-Fi settings.
- Step 3: In the Wi-Fi settings, you will see a list of available networks. Locate and select your Wi-Fi network from the list. If prompted, enter the network password to connect to the Wi-Fi network.
- Step 4: Once your Samsung tablet is connected to the Wi-Fi network, grab your TV remote and navigate to the Settings menu on your Samsung TV.
- Step 5: Find the Network or Wi-Fi settings on your TV. This may vary depending on your TV model, but it is typically located in the menu options.
- Step 6: In the Network or Wi-Fi settings, search for available networks. Your Wi-Fi network should appear in the list of available networks.
- Step 7: Select your Wi-Fi network from the list and, if required, enter the network password using your TV remote.
- Step 8: Once your TV is connected to the same Wi-Fi network as your Samsung tablet, the wireless connection is complete.
Having both your Samsung tablet and TV connected to the same Wi-Fi network is crucial for establishing a wireless connection. It allows for seamless data transfer and ensures a stable connection during screen mirroring. Make sure you select the correct Wi-Fi network and enter the password accurately to avoid any troubleshooting issues.
If your Wi-Fi network does not appear in the available networks list on your TV, ensure that your router is functioning properly and that your TV’s Wi-Fi feature is enabled. It’s also a good idea to position your TV and Wi-Fi router closer to each other to ensure a strong and stable connection during the streaming process.
Remember, the steps and menu options mentioned above may vary slightly depending on your specific Samsung tablet and TV models. Refer to the user manuals of your devices for detailed instructions if you encounter any difficulties while connecting them to the Wi-Fi network.
Once your tablet and TV are connected to the same Wi-Fi network, you are ready to proceed to the next step and enable screen mirroring or wireless display on your Samsung tablet in order to begin streaming content on your TV wirelessly.
Step 3: Enable Screen Mirroring on Samsung Tablet
Enabling screen mirroring on your Samsung tablet is an essential step to connect it to your TV wirelessly. By enabling this feature, you can seamlessly mirror the content from your tablet onto the larger screen of your TV. Follow the steps below to enable screen mirroring on your Samsung tablet:
- Step 1: Start by unlocking your Samsung tablet and navigating to the home screen.
- Step 2: Swipe down from the top of the screen to open the Quick Settings panel. Alternatively, you can access the Settings menu by tapping on the gear icon.
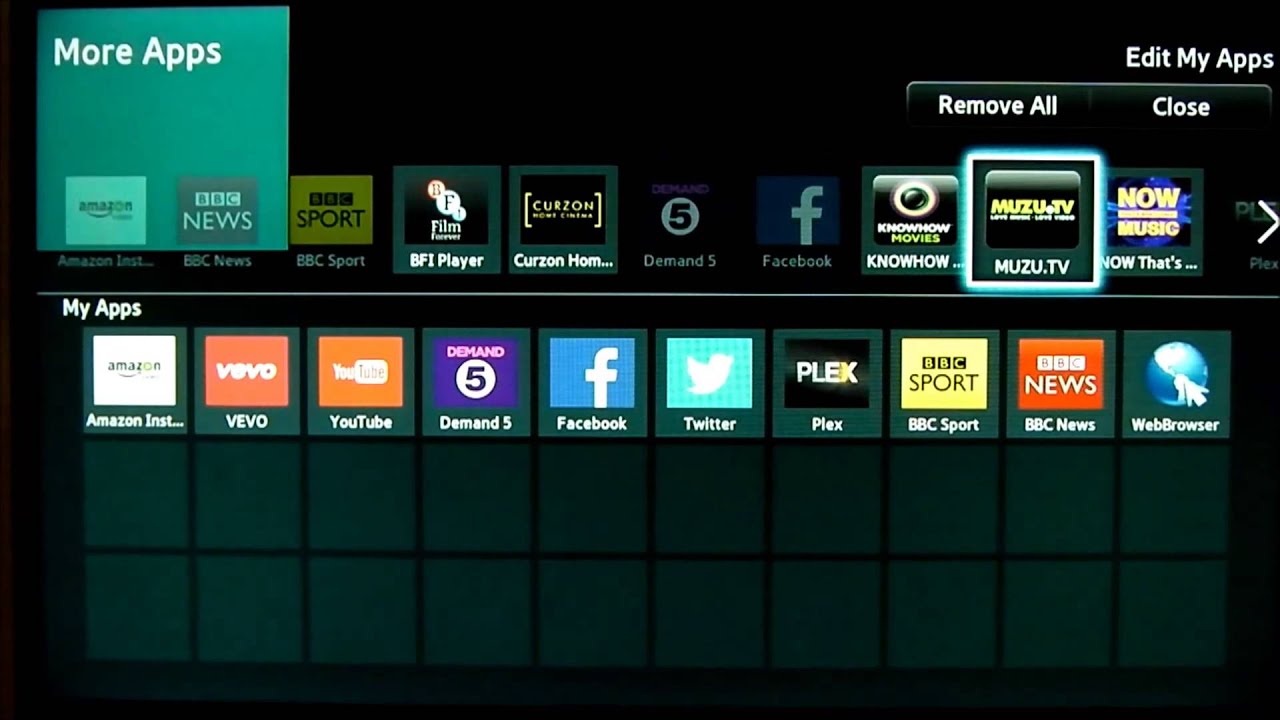
- Step 3: In the Quick Settings panel or the Settings menu, locate and tap on the “Screen Mirroring” option. It may also be labeled as “Smart View” or “Cast Screen” depending on your tablet model and software version.
- Step 4: Your tablet will start scanning for available devices to connect to. Once your TV is detected in the list of devices, tap on it to initiate the connection.
- Step 5: If necessary, enter the screen mirroring PIN or password that may appear on your TV. This is a security measure to prevent unauthorized connections.
- Step 6: Once the connection is established, your Samsung tablet’s screen will be duplicated on your TV. Anything you do on your tablet, such as opening apps, playing videos, or browsing the web, will be visible on the TV screen.
It’s worth noting that the location and names of the screen mirroring option may vary depending on your tablet’s model and software version. If you’re unable to find the screen mirroring option in the Quick Settings panel or the Settings menu, refer to your tablet’s user manual or consult online resources for specific instructions.
Additionally, ensure that your tablet’s software is up to date. Software updates often introduce new features and improve device compatibility. Updating your tablet’s software can enhance the screen mirroring functionality and resolve any known issues.
Enabling screen mirroring on your Samsung tablet is an exciting step towards wirelessly streaming your tablet’s content on the larger screen of your TV. Once the screen mirroring is enabled, proceed to the next step to enable screen mirroring on your TV and establish the connection between your tablet and TV wirelessly.
Step 4: Enable Screen Mirroring on TV
After enabling screen mirroring on your Samsung tablet, the next step is to enable the same feature on your TV. By doing so, you can establish a wireless connection between your tablet and TV, allowing the content from your tablet to be displayed on the TV screen. Follow these steps to enable screen mirroring on your TV:
- Step 1: Ensure that your TV and tablet are both turned on and connected to the same Wi-Fi network.
- Step 2: Using your TV remote, navigate to the settings or main menu of your Samsung TV. The exact location of the settings menu may vary depending on your TV model.
- Step 3: Look for the screen mirroring or wireless display option in the TV settings menu. It might be located in the network, display, or connectivity section, depending on your TV’s interface.
- Step 4: Once you find the screen mirroring option, select it to access the screen mirroring settings.
- Step 5: From the available devices, choose your Samsung tablet to establish the connection. The TV will start searching for nearby devices to connect with.
- Step 6: If prompted, enter the screen mirroring PIN or authorization code that appears on your tablet’s screen. This is a security measure to ensure that only authorized devices can connect to your TV.
- Step 7: Once the connection is established, your tablet’s screen will be mirrored on your TV. You can now view the content from your tablet on the larger TV screen.
It’s important to note that the screen mirroring option and its location may vary depending on your Samsung TV model. If you’re having trouble finding the screen mirroring option or need detailed instructions specific to your TV model, refer to your TV’s user manual or search online resources for guidance.
In some cases, you may need to enable additional settings such as Wi-Fi Direct or AllShare on your TV to enable screen mirroring. These options can usually be found in the same settings menu where the screen mirroring feature is located.
By following these steps to enable screen mirroring on your TV, you are one step closer to enjoying your tablet’s content on the bigger screen. Once the connection between your tablet and TV is established, you can start streaming videos, playing games, or sharing photos wirelessly from your Samsung tablet to your TV.
Step 5: Connect Samsung Tablet to TV Wirelessly
Now that both your Samsung tablet and TV have screen mirroring enabled, it’s time to establish the wireless connection between the two devices. This step allows you to easily stream content from your tablet onto the larger screen of your TV. Follow these steps to connect your Samsung tablet to your TV wirelessly:
- Step 1: Ensure that your Samsung tablet and TV are both turned on and connected to the same Wi-Fi network.
- Step 2: On your Samsung tablet, navigate to the app or content that you want to stream to your TV. It could be a video, photo album, or a presentation.
- Step 3: Access the screen mirroring option on your tablet. This could be located in the Quick Settings panel or the Settings menu, depending on your tablet’s make and model.
- Step 4: Select your Samsung TV from the list of available devices. Your tablet will begin searching for nearby devices to connect with.
- Step 5: If prompted, enter the screen mirroring PIN or authorization code displayed on your TV. This ensures that only authorized devices can connect to your TV.
- Step 6: Once the connection is established, your tablet’s screen will be mirrored on your TV. The content you selected on your tablet will now be displayed on the TV screen.
- Step 7: Navigate through your tablet’s interface, open apps, play videos, or perform any other activity, and it will be mirrored in real-time on your TV.
It’s important to note that the steps and locations of the screen mirroring option may vary depending on the tablet’s brand and model. If you’re having trouble finding the screen mirroring option or need specific instructions for your tablet, refer to the device’s user manual or consult online resources.
Remember to keep your tablet within a reasonable distance from the TV for a reliable and stable wireless connection. Avoid obstructions between the devices that may hinder the signal quality.
By following the above steps, you can effortlessly connect your Samsung tablet to your TV wirelessly and enjoy a larger, more immersive viewing experience. Whether you want to stream movies, watch videos, or share photos with family and friends, wireless connectivity allows you to do so with ease and convenience.
Troubleshooting Tips
While connecting your Samsung tablet to your TV wirelessly is usually a straightforward process, you may encounter occasional challenges. Here are some troubleshooting tips to help you overcome common issues and ensure a smooth wireless connection:
1. Verify Wi-Fi Connection: Double-check that both your Samsung tablet and TV are connected to the same Wi-Fi network. Ensure that the Wi-Fi signal is strong and stable for optimal performance.
2. Restart Devices: If you’re experiencing connectivity issues, try restarting both your tablet and TV. This simple step can often resolve temporary glitches and restore the wireless connection.
3. Update Software: Ensure that your Samsung tablet and TV are running the latest software versions. Updates often include bug fixes and performance improvements that can enhance wireless connectivity.
4. Check Signal Interference: Other electronic devices or appliances near your TV or Wi-Fi router may cause signal interference. Move such devices away or switch them off temporarily to see if it improves the wireless connection.
5. Move Closer to the Router: If the Wi-Fi signal is weak, try moving your tablet and TV closer to the router to minimize signal loss and improve the connection quality.
6. Reset TV’s Network Settings: If your TV is experiencing persistent connection issues, you may want to reset its network settings. Consult your TV’s user manual or manufacturer’s support resources for instructions on how to reset network settings.
7. Check Firewall or Security Settings: Some routers or firewalls may have strict security settings that block screen mirroring connections. Temporarily disable any firewall or security settings, keeping in mind the potential risks associated with doing so, and then try reconnecting.
8. Use Alternative Connection Method: If you’re unable to establish a stable wireless connection, consider using an HDMI cable as an alternative method to connect your Samsung tablet to your TV. It provides a reliable and direct connection between the devices.
9. Consult Device Manuals and Support: If all else fails, refer to the user manuals of your Samsung tablet, TV, or contact their respective support channels for further assistance. They can provide specific troubleshooting advice based on your device models.
Remember, troubleshooting steps may vary depending on the specific models of your Samsung tablet and TV. It’s always helpful to consult the device manuals or online resources for model-specific guidance.
By utilizing these troubleshooting tips, you can address common connectivity issues and establish a stable wireless connection between your Samsung tablet and TV. Once resolved, you can enjoy a seamless streaming experience on the larger screen without interruption.
Conclusion
Streaming content from your Samsung tablet to your TV offers a fantastic way to enjoy your favorite media on a larger screen. Whether you choose to connect your tablet using an HDMI cable or wirelessly, the process is relatively simple. By following the steps outlined in this guide, you can easily connect your Samsung tablet to your TV and start streaming your desired content.
We explored two primary methods for connecting your Samsung tablet to your TV. The first method involves using an HDMI cable, providing a direct and reliable connection. The second method allows for a wireless connection, utilizing screen mirroring or wireless display technology. Both methods have their advantages, so choose the one that suits your preferences and the available ports on your devices.
Before connecting your devices, it’s important to check the compatibility and requirements of your Samsung tablet and TV. Ensure that they are connected to the same Wi-Fi network and that you have enabled screen mirroring on both devices. Additionally, familiarize yourself with troubleshooting tips to address any potential connectivity issues that may arise.
Connecting your Samsung tablet to your TV wirelessly allows you to enjoy a more immersive viewing experience. Whether you’re streaming movies, sharing photos, or conducting presentations, your tablet’s content can be mirrored on the larger screen of your TV, enhancing the visual impact and enjoyment.
Remember to refer to the user manuals for your specific Samsung tablet and TV models for detailed instructions and troubleshooting advice. Every device may have its own unique features and settings, but with just a few simple steps, you can transform your Samsung tablet into a powerful streaming device and enjoy your favorite content on the big screen of your TV.
So, whether you’re relaxing at home, hosting a gathering, or giving a presentation, connect your Samsung tablet to your TV and elevate your entertainment experience like never before!