Introduction
Sharing your Wi-Fi connection with other devices can be incredibly convenient, especially when you’re on the go or have multiple devices that need internet access. If you’re an Android user, you’ll be glad to know that sharing your Wi-Fi on your Android device is a straightforward process that doesn’t require any specialized knowledge.
In this guide, we will walk you through the easy steps to share your Wi-Fi on an Android device. Whether you’re looking to connect your tablet, laptop, or another smartphone, we’ve got you covered. By the end of this article, you’ll have a better understanding of how to set up a Wi-Fi hotspot on your Android and connect other devices efficiently.
We’ll go through each step in detail, from accessing the necessary settings to connecting devices to your Wi-Fi hotspot. So, let’s dive right in and learn how to share Wi-Fi on your Android device!
Before we begin, it’s important to note that the exact steps may vary slightly depending on the make and model of your Android device and the version of the Android operating system you’re using. However, the general steps outlined in this guide should apply to most Android devices.
Step 1: Navigate to Settings
To begin sharing your Wi-Fi on your Android device, you’ll need to navigate to the settings menu. This is where you can access various system configurations and features on your device.
Here’s how you can get to the settings menu:
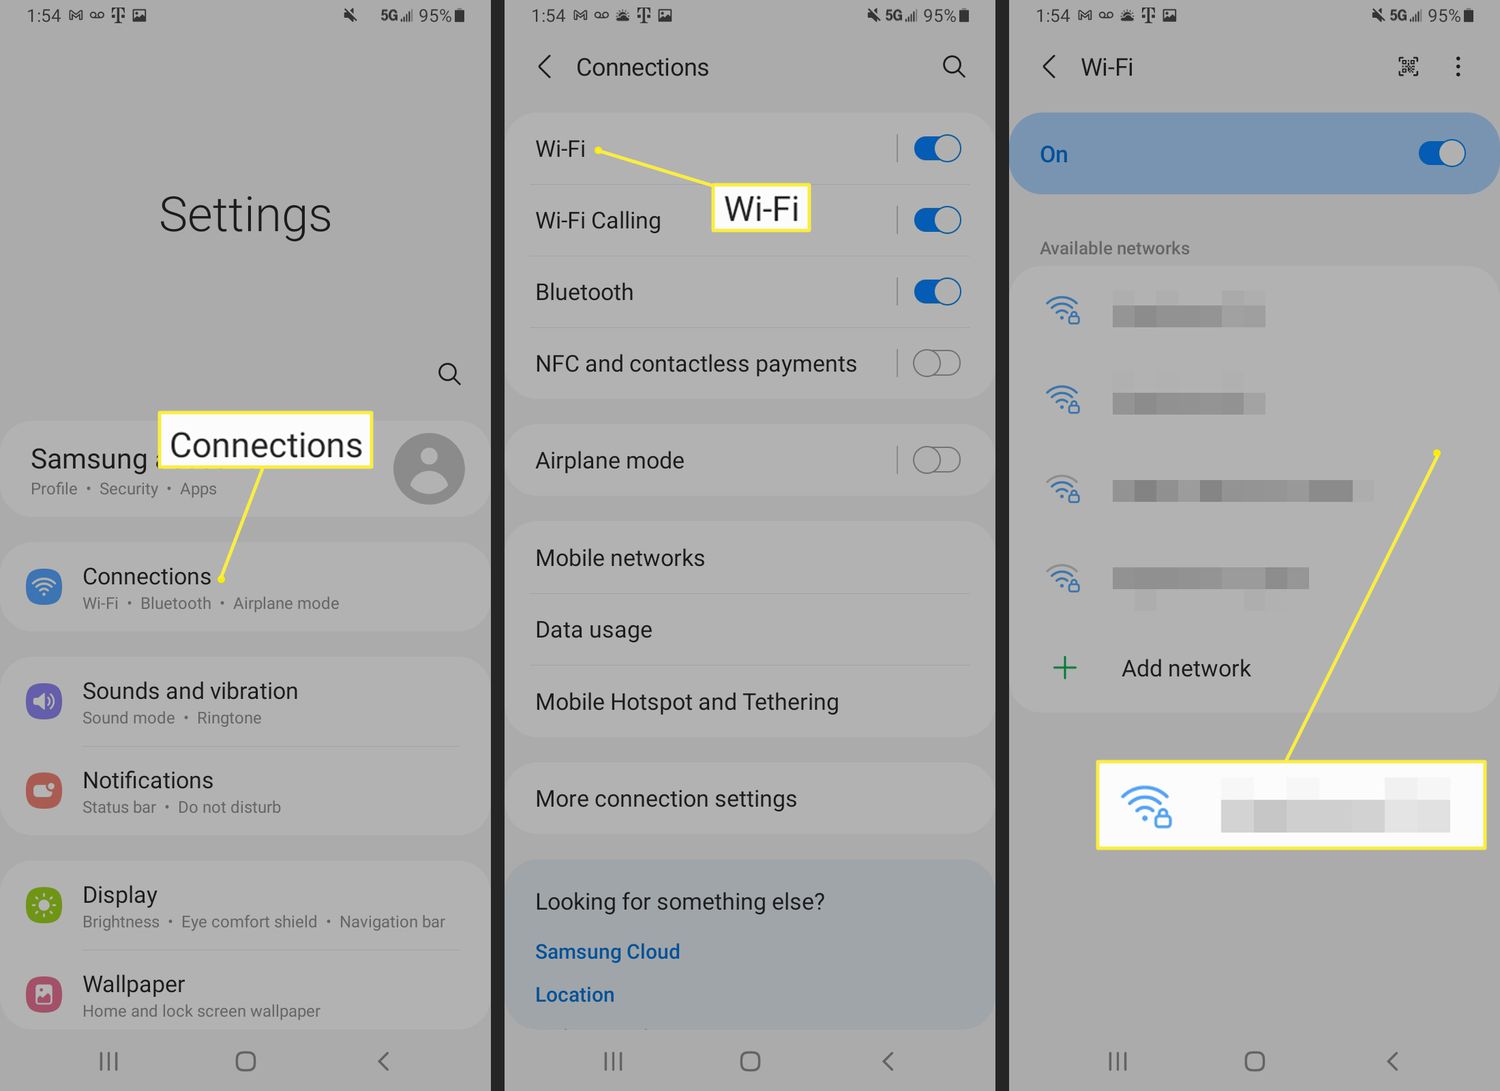
- Unlock your Android device if it’s locked, and swipe down from the top of the screen to open the notification shade.
- Locate and tap on the gear-shaped icon or the “Settings” option. This will open the settings menu.
Alternatively, you can also access the settings menu by locating the “Settings” app on your home screen or app drawer and tapping on it.
Once you’ve successfully opened the settings menu, you’re ready to move on to the next step.
Remember, the placement and appearance of the settings menu may vary slightly depending on your Android device’s manufacturer and the version of Android you’re using. However, the general process described here should help you find the settings menu regardless of the specific device.
Step 2: Locate and select the “Network & internet” option
After accessing the settings menu on your Android device, the next step is to find the “Network & internet” option. This is where you can manage your network settings, including Wi-Fi, mobile data, and Bluetooth.
Follow these steps to locate and select the “Network & internet” option:
- Scroll through the list of available settings options until you find “Network & internet.” It may be located towards the top of the settings menu.
- Tap on “Network & internet.” This will open a new window with various network-related settings.
Depending on your Android device, you may also see an alternative option such as “Connections” or “Wireless & networks” instead of “Network & internet.” The important thing is to choose the option that relates to network settings.
Once you’ve successfully accessed the “Network & internet” settings, you’re ready to proceed to the next step of sharing your Wi-Fi on your Android device.
Remember that the exact location and labeling of the “Network & internet” option may vary slightly depending on the make and model of your Android device and the version of Android you’re using. However, with a little exploration, you should be able to find the appropriate option.
Step 3: Tap on “Hotspot & tethering”
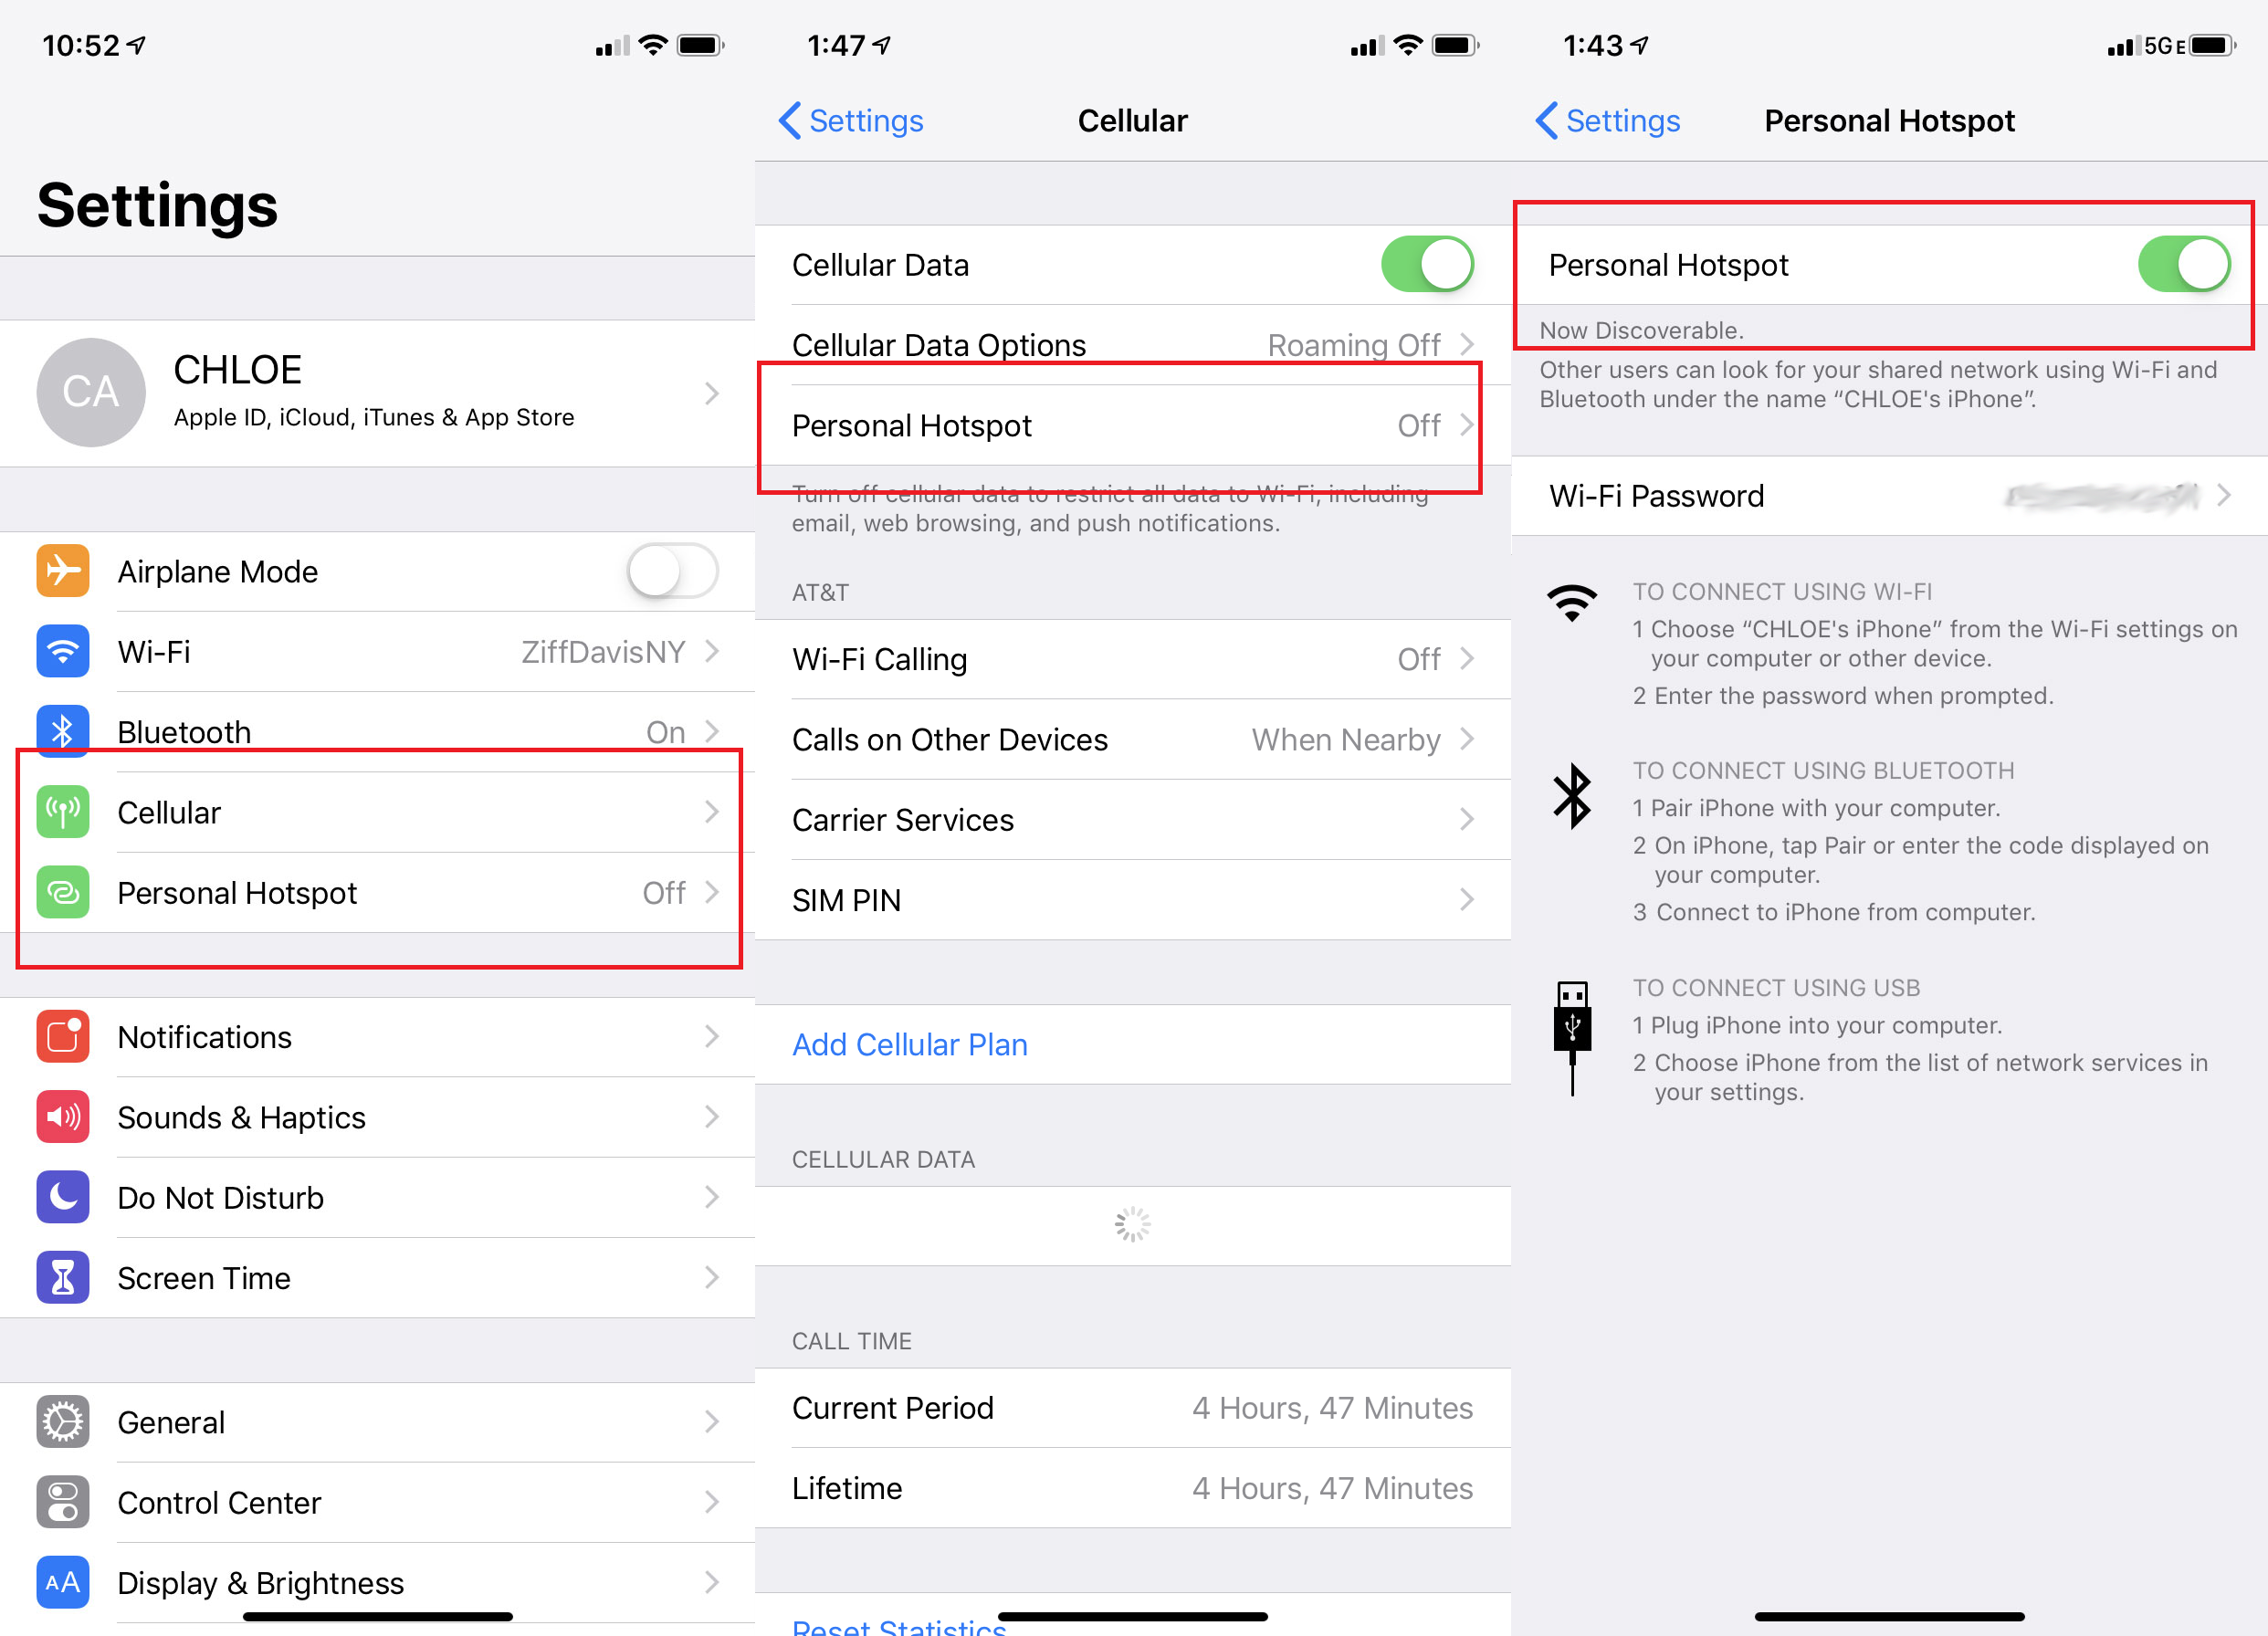
Once you’ve accessed the “Network & internet” settings on your Android device, the next step is to locate and tap on the “Hotspot & tethering” option. This is where you can enable and configure the Wi-Fi hotspot feature.
Follow these steps to find and select “Hotspot & tethering”:
- Scroll through the list of available settings options within the “Network & internet” menu until you see “Hotspot & tethering.” It is typically located towards the bottom of the list, but the exact placement may vary depending on your device.
- Tap on “Hotspot & tethering” to access the hotspot settings.
Upon tapping on “Hotspot & tethering,” you will be presented with various options related to sharing your Wi-Fi connection.
Note that some Android devices may label this option as “Portable hotspot” or “Personal hotspot.” Regardless of the labeling, the functionality remains the same – to enable and configure the Wi-Fi hotspot.
Once you have successfully accessed the “Hotspot & tethering” settings, you are now ready to proceed to the next step and enable the Wi-Fi hotspot feature on your Android device.
Remember, the specific wording and location of the “Hotspot & tethering” option may vary slightly depending on the make and model of your Android device and the version of Android you’re using. However, with a bit of exploration, you should be able to find the appropriate option easily.
Step 4: Enable the Wi-Fi hotspot feature
Now that you’ve accessed the “Hotspot & tethering” settings on your Android device, it’s time to enable the Wi-Fi hotspot feature. Enabling this feature allows other devices to connect to your Android device and share its internet connection.
Here’s how you can enable the Wi-Fi hotspot feature:
- In the “Hotspot & tethering” settings menu, you will see an option labeled “Wi-Fi hotspot.” Tap on this option to enable the Wi-Fi hotspot feature.
- Once enabled, you may have the option to customize the hotspot’s network name (SSID) and password. Feel free to enter a network name of your choice or stick with the default name provided. Similarly, set a secure password that you can easily remember but others cannot easily guess.
- After making any necessary changes to the network name and password, save the settings.
Once you’ve enabled the Wi-Fi hotspot feature and configured the network name and password, your Android device is now broadcasting a Wi-Fi signal that other devices can connect to.
Note that enabling the Wi-Fi hotspot feature may consume additional battery power on your Android device. It’s a good practice to disable the hotspot when you’re not using it to conserve battery life.
Now that the Wi-Fi hotspot feature is enabled on your Android device, you’re ready to move on to the next step and configure the hotspot settings.
Keep in mind that the exact location and wording of the “Wi-Fi hotspot” option may vary slightly depending on your Android device and the version of Android you’re using. However, the general process remains the same.
Step 5: Configure hotspot settings
After enabling the Wi-Fi hotspot feature on your Android device, you have the option to configure additional settings to personalize your hotspot and optimize its functionality.
Follow these steps to configure your hotspot settings:
- Access the “Hotspot & tethering” settings menu on your Android device.
- Look for options such as “Configure hotspot” or “Hotspot settings” and tap on it. This will open a window where you can customize various aspects of your hotspot.
- Depending on your device and Android version, you may have the option to adjust settings such as:
- Network name (SSID): Change the name of your hotspot network to something unique and easily recognizable.
- Password: Update or modify the password for your hotspot network to enhance its security.
- Security mode: Choose the desired security mode for your hotspot network, such as WPA2-PSK (recommended for maximum security).
- Maximum connections: Determine the maximum number of devices that can simultaneously connect to your hotspot.
- Timeout settings: Specify a duration after which the hotspot will automatically turn off if there are no connected devices.
- Data usage: Access data usage details specific to the hotspot feature, allowing you to monitor and manage its usage.
- Once you have adjusted the desired settings, save or apply the changes.
Configuring these hotspot settings allows you to personalize your Wi-Fi hotspot and ensure it aligns with your preferences and requirements. Adjusting the network name, password, and security mode can help protect your hotspot from unauthorized access.
Remember to choose a strong password for your hotspot network and avoid using easily guessable information, such as your name or birthdate.
Keep in mind that the available options may vary depending on your Android device’s manufacturer and the version of Android you’re using. Nonetheless, most Android devices offer similar settings to customize the Wi-Fi hotspot feature.
Once you’ve configured the hotspot settings to your liking, you’re ready to move on to the next step and connect devices to your Wi-Fi hotspot.
Step 6: Connect devices to your Wi-Fi hotspot
Now that you have enabled and configured your Wi-Fi hotspot on your Android device, it’s time to connect other devices and enjoy internet access on them.
Follow these steps to connect devices to your Wi-Fi hotspot:
- On the device you want to connect to your hotspot, open the Wi-Fi settings.
- Look for the available Wi-Fi networks and locate the network name (SSID) of your hotspot. It should be the same network name you configured in the hotspot settings.
- Select your hotspot network from the list of available networks.
- When prompted, enter the password you set for your hotspot network. Make sure to enter it correctly.
- After entering the password, the device will attempt to connect to your hotspot.
- Once the device is successfully connected, you will see the Wi-Fi symbol in the status bar or Wi-Fi indicator on the device’s screen.
Congratulations! The device is now connected to your Wi-Fi hotspot, and it can start using your Android device’s internet connection.
Repeat the above steps for any additional devices you want to connect to your hotspot.
Remember, the number of devices that can connect to your hotspot simultaneously may depend on the maximum connections setting you configured in the hotspot settings. Be mindful of this limitation and ensure a smooth experience for all connected devices.
If you want to disconnect a device from your hotspot, you can either toggle off the Wi-Fi on that device or forget the hotspot network from its Wi-Fi settings.
Now that you know how to connect devices to your Wi-Fi hotspot, you’re ready to move on to the final step of disabling the Wi-Fi hotspot when it’s not in use.
Step 7: Disable the Wi-Fi hotspot when not in use
After connecting devices to your Wi-Fi hotspot and enjoying internet access, it’s essential to remember to disable the hotspot when you’re not using it. This helps conserve battery life and ensures that your personal network remains secure.
Here’s how you can disable the Wi-Fi hotspot on your Android device:
- Access the “Hotspot & tethering” settings menu on your Android device, just like in previous steps.
- Locate the toggle or switch that controls the Wi-Fi hotspot feature. It is usually a simple on/off switch or a toggle that you can slide to turn off.
- Slide the toggle or switch to the “Off” position to disable the Wi-Fi hotspot.
Once you’ve disabled the Wi-Fi hotspot, your Android device will no longer be broadcasting a Wi-Fi signal, and other devices will no longer be able to connect to it.
Disabling the Wi-Fi hotspot when you’re not using it helps prolong your device’s battery life, as running the hotspot continuously consumes power. Additionally, it ensures that other devices cannot access your personal network without your permission.
If you have a habit of forgetting to disable the hotspot, you can set a reminder or use automation tools on your Android device to turn off the hotspot automatically after a certain period of inactivity.
By following this final step of disabling the Wi-Fi hotspot when not in use, you can have better control over your device’s energy consumption and protect the security of your network.
Now that you know how to disable the Wi-Fi hotspot, you have successfully completed the process of sharing your Wi-Fi on your Android device!
Conclusion
Sharing your Wi-Fi on your Android device is a simple and convenient way to provide internet access to other devices. By following the steps outlined in this guide, you can enable and configure the Wi-Fi hotspot feature on your Android device, connect other devices to it, and enjoy internet access wherever you go.
Throughout this article, we’ve covered the necessary steps to share your Wi-Fi on an Android device:
- Navigating to the settings menu
- Locating and selecting the “Network & internet” option
- Tapping on “Hotspot & tethering”
- Enabling the Wi-Fi hotspot feature
- Configuring hotspot settings
- Connecting devices to your Wi-Fi hotspot
- Disabling the Wi-Fi hotspot when not in use
Remember that the specific steps and options may vary slightly depending on your Android device’s manufacturer and the version of Android you’re using. However, the general process remains the same.
Sharing your Wi-Fi on your Android device can come in handy when you need to connect multiple devices to the internet or if you’re in a location with limited Wi-Fi access. Just make sure to follow the best practices, such as setting a secure password for your hotspot, monitoring your data usage, and disabling the hotspot when not in use.
Now that you have the knowledge and skills to share your Wi-Fi on your Android device, you can stay connected wherever you go. Enjoy the convenience of sharing your internet connection and make the most out of your Android device!


