Introduction
Welcome to the world of wireless networking! Setting up a password on your wireless router is an essential step to protect your network and keep it secure from unauthorized access. Without a password, anyone within range can connect to your network, potentially compromising your personal information and slowing down your internet speeds.
In this guide, we will walk you through the process of setting up a password on your wireless router. We will cover the necessary steps, from accessing the router settings to configuring and applying the password. By the end of this guide, you will have a secure and password-protected wireless network that only you and authorized users can access.
Before we begin, make sure you have the necessary information on hand. You will need the default IP address, username, and password for your specific router model. You can usually find this information in the router’s manual or on the manufacturer’s website.
Now, let’s get started with setting up a password on your wireless router!
Step 1: Accessing the Router Settings
The first step in setting up a password on your wireless router is accessing the router’s settings. To do this, you need to establish a connection between your computer and the router. Here’s how:
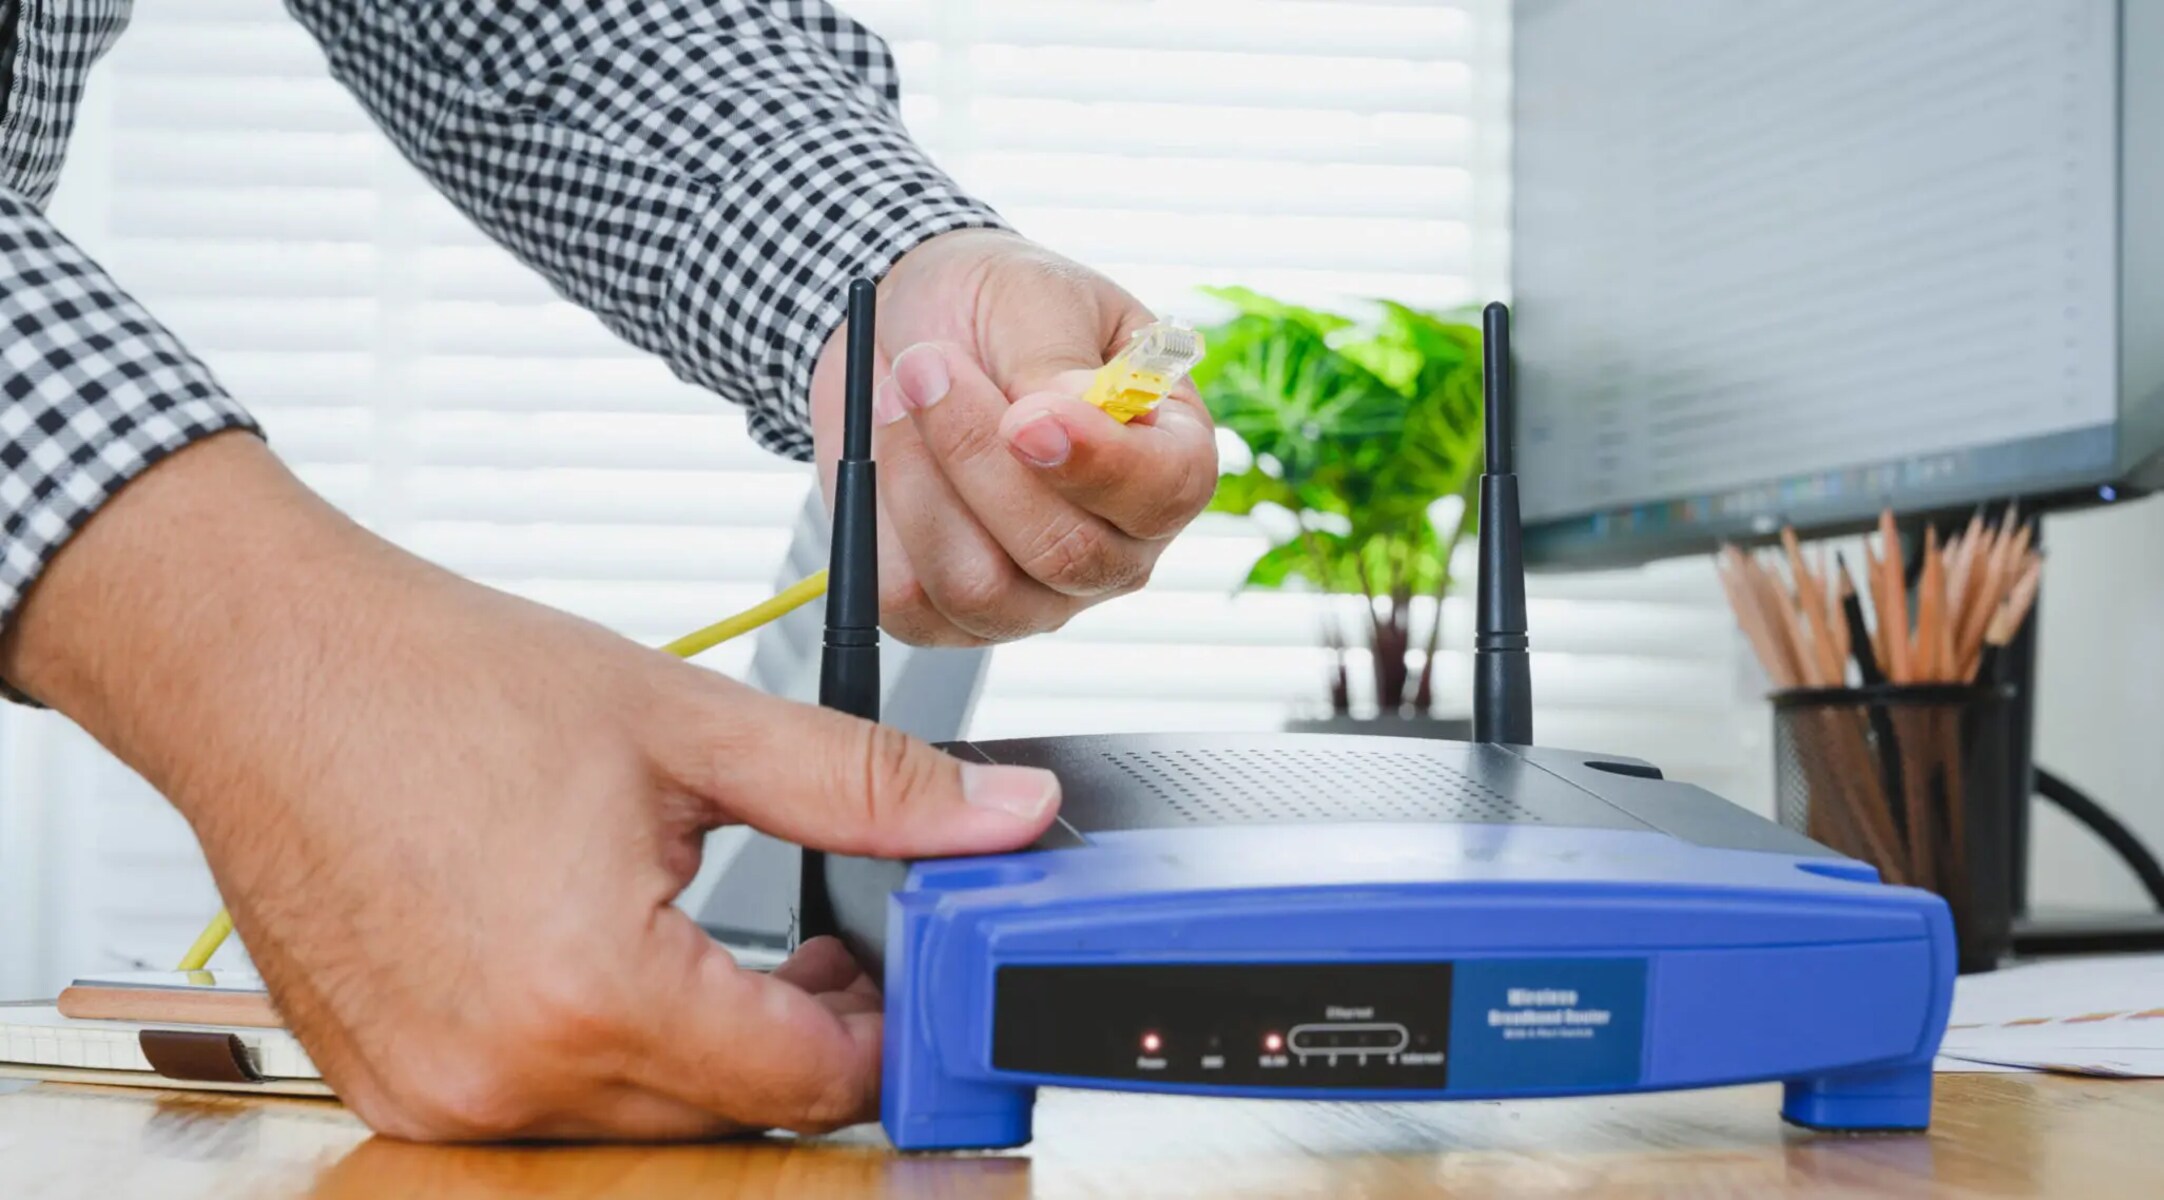
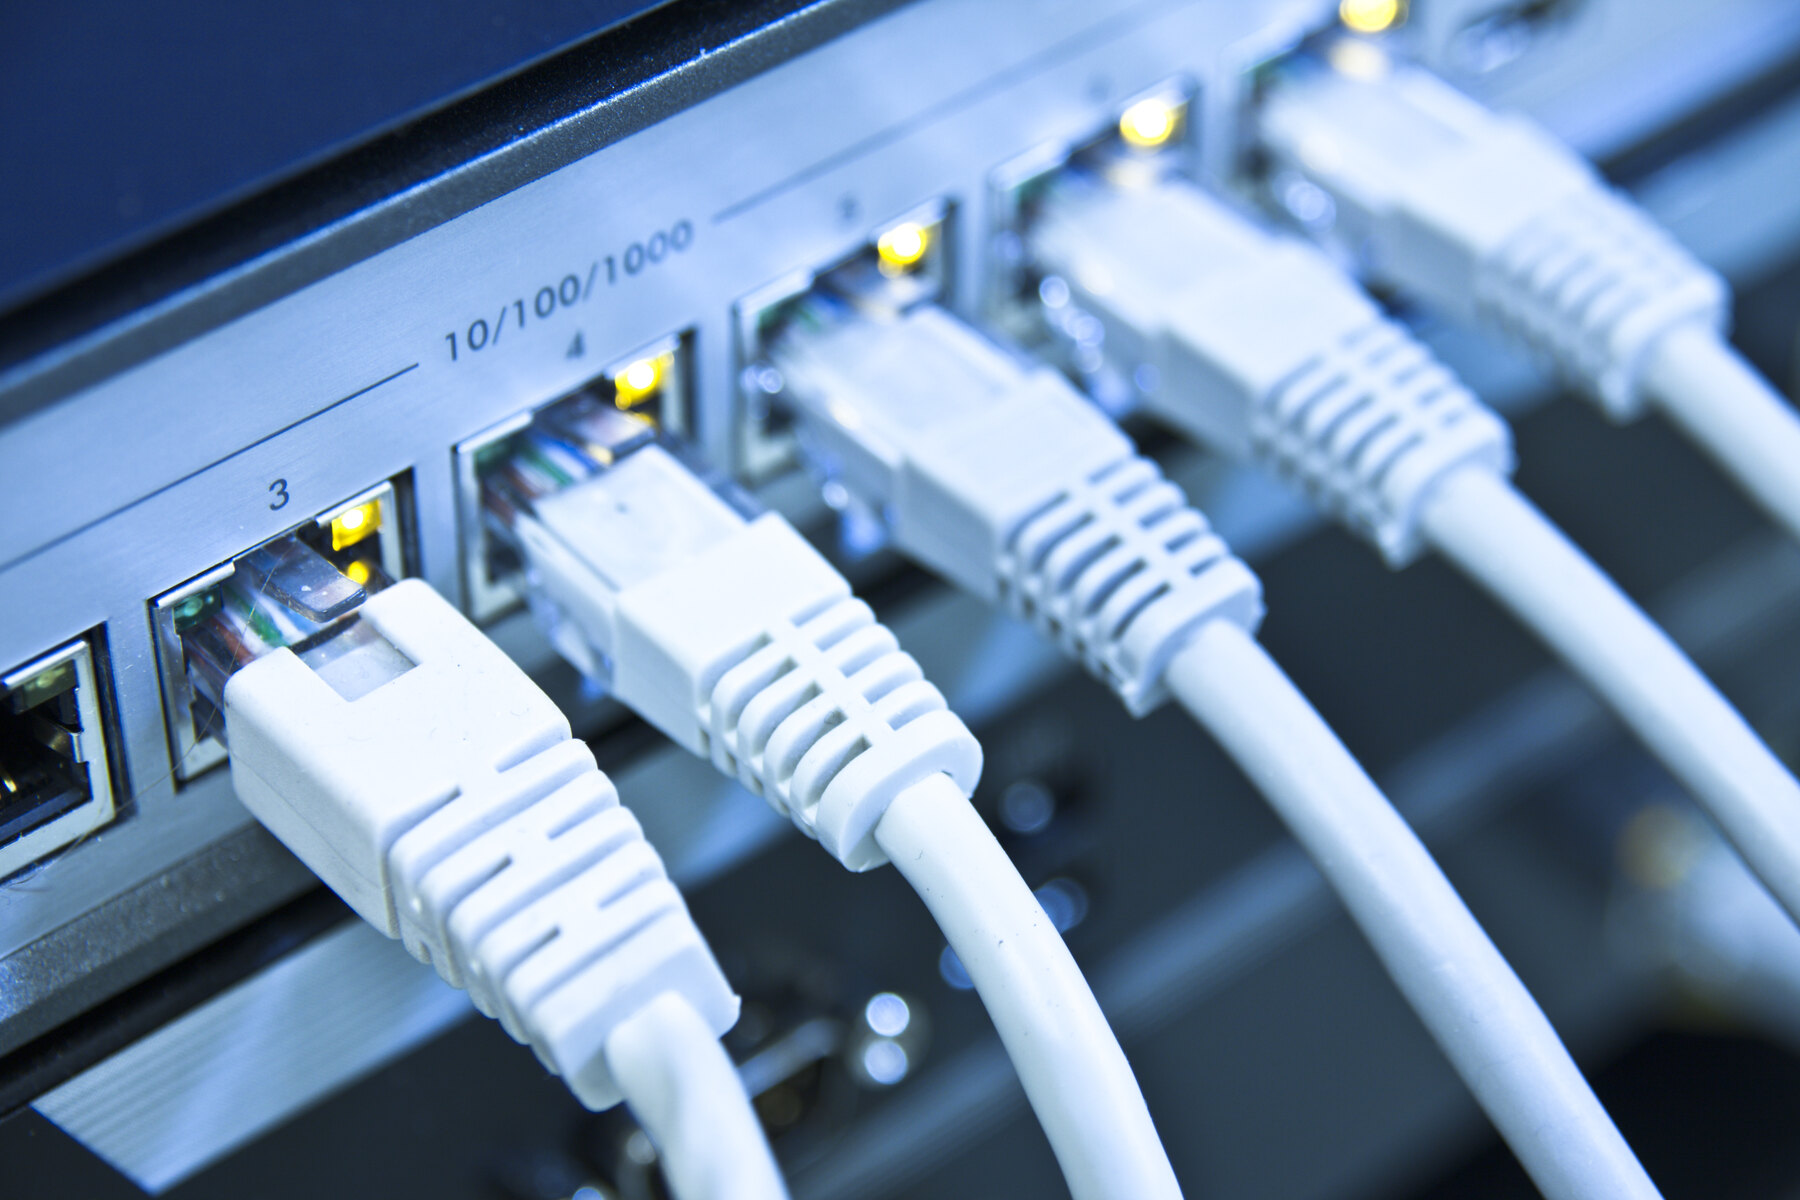
- Connect your computer to the router using an Ethernet cable or ensure that you are connected to the router’s Wi-Fi network.
- Open a web browser such as Chrome, Firefox, or Internet Explorer.
- In the address bar, type the default IP address for your router. This is usually “192.168.0.1” or “192.168.1.1,” but it may vary depending on your router’s manufacturer. If you are unsure of the default IP address, refer to your router’s manual or the manufacturer’s website.
- Press Enter, and you should be directed to the login page of your router.
- Enter the username and password for your router. If you haven’t changed these credentials, you can find the default username and password in the router’s manual or on the manufacturer’s website.
- Once you have entered the correct login credentials, click on the Login or Submit button to access the router’s settings.
Once you have successfully logged in to the router’s settings, you can proceed to the next step of setting up a password for your wireless network.
Step 2: Finding the Wireless Security Settings
After accessing the router’s settings, the next step is to locate the wireless security settings. These settings allow you to configure the security features of your wireless network, including setting up a password. Follow these steps to find the wireless security settings:
- Once you are logged in to the router’s settings interface, look for a tab or menu option labeled “Wireless” or “Wireless Settings.” This tab may be located at the top or side of the settings page.
- Click on the “Wireless” or “Wireless Settings” tab to expand the menu and view the available options.
- Within the wireless settings, you should see a submenu or section specifically dedicated to wireless security. This section may be labeled as “Wireless Security,” “Security,” or something similar.
- Click on the “Wireless Security” or related option to access the wireless security settings.
Once you have accessed the wireless security settings, you can proceed to the next step of choosing a security protocol and configuring the password for your wireless network.
Step 3: Choosing a Security Protocol
When it comes to securing your wireless network, you have a few different security protocols to choose from. Each protocol offers varying levels of security, so it’s important to choose one that best suits your needs. Here are the most common security protocols:
- WEP (Wired Equivalent Privacy): WEP is the oldest and least secure security protocol. It uses a static encryption key that needs to be entered on all devices connecting to the network. However, WEP is highly vulnerable to hacking and is not recommended for securing your wireless network.
- WPA (Wi-Fi Protected Access): WPA is an improvement over WEP and offers stronger security. It uses a dynamic encryption key that changes periodically, making it more difficult for unauthorized users to access your network. WPA is better than WEP but still has some vulnerabilities.
- WPA2 (Wi-Fi Protected Access 2): WPA2 is currently the most secure wireless security protocol available. It offers robust encryption and stronger security measures than WPA. It is highly recommended to choose WPA2 as your security protocol if your router and devices support it.
- WPA3 (Wi-Fi Protected Access 3): WPA3 is the latest wireless security protocol and provides even stronger encryption and security features than WPA2. However, WPA3 is relatively new, and not all routers and devices support it yet. If your router and devices do support WPA3, it is the most secure option available.
To select a security protocol:
- Within the wireless security settings, you will find an option to choose the security protocol. It may be labeled as “Security Mode” or something similar.
- Select the desired security protocol from the available options, i.e., WPA2 or WPA3.
Now that you have chosen a security protocol, you are ready to proceed with configuring the password for your wireless network in the next step.
Step 4: Configuring the Password
Now that you have chosen a security protocol, it’s time to configure the password for your wireless network. The password, also known as the network key or passphrase, is the code that users need to enter when connecting to your Wi-Fi network. Follow these steps to configure the password:
- In the wireless security settings, look for an option labeled “Passphrase,” “Network Key,” or something similar. This is where you will enter your new password.
- Choose a strong and unique password for your network. It is recommended to use a combination of uppercase and lowercase letters, numbers, and special characters. Avoid using easily guessable passwords such as your name, birthdate, or “password123.”
- Enter the chosen password in the designated field.
- Some routers may have an option to generate a random password for you. If available, you can use this feature to create a strong password instead of manually entering one.
- Take note of the password or write it down in a secure place. This will be the password that you will share with authorized users who wish to connect to your wireless network.
Remember that the password is case-sensitive, so make sure to enter it exactly as you want it to be.
Additionally, some routers may have an option to enable guest network access. If you want to provide internet access to guests without sharing your main network’s password, you can set up a separate guest network that uses a different password. This can help further enhance the security of your main network.
Once you have configured the password, you are ready to save and apply the changes in the final step.
Step 5: Saving and Applying the Changes
After configuring the password for your wireless network, it’s important to save and apply the changes to ensure that your new settings take effect. Follow these steps to save and apply the changes:
- Look for a “Save” or “Apply” button within the router’s settings interface. This button is usually located at the bottom or top-right corner of the page.
- Click on the “Save” or “Apply” button to save your new settings.
- Wait for the router to apply the changes and restart itself. This may take a few moments. Avoid interrupting the process or turning off the router during this time.
- Once the router has restarted, your new password and security settings will be active.
It’s important to note that once you apply the changes, all devices currently connected to your network will be disconnected. You will need to reconnect each device using the new password. Make sure to update the Wi-Fi settings on your computer, smartphone, and other devices with the new password to ensure uninterrupted internet access.
As an additional security measure, consider changing the default username and password for accessing the router’s settings. This will help protect your network from unauthorized access to the router’s control panel.
Congratulations! You have successfully set up a password on your wireless router. Your network is now secure and protected from unauthorized access.
Remember to keep your password secure and only share it with trusted individuals who need access to your network. Regularly updating your password and keeping your router’s firmware up to date are also good practices to maintain a secure wireless network.
Conclusion
Setting up a password on your wireless router is crucial for maintaining the security of your network and protecting your personal information. By following the steps outlined in this guide, you have successfully configured a password for your wireless network and ensured that only authorized users can connect to it.
Remember to regularly update your password and keep it strong and unique. Avoid using easily guessable passwords and consider enabling additional security features, such as guest networks, to further enhance the security of your network.
It is also important to keep your router’s firmware up to date. Router manufacturers regularly release firmware updates to address security vulnerabilities and improve performance. Check the manufacturer’s website periodically for any available updates for your router model.
By securing your wireless network with a password, you can have peace of mind knowing that your internet connection is safe from unauthorized access. This protects your personal data and ensures that your internet speeds remain optimal.
Thank you for following this guide! If you have any further questions or need assistance, consult your router’s manual or reach out to the manufacturer’s customer support. Stay safe and enjoy the benefits of a secure wireless network!


