Introduction
Welcome to our guide on how to set up a VPN on your Mac. In today’s digital age, internet privacy and security have become paramount. With the increasing number of cyber threats and the need to protect personal information online, using a VPN (Virtual Private Network) has become essential.
A VPN enables you to create a secure connection to another network over the internet. It acts as a tunnel that encrypts your internet traffic, making it nearly impossible for anyone to intercept or decipher your data. By using a VPN, you can browse the internet anonymously, access geo-restricted content, and protect your sensitive information from prying eyes.
If you own a Mac, you’re in luck! Setting up a VPN on your device is a straightforward process. In this guide, we will provide you with step-by-step instructions on how to set up a VPN on your Mac, whether you prefer to do it manually or by using a VPN application.
Before we delve into the different methods of setting up a VPN on your Mac, let’s discuss why you actually need a VPN in the first place.
While using public Wi-Fi networks, your personal information, such as passwords, credit card details, and browsing activities, can be easily accessed by hackers. A VPN encrypts your data and masks your IP address, making it incredibly difficult for cybercriminals to intercept your online activities.
Moreover, if you’re concerned about your internet service provider (ISP) monitoring your online activities and selling your data to third parties, a VPN can provide an extra layer of privacy. When you connect to a VPN, your ISP sees encrypted data and is unable to track your browsing habits.
In addition to privacy and security, a VPN allows you to bypass geographical restrictions imposed on certain websites or streaming platforms. By connecting to a VPN server in another country, you can access content that is otherwise unavailable in your region.
Now that you understand the importance of a VPN, let’s explore how to choose the right VPN provider for your Mac.
Why do you need a VPN on your Mac?
In today’s digital landscape, using a VPN (Virtual Private Network) on your Mac has become increasingly important. Here are the key reasons why you need a VPN on your Mac:
1. Privacy and Security: When you connect to the internet without a VPN, your online activities are vulnerable to surveillance, tracking, and hacking attempts. A VPN creates a secure and encrypted connection, protecting your personal information and ensuring your privacy online. It prevents hackers and cybercriminals from accessing your data or monitoring your online activities, especially when using public Wi-Fi networks.
2. Anonymity and Bypassing Restrictions: A VPN allows you to browse the internet anonymously by assigning you a temporary IP address. This means that your real IP address and location are hidden, making it difficult for websites, advertisers, and even your internet service provider (ISP) to track your online activities. Additionally, a VPN enables you to bypass geographical restrictions and access content that may be restricted in your location. Whether it’s streaming services, gaming servers, or blocked websites, a VPN opens up a world of online possibilities.
3. Secure File Transfer and Remote Access: If you frequently transfer sensitive files or need to access your workplace network remotely, a VPN provides a secure and encrypted connection. This ensures that your files and data remain protected during transmission. With a VPN, you can securely access files on your home or office network from anywhere in the world, enhancing productivity and reducing the risk of data breaches.
4. Prevent Bandwidth Throttling: Some internet service providers engage in bandwidth throttling, where they intentionally slow down certain types of internet traffic, such as streaming or torrenting. With a VPN, your internet traffic is encrypted and hidden from your ISP, preventing them from throttling your connection based on the type of content you access. This allows for a more consistent and reliable internet experience.
5. Public Wi-Fi Protection: Public Wi-Fi networks, such as those found in cafes, hotels, and airports, are notorious for their lack of security. Hackers can easily intercept data transmitted over these networks, potentially gaining access to your personal information, passwords, and financial details. With a VPN, your connection is encrypted, ensuring that your data is secure while using public Wi-Fi.
By using a VPN on your Mac, you can maintain your privacy, improve your security, bypass restrictions, and ensure a safe and seamless online experience. Now that you understand the importance of a VPN, let’s explore the factors to consider when choosing the right VPN provider for your Mac.
Choosing the right VPN provider
When it comes to selecting a VPN provider for your Mac, it’s crucial to choose one that meets your specific needs in terms of security, performance, and user experience. Here are some factors to consider when choosing the right VPN provider:
1. Security and Privacy Features: Look for a VPN provider that offers strong encryption protocols, such as OpenVPN or IKEv2, to ensure the highest level of security for your data. Additionally, check if the provider has a strict no-logs policy, meaning they do not store any records of your online activities. This ensures that even if requested, there is no data to hand over to authorities.
2. Server Network and Locations: The number and distribution of servers play a significant role in the performance and flexibility of a VPN. Ensure that the VPN provider has a wide network of servers in various locations, including the countries you frequently access content from. This ensures faster connection speeds and the ability to access geographically restricted content.
3. User-Friendly Interface: A user-friendly VPN interface is essential for a hassle-free experience. Look for a provider that offers a well-designed and intuitive app for Mac, allowing you to easily connect to VPN servers and manage settings without any technical difficulties.
4. Speed and Performance: A good VPN provider should offer fast and stable connection speeds. Some VPNs may slow down your internet speed due to the encryption and routing processes. Look for providers that have optimized servers and offer features like split tunneling, which allows you to choose which apps or websites use the VPN connection.
5. Customer Support: Reliable customer support is crucial in case you encounter any issues or have questions about your VPN service. Look for providers that offer responsive and knowledgeable customer support through various channels such as live chat, email, or phone.
6. Pricing Plans and Compatibility: Consider your budget and choose a VPN provider that offers flexible and affordable pricing plans. Many providers offer different subscription options, including monthly, annual, or even multi-year plans. Also, ensure that the VPN software is compatible with your Mac’s operating system version.
7. Reputation and Reviews: Do some research on the reputation and reviews of different VPN providers. Look for independent reviews and feedback from users to get an idea of their reliability, performance, and customer satisfaction levels.
By considering these factors, you can choose a VPN provider that aligns with your requirements and provides the best balance between security, performance, and usability. Now that you have an understanding of what to look for in a VPN provider, let’s move on to the step-by-step guide on setting up a VPN on your Mac.
Step-by-step guide to setting up VPN on Mac
Setting up a VPN on your Mac is a relatively simple process. Follow these step-by-step instructions to get started:
Method 1: Setting up VPN manually
- Start by subscribing to a reputable VPN provider that supports Mac.
- Once you have subscribed, open the System Preferences on your Mac.
- Click on “Network” to access the network settings.
- In the Network window, click on the “+” button at the bottom left corner to add a new network connection.
- Select “VPN” as the interface and choose the VPN type (e.g., L2TP, PPTP, or IKEv2) recommended by your VPN provider.
- Enter a name for the VPN connection and click “Create”.
- In the Configuration window, enter the server address provided by your VPN provider.
- Choose the authentication settings, which may include a username and password or a shared secret code.
- Click “OK” to save the settings and then click on “Apply” to apply the changes.
- To connect to the VPN, click on the VPN connection you just created and click on the “Connect” button.
- Enter your credentials if required, and once connected, you should see a VPN icon in the menu bar indicating the connection is active.
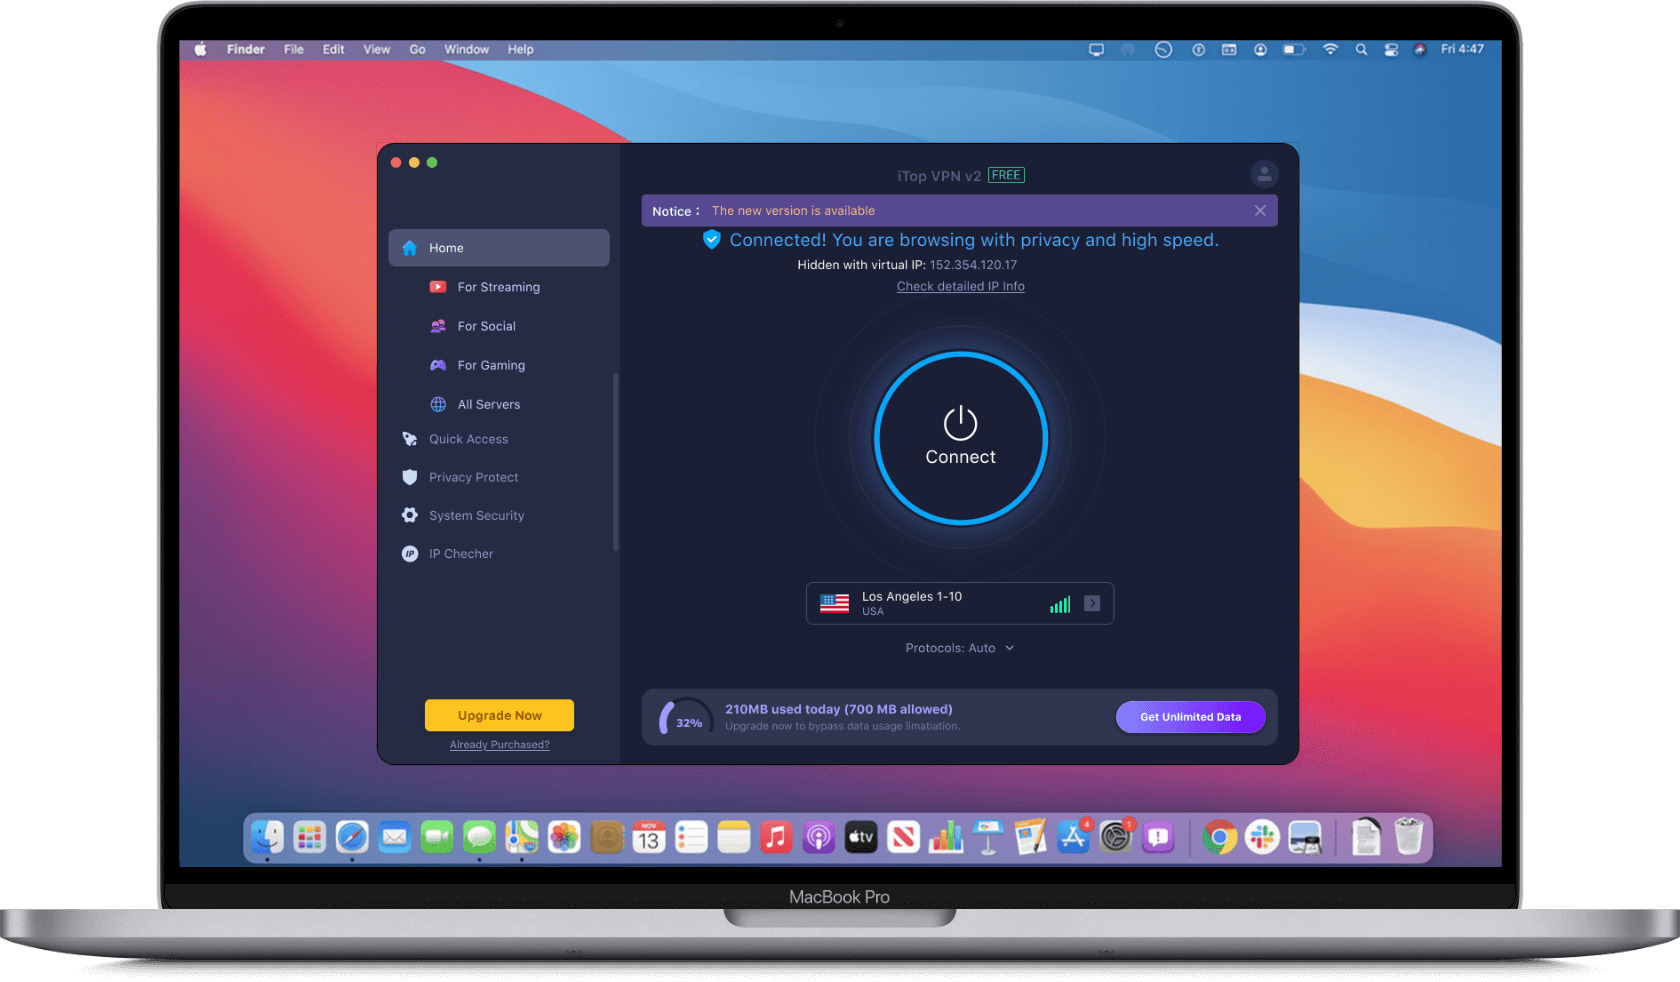
Method 2: Using a VPN app
- Subscribe to a VPN provider that offers a dedicated Mac application.
- Download and install the VPN app on your Mac.
- Launch the VPN app and log in using your credentials.
- Choose a server location from the available options.
- Click on the “Connect” or “On” button to establish a VPN connection.
- Once connected, the VPN app will indicate that the connection is active, and you will be able to browse the internet securely through the VPN.
Whichever method you choose, make sure to test your VPN connection to ensure it is working correctly. You can do this by visiting a website that displays your IP address and verifying that it matches the VPN server location you selected.
With your VPN successfully set up on your Mac, you can now enjoy a secure and private internet browsing experience. If you encounter any issues during the setup process, refer to the troubleshooting section or consult the customer support provided by your VPN provider.
Method 1: Setting up VPN manually
Setting up a VPN manually on your Mac allows you to have more control over the configuration. Follow these step-by-step instructions:
- Start by subscribing to a reputable VPN provider that supports manual configuration on Mac.
- Once you have subscribed, open the System Preferences on your Mac.
- Click on “Network” to access the network settings.
- In the Network window, click on the “+” button at the bottom left corner to add a new network connection.
- Select “VPN” as the interface and choose the VPN type recommended by your VPN provider (e.g., L2TP, PPTP, or IKEv2).
- Enter a name for the VPN connection to easily identify it later.
- In the Configuration window, enter the server address provided by your VPN provider. This is usually in the form of a URL or IP address.
- Choose the authentication settings required by your VPN provider. This might include a username and password or a shared secret code. Enter the corresponding information in the appropriate fields.
- Configure additional settings as required. This may include options for encryption, DNS servers, or proxy settings. Your VPN provider should provide you with the necessary details.
- Click “Apply” to save the VPN settings.
To connect to the VPN, follow these steps:
- Click on the VPN connection you just created from the Network window.
- Click on the “Connect” button to establish the VPN connection.
- If prompted, enter your credentials (username and password or shared secret code).
- Once connected, you should see a VPN icon in the menu bar, indicating that the VPN connection is active.
- To disconnect from the VPN, click on the VPN icon in the menu bar and select “Disconnect”.
It is recommended to test your VPN connection by visiting a website that displays your IP address. Ensure that the IP address matches the server location you connected to, confirming that your VPN is working properly.
If you encounter any issues during the setup process, refer to the troubleshooting section or consult the customer support provided by your VPN provider for assistance.
Now you are ready to enjoy a secure and private browsing experience on your Mac with your manually configured VPN.
Method 2: Using a VPN app
If you prefer a more user-friendly approach, you can set up a VPN on your Mac using a dedicated VPN app provided by your VPN provider. Follow these steps:
- Start by subscribing to a reputable VPN provider that offers a dedicated Mac application.
- Download the VPN app from the provider’s website or from the Mac App Store.
- Once the app is downloaded, open the installer and follow the on-screen instructions to install it on your Mac.
- Launch the VPN app and sign in using your VPN account credentials. If you do not have an account, sign up for one with your chosen VPN provider.
- After signing in, you will be presented with a list of available server locations. Choose a server that suits your needs, whether it’s for security, bypassing restrictions, or accessing specific content.
- Once you have selected a server, click on the “Connect” or “On” button within the app to establish the VPN connection.
- Wait for the app to establish the connection. Once connected, you will see a confirmation message indicating that the VPN connection is active.
- Your Mac is now protected by the VPN, and all your internet traffic will be encrypted and routed through the selected server.
To disconnect from the VPN, simply open the VPN app and click on the “Disconnect” or “Off” button. This will terminate the VPN connection and restore your normal internet access.
It is recommended to test your VPN connection by visiting a website that displays your IP address. Ensure that the IP address matches the server location you connected to, confirming that your VPN is working properly.
If you encounter any issues during the installation or setup process, consult the user guide provided by your VPN provider or reach out to their customer support for assistance.
With the VPN app successfully installed and set up on your Mac, you can now enjoy a secure and private internet browsing experience with just a few clicks.
Troubleshooting common issues
While setting up or using a VPN on your Mac, you may encounter some common issues. Here are a few troubleshooting tips to help you resolve them:
1. Connection Issues:
- Ensure that your internet connection is stable and working properly.
- Try connecting to a different VPN server in case the current server is experiencing technical difficulties.
- Restart your Mac and the VPN app to refresh the connection.
2. Slow Internet Speed:
- Choose a VPN server that is geographically closer to your physical location to minimize latency.
- Consider upgrading your internet plan for faster overall speeds.
- Disable additional VPN features like encryption or split tunneling if they are impacting your speed.
3. DNS Leaks:
- Check if your VPN provider offers DNS leak protection, and ensure it is enabled in the VPN app settings.
- Manually set your DNS server settings to those provided by your VPN provider.
4. Compatibility Issues:
- Make sure you have the latest version of the VPN app and your Mac’s operating system.
- Check if your antivirus or firewall software is conflicting with the VPN. Temporarily disable them to see if it resolves the issue.
5. Authentication Problems:
- Double-check your username and password or shared secret code. Ensure they are correctly entered and uppercase/lowercase characters are inputted correctly.
- Contact your VPN provider’s customer support if you are consistently experiencing authentication failures.
6. No Internet Access:
- Confirm that your VPN connection is active by checking the VPN icon in the menu bar.
- Check if your VPN app has specific settings that disable local network access. Adjust these settings if necessary.
If you have exhausted these troubleshooting methods and are still experiencing issues with your VPN on Mac, reach out to your VPN provider’s customer support for further assistance. They can offer personalized solutions and address any specific problems you may encounter.
Remember, each VPN provider may have its own troubleshooting recommendations, so refer to their documentation or support resources as well. With patience and persistence, most common VPN issues can be resolved, allowing you to enjoy a secure and private internet experience on your Mac.
Conclusion
Setting up a VPN on your Mac is a simple and effective way to enhance your online privacy, security, and browsing experience. Whether you choose to set up a VPN manually or use a dedicated VPN app, the steps provided in this guide can help you get started.
By using a VPN, you can encrypt your internet traffic, protect your personal information from cyber threats, and bypass geo-restrictions to access content from around the world. It is essential to choose a reliable VPN provider that offers strong security measures, a wide server network, user-friendly interfaces, and responsive customer support.
Remember to test your VPN connection after setting it up to ensure it is working correctly, and troubleshoot any issues that may arise using the tips provided. Additionally, keep your VPN and Mac software up to date to benefit from the latest security enhancements and features.
With your VPN successfully set up on your Mac, you can browse the internet with confidence, knowing that your data is secure and your privacy is protected. Whether you’re working remotely, accessing sensitive information, or streaming your favorite content, a VPN can provide you with the peace of mind you need in today’s digital world.
We hope this guide has been helpful in assisting you with setting up a VPN on your Mac. Enjoy the benefits of a safe, private, and unrestricted internet experience!