Introduction
Welcome to this guide on how to set up the voice recorder on your iPhone. The voice recorder app is a handy tool that allows you to easily capture audio recordings on your device. Whether you need to record a lecture, a meeting, or simply want to save a voice memo, the voice recorder app has got you covered.
With the voice recorder app, you can easily access and manage your recordings, customize settings to suit your needs, and even transfer recordings to your computer or other devices. Whether you are a student, a professional, or simply someone who enjoys recording audio notes, this guide will walk you through the steps to set up and use the voice recorder app on your iPhone.
In this guide, we will cover everything from accessing the voice recorder app to customizing its settings, setting up a recording, managing your recordings, and even transferring them to other devices. So, let’s dive in and discover how to make the most of the voice recorder on your iPhone!
Step 1: Accessing the Voice Recorder app
To begin using the voice recorder app on your iPhone, you’ll first need to locate and access it. The voice recorder app comes pre-installed on most iPhone models, so you won’t need to download it separately. Here’s how to access the app:
- Unlock your iPhone by entering your passcode or using Face ID/Touch ID.
- On the home screen, swipe left or right to navigate to the App Library or search for the voice recorder app using the search bar at the top of the screen.
- Tap on the voice recorder icon, which looks like a microphone on a red background, to open the app.
Alternatively, you can also access the voice recorder app from the Control Center. Here’s how:
- Swipe down from the top right corner of the screen (iPhone X and later) or swipe up from the bottom of the screen (iPhone 8 and earlier) to open the Control Center.
- In the Control Center, you’ll see a row of icons representing various features. Look for the voice recorder icon, which also looks like a microphone on a red background.
- Tap on the voice recorder icon to open the app.
Once you’ve successfully accessed the voice recorder app, you’re ready to start using it. In the next steps, we’ll explore how to customize the voice recorder settings, set up a recording, manage your recordings, and transfer them to other devices.
Step 2: Customizing Voice Recorder settings
After accessing the voice recorder app on your iPhone, you may want to customize the settings to optimize your recording experience. The voice recorder app offers various options that you can adjust according to your preferences. Here’s how to customize the voice recorder settings:
- Open the voice recorder app on your iPhone.
- Tap on the three dots or “More” button in the lower-right corner of the screen to access the settings menu.
- In the settings menu, you’ll find options such as audio quality, file format, storage location, and more. Tweak these settings based on your needs and preferences.
- Adjust the audio quality to determine the level of recording clarity. Higher audio quality will result in larger file sizes, so consider the available storage space on your device.
- Choose the file format for your recordings. The voice recorder app typically supports formats like MP3 or M4A.
- Select the storage location for your recordings. You can choose between saving them on your iPhone or in iCloud Drive.
- Depending on the voice recorder app version and your iPhone model, you may have additional settings like enabling background recording, setting a time limit for recordings, or adjusting the microphone sensitivity.
Remember to save your settings once you’ve made the desired changes. That way, your voice recorder app will be set up to capture audio recordings just the way you want.
Now that you’ve personalized the voice recorder settings on your iPhone, you’re ready to move on to the next step: setting up a recording.
Step 3: Setting up a recording
Once you’ve customized the voice recorder settings on your iPhone, it’s time to start capturing audio by setting up a recording. The voice recorder app makes it easy to quickly start recording your voice, conversations, or any other sounds you want to preserve. Here’s how to set up a recording:
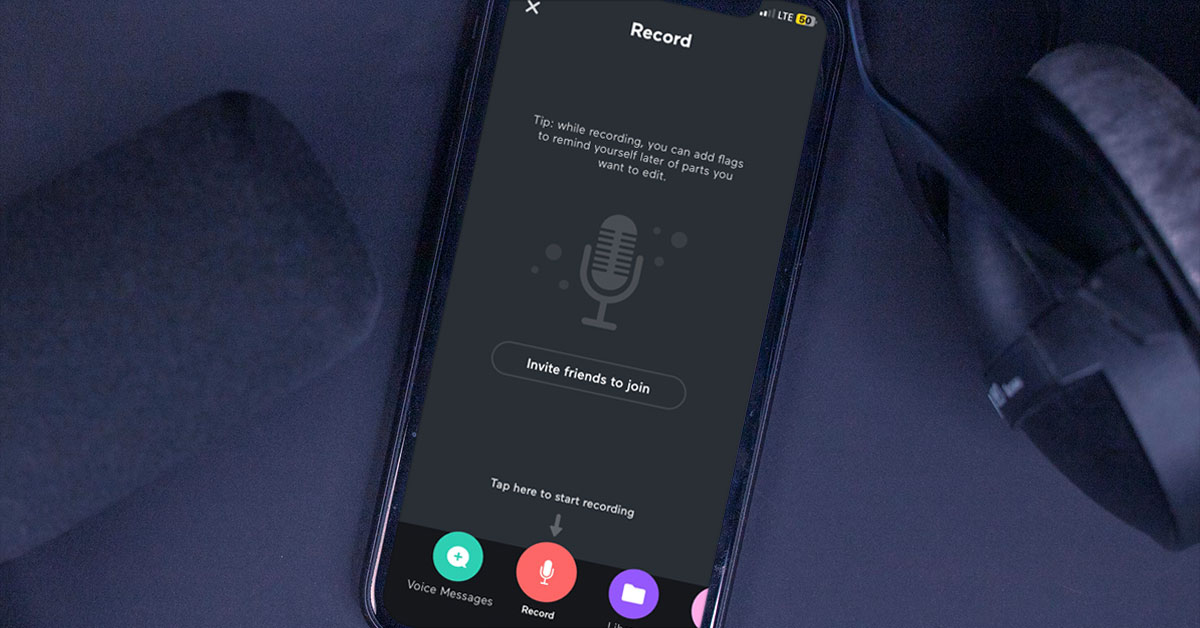
- Open the voice recorder app on your iPhone.
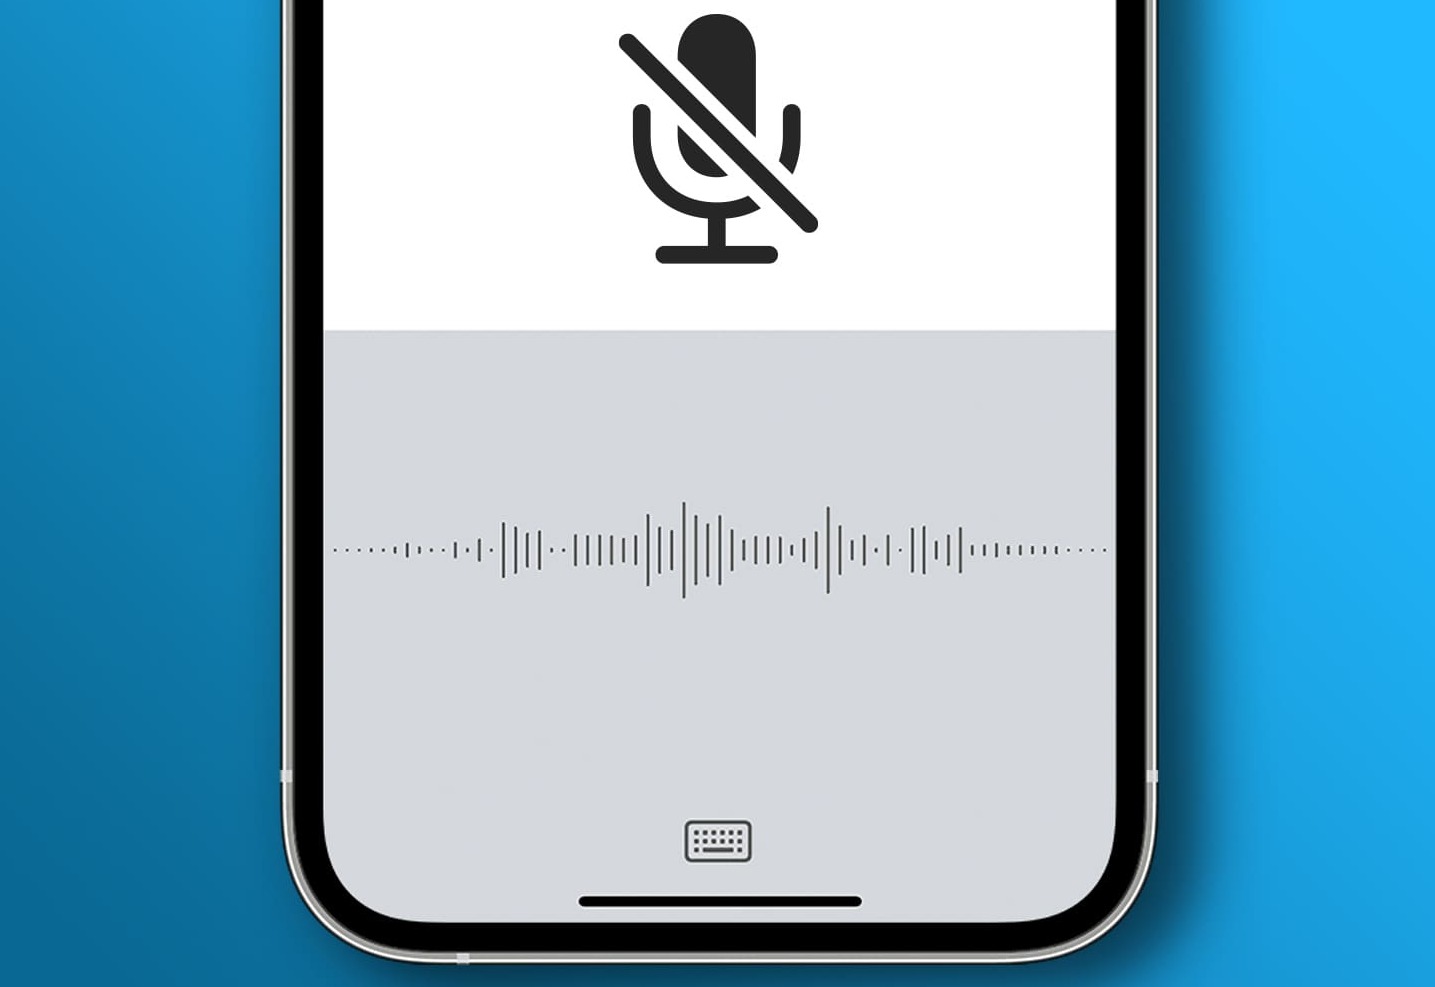
- You’ll see a large red button with a microphone icon in the center of the screen. This is the main recording button.
- To begin recording, simply tap on the red button. The app will start capturing audio from your device’s microphone.
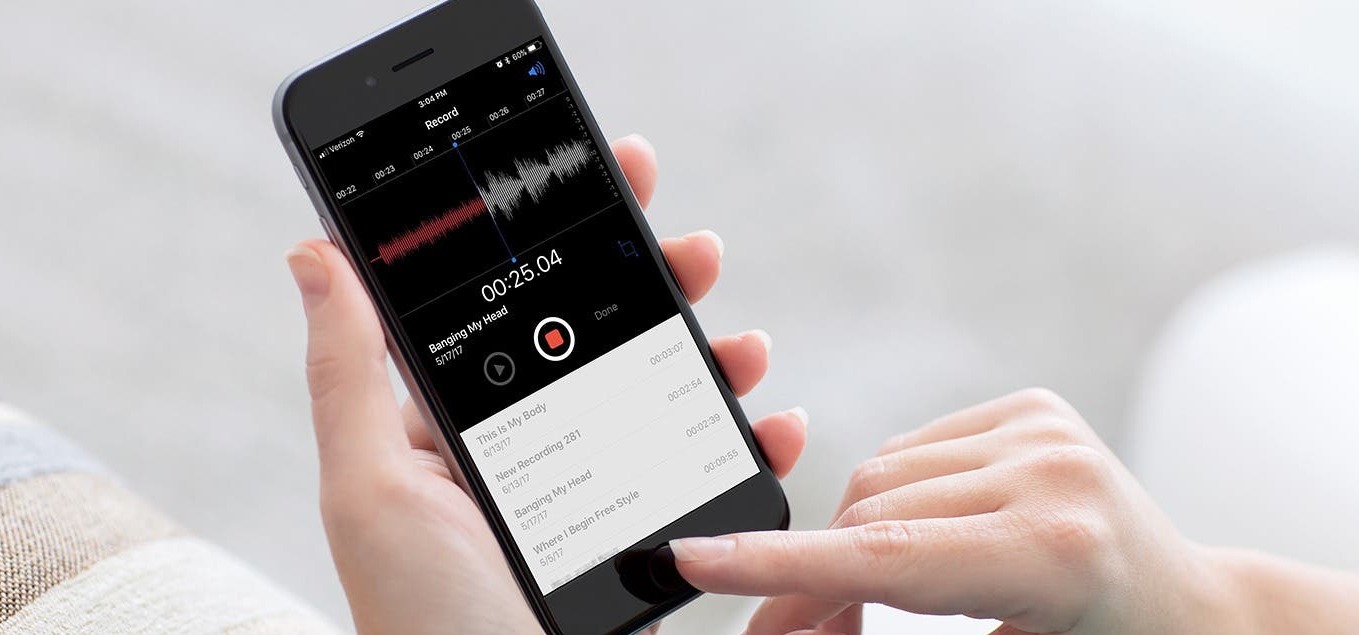
- A timer will appear on the screen as the recording progresses, indicating the length of the recording.
- If you want to pause the recording temporarily, tap on the pause button, usually represented by two parallel vertical lines. To resume the recording, tap the same button again.
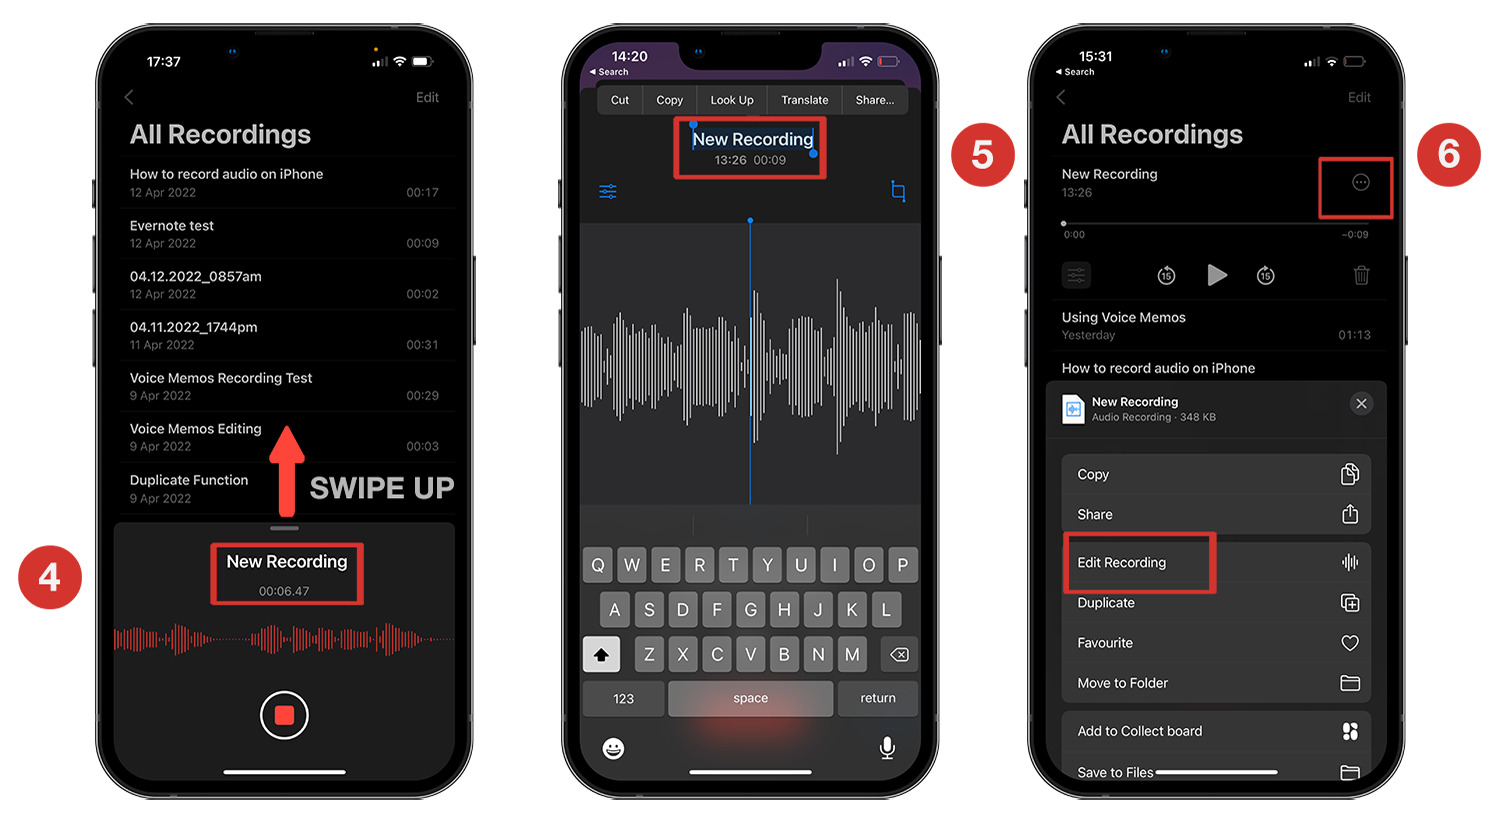
- To stop the recording completely, tap on the square stop button. The app will finalize the recording and save it as a separate file.
- Once you’ve stopped the recording, you’ll see the newly created audio file listed in the voice recorder app’s main interface. It will display basic details like the file name, duration, and size.
With the voice recorder app, you can create multiple recordings and manage them easily within the app. In the next step, we’ll explore how to effectively manage your recorded files and access various management options offered by the app.
Step 4: Managing your recordings
After recording audio on your iPhone using the voice recorder app, you’ll want to effectively manage your recordings. The app provides several management options to help you organize, rename, delete, and share your recorded files. Here’s how to manage your recordings:
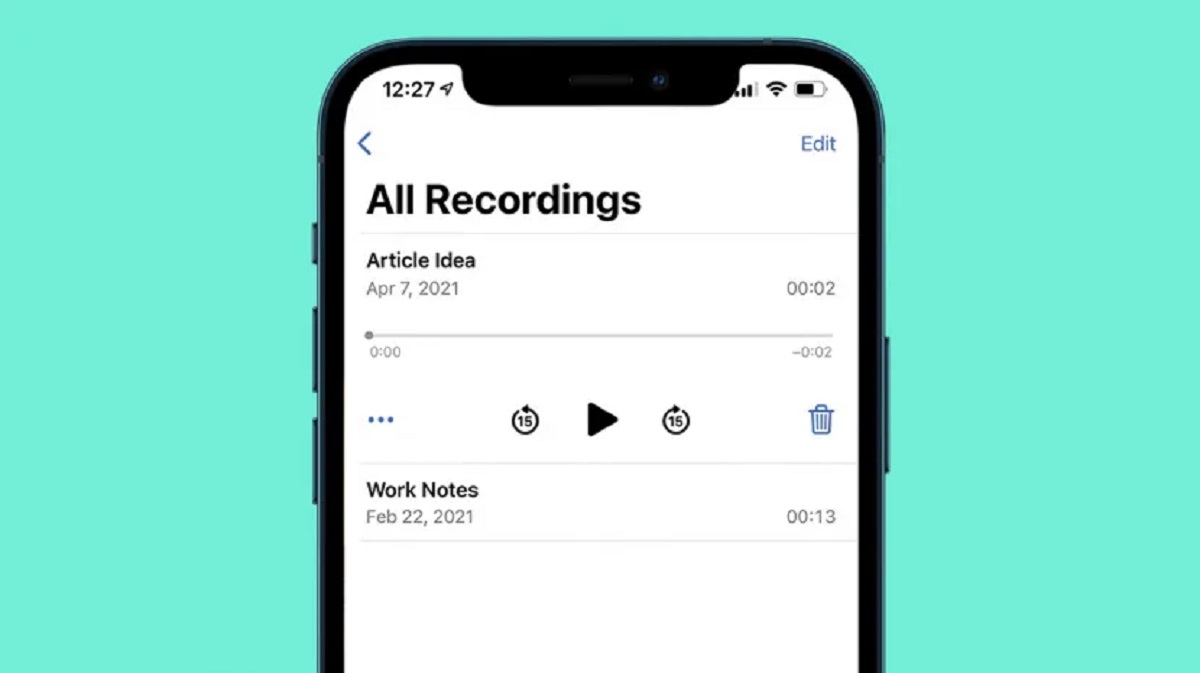
- Open the voice recorder app on your iPhone.
- You’ll see the list of recorded files displayed in the app’s main interface. Each recording will show the file name, duration, and size.
- To access management options for a specific recording, tap on the file in the list.
- From the menu that appears, you can choose to rename the file, delete it, or share it with others using various methods like AirDrop, email, messaging apps, or cloud storage services.
- If you want to rename a recording, select the rename option and enter a new name for the file.
- To delete a recording, select the delete option and confirm your choice when prompted. Keep in mind that deleted recordings cannot be recovered, so exercise caution when deleting files.
- If you wish to share a recording, select the share option and choose the desired method of sharing. Follow the on-screen instructions to complete the sharing process.
By managing your recorded files, you can keep your voice recorder app organized and easily locate specific recordings whenever you need them. As you become more familiar with the app’s management options, you’ll find it even easier to handle your audio files.
In the next step, we’ll explore how to transfer your recordings from your iPhone to a computer or other devices, allowing you to safely store and access your audio files outside of the voice recorder app.
Step 5: Transferring recordings to a computer or other device
Transferring your recorded files from your iPhone to a computer or other devices is useful for backup purposes, sharing with others, or accessing your recordings on a different platform. The voice recorder app offers various methods to easily transfer your recordings. Here’s how to do it:
- Open the voice recorder app on your iPhone.
- Select the recording you want to transfer from the list of recorded files.
- From the options menu, choose the share option. A list of available sharing methods will appear.
- If you want to transfer your recording to a computer, you can use methods like AirDrop, email, or a cloud storage service.
- For AirDrop, ensure that your computer and iPhone are connected to the same Wi-Fi network. Select the AirDrop option from the sharing menu, and choose your computer as the destination. Accept the transfer on your computer to receive the recording.
- To transfer via email, select the email option from the sharing menu. Enter your email address as the recipient, add any additional information if needed, and send the email. You can then access the recording from your email on your computer.
- For cloud storage services like iCloud Drive or Dropbox, select the respective option from the sharing menu and follow the on-screen instructions to upload the recording to your chosen cloud storage account. You can then access the recording from your computer or other devices that have access to the same cloud storage account.
By transferring your recordings to a computer or other devices, you can ensure that your audio files are safely stored, easily accessible, and shareable with others. This allows you to free up space on your iPhone and have a backup of your important recordings.
Now that you’ve learned how to transfer your recordings, you have completed the steps to fully utilize the voice recorder app on your iPhone. Enjoy capturing and managing your audio files with ease!
Conclusion
Congratulations! You have successfully learned how to set up and use the voice recorder app on your iPhone. By following the steps outlined in this guide, you can now access the voice recorder app, customize its settings, set up recordings, manage your recordings, and transfer them to other devices.
The voice recorder app provides a convenient and efficient way to capture and store audio recordings on your iPhone. Whether you need it for lectures, meetings, voice memos, or any other audio needs, the voice recorder app has you covered.
Remember to explore the various customization options available in the voice recorder app to ensure that your recordings meet your specific requirements. You can adjust settings such as audio quality, file format, and storage location to optimize your recording experience.
Additionally, take advantage of the management features offered by the voice recorder app. Rename, delete, and share your recordings with ease, allowing for better organization and accessibility.
Lastly, if you need to store your recordings on a computer or other devices, you can easily transfer them using sharing options like AirDrop, email, or cloud storage services. This ensures that your audio files are safely backed up and accessible outside of the voice recorder app.
Now that you’re equipped with the knowledge and skills to utilize the voice recorder app on your iPhone, go ahead and start recording and managing your audio files with confidence. Enjoy the convenience and versatility that the voice recorder app brings to your iPhone experience.