Introduction
Welcome to the world of digital voice recording with the Olympus Digital Voice Recorder. Whether you’re a journalist, student, business professional, or simply someone who loves to capture thoughts and ideas on the go, this handy device is here to make your life easier. In this article, we will explore the ins and outs of using the Olympus Digital Voice Recorder, from setting it up to managing your recordings.
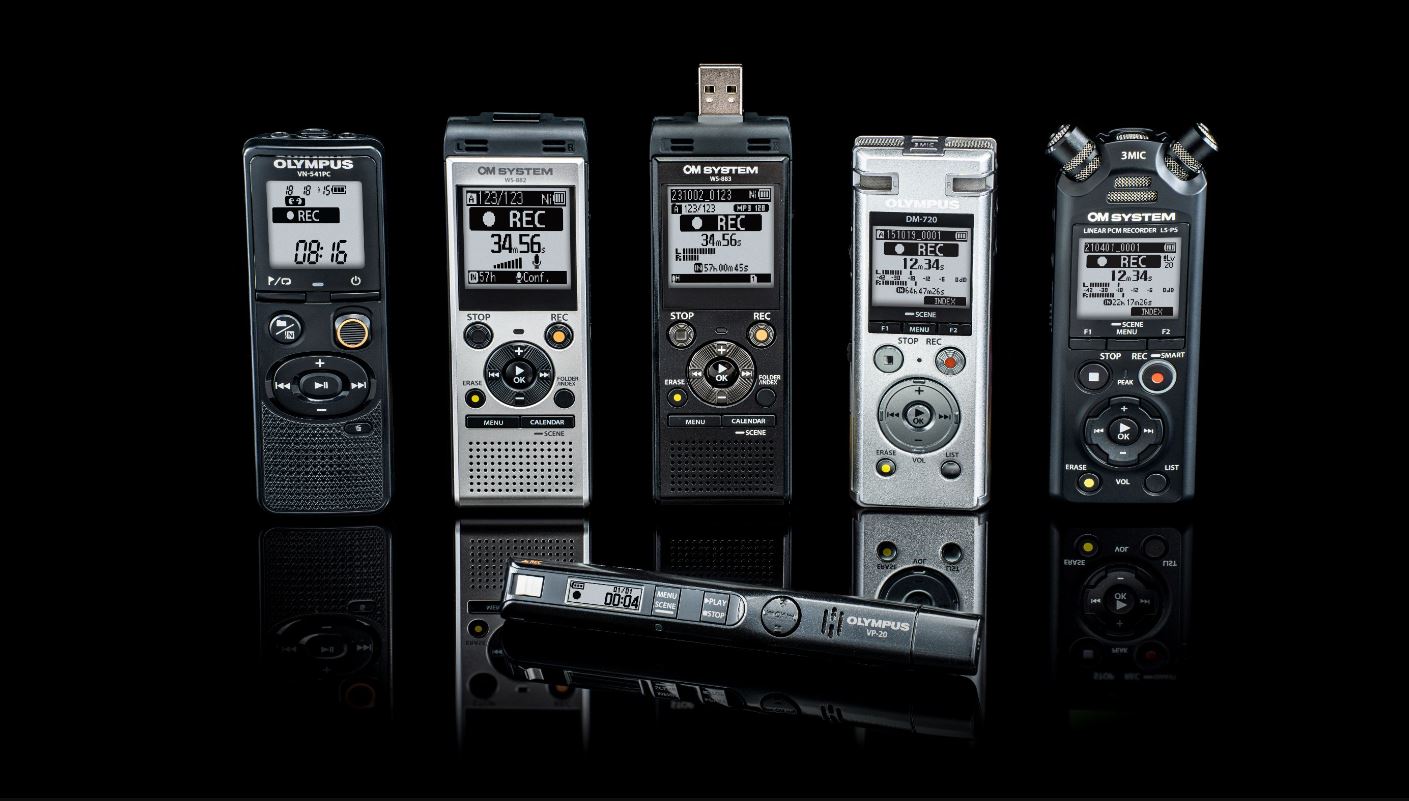
The Olympus Digital Voice Recorder offers a range of features and functionalities that set it apart from other recording devices. With its compact design and user-friendly interface, it is a breeze to use for both beginners and experienced users. If you’re new to the world of digital voice recorders, don’t worry – we’ve got you covered.
In the following sections, we will guide you through the process of setting up your Olympus Digital Voice Recorder, explain the basic recording functions, and delve into the advanced recording settings. We will also explore how to play back your recordings and transcribe them, as well as provide tips on managing files on the recorder.
Additionally, we will discuss how to connect your Olympus Digital Voice Recorder to a computer, allowing for easy file transfer and organization. And finally, we will address some common troubleshooting issues that you may encounter along the way.
By the end of this article, you will have a comprehensive understanding of how to use the Olympus Digital Voice Recorder effectively, enabling you to capture and preserve important moments, ideas, and conversations with ease. Let’s dive in and unlock the full potential of this remarkable device.
Understanding the Olympus Digital Voice Recorder
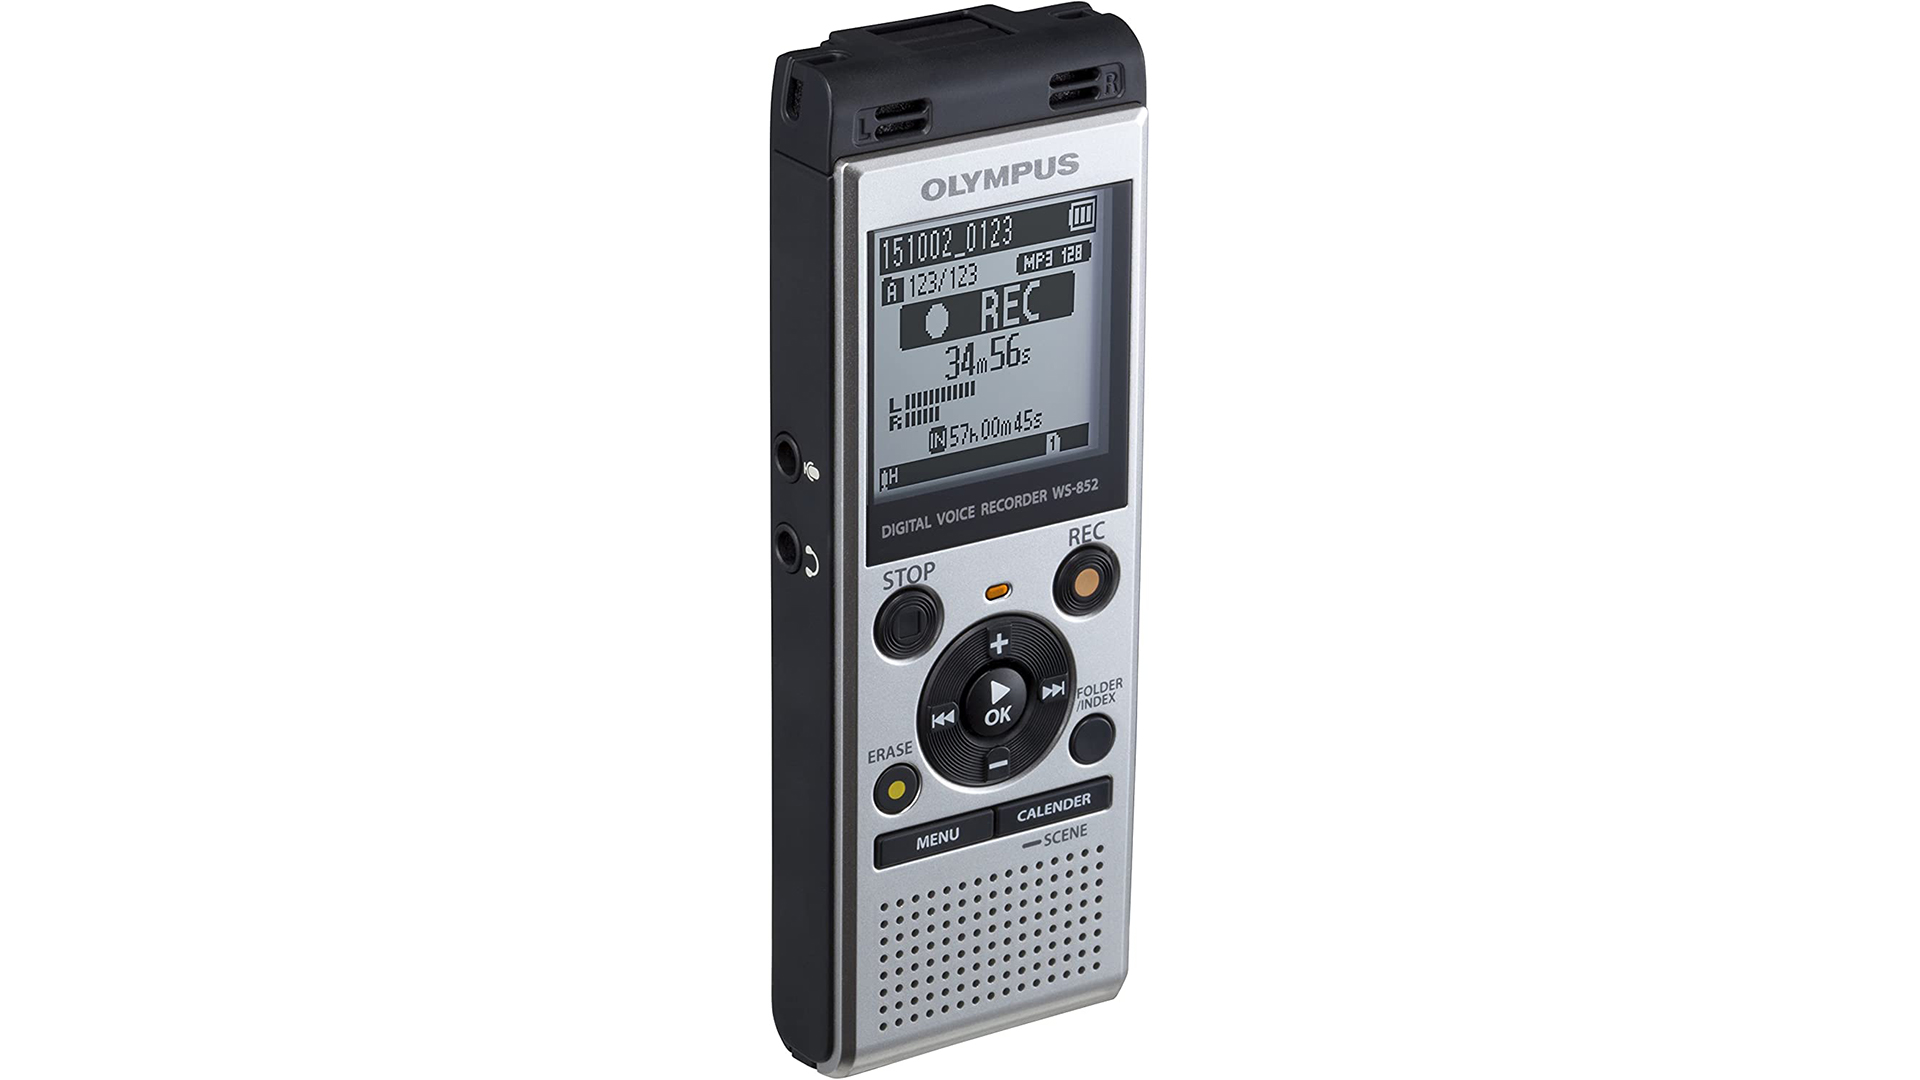
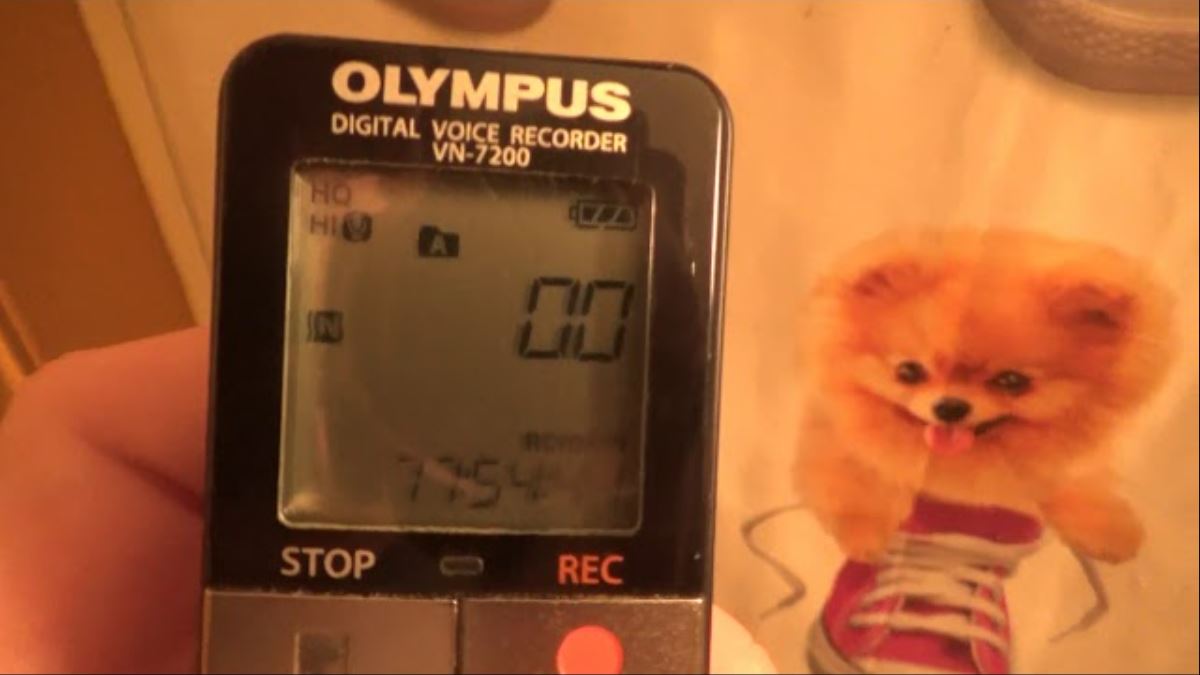
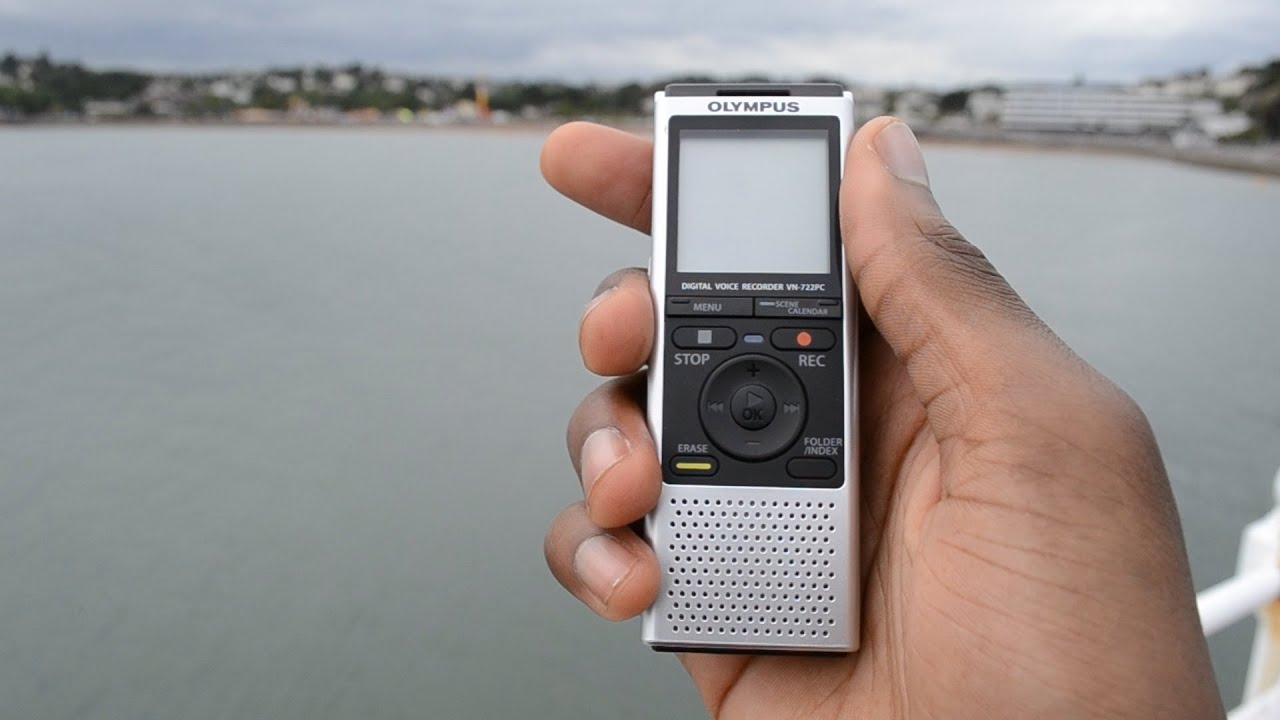
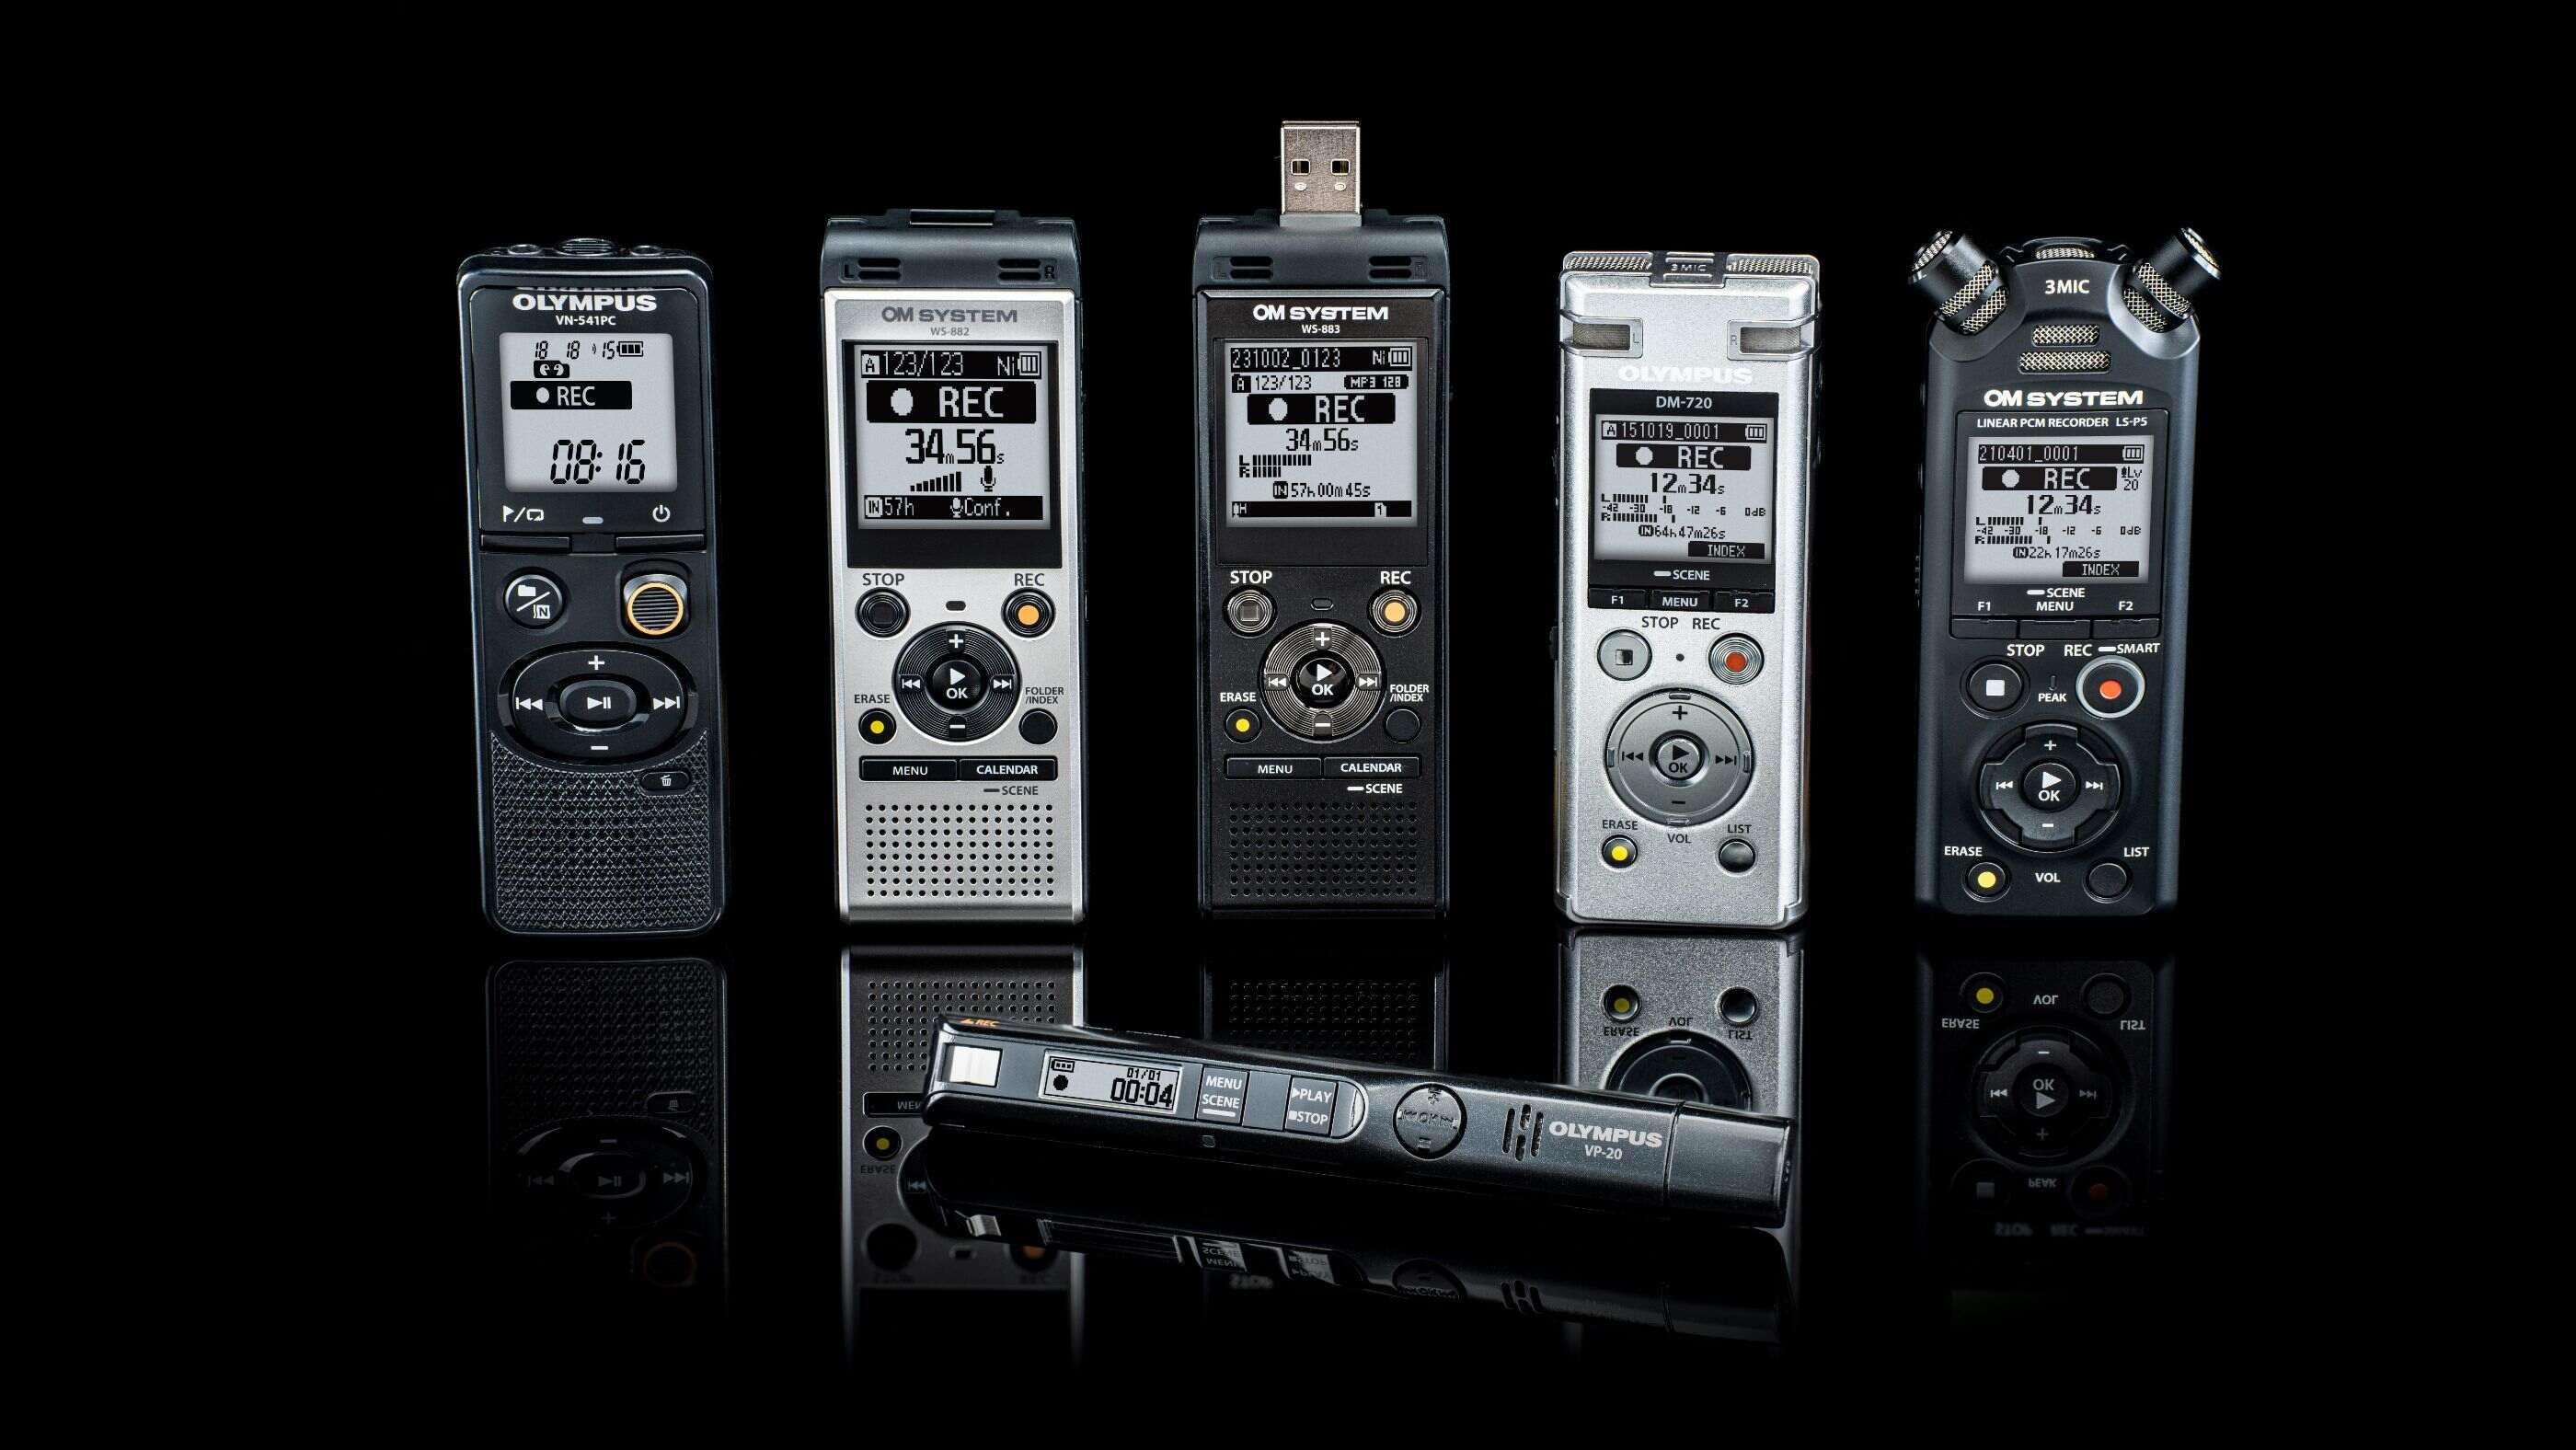
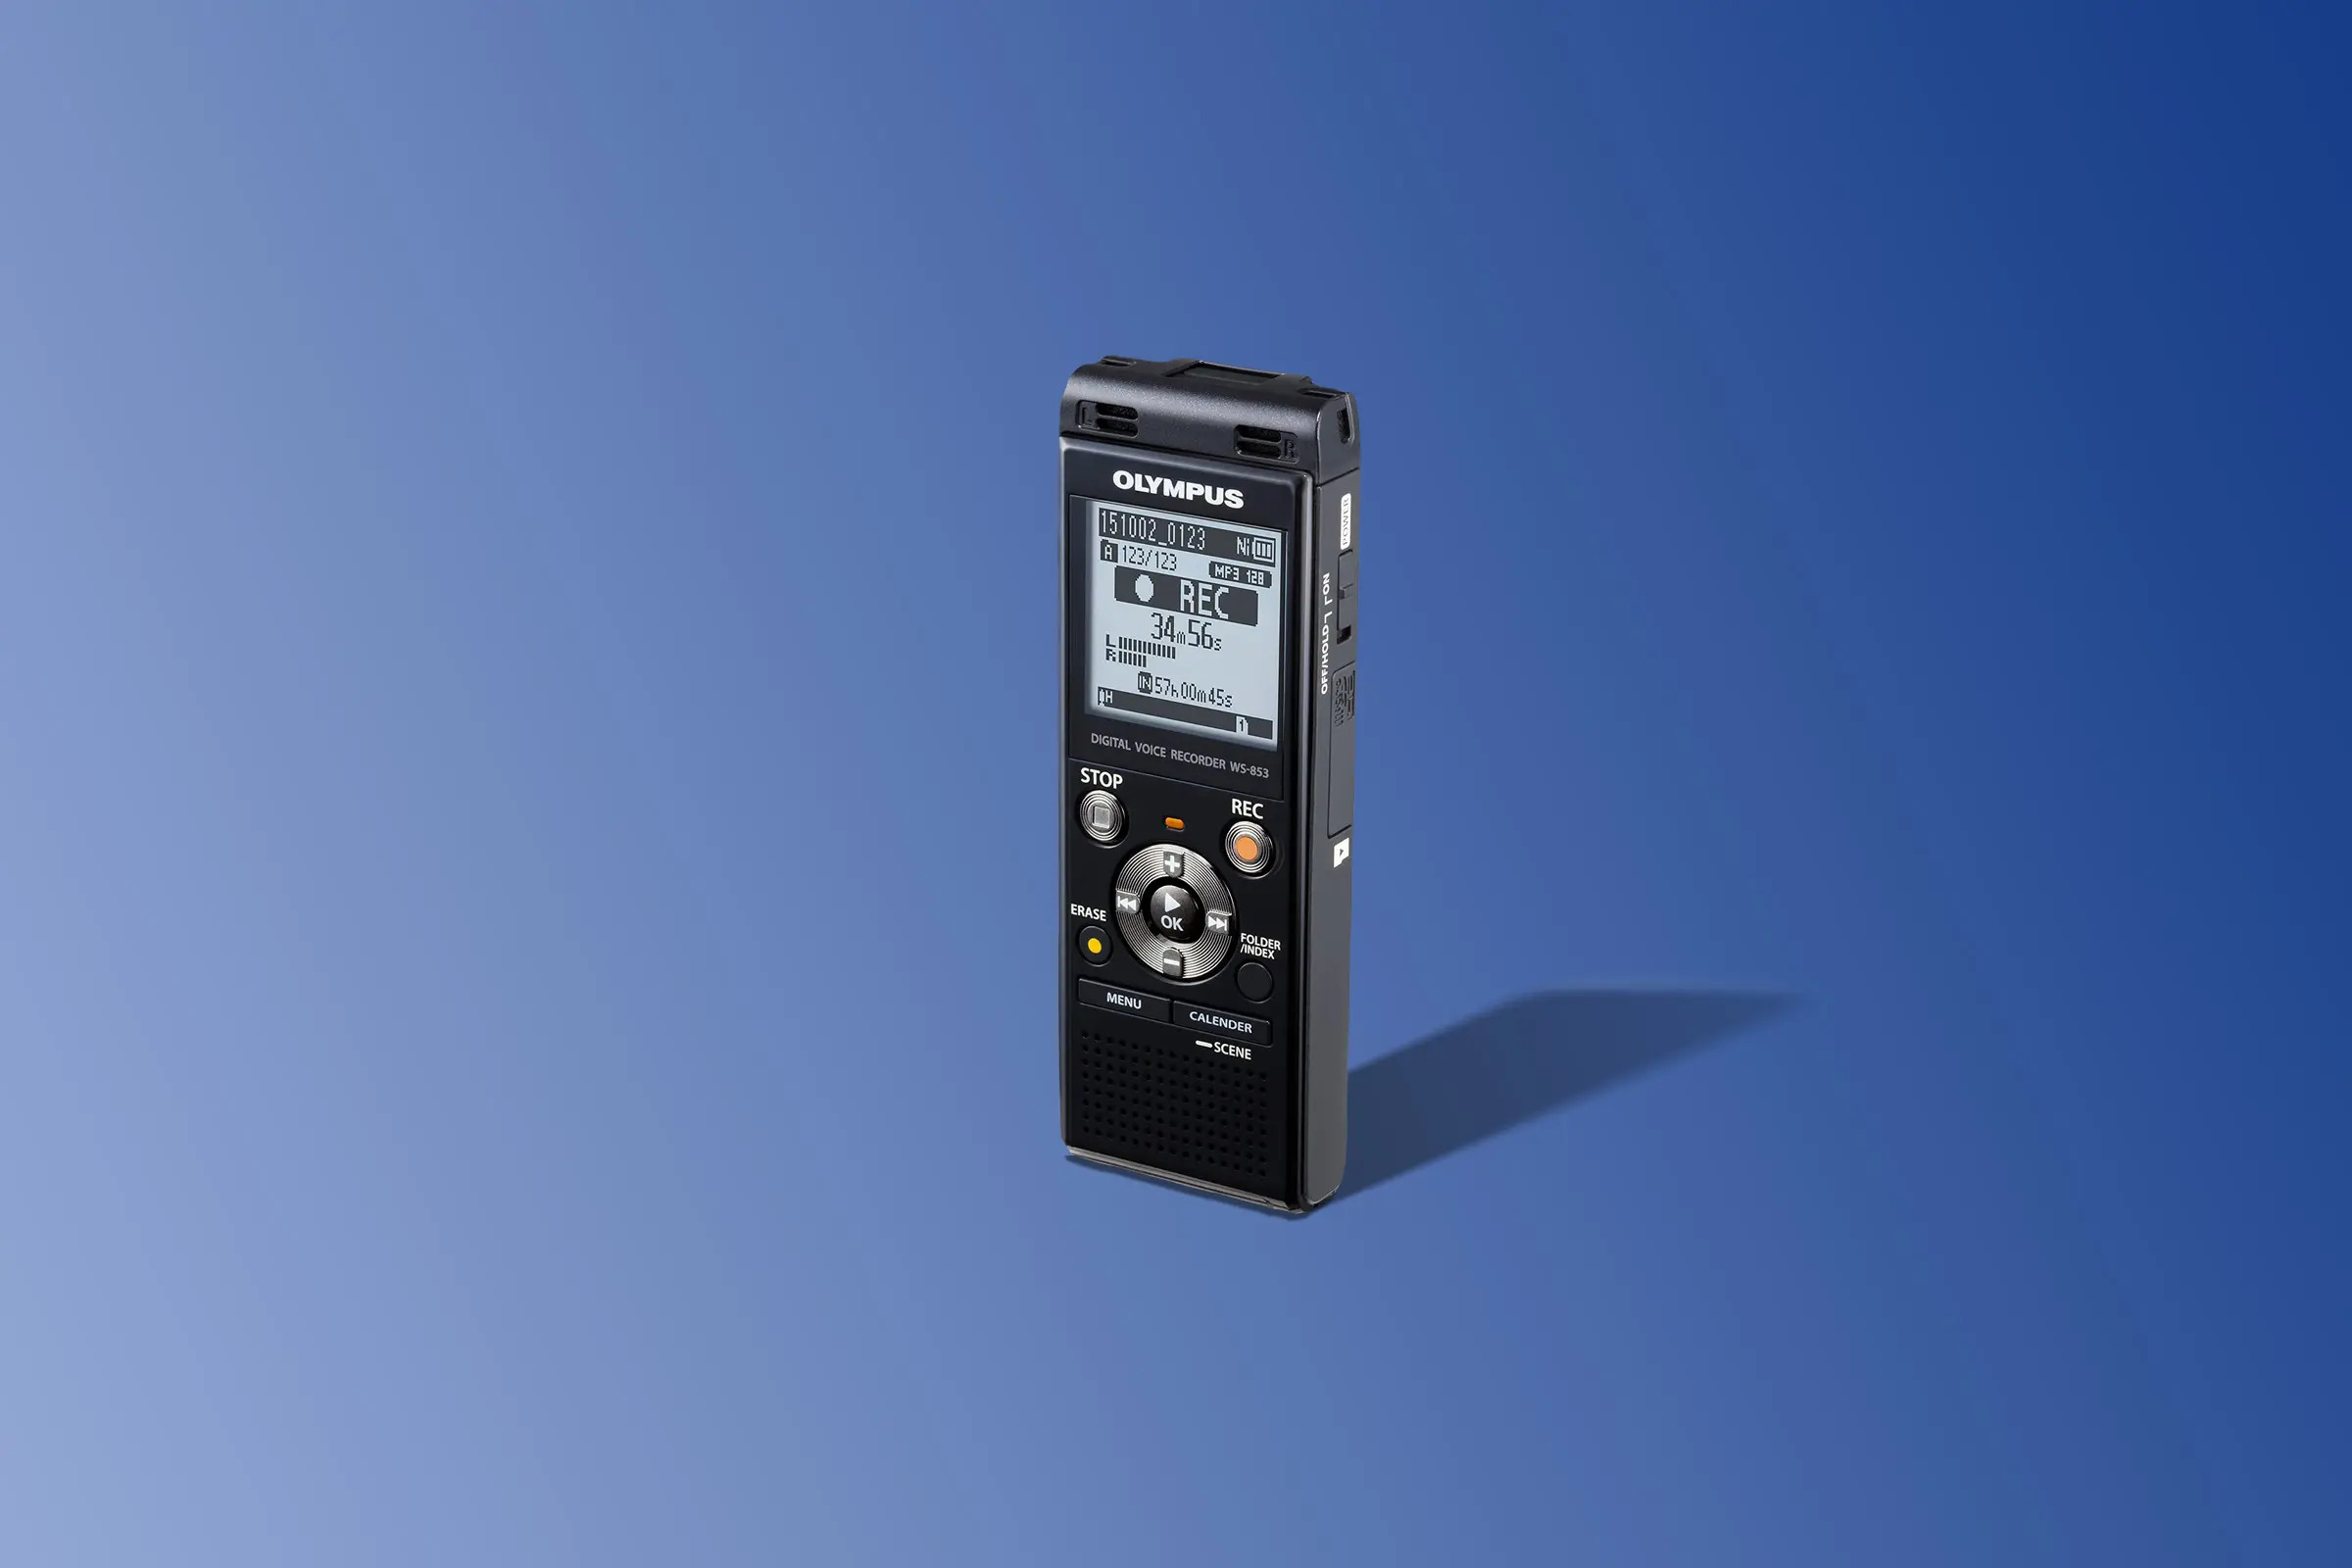
The Olympus Digital Voice Recorder is a portable device that allows you to record audio with exceptional clarity and convenience. It is designed to capture voice recordings in various settings, making it ideal for interviews, lectures, meetings, and personal memos. Before we delve into the functionality and features of the recorder, let’s take a closer look at its key components.
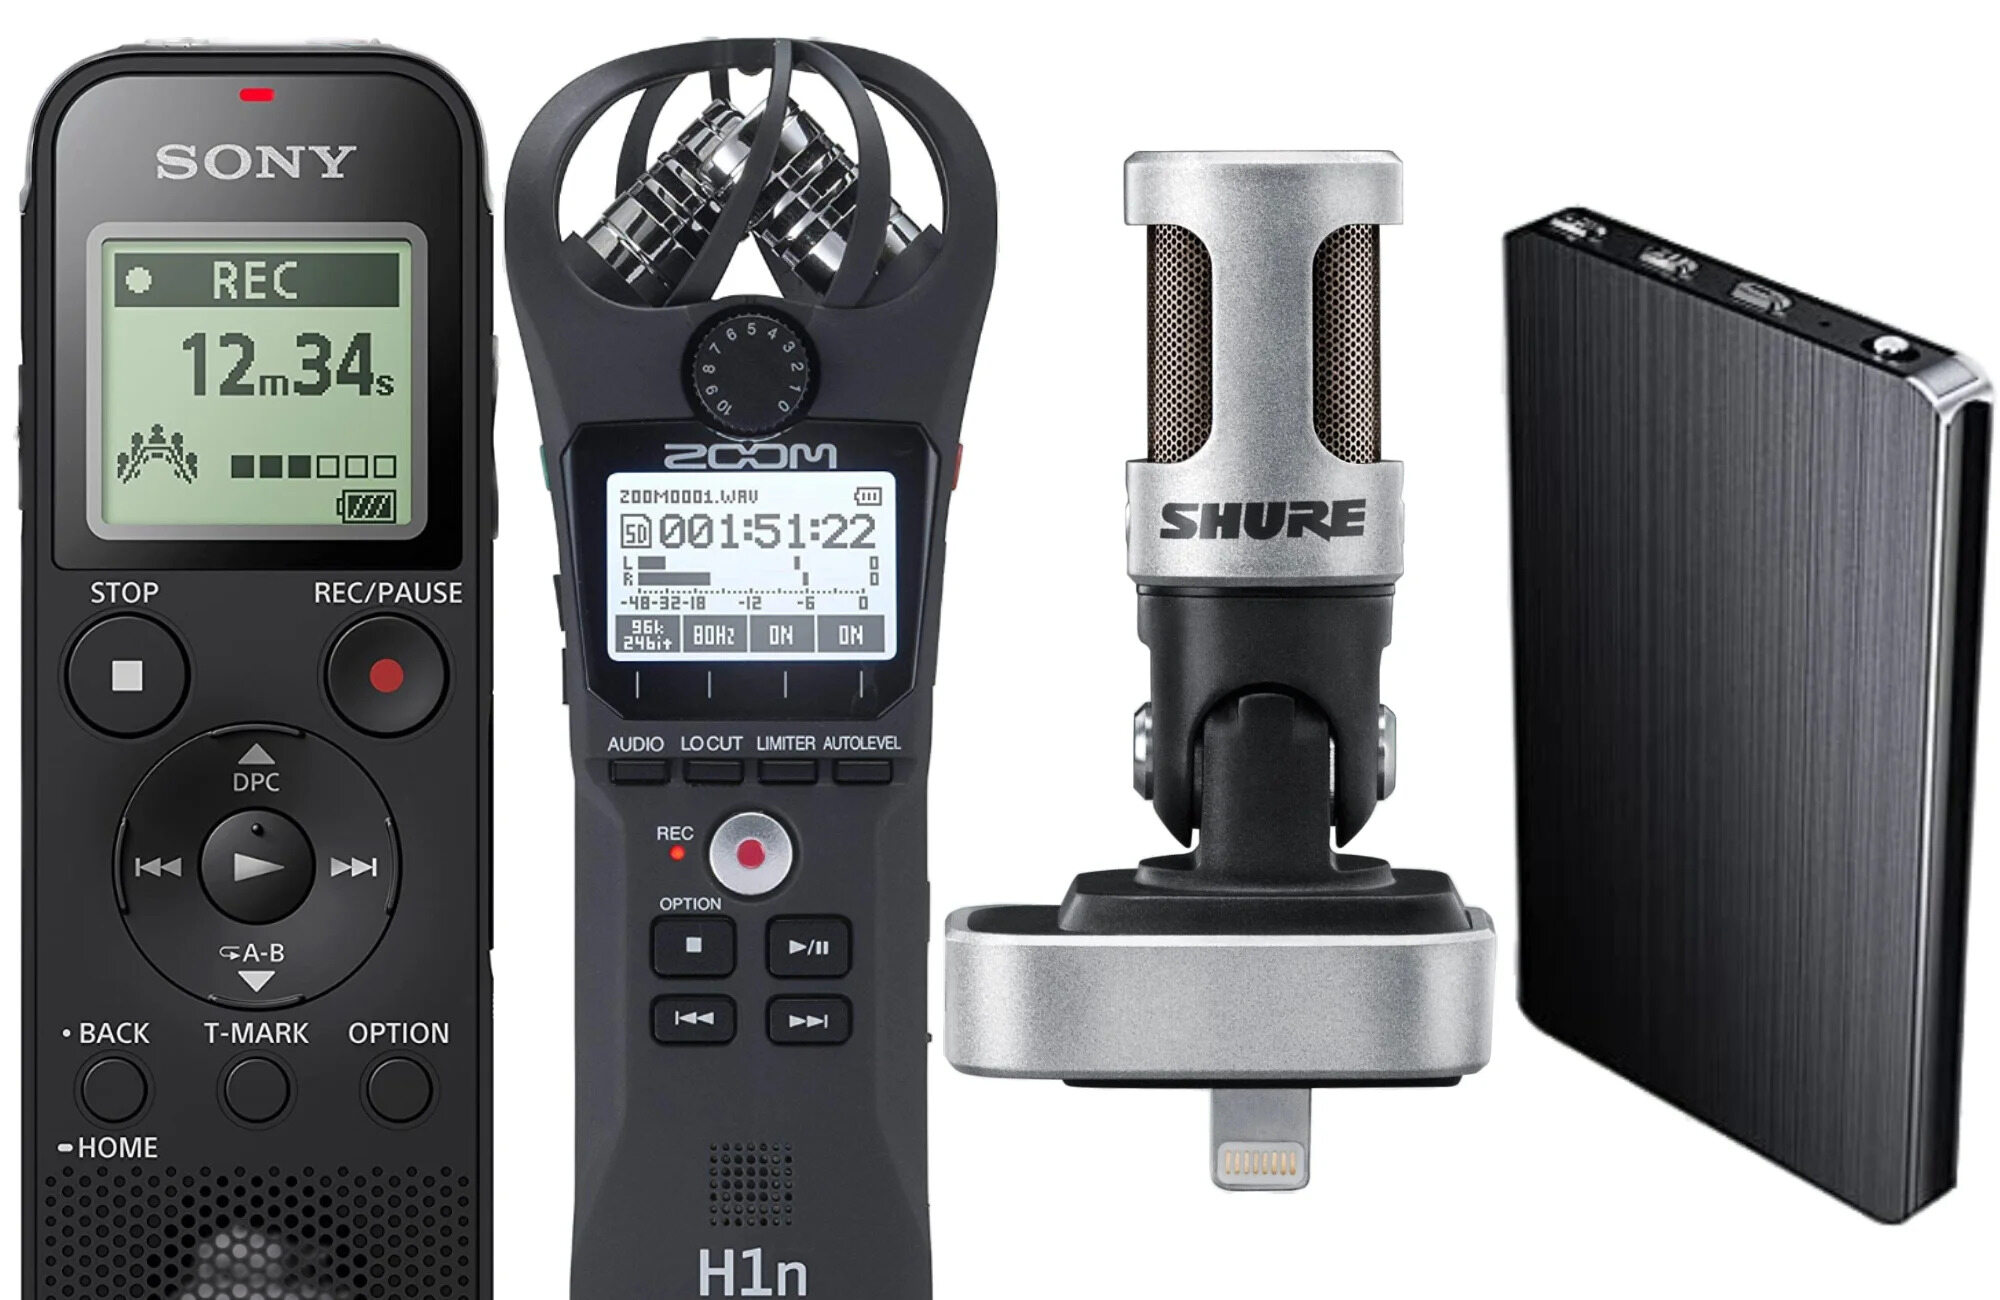
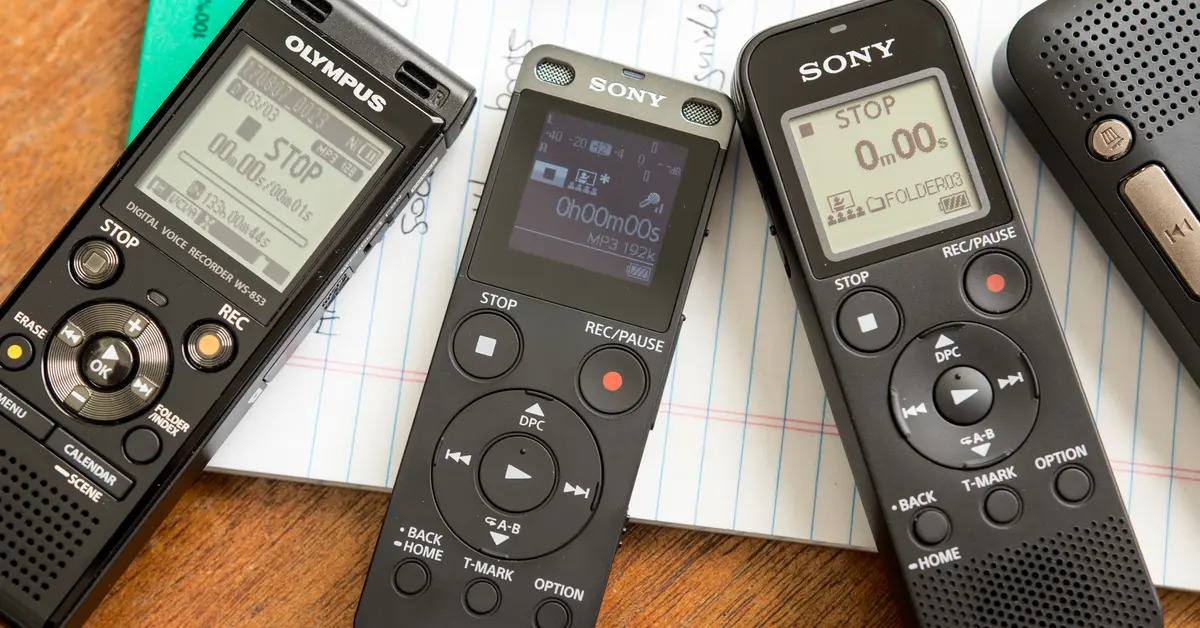
The recorder features a sleek and compact design, making it easy to carry in your pocket, bag, or purse. It typically comes with a built-in microphone, which is responsible for capturing audio. Some models also offer the option to connect an external microphone for enhanced recording quality in noisy environments.
On the front of the recorder, you’ll find a clear LCD display that provides important information, such as recording time, battery life, and menu settings. The display may also show the current recording mode and file format being used.
To operate the recorder, you’ll find a set of buttons and controls on the front or sides. These buttons allow you to start and stop recordings, adjust the volume, navigate through menu options, and access different functions of the recorder.
One of the key aspects of the Olympus Digital Voice Recorder is its storage capacity. It typically comes with internal memory or supports removable storage cards, such as SD cards. This allows you to store a large number of recordings and easily transfer them to your computer or other devices.
Furthermore, the recorder often includes features like voice activation, which automatically begins recording when sound is detected, and noise cancellation, which helps reduce background noise for clear and crisp recordings.
Understanding the basic components and features of the Olympus Digital Voice Recorder sets the foundation for using it effectively. Now that you have a grasp of its design and functionality, we can move on to the next section, where we will guide you through the process of setting up your recorder.
Setting up the Recorder
Before you start using your Olympus Digital Voice Recorder, it’s important to set it up properly. The setup process may vary slightly depending on the model you have, but here are some general steps to follow:
1. Insert Batteries or Charge the Device: If your recorder is powered by batteries, make sure to insert them correctly following the polarity markings. Alternatively, if your recorder has a rechargeable battery, connect it to a power source using the provided USB cable and allow it to charge fully before use. Check the user manual for specific instructions on battery insertion and charging.
2. Set the Date and Time: Most Olympus recorders have a clock function that allows you to timestamp your recordings. To ensure accurate time stamps, you’ll need to set the date and time on your recorder. This can usually be done through the settings menu or by following the instructions in the user manual.
3. Choose the Recording Format: Depending on your needs, you can select the recording format that best suits your requirements. The Olympus Digital Voice Recorder usually supports multiple formats, such as MP3 or WAV. Consider factors like recording quality and file size when choosing the format.
4. Adjust the Recording Mode: The recorder may offer different recording modes, such as stereo, high-quality, or long-play. Each mode has its own advantages and trade-offs in terms of audio quality and recording duration. Select the mode that best fits your specific recording needs.
5. Customize Additional Settings: Explore the settings menu of your recorder to customize specific preferences. This may include options for microphone sensitivity, voice activation, low-cut filters, and more. Familiarize yourself with these settings to optimize your recording experience.
6. Test and Familiarize Yourself: Once you have completed the setup process, take some time to test the recorder and familiarize yourself with its functions. Practice starting and stopping recordings, adjusting the volume, and navigating through the menus. This will help you feel more comfortable when using the recorder in real-life situations.
It’s worth mentioning that the specific steps for setting up your Olympus Digital Voice Recorder may vary from model to model. Therefore, it’s essential to consult the user manual that accompanies your device for detailed instructions tailored to your recorder’s features and capabilities.
With your recorder set up and ready to go, you’re now prepared to embark on a journey of capturing high-quality audio recordings. In the next section, we will explore the basic recording functions of the Olympus Digital Voice Recorder.
Basic Recording Functions
The Olympus Digital Voice Recorder offers a range of basic recording functions that allow you to capture audio with ease. Understanding these functions will enable you to make the most out of your recording experience. Here are the key features to familiarize yourself with:
1. Start and Stop Recording: The most fundamental function of the recorder is to start and stop recording. Locate the dedicated Record button, usually marked with a red dot or the word “Rec,” and press it to begin recording. To stop the recording, press the same button again, or look for a dedicated Stop button if available.
2. Pause and Resume Recording: In situations where you need to take a break while recording, you can use the Pause function. This allows you to temporarily pause the recording without creating a new file. Simply press the Pause button, often depicted by two parallel lines, to pause the recording. Press it again to resume.
3. Adjusting the Recording Level: Keeping an eye on the recording level is important to ensure optimal audio quality. Most Olympus recorders have a level meter or indicator on the display that shows the intensity of the audio being recorded. Adjust the microphone sensitivity or input level to ensure that the recording level stays within the optimal range.
4. Voice Activation Mode: To conserve storage space and facilitate easier playback, many Olympus recorders offer a Voice Activation mode. When enabled, the recorder automatically starts recording when it detects sound and pauses when there is silence. This can be particularly useful when recording lectures or interviews with pauses in between.
5. Record in Different Modes: Olympus recorders often provide different recording modes, such as HQ (High Quality), SP (Standard Play), or LP (Long Play). These modes determine the audio quality and the amount of storage space consumed per recording. Choose the appropriate mode for your specific needs, balancing quality and recording time.
6. Overwrite Recording: If you need to amend or add to an existing recording, some Olympus models allow you to use the Overwrite function. This replaces a selected section of the recording with new audio. It can be useful for correcting mistakes or adding additional notes without creating a separate file.
7. Mark Important Points: During a recording, you may come across significant moments or key points that you want to revisit later. Olympus recorders often have a “Mark” or “Index” function that allows you to insert markers at specific points in the recording. This makes it easier to navigate and find important sections during playback.
By familiarizing yourself with these basic recording functions, you’ll be well-equipped to capture audio in various situations. Experiment with different settings and modes to find what works best for your specific recording needs. In the next section, we will delve into the advanced recording settings of the Olympus Digital Voice Recorder.
Advanced Recording Settings
The Olympus Digital Voice Recorder provides a range of advanced recording settings that allow you to fine-tune your recordings and tailor them to your specific needs. These settings go beyond the basic functions and offer additional control and customization options. Let’s explore some of the advanced recording settings available on most Olympus recorders:
1. Mic Sensitivity: Adjusting the microphone sensitivity is crucial in achieving clear and balanced audio recordings. Olympus recorders often allow you to select from different sensitivity levels, such as high, medium, or low. Experiment with these settings to find the optimal microphone sensitivity for your recording environment.
2. Low-Cut Filter: The low-cut filter eliminates low-frequency background noises, such as wind noise or rumble, from your recordings. Enabling this filter can significantly enhance the clarity of your recordings, particularly in outdoor or noisy environments.
3. Recording Scenes: Many Olympus recorders offer pre-set “Scenes” that optimize the recorder’s settings for specific recording situations. For example, there may be dedicated Scenes for meetings, interviews, or dictation. By selecting the appropriate Scene, you can ensure that the recorder is optimized for the specific audio conditions you encounter.
4. Recording Formats and Bitrates: Olympus recorders often provide a variety of recording formats and bitrates. Depending on the model, you may have options such as PCM, MP3, or WMA formats, and different options for bitrates. Each format and bitrate combination offers a different trade-off between audio quality and file size. Consider your specific needs and the available storage space when selecting these options.
5. Noise Cancelation: Some Olympus recorders include noise-canceling features that help reduce background noises, enhancing the clarity of your recordings. This can be especially useful in crowded or noisy environments where unwanted sounds may affect the audio quality.
6. External Microphone Support: Olympus recorders often provide the option to connect external microphones for enhanced recording quality. This is particularly useful when you require higher fidelity or directional recording capabilities. Check if your recorder has a microphone input and consider using compatible external microphones for premium audio capture.
7. Automatic Voice Balancer: The Automatic Voice Balancer feature is designed to equalize the volume levels of different speakers, making it easier to hear everyone clearly in group recordings. This function can help normalize audio levels and ensure that all participants’ voices are appropriately balanced.
Take the time to explore these advanced recording settings on your Olympus Digital Voice Recorder. Experiment with different combinations and techniques to find the ideal configuration for your specific recording needs. By customizing these settings, you can achieve outstanding audio quality, even in challenging recording situations.
In the next section, we will discuss how to play back your recordings and transcribe them using the Olympus Digital Voice Recorder.
Playback and Transcribing
Once you have recorded audio using your Olympus Digital Voice Recorder, it’s time to explore the playback and transcribing options available to you. These features allow you to review and analyze your recordings, making it easier to extract important information or transcribe spoken content. Let’s dive into how to effectively utilize the playback and transcribing functions:
1. Playback Controls: Locate the playback controls on your recorder, which typically include buttons for play, pause, stop, fast forward, and rewind. Use these controls to navigate through your recordings and listen to specific sections of interest.
2. Variable Speed Playback: Some Olympus recorders offer the option to adjust the playback speed, allowing you to listen to recordings at a slower or faster pace. Slowing down the playback can be helpful when transcribing or analyzing detailed content, while increasing the speed may save time when reviewing longer recordings.
3. Repeat or Loop Playback: If there’s a specific segment of a recording that you need to listen to repeatedly, utilize the repeat or loop playback function. This feature allows you to select a specific portion of the recording and continuously play it in a loop until manually stopped.
4. Transcribing Software Compatibility: Olympus provides compatible transcription software that can streamline the process of transcribing your recordings. These software solutions often offer features like foot pedal integration for hands-free control, editing tools, and synchronization with the recorded audio for efficient transcript creation.
5. Index Points or Markers: As mentioned earlier, many Olympus recorders allow you to insert index points or markers during recording. These markers can be utilized during playback to quickly jump to specific sections of interest or key moments that you’ve marked. This can significantly save time when reviewing lengthy recordings.
6. File Management: Most Olympus recorders provide file management options, allowing you to organize your recorded files efficiently. This includes features like creating folders, renaming files, and deleting unwanted recordings directly from the recorder. Utilize these functions to keep your recordings organized and easily accessible.
7. Audio Feedback and Quality Check: While playing back your recordings, pay attention to the audio quality. Use headphones or external speakers to ensure accurate playback and to spot any issues like background noise, distortion, or low volume. This feedback helps in improving the recording settings for future sessions.
Whether you’re creating transcripts, reviewing content, or extracting key information, the playback and transcribing functions of the Olympus Digital Voice Recorder provide valuable tools. Make use of the available features to enhance your productivity and efficiency when working with your recorded audio files.
In the next section, we will explore how to manage files on your Olympus Digital Voice Recorder, ensuring a well-organized recording library.
Managing Files on the Recorder
As you continue to use your Olympus Digital Voice Recorder, it’s important to stay organized and manage your recorded files efficiently. Proper file management allows for easy navigation, retrieval, and organization of your audio recordings. Here are some key tips for managing files on your recorder:
1. Folder Organization: Take advantage of the folder system provided by your recorder to categorize and separate your recordings. Create folders for different projects, subjects, or purposes to keep your recordings organized and easily accessible. This helps prevent clutter and confusion when searching for specific files.
2. File Naming: Assign meaningful names to your recorded files to quickly identify their content. Use descriptive titles that accurately reflect the subject or purpose of each recording. This makes it easier to find and retrieve specific recordings when needed.
3. File Deletion: Regularly review and delete unwanted or unnecessary recordings from your recorder to free up storage space. Be cautious when deleting files and ensure that you have backup copies if needed. Some Olympus recorders offer the ability to lock or protect important recordings to prevent accidental deletion.
4. Transfer to External Storage: If your Olympus recorder supports removable storage cards, consider transferring files to external storage, such as an SD card or a computer. This allows you to create backups, provides additional space for recordings, and facilitates easy file transfer to other devices for further processing or archival purposes.
5. Archive and Backups: It’s wise to create backups of your important recordings to prevent data loss due to technical failures or accidental deletion. Regularly transfer your recordings to a computer or external storage device for safekeeping. Consider utilizing cloud storage services for added security and convenience.
6. File Encryption: If you are working with sensitive or confidential recordings, some Olympus recorders offer file encryption features to protect your data. This ensures that your recordings can only be accessed with a specified password, adding an extra layer of security and privacy.
7. Utilize Metadata: Many Olympus recorders allow you to add metadata to your recordings. This includes adding keywords, labels, or comments that provide additional context or descriptive information. Leveraging metadata helps in searching, filtering, and organizing your recordings based on specific criteria.
By implementing effective file management strategies, you can streamline the organization and accessibility of your recorded files. Take the time to establish a file naming convention, maintain folder structures, and regularly review and backup your recordings to ensure a well-managed recording library.
In the next section, we will guide you through the process of connecting your Olympus Digital Voice Recorder to a computer, facilitating easy file transfer and management.
Connecting the Recorder to a Computer
Connecting your Olympus Digital Voice Recorder to a computer is a simple and convenient way to transfer and manage your recorded files. This direct connection allows for seamless file transfer, backup, and organization on your computer. Here’s how you can connect your recorder to a computer:
1. USB Connection: Most Olympus recorders come equipped with a USB port that allows for easy connectivity with a computer. Locate the USB port on your recorder and use the supplied USB cable to connect it to an available USB port on your computer. Make sure both devices are powered on and ready.
2. Select the Appropriate Mode: Once the connection is established, your recorder may prompt you to select a specific mode for the USB connection. Choose the mode that enables file transfer or mass storage, allowing your computer to recognize the recorder as an external device.
3. Computer Recognition: After selecting the appropriate mode, your computer should recognize the Olympus Digital Voice Recorder as a removable storage device. It may take a few moments for the computer to detect and configure the connection.
4. File Transfer: Once the connection is established, you can now transfer your recorded files from the recorder to your computer. Use the file explorer or file manager on your computer to access the recorder’s storage. Simply navigate to the folder or location where your recordings are stored and copy or drag the desired files to your computer’s storage.
5. Organize and Manage Files: After transferring the files to your computer, you can now organize and manage them more easily. Rename files, create folders, and move recordings to appropriate locations on your computer’s storage. This helps in keeping your recordings well-organized and easily accessible.
6. Backup and Archive: Take advantage of the connection to the computer to create backups and archives of your important recordings. Copy the files to external hard drives, cloud storage services, or other media to ensure the safety and accessibility of your recordings.
7. Safely Disconnect: When you have finished transferring files or managing your recordings, it’s important to safely disconnect the Olympus Digital Voice Recorder from your computer. This helps prevent data loss or damage. Follow the proper procedure or use the “eject” or “safely remove hardware” function on your computer before unplugging the USB cable.
By connecting your Olympus Digital Voice Recorder to a computer, you streamline the process of file transfer, backup, and organization. Take advantage of this connection to efficiently manage and utilize your recorded files for various purposes.
In the next section, we will address some common troubleshooting issues that you may encounter when using your Olympus Digital Voice Recorder.
Troubleshooting Common Issues
While using your Olympus Digital Voice Recorder, you may encounter a few common issues that can impede your recording experience. However, most of these issues can be easily resolved with some basic troubleshooting. Here are some common problems and their potential solutions:
1. Device Not Powering On: If your recorder is not turning on, ensure that the batteries are properly inserted and charged. If the device uses a rechargeable battery, connect it to a power source using the supplied USB cable and allow it to charge. If the problem persists, try replacing the batteries or contact customer support for assistance.
2. Unable to Start/Stop Recording: If you’re having trouble starting or stopping the recording, check if the memory is full. Delete unnecessary recordings from the recorder or transfer them to a computer to free up space. You should also ensure that you are pressing the correct buttons or following the correct instructions provided with your specific model.
3. No Sound or Low Volume during Playback: If you can’t hear any sound or the volume is too low during playback, check the volume settings on both the recorder and the playback device. Make sure the volume is turned up and not muted. Additionally, try using headphones or external speakers to see if the issue is with the built-in speaker of the recorder.
4. Connectivity Issues with the Computer: If you’re experiencing difficulties connecting the recorder to your computer, try using a different USB cable or port. Ensure that the recorder is properly recognized by the computer by checking the device manager or system settings. Restart your computer and re-establish the connection, following the proper steps mentioned in the user manual.
5. Unreadable or Corrupted Files: If you’re unable to access or play back your recorded files, it’s possible that the files are corrupted. Try opening the files with different media players or audio editing software. If the issue persists, it may indicate a problem with the recorder’s memory or the specific file. Contact customer support for further assistance or consider using data recovery software to recover the files.
6. Error Messages or Malfunctions: If you encounter error messages or the device malfunctions, refer to the user manual or contact customer support for guidance. Error messages can provide valuable information about the nature of the problem and potential solutions. Follow any troubleshooting steps recommended by the manufacturer or seek professional assistance if necessary.
It’s important to consult the user manual that accompanies your specific model of the Olympus Digital Voice Recorder for detailed troubleshooting steps and guidance. If basic troubleshooting methods do not resolve the issue, contact the manufacturer’s customer support for further assistance.
By troubleshooting common issues, you can overcome obstacles that might arise while using your Olympus Digital Voice Recorder and continue to enjoy its features and functionalities.
In the next section, we will conclude our guide, summarizing the key points discussed throughout the article.
Conclusion
In this comprehensive guide, we have explored the world of the Olympus Digital Voice Recorder and provided you with valuable insights on how to use it effectively. From setting up the recorder to managing files, we have covered a range of topics to ensure your recording experience is seamless and hassle-free.
We began by understanding the key components of the Olympus Digital Voice Recorder and its basic recording functions. We then delved into advanced recording settings, giving you the tools to customize your recordings according to your specific needs.
Additionally, we discussed the importance of playback and transcribing, providing tips on how to navigate through your recordings, adjust playback settings, and utilize dedicated transcription software where available.
Managing your recorded files is crucial for easy retrieval and organization, and we provided guidance on file naming, folder organization, file deletion, and creating backups. We also discussed the process of connecting your recorder to a computer, facilitating file transfer and management.
Lastly, we addressed common troubleshooting issues that you may encounter and offered solutions to overcome them, ensuring a smooth recording experience.
By following the guidelines and tips provided in this guide, you can unleash the full potential of your Olympus Digital Voice Recorder. Whether you’re a journalist, student, business professional, or anyone who relies on capturing audio, this versatile device will become an indispensable tool in your endeavors.
Remember to consult the user manual specific to your recorder model for detailed instructions and additional features. Should you encounter any difficulties or have further questions, don’t hesitate to reach out to the manufacturer’s customer support for assistance.
Now, armed with the knowledge gained from this guide, you’re ready to capture and preserve important moments, interviews, lectures, or personal memos with the Olympus Digital Voice Recorder. Happy recording!