Introduction
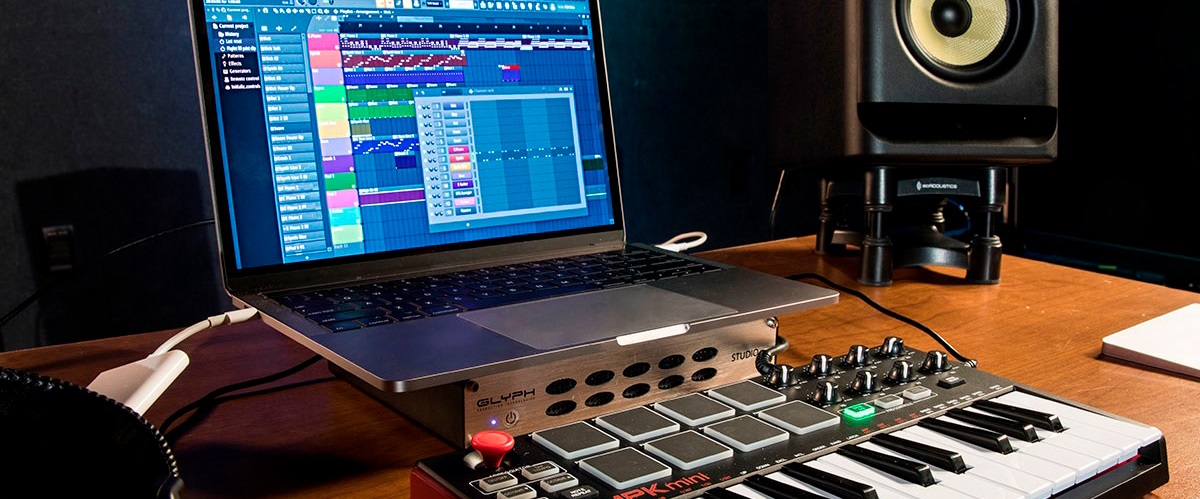
Welcome to the guide on how to set up the MPK Mini PC! Whether you’re a tech enthusiast or a beginner, this step-by-step tutorial will walk you through the process of unboxing, connecting, and configuring your MPK Mini PC.
The MPK Mini PC is a compact and powerful device that offers a range of functionalities, making it an ideal choice for various applications, such as multimedia consumption, light gaming, and productivity tasks. By setting up the MPK Mini PC correctly, you can unlock its full potential and enjoy a seamless computing experience.
In this guide, we’ll cover everything from unboxing the MPK Mini PC to installing drivers and connecting peripherals. Whether you’re using the MPK Mini PC for work or play, our comprehensive instructions will ensure that you have a smooth setup process.
Before we dive into the details, make sure you have all the necessary equipment ready. This includes the MPK Mini PC, power adapter, HDMI cable, keyboard, mouse, and any additional peripherals you plan to use.
So, without further ado, let’s get started with unboxing our new MPK Mini PC!
Step 1: Unboxing the MPK Mini PC
Before we can begin setting up the MPK Mini PC, we first need to unbox it. Follow these steps to safely unbox your new device:
- Locate the box containing the MPK Mini PC. Carefully open the box and remove the packaging materials.
- Take out the MPK Mini PC from the box and place it on a flat, stable surface.
- Inspect the contents to make sure everything is included. Along with the MPK Mini PC, you should find a power adapter, HDMI cable, and any additional accessories that may have been included.
- Remove any protective coverings or films from the MPK Mini PC and its accessories. These coverings are typically applied to prevent scratches during shipping.
- Take a moment to familiarize yourself with the ports and connectors on the MPK Mini PC. This will help you navigate the setup process more easily.
- Keep the packaging materials in a safe place in case you need to return or transport the MPK Mini PC in the future.
By carefully unboxing the MPK Mini PC, you ensure that the device and all its components are intact and ready for setup. Remember to handle the device with care and avoid applying excessive force or pressure.
With the unboxing done, we’re now ready to move onto the next step: connecting the MPK Mini PC to power.
Step 2: Connecting the MPK Mini PC to Power
Now that we have unboxed the MPK Mini PC, it’s time to connect it to power. Follow these simple steps to ensure a proper power connection:
- Locate the power adapter that came with the MPK Mini PC.
- Identify the power port on the MPK Mini PC. It is usually located on the back or side of the device.
- Take one end of the power adapter and insert it into the power port of the MPK Mini PC.
- Plug the other end of the power adapter into a nearby power outlet.
- Make sure the power outlet is switched on, and the MPK Mini PC is receiving power.
- Check for any indicator lights on the MPK Mini PC that signify it is properly connected to power.
It is important to use the original power adapter that came with the MPK Mini PC. Using a different adapter may not provide the correct voltage and could potentially damage the device.
Once the MPK Mini PC is successfully connected to power, you can proceed to the next step: connecting it to a monitor.
Step 3: Connecting the MPK Mini PC to a Monitor
After connecting the MPK Mini PC to power, the next step is to connect it to a monitor. Follow these steps to ensure a proper display connection:
- Check the available ports on the MPK Mini PC and your monitor. Common ports include HDMI, VGA, and DisplayPort.
- Choose the appropriate cable that matches the ports on both the MPK Mini PC and the monitor.
- Connect one end of the cable to the HDMI (or other compatible) port on the MPK Mini PC.
- Connect the other end of the cable to the corresponding port on your monitor.
- Ensure that the cable is securely plugged in on both ends.
- Power on your monitor and select the correct input source.
If you are using an HDMI cable, the connection is usually plug-and-play, and the monitor should automatically detect the MPK Mini PC. However, if you are using a different cable type, you may need to manually select the input source on your monitor.
Once the MPK Mini PC is successfully connected to the monitor, you can proceed to the next step: the initial setup and configuration process.
Step 4: Initial Setup and Configuration
Now that the MPK Mini PC is connected to power and a monitor, it’s time to proceed with the initial setup and configuration. Follow these steps to get started:
- Power on the MPK Mini PC by pressing the power button, usually located on the front or side of the device.
- Wait for the MPK Mini PC to boot up. This process may take a few seconds.
- Follow the on-screen prompts to select your preferred language, region, and other basic settings.
- Agree to the terms and conditions, if required.
- Create a user account by providing the necessary information, such as your name and password.
- Choose whether to set up the MPK Mini PC as a standalone device or connect it to a network.
- If connecting to a network, select your Wi-Fi network from the available options and enter the password.
- Allow the MPK Mini PC to complete the setup process and install any necessary updates.
During the initial setup, you may also have the option to customize the desktop wallpaper, choose system preferences, and install additional software or apps based on your preferences.
Once the initial setup and configuration are complete, you can explore the various features and functionalities of the MPK Mini PC. You’re now ready to move on to the next step: connecting peripherals to the MPK Mini PC.
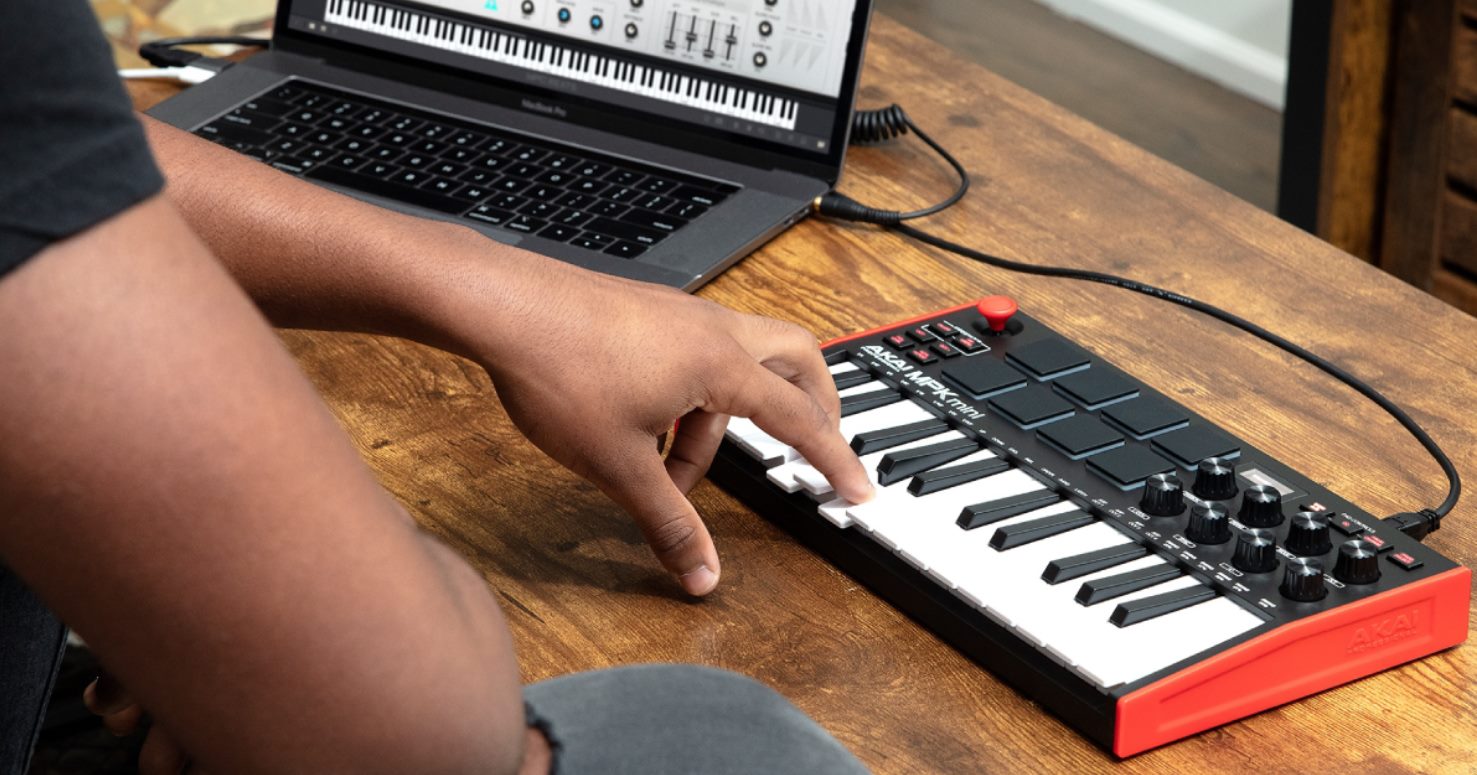
Step 5: Connecting Peripherals to the MPK Mini PC
With the initial setup and configuration complete, it’s time to connect peripherals to the MPK Mini PC. Whether you want to use a keyboard, mouse, external storage devices, or other accessories, follow these steps to ensure a seamless connection:
- Identify the available ports on the MPK Mini PC. Common ports include USB, audio, and Ethernet.
- Choose the appropriate cable or connector for your peripheral device.
- Connect one end of the cable to the corresponding port on the MPK Mini PC.
- Connect the other end of the cable to the respective port on your peripheral device.
- Ensure that the cable is securely plugged in on both ends.
- If necessary, install any required drivers or software for the peripheral device by following the manufacturer’s instructions.
- Wait for the MPK Mini PC to recognize the connected device. In most cases, the device will be automatically detected.
Once connected, your peripherals should be ready for use with the MPK Mini PC. You can now enjoy enhanced functionality and convenience with your keyboard, mouse, external storage, or other peripheral devices.
Remember, you can connect multiple peripherals to the MPK Mini PC to suit your specific needs. Just make sure you have sufficient available ports and compatible devices.
With the peripherals connected, we’re almost done with the setup process. The next step is to install and update drivers, ensuring optimal performance for your MPK Mini PC.
Step 6: Installing and Updating Drivers
As with any computer system, it is important to install and update drivers for the MPK Mini PC. Drivers are software components that allow the operating system to communicate with hardware devices, ensuring proper functionality and performance. Follow these steps to install and update drivers on your MPK Mini PC:
- Identify the manufacturer and model of your MPK Mini PC. This information is usually provided on the device itself or in the documentation.
- Visit the manufacturer’s official website and navigate to the Support or Downloads section.
- Locate the drivers corresponding to your MPK Mini PC’s model and operating system.
- Download the latest drivers for your MPK Mini PC and save them to a location on your computer.
- Run the driver installer and follow the on-screen instructions to complete the installation process.
- Restart your MPK Mini PC after the driver installation is complete.
- Regularly check the manufacturer’s website for driver updates. Download and install any available updates to ensure optimal performance and compatibility with new software.
It is essential to keep your MPK Mini PC’s drivers up to date to avoid compatibility issues, improve stability, and benefit from new features or bug fixes.
Once the drivers are installed and updated, your MPK Mini PC is fully set up and ready to provide you with an efficient and enjoyable computing experience.
Congratulations! You have successfully completed the steps to set up your MPK Mini PC. Whether you plan to use it for work, entertainment, or both, you can now take full advantage of its capabilities.
Conclusion
Congratulations! You have successfully set up your MPK Mini PC. By following the steps outlined in this guide, you have unboxed the device, connected it to power and a monitor, performed the initial setup and configuration, connected peripherals, and installed and updated the necessary drivers.
Your MPK Mini PC is now ready to be used for a variety of tasks, whether it be browsing the web, creating documents, enjoying multimedia content, or even light gaming. Its compact size, powerful performance, and versatile functionalities make it an excellent choice for both personal and professional use.
Remember, it is essential to keep your MPK Mini PC up to date by regularly checking for driver updates and installing them as needed. This will ensure optimal performance, compatibility with new software, and access to the latest features and enhancements.
As you explore the capabilities of your MPK Mini PC, don’t hesitate to refer back to this guide or consult the manufacturer’s documentation for any additional assistance or troubleshooting. The manufacturer’s website and support channels can also provide valuable resources and updates to further enhance your experience with the device.
Thank you for choosing the MPK Mini PC and trusting this guide to help you with the setup process. We hope you enjoy using your new device and find it to be a valuable addition to your computing setup.
Happy computing with your MPK Mini PC!