Introduction
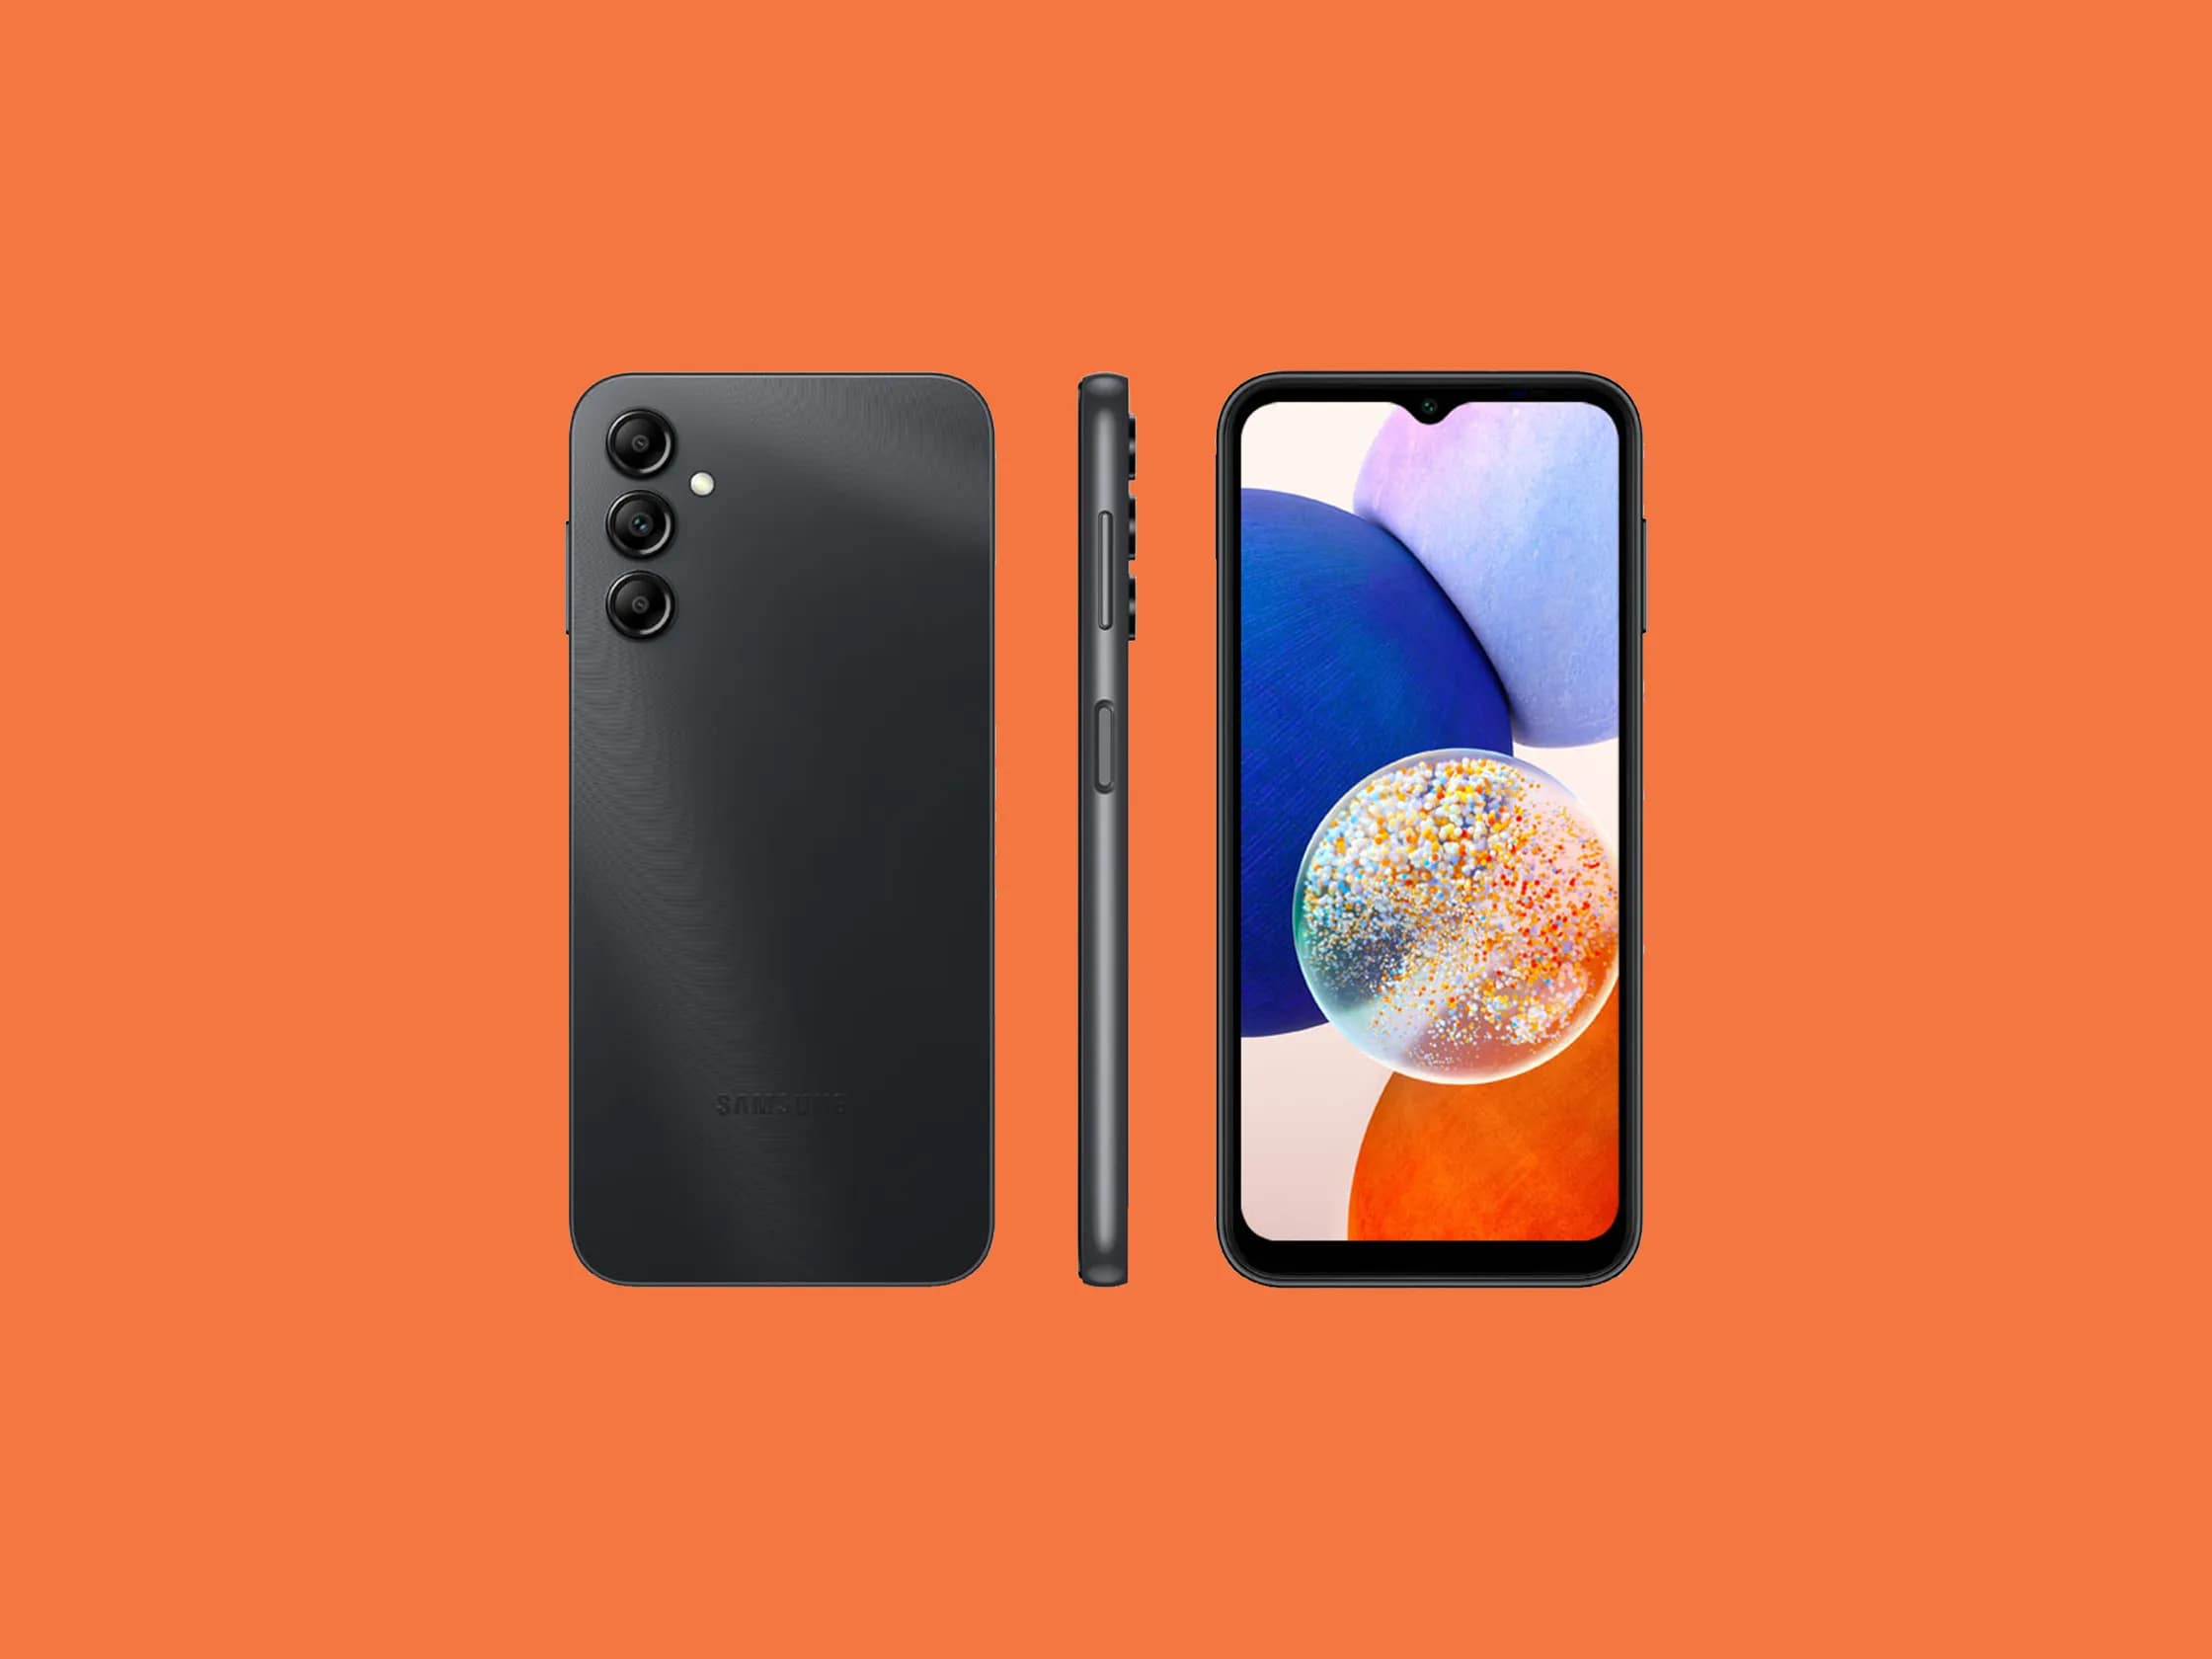
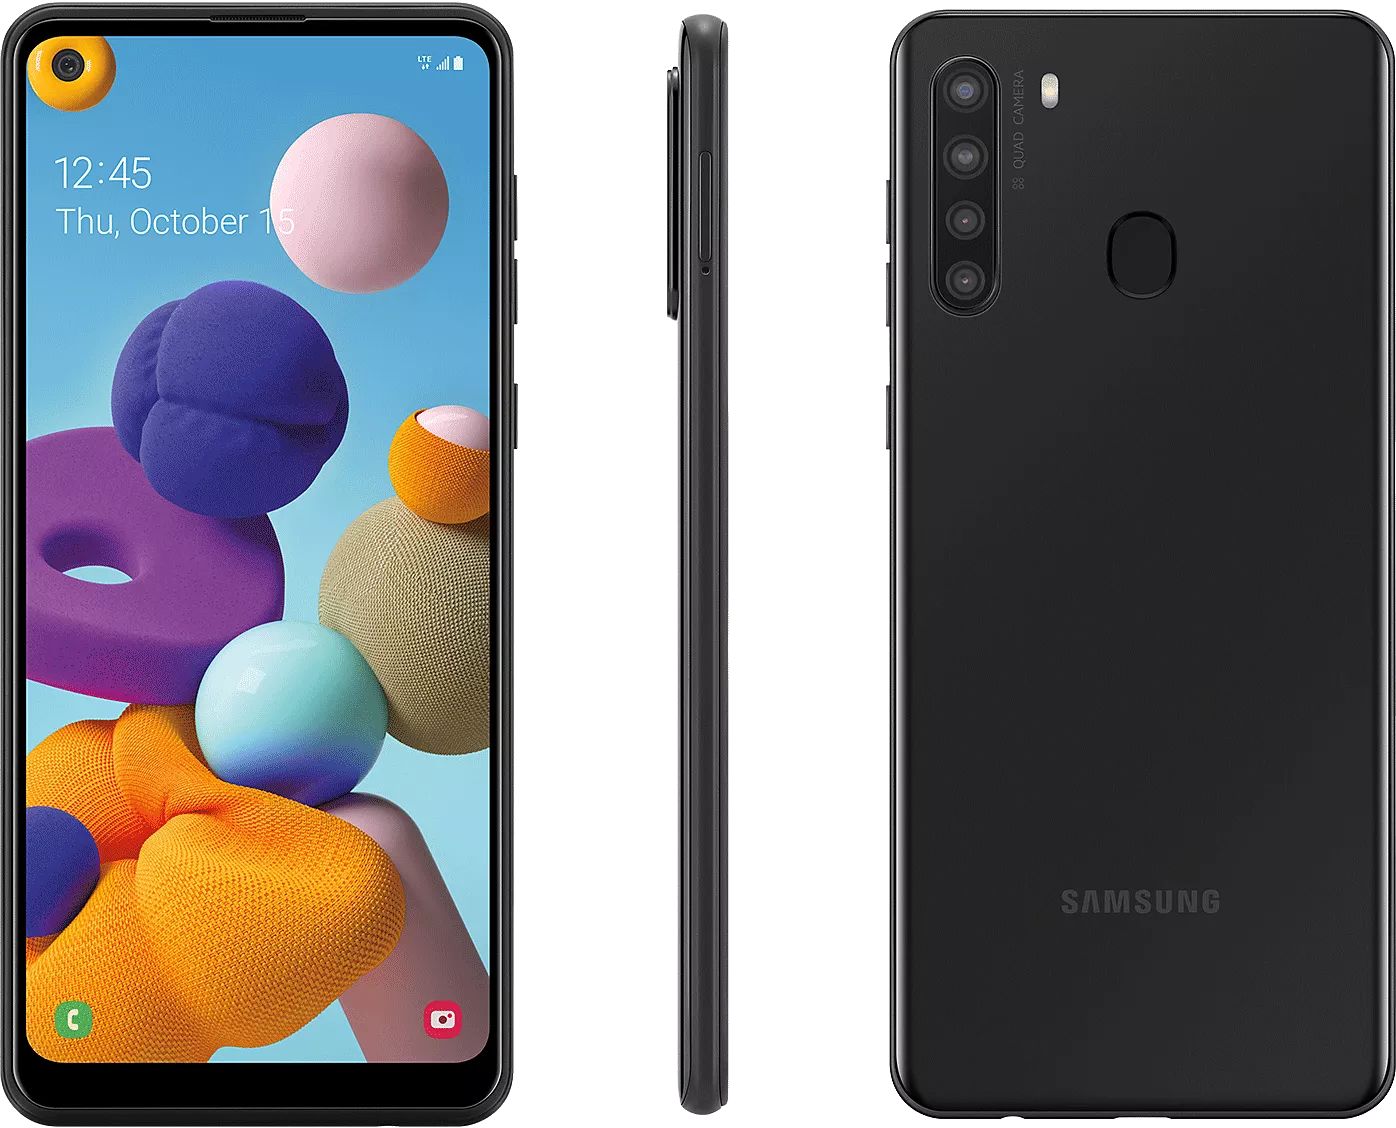
Want to capture a screenshot on your Samsung Galaxy A13? Whether you want to save a memorable conversation, share a funny meme, or document an important error message, taking a screenshot is a handy feature that allows you to capture and preserve what’s on your device’s screen in just a few simple steps.
In this article, we will explore five different methods to take a screenshot on your Samsung Galaxy A13. From using the physical buttons to utilizing palm swipe gestures, we’ve got you covered with various options that cater to your personal preferences. Let’s dive in and learn how to capture those precious moments on your Samsung Galaxy A13!
Please note that the methods described in this article are specifically tailored for the Samsung Galaxy A13. While some of these methods may also work on other Samsung devices, it’s always a good idea to consult your device’s user manual or check with the manufacturer if you encounter any issues.
Now, let’s take a closer look at each method and learn how to take a screenshot on your Samsung Galaxy A13 with ease!
Method 1: Using the Physical Buttons
A straightforward way to capture a screenshot on your Samsung Galaxy A13 is by using the physical buttons on the device. This method is simple and works across most Samsung models, including the Galaxy A13.
To take a screenshot using the physical buttons, follow these steps:
- Open the screen or app that you want to capture.
- Locate the Volume Down button (on the left side) and the Power button (on the right side) of your Galaxy A13.
- Press and hold the Volume Down button and the Power button simultaneously for a few seconds. Be sure to press them at the same time and not one before the other.
- You should see a brief animation or hear a camera shutter sound indicating that the screenshot has been taken successfully.
- You can find the captured screenshot in the Gallery app or the Screenshots folder in your device’s internal storage.
It’s worth noting that if your Galaxy A13 has a physical home button, you would need to press the Power button and the Home button at the same time to capture a screenshot.
This method is incredibly convenient, as the physical buttons on the Samsung Galaxy A13 are easily accessible and provide a tactile feedback, ensuring a reliable screenshot capture experience for users.
Now that we’ve covered the first method, let’s move on to the next method, which involves using palm swipe gestures to capture a screenshot on your Samsung Galaxy A13.
Method 2: Using Palm Swipe
If you find it more convenient to use gestures rather than physical buttons, you’ll love the palm swipe method for taking screenshots on your Samsung Galaxy A13. This feature allows you to capture a screenshot by swiping your palm across the screen.
To enable and use the palm swipe method, follow these steps:
- Go to the Settings on your Samsung Galaxy A13.
- Scroll down and tap on “Advanced features”.
- Select “Motions and gestures”.
- Toggle on the “Palm swipe to capture” option.
- Open the screen or app you want to capture.
- Hold your hand vertically, with your palm touching the edge of the screen.
- Swipe your palm across the screen to capture the screenshot.
- You will see a visual confirmation or hear a sound indicating that the screenshot has been successfully taken.
- Find the captured screenshot in the Gallery app or the Screenshots folder.
The palm swipe method offers a quick and intuitive way to capture screenshots with a simple gesture, eliminating the need to press any buttons. It comes in handy in situations where you may not have a free hand to press physical buttons or want to avoid any accidental button presses.
Now that we’ve explored the palm swipe method, let’s move on to the next method, which involves using the notification panel to capture screenshots on your Samsung Galaxy A13.
Method 3: Using the Notification Panel
If you prefer a more streamlined approach to capturing screenshots, using the notification panel on your Samsung Galaxy A13 is a convenient option. This method allows you to take screenshots directly from the notification panel without the need for physical buttons or gestures.
Follow these steps to capture a screenshot using the notification panel:
- Open the screen or app you want to capture.
- Swipe down from the top of the screen to access the notification panel.
- Look for the “Screenshot” option among the available quick settings toggles.
- Tap on the “Screenshot” icon in the notification panel.
- You will see a visual confirmation or hear a sound indicating that the screenshot has been successfully taken.
- Find the captured screenshot in the Gallery app or the Screenshots folder.
This method provides a hassle-free way to capture screenshots with just a few taps, making it ideal for quick captures without having to navigate through settings or use physical buttons.
Now that we’ve covered using the notification panel, let’s move on to the next method, which involves using the Quick Settings panel to capture screenshots on your Samsung Galaxy A13.
Method 4: Using the Quick Settings Panel
The Quick Settings panel on your Samsung Galaxy A13 provides another convenient option for capturing screenshots. This method allows you to add a dedicated screenshot button to your Quick Settings panel, making it easily accessible whenever you need to capture a screenshot.
To add the screenshot button to your Quick Settings panel and use it to capture screenshots, follow these steps:
- Open the screen or app you want to capture.
- Swipe down from the top of the screen to access the notification panel.
- Next, swipe down again to expand the full Quick Settings panel.
- If you can’t see the screenshot button, swipe left on the Quick Settings panel to access additional options.
- Look for the “Screenshot” button and tap on it.
- The screen will flash or show a visual confirmation, indicating that the screenshot has been successfully taken.
- Find the captured screenshot in the Gallery app or the Screenshots folder.
Adding the screenshot button to your Quick Settings panel provides a convenient and easily accessible option for capturing screenshots whenever the need arises. It saves you time and effort by eliminating the need to go through menus or settings to capture a screenshot.
Now that we’ve explored using the Quick Settings panel, let’s move on to the final method, which involves using Google Assistant to capture screenshots on your Samsung Galaxy A13.
Method 5: Using Google Assistant
If you’re a fan of voice commands and prefer a hands-free approach to capturing screenshots, you’ll be delighted to know that you can use Google Assistant on your Samsung Galaxy A13 to take screenshots effortlessly. With just a simple voice command, you can capture and save screenshots without touching your device.
To capture a screenshot using Google Assistant, follow these steps:
- Open the screen or app you want to capture.
- Activate Google Assistant by either saying “Okay Google” or pressing and holding the home button.
- Once Google Assistant is activated, say “Take a screenshot” or “Capture a screenshot”.
- Google Assistant will capture the screenshot and provide a visual confirmation or feedback through audio.
- Find the captured screenshot in the Gallery app or the Screenshots folder.
Using Google Assistant to capture screenshots on your Samsung Galaxy A13 offers a hands-free and convenient option, particularly useful when your hands are occupied or when you want to capture a screenshot quickly without any physical interaction.
With these five methods at your disposal, you now have various options to capture screenshots on your Samsung Galaxy A13. Whether you prefer using physical buttons, gestures, the notification panel, the Quick Settings panel, or Google Assistant, you can choose the method that suits your preference and convenience.
Remember, screenshots are a handy way to save and share information, memorable moments, or important details from your device’s screen. So, go ahead and start capturing those valuable screenshots on your Samsung Galaxy A13 effortlessly!
Conclusion
Capturing screenshots on your Samsung Galaxy A13 is a simple process that can be done using various methods. In this article, we explored five different methods to take screenshots on your device. Whether you prefer using the physical buttons, palm swipe gestures, the notification panel, the Quick Settings panel, or Google Assistant, you have multiple options to choose from based on your personal preference and convenience.
The physical buttons method offers a reliable and tactile option, while the palm swipe method allows for a quick and intuitive gesture-based capture. The notification panel method provides a streamlined approach, and the Quick Settings panel method adds a dedicated button for easy access. Lastly, using Google Assistant enables a hands-free experience for capturing screenshots.
Remember to review your device’s user manual or consult the manufacturer if you encounter any difficulties when using these methods. It’s important to note that these methods were specifically tailored for the Samsung Galaxy A13, but some may also work on other Samsung devices.
Screenshots are a valuable tool for saving and sharing information, capturing memories, or troubleshooting issues on your device. Use these methods to effortlessly capture and access screenshots on your Samsung Galaxy A13, and make the most out of this handy feature.
Now that you are equipped with the knowledge of these methods, go ahead and start capturing those important moments and information on your Samsung Galaxy A13 with ease!


