Introduction
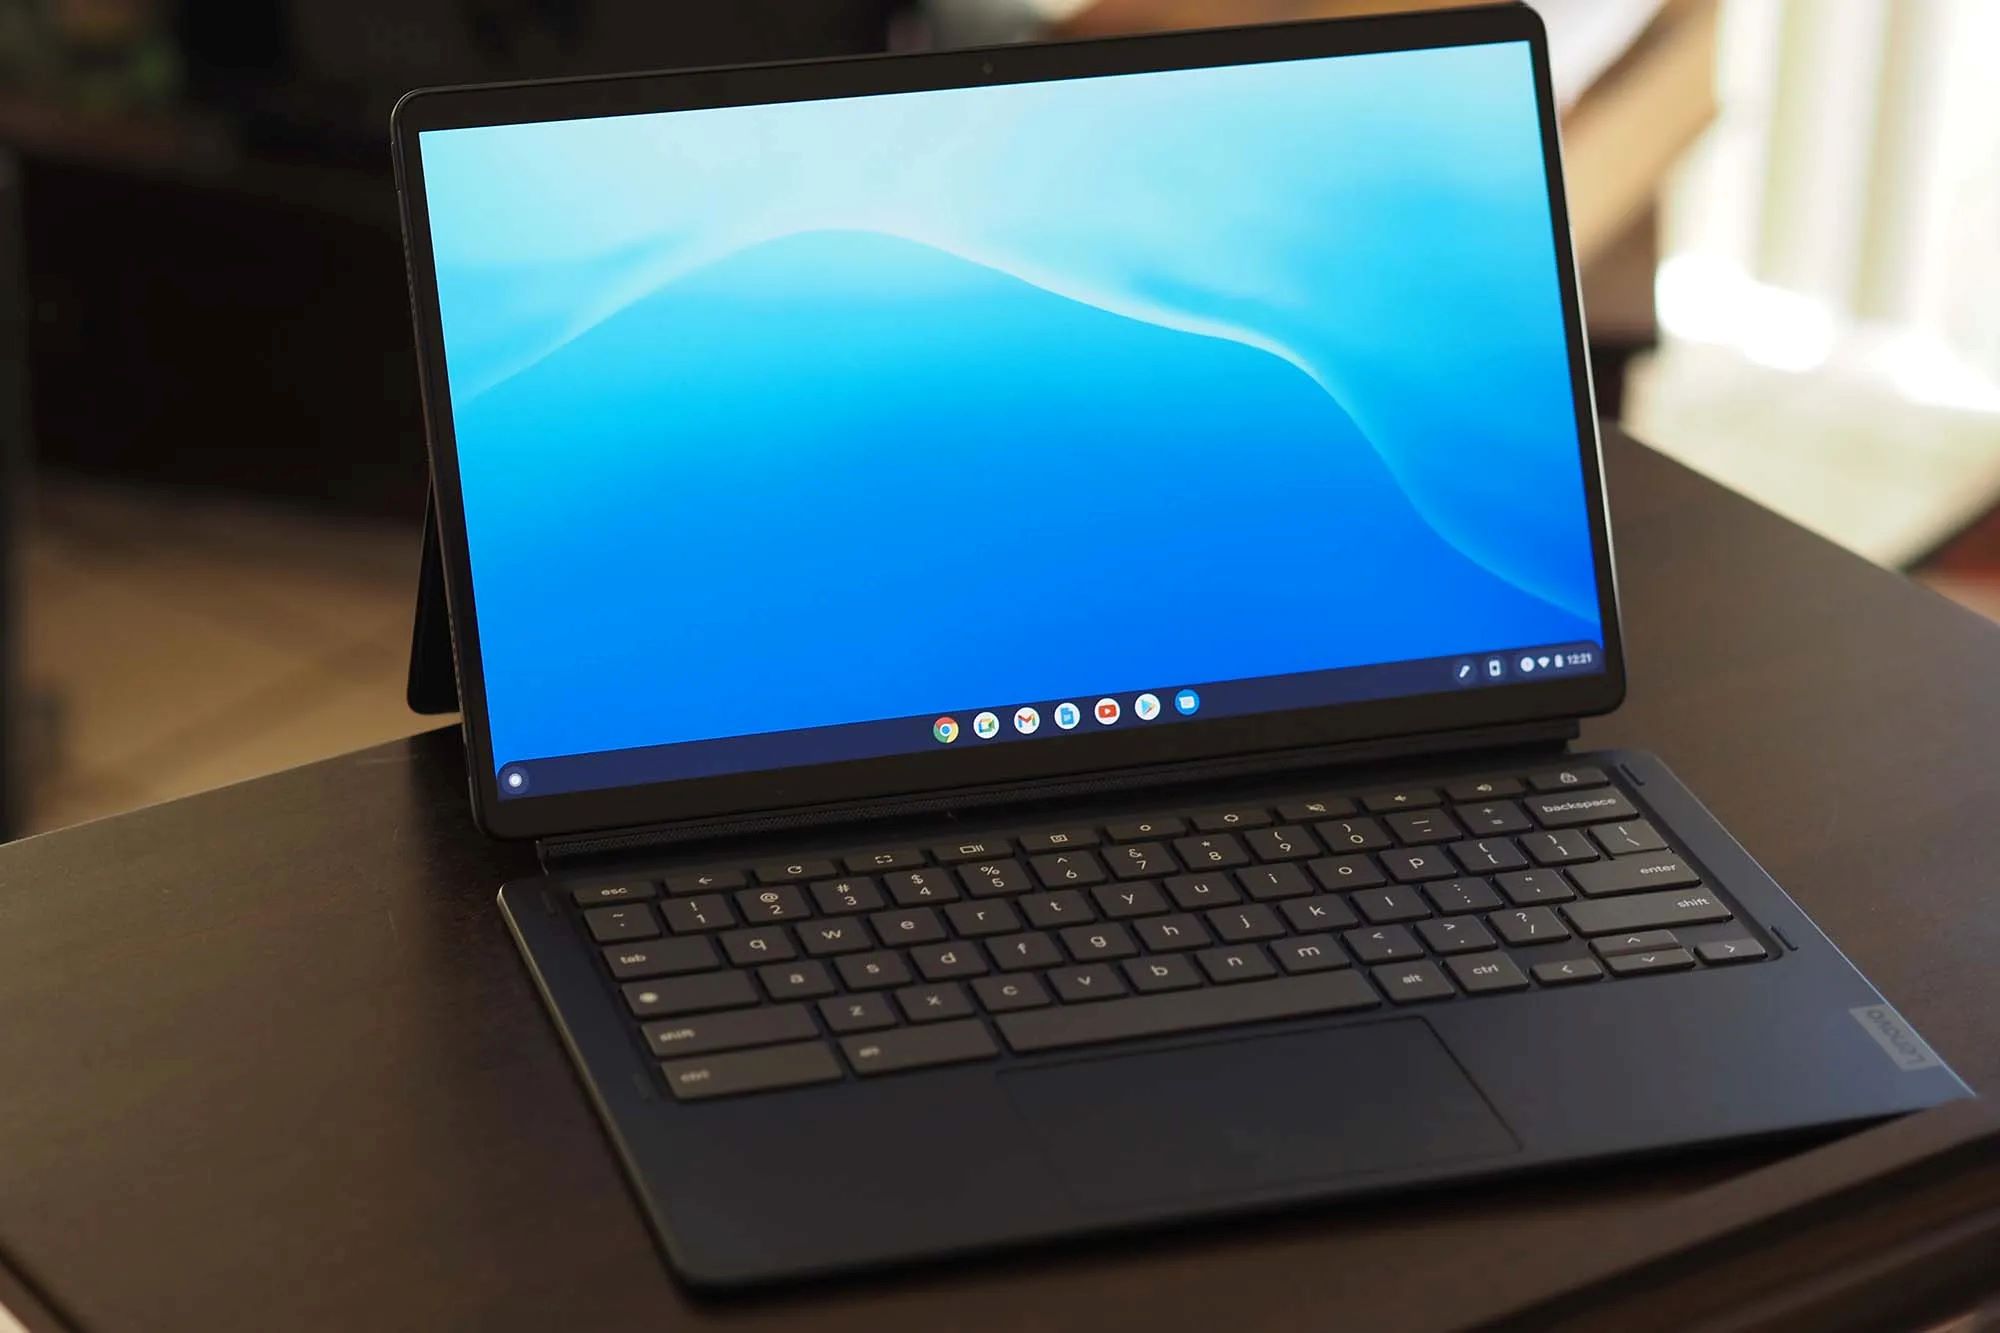
When it comes to capturing screenshots, Lenovo Chromebook offers various convenient methods. Whether you need to capture an important moment or save important information, being able to take a screenshot quickly and easily is essential. In this article, we will explore three different methods to screenshot on a Lenovo Chromebook.
Screenshots are a powerful tool for capturing and sharing information. Whether you’re a student taking notes, a professional making presentations, or simply want to capture a memorable moment, being able to take a screenshot can be incredibly useful.
Lenovo Chromebook provides users with a range of options to capture screenshots, including using the keyboard, the power and volume buttons, and the built-in “Capture Screen” feature. The choice of method depends on your personal preference and the specific model of your Lenovo Chromebook.
In this guide, we will walk you through each of the three methods, providing step-by-step instructions to help you capture screenshots effortlessly. By the end of this article, you’ll be equipped with the knowledge to take screenshots on your Lenovo Chromebook with ease.
Whether you’re a student, professional, or casual user, learning how to screenshot on a Lenovo Chromebook will undoubtedly enhance your productivity and enable you to capture and share information effectively. So, without further ado, let’s dive into the methods of capturing screenshots on a Lenovo Chromebook.
Method 1: Using the Keyboard
One of the quickest and easiest ways to capture a screenshot on a Lenovo Chromebook is by using the keyboard shortcuts. The keyboard shortcuts allow you to take screenshots of the entire screen or specific sections, depending on your needs.
Here’s how you can take a screenshot using the keyboard on your Lenovo Chromebook:
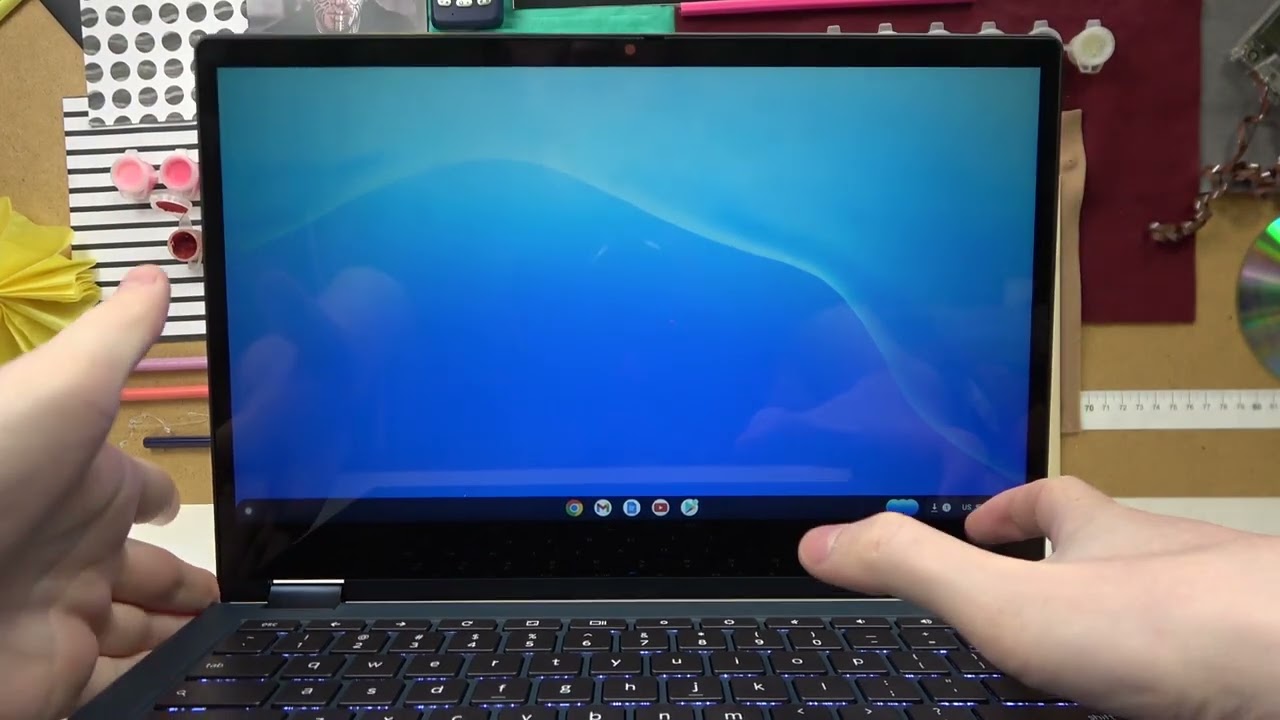
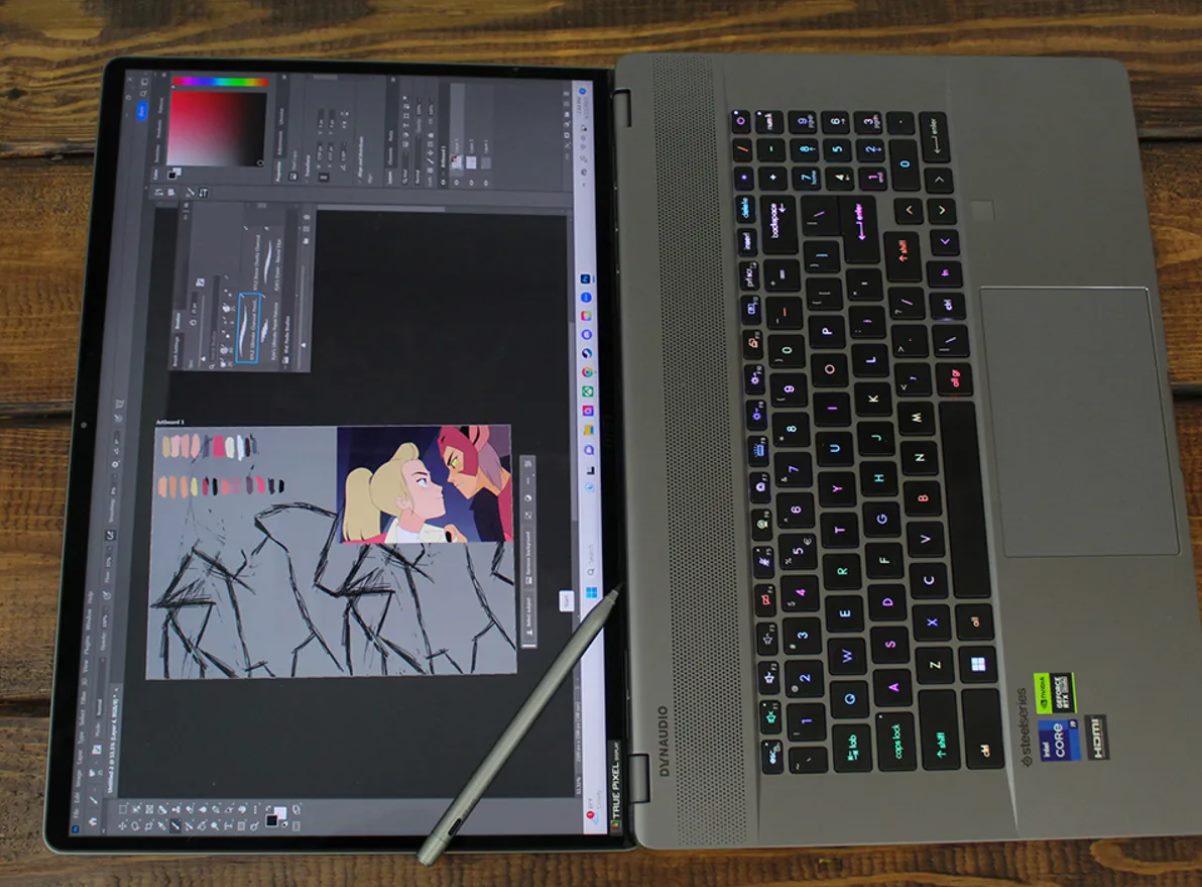
- Capturing the Entire Screen: To capture the entire screen, simply press the “Ctrl” and “Window Switcher” buttons simultaneously. The Window Switcher button is typically located in the top row of the keyboard, marked with a square or rectangle icon.
- Capturing a Specific Area: If you only want to capture a specific area of the screen, press “Ctrl + Shift + Window Switcher” together. After pressing these keys, your cursor will turn into a crosshair. Click and drag to select the desired area you want to capture. Once you release the mouse button, the screenshot will be saved.
After capturing a screenshot using the keyboard shortcuts, the screenshot image will be saved to the “Downloads” folder of your Lenovo Chromebook. You can access it by navigating to the Files app and then opening the “Downloads” folder.
Using the keyboard shortcuts to take screenshots on your Lenovo Chromebook is a quick and efficient method that can be easily mastered with a little bit of practice. It allows you to capture screenshots with precision and convenience, making it an ideal option for both casual users and professionals alike.
Now that you know how to use the keyboard shortcuts to capture screenshots on your Lenovo Chromebook, let’s explore another method that involves using the power and volume buttons.
Method 2: Using the Power and Volume Buttons
If you prefer a more tactile approach, you can also capture screenshots on your Lenovo Chromebook using the power and volume buttons. This method allows you to take screenshots quickly and conveniently, without the need for any complex keyboard shortcuts.
Follow these steps to capture a screenshot using the power and volume buttons:
- Capturing the Entire Screen: To capture the entire screen, locate the power button and volume down button on your Lenovo Chromebook. Press and hold the power button, then quickly press the volume down button. The screen will flash momentarily, indicating that the screenshot has been captured.
- Capturing a Specific Area: If you want to capture a specific area of the screen, press and hold the power button, then quickly press and release the volume down button. Your cursor will turn into a crosshair. Click and drag to select the desired area you want to capture. Once you release the mouse button, the screenshot will be saved.
Similar to using the keyboard shortcuts, capturing a screenshot using the power and volume buttons will save the screenshot image to the “Downloads” folder on your Lenovo Chromebook. You can access it by navigating to the Files app and opening the “Downloads” folder.
The power and volume button method is an intuitive and straightforward way to capture screenshots on your Lenovo Chromebook. It’s particularly useful if you prefer physical buttons or find it more convenient to use when capturing screenshots on the go.
Now that you’ve learned how to capture screenshots using the power and volume buttons, let’s explore another method that leverages the built-in “Capture Screen” feature of your Lenovo Chromebook.
Method 3: Using Chromebook’s “Capture Screen” Feature
If you prefer a more integrated and user-friendly approach, you can utilize the built-in “Capture Screen” feature on your Lenovo Chromebook. This feature provides you with a dedicated tool for taking screenshots, making it convenient and accessible.
Follow these steps to use the “Capture Screen” feature on your Lenovo Chromebook:
- Accessing the “Capture Screen” Feature: To access the “Capture Screen” feature, locate and click on the clock in the bottom right corner of your screen. From the pop-up menu, select the “Capture Screen” option.
- Capturing the Entire Screen: Once the “Capture Screen” feature is open, you can choose to capture the entire screen by clicking the “Capture full screen” button. The screenshot will be taken instantly, and you’ll see a notification confirming the capture.
- Capturing a Specific Area: If you only want to capture a specific area of the screen, click the “Capture partial screen” button. Your cursor will turn into a crosshair. Click and drag to select the desired area you want to capture. Release the mouse button to take the screenshot.
Similar to the previous methods, the screenshots taken using the “Capture Screen” feature will be saved to the “Downloads” folder on your Lenovo Chromebook. You can easily access them by opening the Files app and navigating to the “Downloads” folder.
The “Capture Screen” feature provides a straightforward and user-friendly method for capturing screenshots on your Lenovo Chromebook. It’s particularly useful if you prefer a dedicated tool that’s easily accessible and doesn’t require any complex keyboard shortcuts or button combinations.
Now that you’re familiar with all three methods of capturing screenshots on your Lenovo Chromebook, you can choose the one that best suits your needs and preferences. Whether you prefer using the keyboard shortcuts, power and volume buttons, or the built-in “Capture Screen” feature, you have the tools to capture screenshots with ease and convenience.
Conclusion
Capturing screenshots on a Lenovo Chromebook is a simple and essential skill that can greatly enhance your productivity and ability to save and share information. In this article, we have explored three different methods to easily capture screenshots on your Lenovo Chromebook: using the keyboard shortcuts, the power and volume buttons, and the built-in “Capture Screen” feature.
The keyboard shortcuts provide a quick and efficient way to take screenshots, allowing you to capture the entire screen or specific sections with precision. This method is ideal for users who prefer using the keyboard and want to master the shortcuts for effortless screenshot capturing.
The power and volume button method offers a more tactile approach, giving you the ability to take screenshots with a simple button combination. This method is especially convenient for those who are on the go or prefer physical buttons over keyboard shortcuts.
The built-in “Capture Screen” feature provides an integrated and user-friendly option for taking screenshots. With just a few clicks, you can easily capture the entire screen or specific areas, making it an ideal choice for those who prefer a dedicated tool.
Now that you are familiar with these three methods, you can choose the one that suits your preferences and needs the most. Whichever method you choose, capturing screenshots on your Lenovo Chromebook will become a seamless and effortless task.
Remember to locate your captured screenshots in the “Downloads” folder of your Lenovo Chromebook. From there, you can easily access and manage them using the Files app.
By mastering the art of taking screenshots, you can improve your productivity, collaborate effectively, and easily capture and share important information on your Lenovo Chromebook.
So, go ahead and start exploring these methods to capture screenshots on your Lenovo Chromebook and elevate your digital experience to the next level!


