Introduction
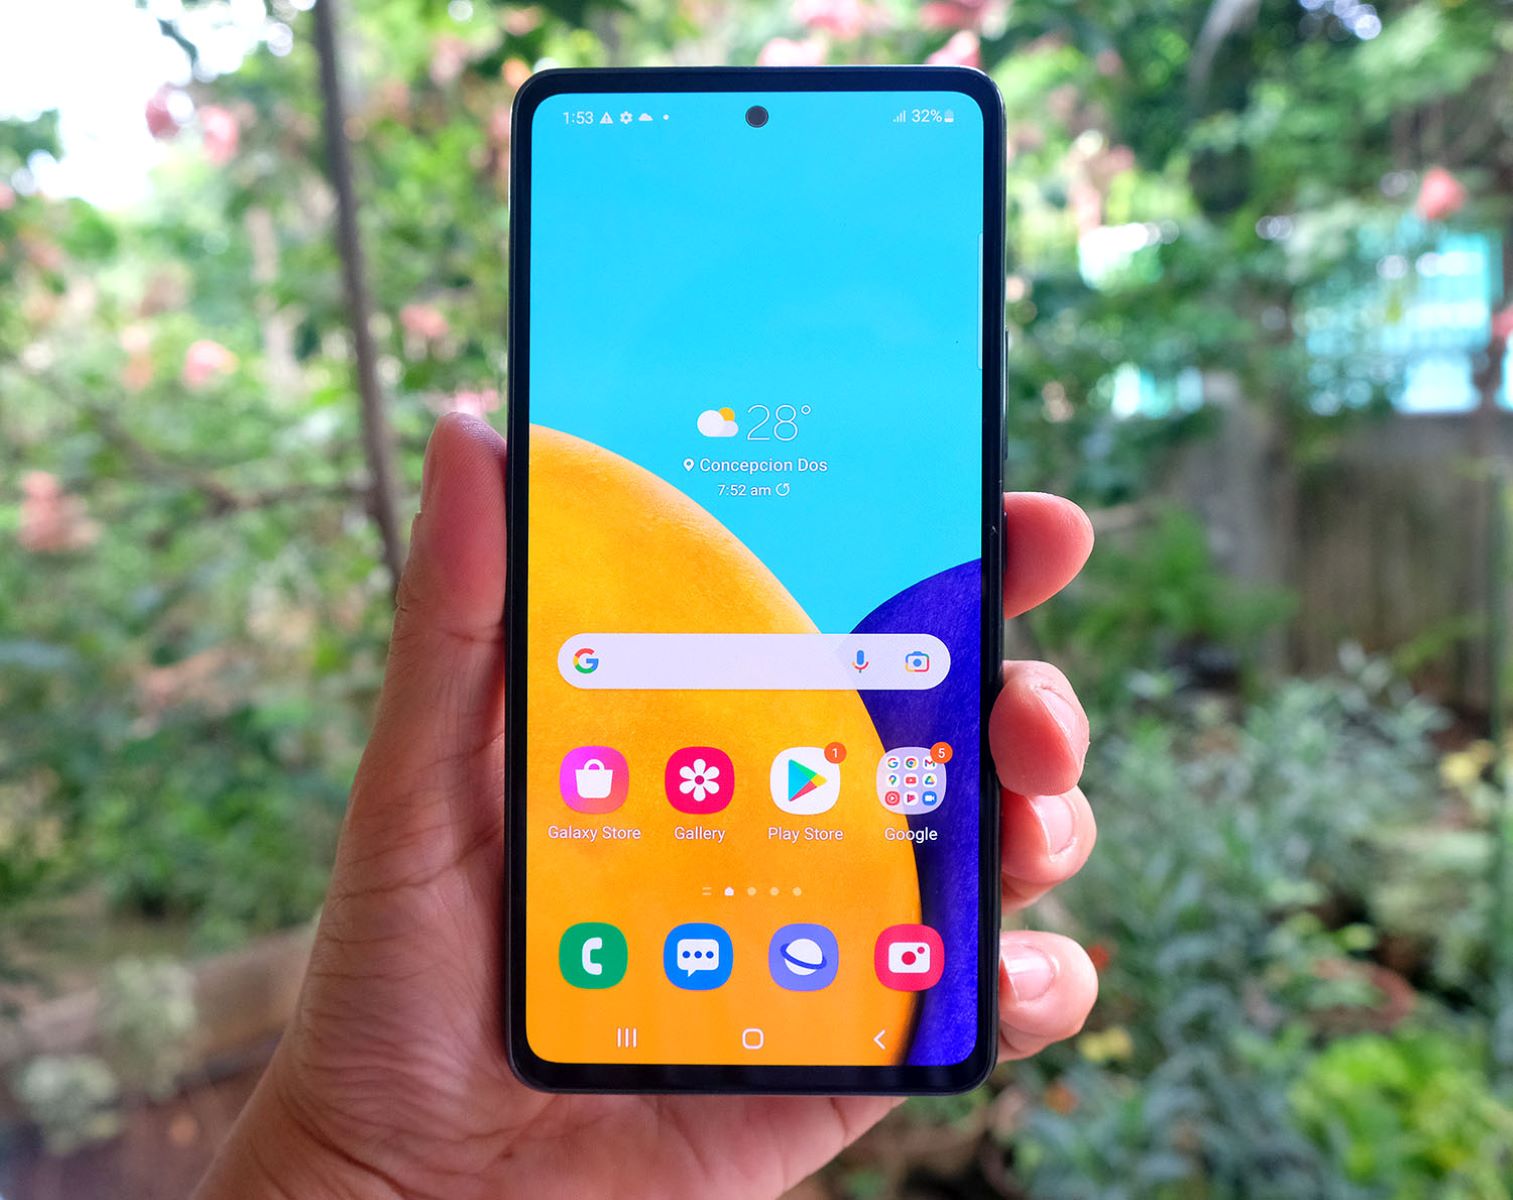
Learning how to take screenshots on your Samsung Galaxy A53 5G can be incredibly useful in various situations. Whether you want to capture a memorable moment, save important information, or share interesting content with others, being able to take screenshots quickly and efficiently is a valuable skill to have.
The Samsung Galaxy A53 5G offers multiple methods to capture screenshots, making it convenient for users to choose the method that suits their preferences or needs. In this article, we will explore different ways to take screenshots on your Galaxy A53 5G, ranging from using the physical buttons to utilizing palm swipe gestures, accessing the notification panel, and even using third-party apps.
With these methods at your disposal, you can easily capture anything displayed on your phone’s screen, whether it’s a chat conversation, a social media post, an important document, or a stunning image that you don’t want to lose.
So, if you’re ready to become a screenshot pro on your Samsung Galaxy A53 5G, let’s dive into the various methods and find out which one works best for you!
Method 1: Using the Physical Buttons
One of the most straightforward and widely-used methods to take a screenshot on your Samsung Galaxy A53 5G is by using the physical buttons on the device. This method is simple and can be done in a few easy steps:
- Find the content you want to capture on your screen.
- Simultaneously press and hold the Power button and the Volume Down button on the side of your Galaxy A53 5G.
- You will hear a shutter sound or see a brief capture animation, indicating that the screenshot has been successfully taken.
- To view the screenshot, you can swipe down the notification panel and tap on the captured image in the Screenshot notification. Alternatively, you can access the screenshots from the Gallery or through the File Manager.
This method is incredibly convenient as it allows you to capture screenshots quickly, without needing to navigate through different menus or settings. It’s especially useful when you want to capture something in the middle of an ongoing activity, such as capturing a high score in a game or saving an interesting moment from a live video.
Furthermore, using the physical buttons is a reliable method that works consistently across various Samsung Galaxy models and doesn’t require any additional apps or settings.
However, it can take a bit of practice to get the timing right while pressing the Power and Volume Down buttons simultaneously. If you’re having difficulty, try pressing and holding the Volume Down button slightly before pressing the Power button.
Next, let’s explore another method to take screenshots on your Galaxy A53 5G using a unique palm swipe gesture.
Method 2: Using Palm Swipe Gesture
If you prefer a more hands-free approach to taking screenshots on your Samsung Galaxy A53 5G, you can utilize the palm swipe gesture feature. This feature allows you to capture screenshots simply by swiping the edge of your palm across the screen. Here’s how you can enable and use this method:
- Open the Settings app on your Galaxy A53 5G.
- Scroll down and select “Advanced features.”
- Tap on “Motions and gestures.”
- Toggle on the “Palm swipe to capture” option.
- Find the content you wish to capture on your screen.
- Place the side of your hand (the knife edge) vertically on either the left or right edge of the screen.
- Swipe your hand across the entire width of the screen in a horizontal motion.
- You will hear a shutter sound or see a capture animation, indicating that the screenshot has been successfully taken.
- Access the screenshot by swiping down the notification panel and tapping on the Screenshot notification. Alternatively, you can find the captured image in the Gallery or File Manager.
The palm swipe gesture method offers a hands-free way to capture screenshots, which can be especially useful in situations where using physical buttons might be difficult, such as when your hands are occupied or when you’re wearing gloves.
It’s important to ensure that your palm makes full contact with the screen during the swipe for this method to work effectively. Additionally, make sure that the gesture is quick and smooth to trigger the screenshot successfully.
This feature is not limited to capturing screenshots—it can also be used for capturing extended screenshots, activating the Smart Select feature, and more. Experiment with different swipe gestures to explore the various functionalities available on your Galaxy A53 5G.
Now that we’ve covered the palm swipe gesture method, let’s move on to another way of capturing screenshots using the notification panel.
Method 3: Using the Notification Panel
Another convenient method to take screenshots on your Samsung Galaxy A53 5G is by using the notification panel. This method allows you to capture screenshots with just a few taps, providing quick access to your captured images. Here’s how you can do it:
- Navigate to the screen that you want to capture.
- Swipe down from the top of your Galaxy A53 5G to open the notification panel.
- Look for the “Capture” or “Screenshot” button among the quick setting toggles.
- Tap on the “Capture” or “Screenshot” button.
- A screenshot will be taken, and you will receive a notification confirming the capture.
- Access the screenshot immediately by tapping on the notification or find it in the Gallery or File Manager for later use.
This method is convenient for those who prefer a more visual and accessible way to capture screenshots. With the screenshot button easily accessible in the notification panel, you can quickly capture your screen without the need to locate physical buttons or perform gestures.
Additionally, using the notification panel method allows you to access the captured screenshot instantly, making it efficient if you need to share or view the screenshot immediately.
It’s worth noting that the availability and placement of the screenshot button in the notification panel might vary depending on your device’s settings and customization. If you don’t see the screenshot button among the quick setting toggles, you can customize the layout of your notification panel to include it.
Now that we’ve explored the notification panel method, let’s move on to another useful option for taking screenshots on your Galaxy A53 5G: the Assistant Menu.
Method 4: Using the Assistant Menu
If you’re looking for a versatile and customizable way to capture screenshots on your Samsung Galaxy A53 5G, the Assistant Menu is a powerful tool to consider. The Assistant Menu provides a floating icon on your screen that allows you to access a range of useful functions, including taking screenshots. Here’s how you can use it:
- Go to the Settings app on your Galaxy A53 5G.
- Select “Accessibility.”
- Tap on “Interaction and dexterity.”
- Choose “Assistant Menu.”
- Toggle on the “Assistant Menu” switch to enable it.
- A floating icon will appear on your screen.
- To capture a screenshot, tap on the Assistant Menu icon to open its menu.
- Tap on the “Screen capture” option.
- A screenshot will be taken, and you will receive a confirmation notification.
- To access the screenshot, tap on the notification or find it in the Gallery or File Manager.
The Assistant Menu not only offers a convenient way to take screenshots but also provides quick access to other useful features, such as screen magnification, gestures, and more. You can customize the Assistant Menu to cater to your specific needs and preferences.
By using the Assistant Menu, you have the flexibility to place the floating icon in a convenient location on your screen, making it easily accessible whenever you want to capture a screenshot. This method is especially beneficial for individuals who may have difficulty using physical buttons or performing swipe gestures due to mobility or dexterity issues.
Experiment with the Assistant Menu and explore its various features to enhance your overall experience and accessibility on your Galaxy A53 5G.
Now that we’ve covered the use of the Assistant Menu, let’s explore the option of using third-party apps to capture screenshots on your device.
Method 5: Using Third-Party Apps
If you’re looking for additional features and customization options when capturing screenshots on your Samsung Galaxy A53 5G, using third-party apps can be an excellent choice. These apps offer a range of advanced screenshot functionalities that go beyond the built-in options. Here’s how you can use third-party apps to capture screenshots:
- Go to the Google Play Store on your Galaxy A53 5G.
- Search for “screenshot app” or “screen capture app.”
- Explore the various apps available and read reviews to find one that fits your requirements.
- Download and install the app of your choice.
- Launch the app and follow the on-screen instructions to set it up.
- Depending on the app, you may have access to additional features such as editing tools, annotations, scrolling screenshots, delayed captures, and more.
- Use the app’s interface or designated triggers to capture screenshots on your Galaxy A53 5G.
- Access the screenshots within the app or through the Gallery or File Manager.
Third-party screenshot apps offer a wealth of options for customizing your screenshot capturing experience. Whether you need advanced editing tools, the ability to capture scrolling web pages, or the convenience of gesture-based triggers, these apps have you covered.
Before downloading a third-party app, make sure to read user reviews and check the app’s ratings. This will help you ensure that you choose a reliable and trustworthy app that meets your specific needs.
Keep in mind that while third-party apps provide additional features, they may come with ads or require in-app purchases for certain functionalities. Be mindful of these factors and choose an app that aligns with your preferences.
Now that we’ve explored the various methods for capturing screenshots on your Galaxy A53 5G, you have a range of options to choose from based on your personal preferences and needs.
In the next section, we will summarize the methods discussed and provide some final thoughts on taking screenshots on your Samsung Galaxy A53 5G.
Conclusion
With the Samsung Galaxy A53 5G, capturing screenshots has become easier and more versatile. We have explored various methods to capture screenshots, from using the physical buttons to employing palm swipe gestures, accessing the notification panel, utilizing the Assistant Menu, and even utilizing third-party apps. Each method offers its own advantages and can cater to different user preferences and needs.
The physical button method provides a simple and reliable way to capture screenshots, requiring no additional settings or apps. The palm swipe gesture method allows for a hands-free approach, ideal for situations where using physical buttons might be inconvenient. Using the notification panel gives you quick access to the screenshot functionality, making it convenient for immediate sharing or viewing. The Assistant Menu offers a customizable and versatile way to capture screenshots, along with various other useful features. Finally, using third-party apps can provide advanced functionalities and customization options for capturing screenshots.
Choose the method that suits your preferences and requirements the best. Whether you prefer simplicity, hands-free operation, quick access, customization, or advanced features, the Galaxy A53 5G has you covered.
Remember to consider factors such as ease of use, accessibility, and personal preferences when selecting your preferred screenshot method. Take the time to explore different options and find the method that works best for you.
Now that you’re equipped with the knowledge of capturing screenshots on your Galaxy A53 5G, go ahead and capture those memorable moments, save important information, and share interesting content with ease. Happy capturing!


